sensor CHEVROLET CORVETTE 1996 4.G Owners Manual
[x] Cancel search | Manufacturer: CHEVROLET, Model Year: 1996, Model line: CORVETTE, Model: CHEVROLET CORVETTE 1996 4.GPages: 386, PDF Size: 20.12 MB
Page 33 of 386
Downloaded from www.Manualslib.com manuals search engine Your vehicle is equipped with a diagnostic module,
which records information about the air bag system.
The module records information about the readiness
of the system, when the sensors are activated and
driver’s safety belt usage at deployment.
Let only qualified technicians work on your air
bag system. Improper service can mean that your
air bag system won’t work properly. See your dealer
for service.
NOTICE:
If you damage the cover for the driver’s or the
passenger’s air bag, they may not work properly.
You may have to replace the air bag module in
the steering wheel or both the air bag module and
the instrument panel for the passenger’s air bag.
Do not open or break the air bag covers.
Servicing Your Air Bag-Equipped Corvette
Air bags affect how your Corvette should be serviced.
There are parts of the air bag system in several places
around your vehicle.
You don’t want the system to
inflate while someone is working on your vehicle. Your
Corvette dealer and‘the Corvette Service Manual have
information about servicing your vehicle and the air bag
system. To purchase a service manual, see “Service and
Owner Publications” in the Index.
For up to two minutes after the ignition key is
turned
off and the battery is disconnected, an air
bag can still inflate during improper service.
You
can be injured if you are close to an air bag when
it inflates. Avoid yellow wires, wires wrapped
with yellow tape or yellow connectors. They are
probably part of the air bag system. Be sure to
follow proper service procedures, and make sure
the person performing work for you is qualified
to do
so.
The air bag system does not need regular maintenance.
1-22
Page 87 of 386
Downloaded from www.Manualslib.com manuals search engine Daytime Running Lamps (Canada Only)
Daytime Running Lamps (Dm) can make it easier for
others to see the front of your vehicle during the day.
DRL can be helpful in many different driving
conditions, but they can be especially helpful in the
short periods after dawn and before sunset.
A light sensor on top of the instrument panel makes the
DRL work,
so be sure it isn’t covered.
The DlU system will make your front turn signal lamps
come on when:
0 The ignition is on,
0 The headlamp switch is off, and
0 The parking brake is released.
When
the DRL are on, only your front turn signal lamps
will be on. The taillamps, sidemarker and other lamps won’t be on. Your instrument panel won’t
be lit up either.
When it’s dark enough outside, your front
turn signal lamps
will go out and your headlamps will come on. The other
lamps that come on with your headlamps will
also come on.
When it’s bright enough outside, the regular lamps will
go
off, and your front turn signal lamps come on.
As with any vehicle, you should turn on the regular
headlamp system when you need it.
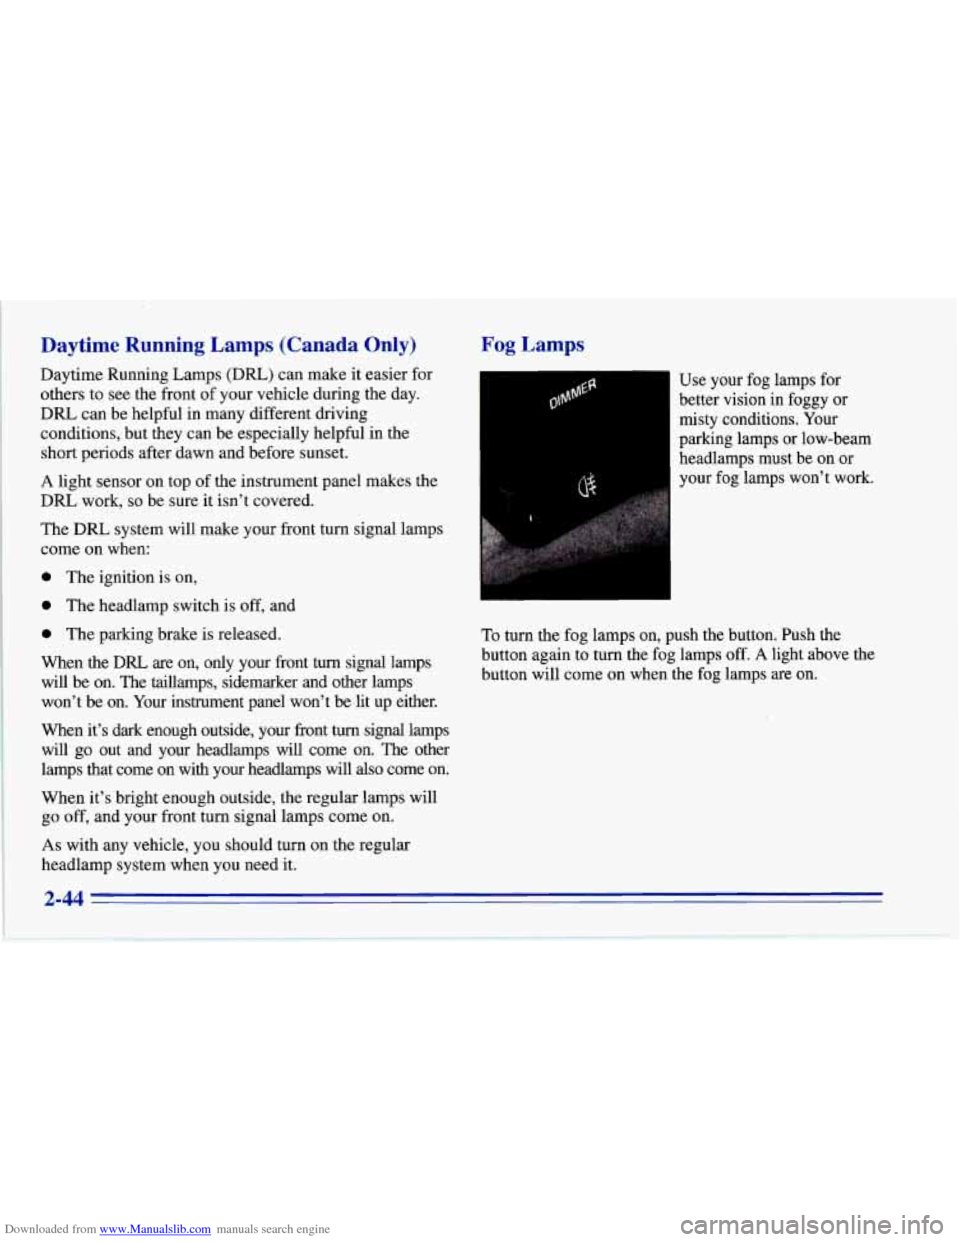
Fog Lamps
I-1 Use your fog lamps for
better vision in foggy or
misty conditions. Your
parking lamps or low-beam
headlamps must be on or
your fog lamps won’t work.
To turn the fog lamps on, push the button. Push the
button again to turn the fog lamps
off. A light above the
button will come on when the fog lamps are on.
2-44
Page 114 of 386
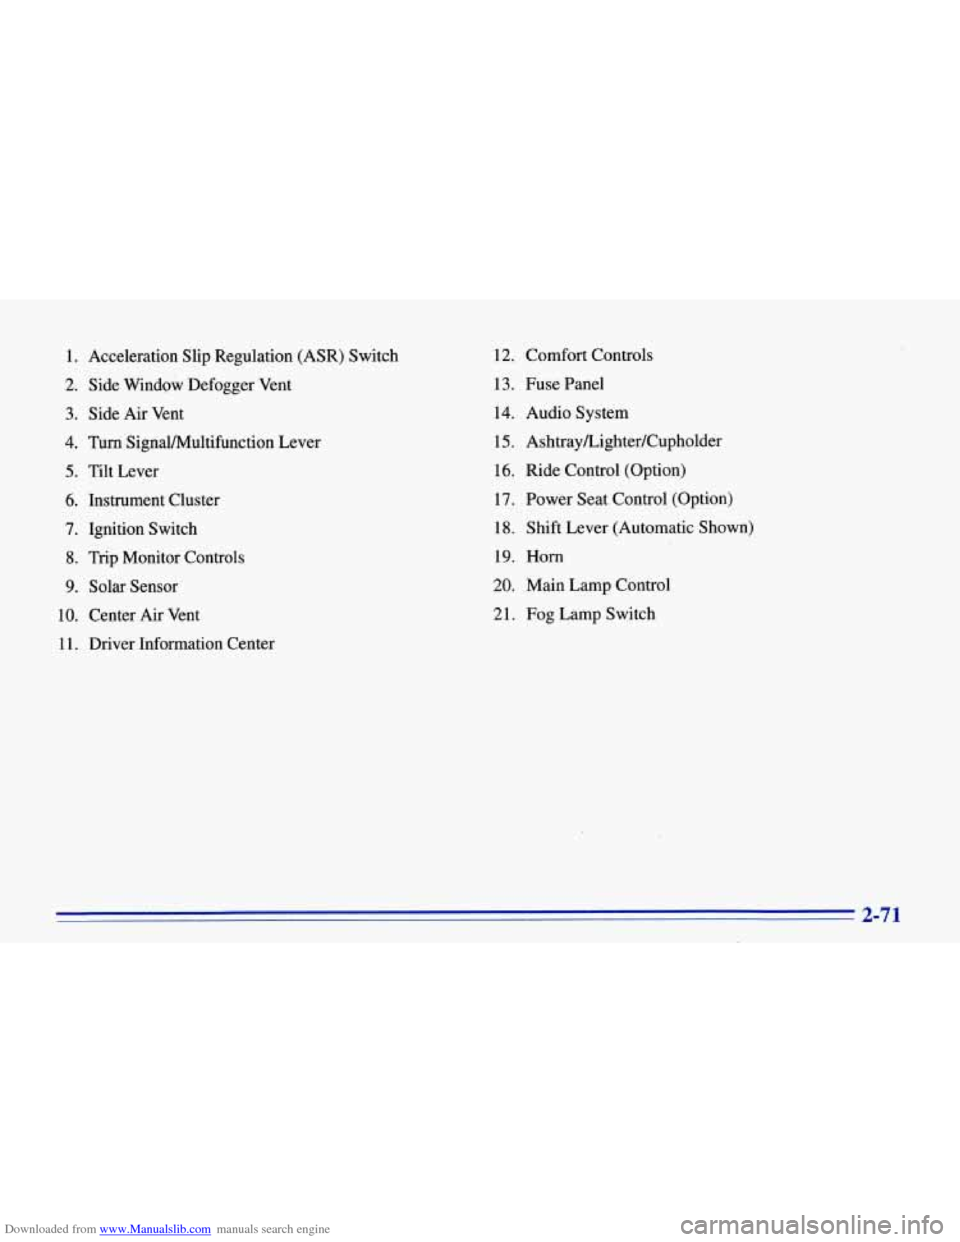
Downloaded from www.Manualslib.com manuals search engine 1. Acceleration Slip Regulation (ASR) Switch
2. Side Window Defogger Vent
3. Side Air Vent
4. Turn SignaVMultifunction Lever
5. Tilt Lever
6. Instrument Cluster
7. Ignition Switch
8. Trip Monitor Controls
9. Solar Sensor
10. Center Air Vent
1
1. Driver Information Center 12.
Comfort Controls
13. Fuse Panel
14. Audio System
15.
Ashtray/Lighter/Cupholder
16. Ride Control (Option)
17. Power Seat Control (Option)
18. Shift Lever (Automatic Shown)
19. Horn
20. Main Lamp Control
21. Fog Lamp Switch
2-71
Page 119 of 386
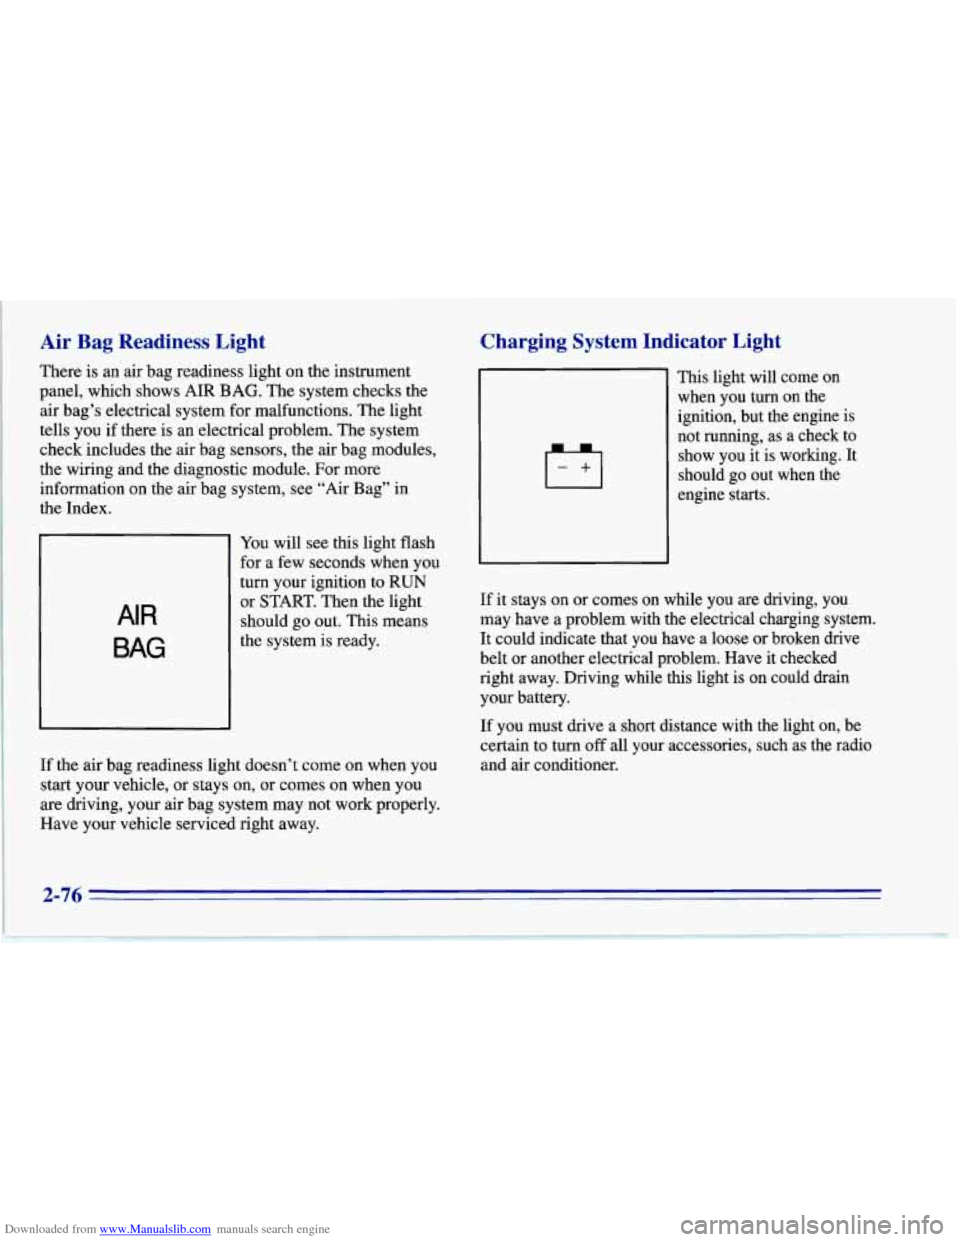
Downloaded from www.Manualslib.com manuals search engine Air Bag Readiness Light
There is an air bag readiness light on the instrument
panel, which shows AIR BAG. The system checks the
air bag’s electrical system for malfunctions. The light
tells you if there is an electrical problem. The system
check includes the air bag sensors, the air bag modules,
the wiring
and the diagnostic module. For more
information on the air bag system, see “Air Bag” in
the Index.
AIR
BAG
You will see this light flash
for a few seconds when you
turn your ignition to RUN
or START. Then the light
should go out. This means
the system is ready.
If the air bag readiness light doesn’t come on when you
start your vehicle, or stays on,
or comes on when you
are driving, your air bag system may not work properly.
Have your vehicle serviced right away.
Charging System Indicator Light
-+I
This light will come on
when you turn on the
ignition, but the engine is
not running, as a check to
show you it is working. It
should go out when the
engine starts.
If it stays on or comes on while you are driving, you
may have a problem with the electrical charging system.
It could indicate that you have a loose or broken drive
belt or another electrical problem. Have it checked
right away. Driving while this light is on could drain
your battery.
If you must drive a short distance with the light on, be
certain to turn
off all your accessories, such as the radio
and air conditioner.
2-76
Page 126 of 386
Downloaded from www.Manualslib.com manuals search engine Low Coolant Warning Light
LOW
COOLANT
This light comes on when
the coolant in the system is
~ low. You may need to add
~ coolant. See “Engine
~ Overheating” in the Index.
I NOTICE:
Driving with the LOW COOLANT light on
could cause your Corvette to overheat. See
“Engine Overheating” in the Index. Your
Corvette could be damaged and it wouldn’t be
covered by your warranty.
Low Tire Pressure Warning Light (Option)
The Low Tire Pressure Warning System (LTPWS) has a
sensor on each road wheel that transmits to a receiver on
the instrument panel.
The system operates
on a radio frequency subject to
Federal Communications Commission (FCC) Rules.
This device complies with Part
15 of the FCC Rules.
Operation is subject to the following two conditions:
(1) This device may not cause harmful interference,
and
(2) This device must accept any interference
received, including interference that may cause
undesired operation.
Changes or modifications to this system by other than an
authorized service facility could void authorization to
use this equipment.
LOW/FLAT
TI RE
The LTPWS monitors air
pressure in each road tire
while you’re driving your
Corvette. The LOWELAT
TIRE light will come on
whenever tire pressure in
any road tire goes below
25 psi (170 kPa), and it will
stay on until
you turn off
the ignition.
2-83
Page 127 of 386
Downloaded from www.Manualslib.com manuals search engine The light may come on if any LTPWS parts aren’t
working properly.
For LTPWS to work properly, you must drive your
Corvette faster than
25 mph (40 km/h) and for more
than
2 miles (4 km). The system will not warn you
before you begin to drive that a tire
is flat.
When the LOWELAT TIRE light comes on, check the
tire pressure in all four road tires as soon
as you can.
Adjust the tire pressure as needed to those shown on the
Tire-Loading Information label on the driver’s door. If
the light stays on after the tire pressure is adjusted, see
your dealer.
I
When the LOWELAT TIRE warning light is on,
your vehicle’s handling capabilities will be
reduced during severe maneuvers.
If you drive
too fast, you could lose control of your vehicle.
You or others could be injured. Don”t drive over
55 mph (90 km/h) when the LOWWLAT TIRE
warning light is on. Drive cautiously, and check
your tire pressures as soon
as you can.
NOTICE:
Driving with a flat tire may damage the tire, the
wheel or the tire pressure sensor installed inside
the tire
on the wheel rim. Using tire sealants may
also damage the sensor.
If you have EMTs, see “Extended Mobility Tires”
in the Index.
The LTPWS sensor is directly opposite the valve stem
on the tire. Take care when servicing or having your
tires serviced. The sensors may not work properly
if
damaged. To prevent damage to the sensors, see the
1996 Corvette Service Manual for correct tire mounting
and dismounting procedures.
The LOW/FLAT TIRE light may come on if your
vehicle
is close to another vehicle that has LTPWS and
has a tire with low pressure.
LTPWS can warn you about a low tire, but it does
not replace normal tire maintenance. See “Tires” in
the Index.
Page 128 of 386
Downloaded from www.Manualslib.com manuals search engine Service LTPWS Light (Option)
SERVICE
LTPWS
The SERVICE LTPWS light
comes on whenever a
LTPWS part is not working
properly. It may also come
on when you’re going less
than
25 mph (40 kmh) or in
stop-and-go traffic.
The light will go out when the electronic receiver gets a
signal from each sensor.
Check the system by turning the ignition on. The light
should come on and then go out. See your dealer
if the
light stays on or doesn’t come on. Here
are two situations that cause the SERVICE LTPWS
light to come on and stay on.
Both of these situations are
normal and do not indicate that anything is wrong with
your Corvette.
0 You turn the ignition on three times in a row within
half an hour without moving your Corvette. The light
will then come on every time you turn the ignition
on until you move your Corvette.
0 You run your Corvette three times within half an
hour while all four sensors are missing. (All the
sensors would be missing, for example, if you put
different wheels on your Corvette without
transferring the sensors.)
If
you would like to clear the SERVICE LTPWS light
from your Driver Information Center permanently, see
your dealer.
If the light comes on and stays on, even when the
vehicle is driven, there may be a problem with LTPWS.
See your dealer.
2-85
Page 146 of 386
Downloaded from www.Manualslib.com manuals search engine wJ HEATER: This setting directs all of the air
through the floor ducts.
DEFROST This setting directs most of the
air through the windshield defroster and side window
defogger vents and some
of the'air through the
floor ducts.
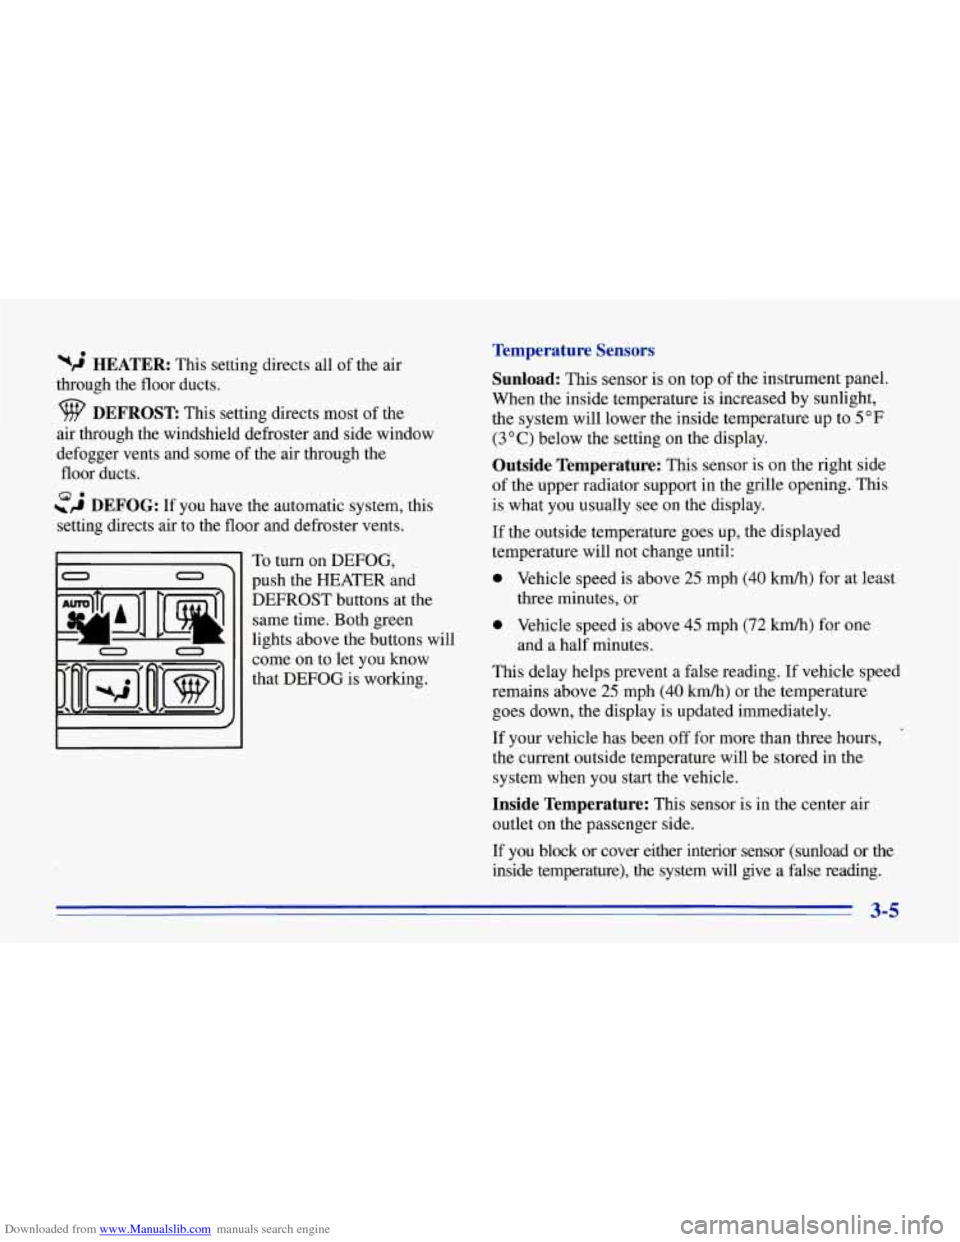
~,4 DEFOG: If you have the automatic system, this
setting directs air to the floor and defroster vents. 8.
To turn on DEFOG,
push the HEATER and
DEFROST buttons at the same time. Both green
lights above the buttons will
come on to let you know
that DEFOG is working.
Temperature Sensors
Sunload:
This sensor is on top of the instrument panel.
When the inside temperature is increased by sunlight,
the system will lower the inside temperature up to 5
OF
(3 O C) below the setting on the display.
Outside Temperature: This sensor is on the right side
of the upper radiator support in the grille opening. This
is what you usually see on the display.
If the outside temperature goes up, the displayed
temperature will not change until:
0 Vehicle speed is above 25 mph (40 km/h) for at least
0 Vehicle speed is above 45 mph (72 km/h) for one
This delay helps prevent a false reading. If vehicle speed
remains above 25 mph
(40 kmh) or the temperature
goes down, the display is updated immediately.
If your vehicle has been off for more than three hours,
the current outside temperature will be stored in the
system when you start the vehicle.
three minutes, or
and a half minutes.
Inside Temperature: This sensor is in the center air
outlet on the passenger side.
I€ you block or cover either interior sensor (sunload or the
inside temperature), the system will give a false reading.
3-5
Page 298 of 386
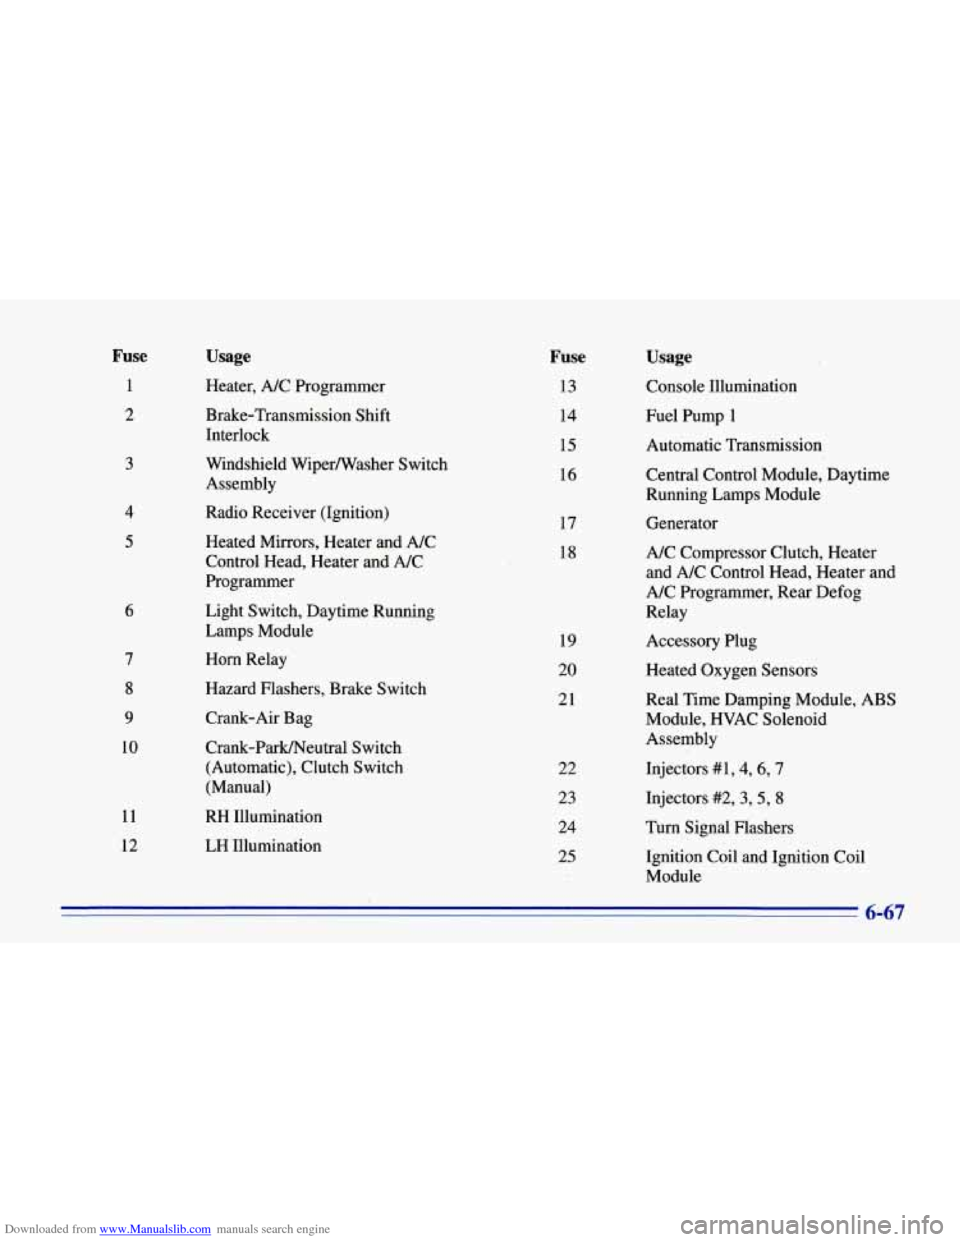
Downloaded from www.Manualslib.com manuals search engine Fuse
1
2
3
4
5
6
7
8
9
10
11
12
Usage
Heater, A/C Programmer
Brake-Transmission Shift
Interlock
Windshield WiperNasher Switch
Assembly
Radio Receiver (Ignition)
Heated Mirrors, Heater
and A/C
Control Head, Heater and A/C
Programmer
Light Switch, Daytime Running
Lamps Module
Horn Relay
Hazard Flashers, Brake Switch
Crank-Air Bag
Crank-Park/Neutral Switch
(Automatic), Clutch Switch
(Manual)
Usage
Console Illumination
Fuel Pump
1
Automatic Transmission
Central Control Module, Daytime
Running Lamps Module
Generator
A/C .Compressor Clutch, Heater
and A/C Control Head, Heater and
A/C Programmer, Rev Defog
Relay
Accessory Plug
Heated Oxygen Sensors
Real Time Damping Module, ABS
Module, HVAC Solenoid
Assembly
Injectors
#1,4,6,7
Injectors #2,3,5, 8
Turn Signal Flashers
Ignition Coil and Ignition Coil
Module
ti47
RH Illumination
LH Illumination
Fuse
13
14
15
16
17
18
19
20
21
22
23 24
25
Page 299 of 386
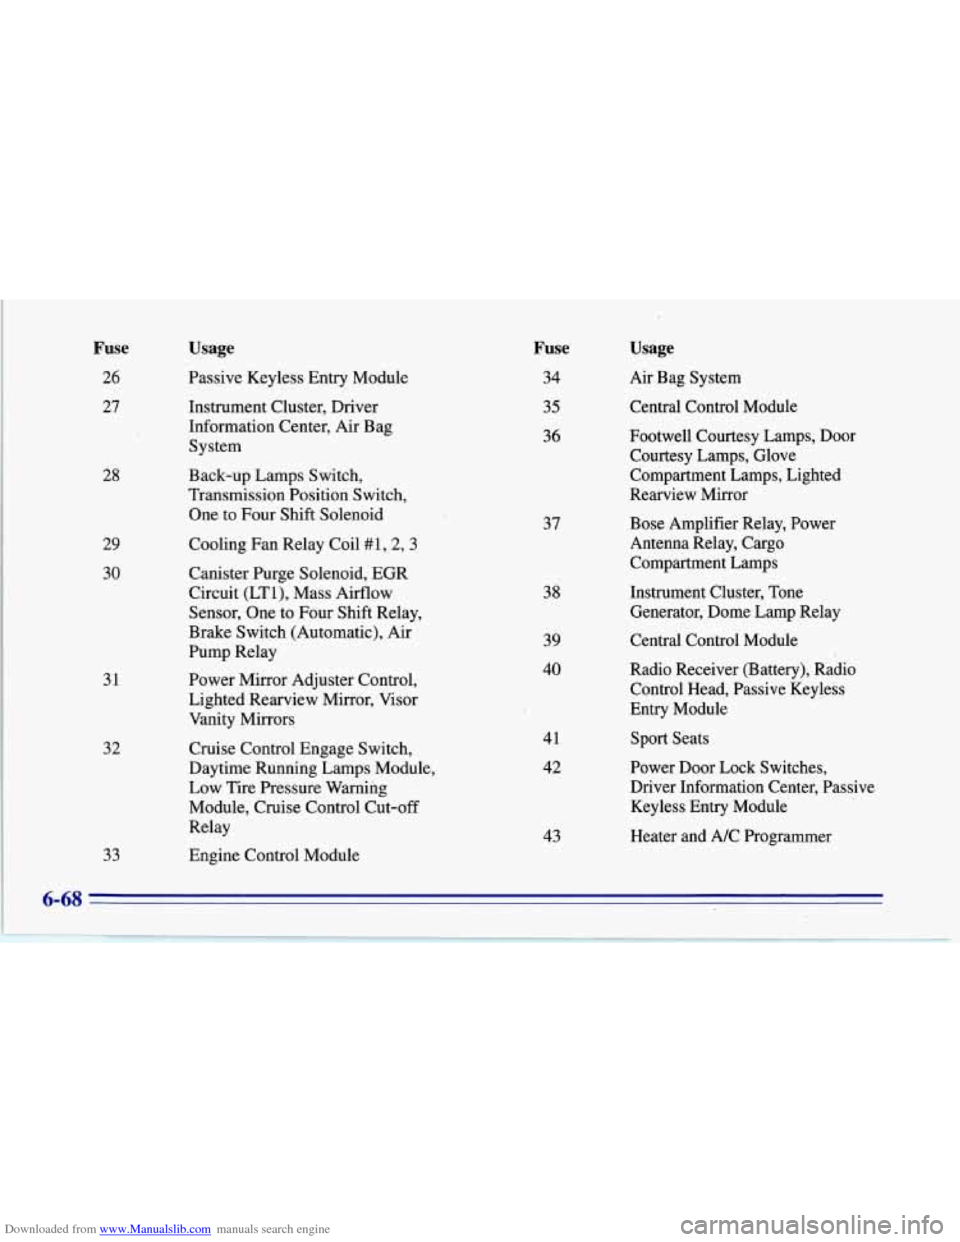
Downloaded from www.Manualslib.com manuals search engine Fuse
26 27
28
29
30
31
32
33
Usage
Passive Keyless Entry Module
Instrument Cluster, Driver
Information Center, Air Bag System
Back-up Lamps Switch,
Transmission Position Switch,
One to Four Shift Solenoid
Cooling Fan Relay Coil #1
, 2,3
Canister Purge Solenoid, EGR
Circuit (LTl), Mass Airflow
Sensor, One to Four Shift Relay,
Brake Switch (Automatic), Air
Pump Relay
Power Mirror Adjuster Control,
Lighted Rearview Mirror, Visor
Vanity Mirrors
Cruise Control Engage Switch,
Daytime Running Lamps Module,
Low Tire Pressure Warning
Module, Cruise Control Cut-off
Relay
Engine Control Module
Fuse
34
35
36
37
38
39
40
41 42
43
Usage
Air Bag System
Central Control Module
Footwell Courtesy Lamps, Door Courtesy Lamps, Glove
Compartment Lamps, Lighted
Rearview Mirror
Bose Amplifier Relay, Power
Antenna Relay, Cargo Compartment Lamps
Instrument Cluster, Tone
Generator, Dome Lamp Relay
Central Control Module
Radio Receiver (Battery), Radio
Control Head, Passive Keyless
Entry Module
Sport Seats
Power Door Lock Switches,
Driver Information Center, Passive Keyless Entry Module
Heater and A/C Programmer
6-68