CHEVROLET CORVETTE 1997 5.G Owners Manual
Manufacturer: CHEVROLET, Model Year: 1997, Model line: CORVETTE, Model: CHEVROLET CORVETTE 1997 5.GPages: 356, PDF Size: 18.43 MB
Page 101 of 356
Downloaded from www.Manualslib.com manuals search engine Interior Lamps
Instrument Panel Brightness Control
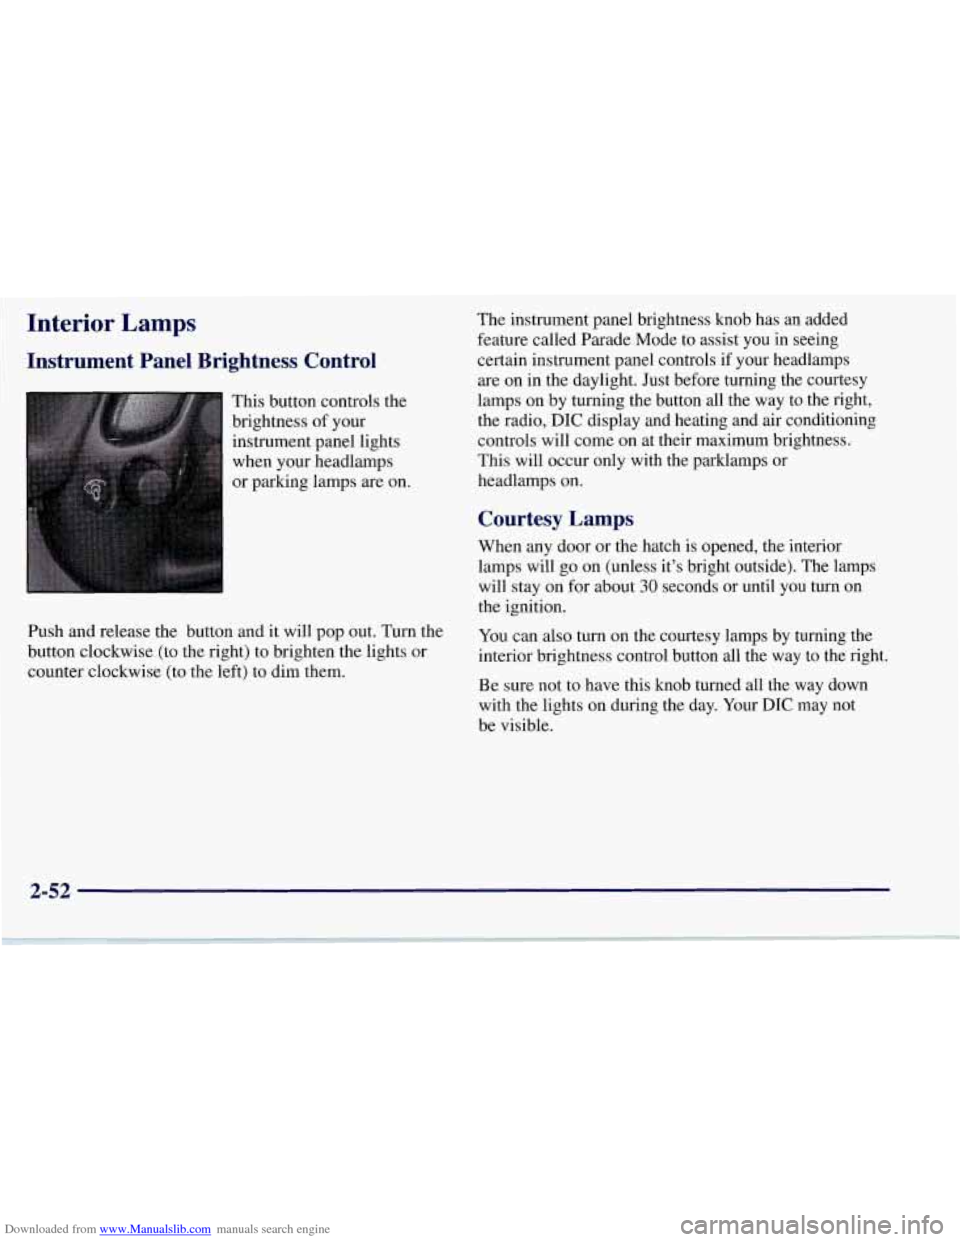
This button controls the
brightness of your
instrument panel lights
when your headlamps
or parking lamps are on.
Push and release the button and it will pop out. Turn the
button clockwise (to the right) to brighten the lights or
counter clockwise (to the left) to dim them. The
instrument panel brightness knob has an added
feature called Parade Mode to assist you in seeing
certain instrument panel controls if your headlamps
are on in the daylight. Just before turning the courtesy
lamps on by turning the button all the way to the right,
the radio,
DIC display and heating and air conditioning
controls will come on at their maximum brightness..
This will occur only with the parklamps or
headlamps on.
Courtesy Lamps
When any door or the hatch is opened, the interior
lamps will go on (unless it’s bright outside). The lamps
will stay on for about
30 seconds or until you turn on
the ignition.
You can also turn on the courtesy lamps by turning the
interior brightness control button all the way to the right.
Be sure not to have this knob turned all the way down
with the lights on during the day. Your
DIC may not
be visible.
2-52
Page 102 of 356
Downloaded from www.Manualslib.com manuals search engine Reading Lamps
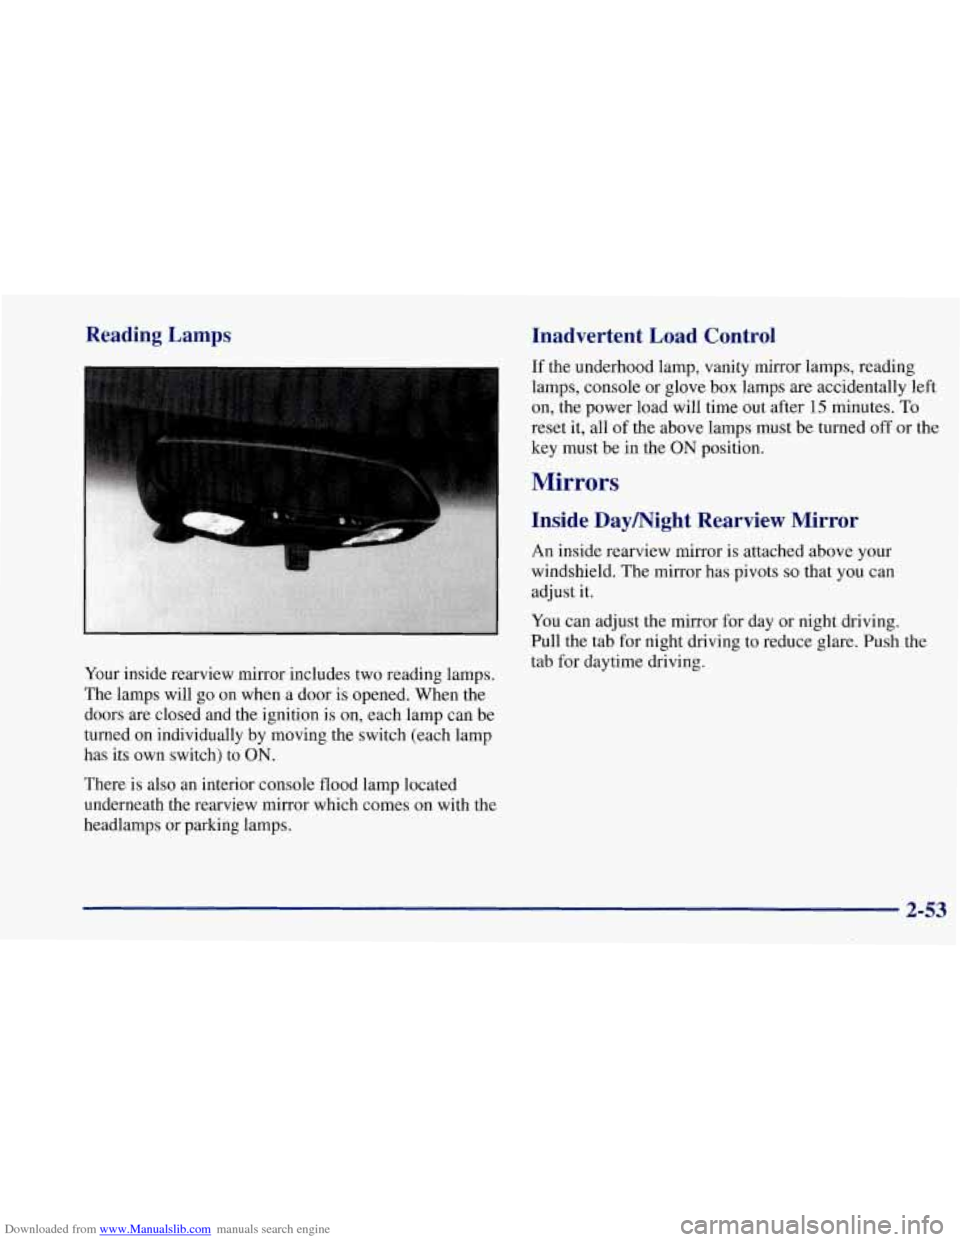
Your inside rearview mirror includes two reading lamps.
The lamps will go on when a door is opened. When the
doors are closed and the ignition is on, each lamp can be
turned on individually by moving the switch (each lamp
has its own switch) to ON.
There is also an interior console flood lamp located
underneath the rearview mirror which comes on with the
headlamps or parking lamps.
Inadvertent Load Control
If the underhood lamp, vanity mirror lamps, reading
lamps, console or glove box lamps are accidentally left
on, the power load will time out after 15 minutes. To
reset it, all of the above lamps must be turned off or the
key must be in the
ON position.
Mirrors
Inside Daymight Rearview Mirror
An inside rearview mirror is attached above your
windshield. The mirror has pivots
so that you can
adjust it.
You can adjust the mirror for day or night driving.
Pull the tab for night driving to reduce glare. Push the
tab for daytime driving.
2-53
Page 103 of 356
Downloaded from www.Manualslib.com manuals search engine Power Remote Control Mirrors
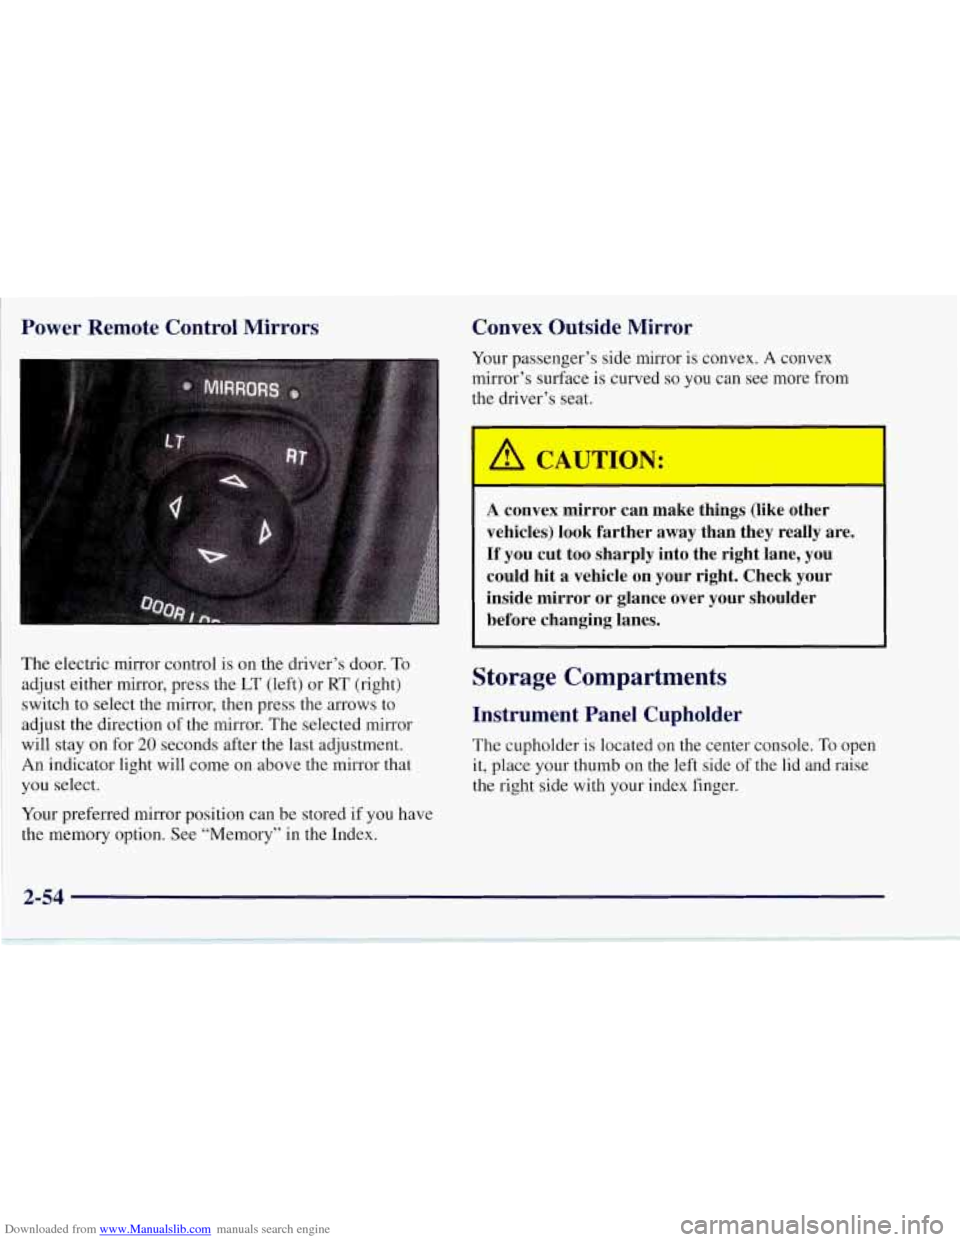
The electric mirror control is on the driver’s door. To
adjust either mirror, press the LT (left) or RT (right)
switch to select the mirror, then press the arrows to
adjust the direction of the mirror. The selected mirror
will stay
on for 20 seconds after the last adjustment.
An indicator light will come on above the mirror that
you select.
Your preferred mirror position can be stored if you have
the memory option. See “Memory” in the Index.
Convex Outside Mirror
Your passenger’s side mirror is convex. A convex
mirror’s surface is curved
so you can see more from
the driver’s seat.
A CAUTION:
I
A convex mirror can make things (like other
vehicles) look farther away than they really are. If you cut too sharply into the right lane, you
could hit a vehicle on your right. Check your
inside mirror or glance over your shoulder before changing lanes.
Storage Compartments
Instrument Panel Cupholder
The cupholder is located on the center console. To open
it, place your thumb
on the left side of the lid and raise
the right side with your index finger.
Page 104 of 356
Downloaded from www.Manualslib.com manuals search engine Center Console Security Shade (Option)
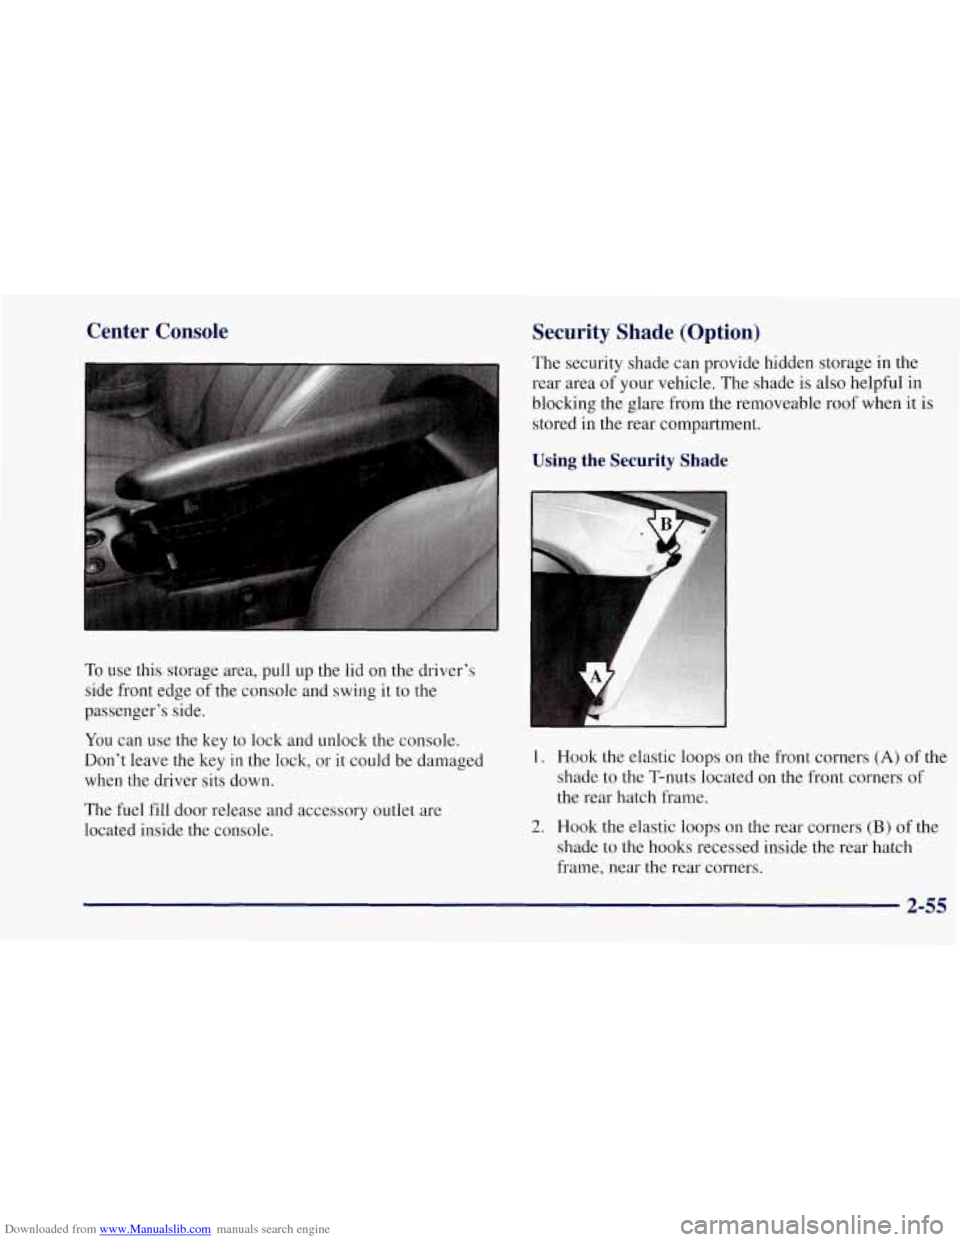
To use this storage area, pull up the lid on the driver’s
side front edge of the console and swing
it to the
passenger’s side.
You can use the key to lock and unlock the console.
Don’t leave the key
in the lock, or it could be damaged
when the driver sits down.
The fuel fill door release and accessory outlet are
located inside the console. The security shade can provide hidden
storage in the
rear area of your vehicle. The shade
is also helpful in
blocking the glare from the removeable roof when it is
stored
in the rear compartment.
Using the Security Shade
1.
2.
Hook the elastic loops on the front corners (A) of the
shade
to the T-nuts located on the front corners of
the rear hatch frame.
Hook the elastic loops on the rear corners
(B) of the
shade to the hooks recessed inside the rear hatch
frame, near the rear corners.
2-55
Page 105 of 356
Downloaded from www.Manualslib.com manuals search engine Rear Storage
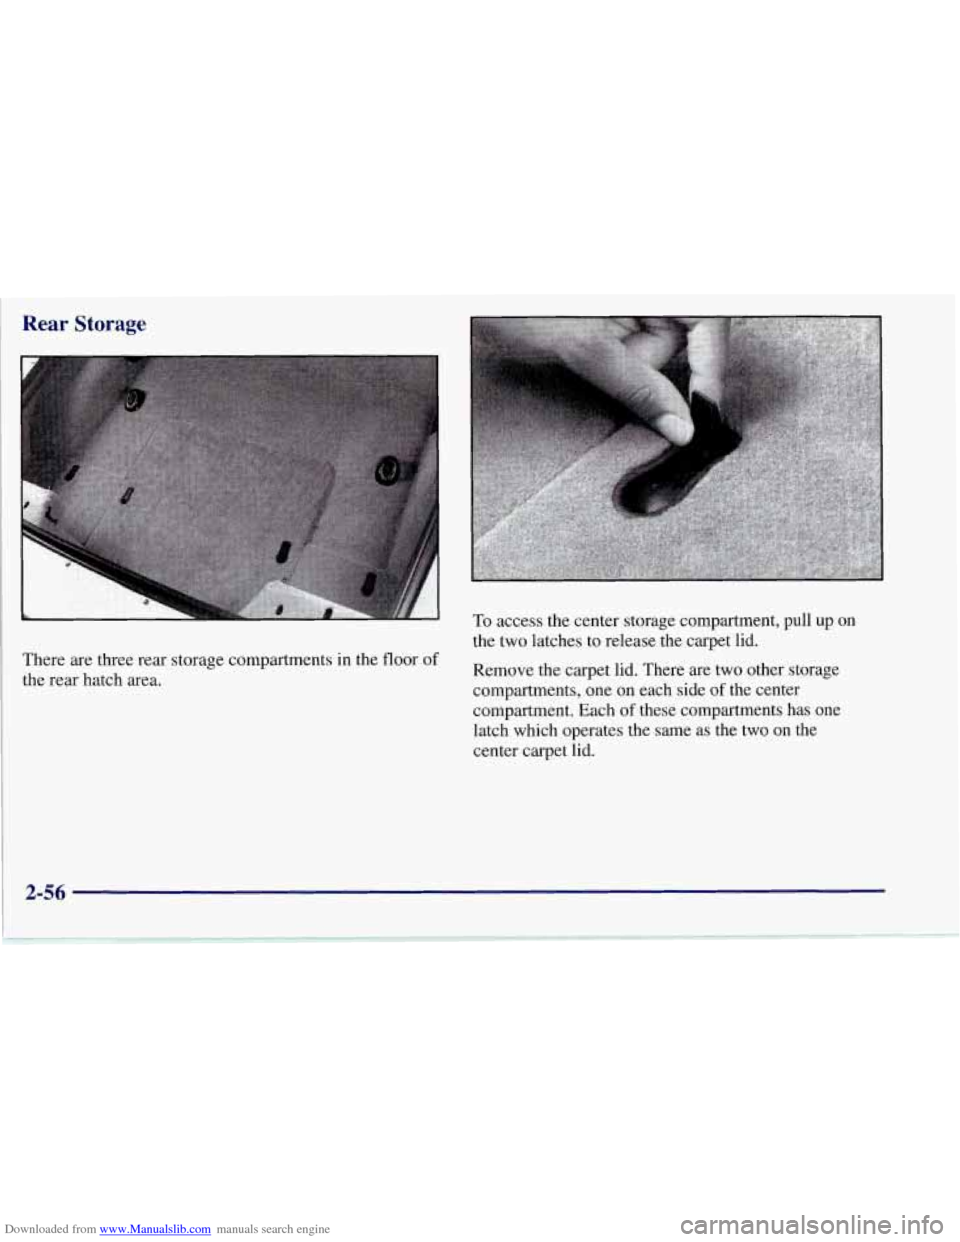
There are three rear storage compartments in the floor of
'i the rear hatch area. To
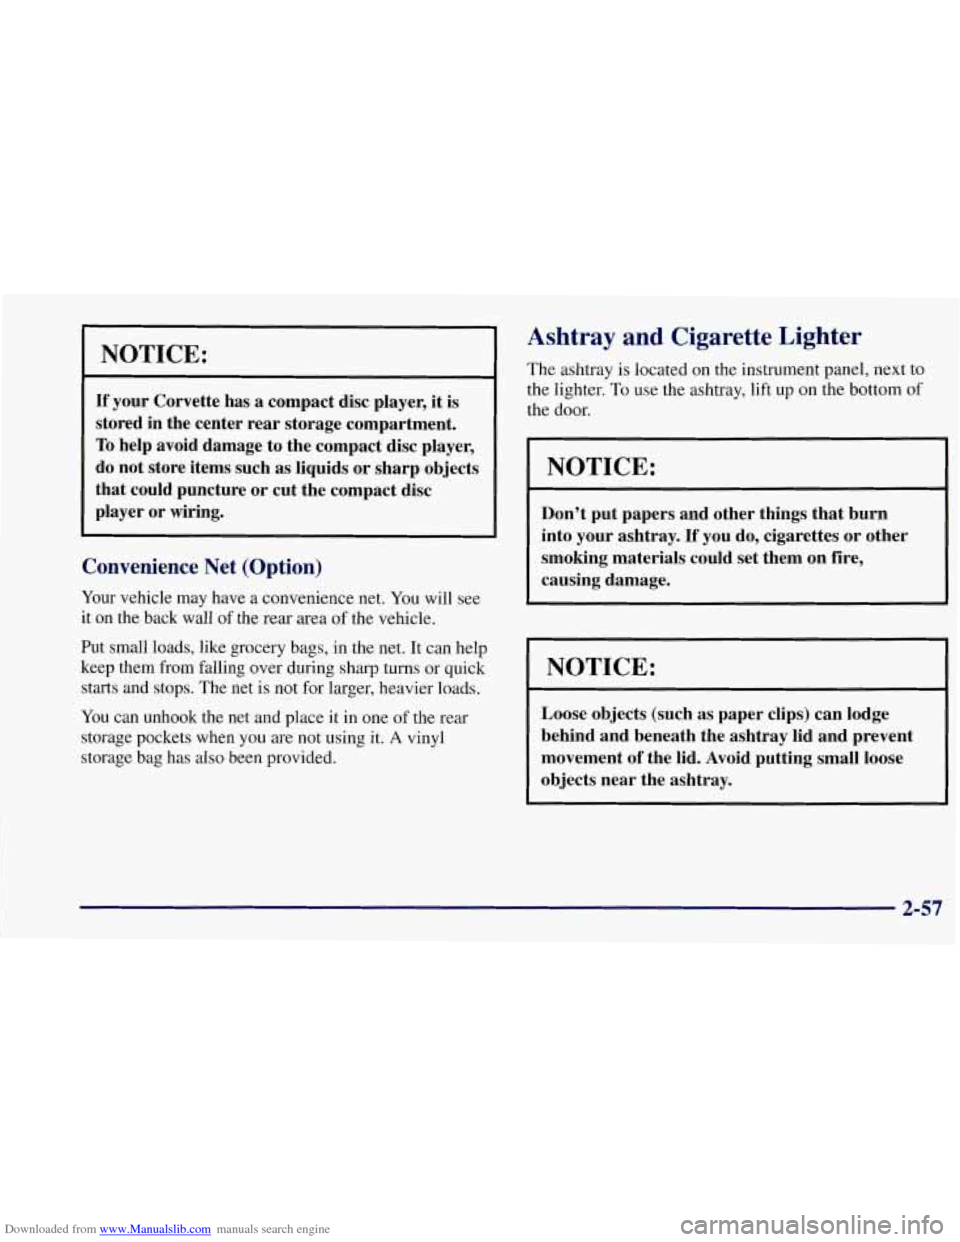
access the center storage compartment, pull
up on
the two latches to release the carpet lid.
Remove the carpet lid. There are two other storage
compartments, one on each side
of the center
compartment. Each
of these compartments has one
latch which operates the same as the two on the
center carpet
lid.
Page 106 of 356
Downloaded from www.Manualslib.com manuals search engine NOTICE:
If your Corvette has a compact disc player, it is
stored in the center rear storage compartment.
To help avoid damage to the compact disc player,
do not store items such as liquids or sharp objects
that could puncture or cut the compact disc
player or wiring.
Convenience Net (Option)
Your vehicle may have a convenience net. You will see
it on the back wall of the rear area
of the vehicle.
Put small loads, like grocery bags, in the net. It can help
keep them from falling over during sharp turns or quick
starts and stops. The net is not for larger, heavier loads.
You can unhook the net and place it in one
of the rear
storage pockets when
you are not using it. A vinyl
storage bag has also been provided.
Ashtray and Cigarette Lighter
The ashtray is located on the instrument panel, next to
the lighter.
To use the ashtray, lift up on the bottom of
the door.
NOTICE:
Don’t put papers and other things that burn
into your ashtray.
If you do, cigarettes or other
smoking materials could set them on fire,
causing damage.
I NOTICE: I
Loose objects (such as paper clips) can lodge
behind and beneath the ashtray lid and prevent
movement
of the lid. Avoid putting small loose
objects near the ashtray.
2-57
Page 107 of 356
Downloaded from www.Manualslib.com manuals search engine To use the lighter, push it in all the way and let go.
~ When it’s ready, it will pop back by itself.
NOTICE:
Don’t hold a cigarette lighter in with your hand
while it is heating.
If you do, it won’t be able to
back away from the heating element when it’s
ready. That can make it overheat, damaging the
lighter and the heating element.
Sun Visors
To block out glare, you can swing down the visors. You
can also swing them to the side.
Visor Vanity Mirror
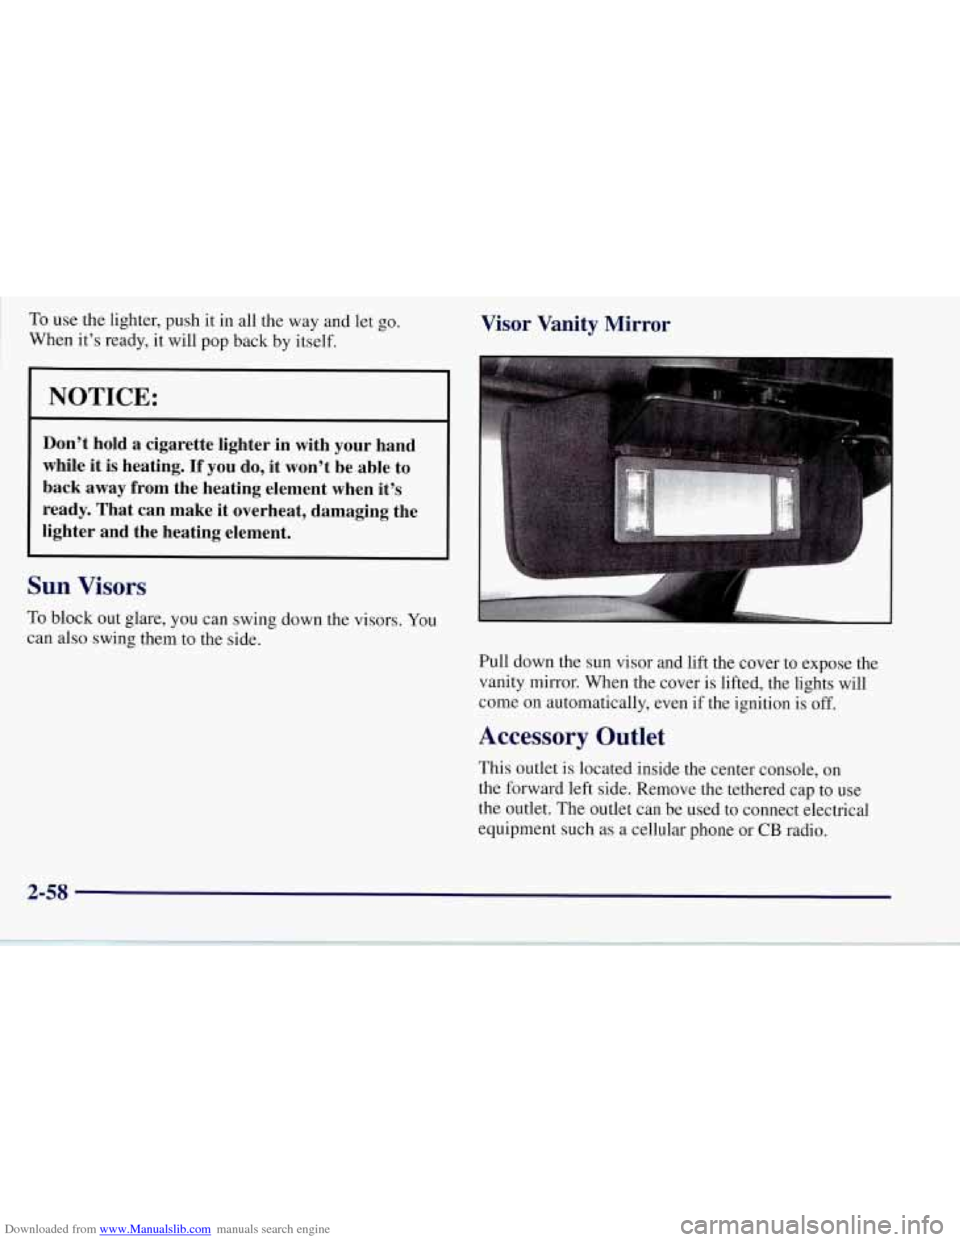
Pull down the sun visor and lift the cover to expose the
vanity
mirror. When the cover is lifted, the lights will
come on automatically, even if the ignition is
off.
Accessory Outlet
This outlet is located inside the center console, on
the forward left side. Remove the tethered cap to use
the outlet. The outlet can be used to connect electrical
equipment such as a cellular phone or
CB radio.
2-58
Page 108 of 356
Downloaded from www.Manualslib.com manuals search engine Be sure to follow the installation instructions included
with the equipment. Replace the cap when the outlet is
not in use.
NOTICE:
When using the accessory outlet:
The maximum load of any electrical
equipment should not exceed
15 amps.
Be sure to turn off any electrical equipment
when not in use. Leaving electrical
equipment on for extended periods can
drain your battery.
We recommend that you see a qualified technician or
your dealer for the proper installation of your equipment.
Floor Mats (Option)
Your vehicle’s floor mats are specially designed to
remain in position under your feet and out of reach
of the accelerator pedal. The driver’s side floor mat is
held in place by two locator hooks and the passenger
side is held in place by one.
Be sure that the driver’s side
floor mat is properly
placed
on the floor so that it does not block the
movement of the accelerator pedal.
2-59
Page 109 of 356
Downloaded from www.Manualslib.com manuals search engine How to Remove and Replace the Floor Mats Roof Panel
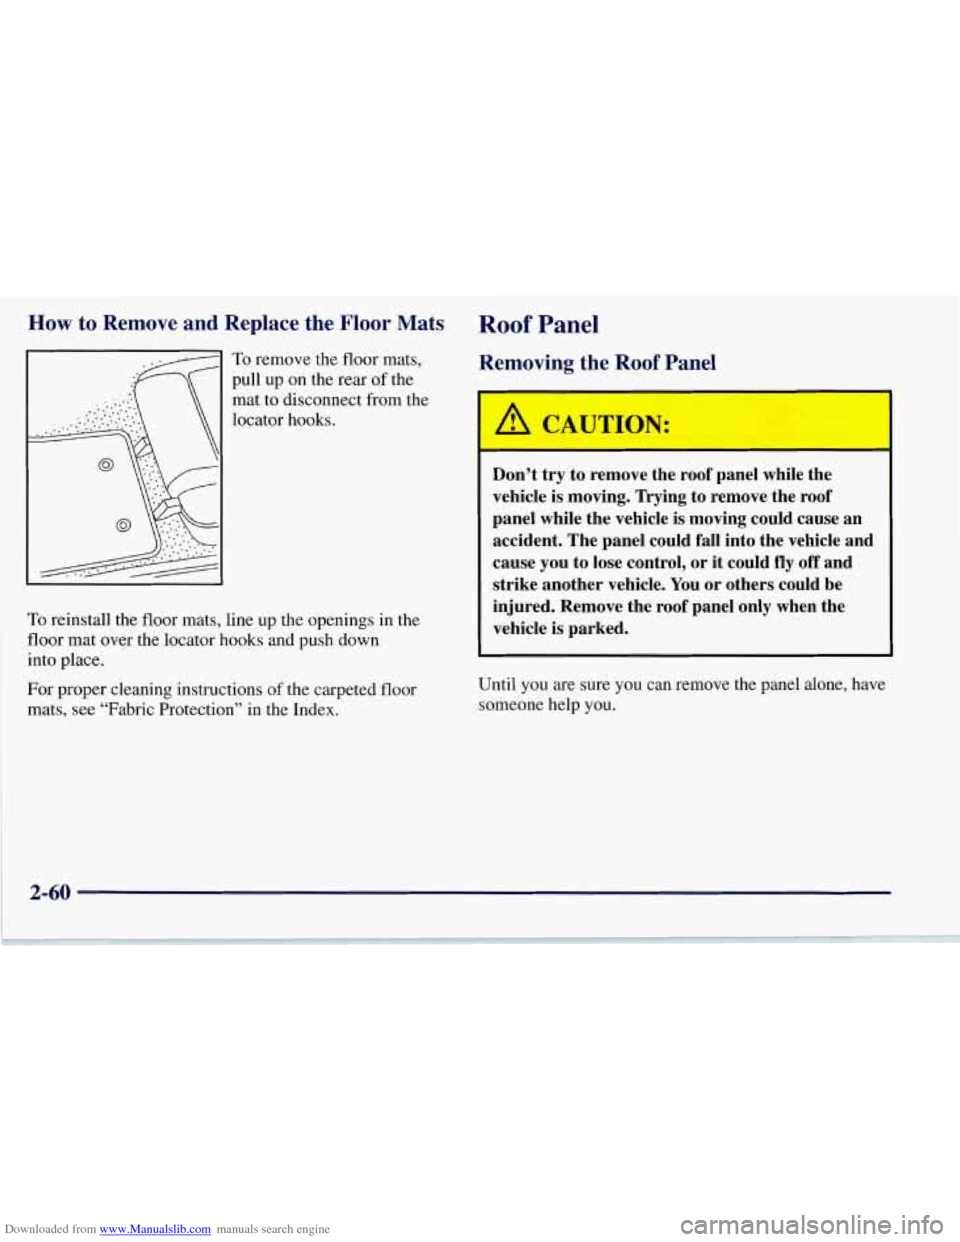
To remove the floor mats,
pull up on the rear
of the
mat to disconnect from the
locator hooks.
To reinstall the floor mats, line up the openings in the
floor mat over the locator hooks and push down
into place.
For proper cleaning instructions
of the carpeted floor
mats, see “Fabric Protection” in the Index.
Removing the Roof Panel
I
Don’t try to remove the roof panel while the
vehicle is moving. Trying to remove the roof
panel while the vehicle is moving could cause an
accident. The panel could fall into the vehicle and
cause you to lose control, or
it could fly off and
strike another vehicle.
You or others could be
injured. Remove the roof panel only when the
vehicle is parked.
Until you are sure you can remove the panel alone, have
someone help you.
Page 110 of 356
Downloaded from www.Manualslib.com manuals search engine I NOTICE:
~~~
To avoid damage to the roof panel, paint and
weatherstripping do not drop or rest it on
its edges.
Place the roof panel in the egg-shaped stowage receivers after removing it from the vehicle.
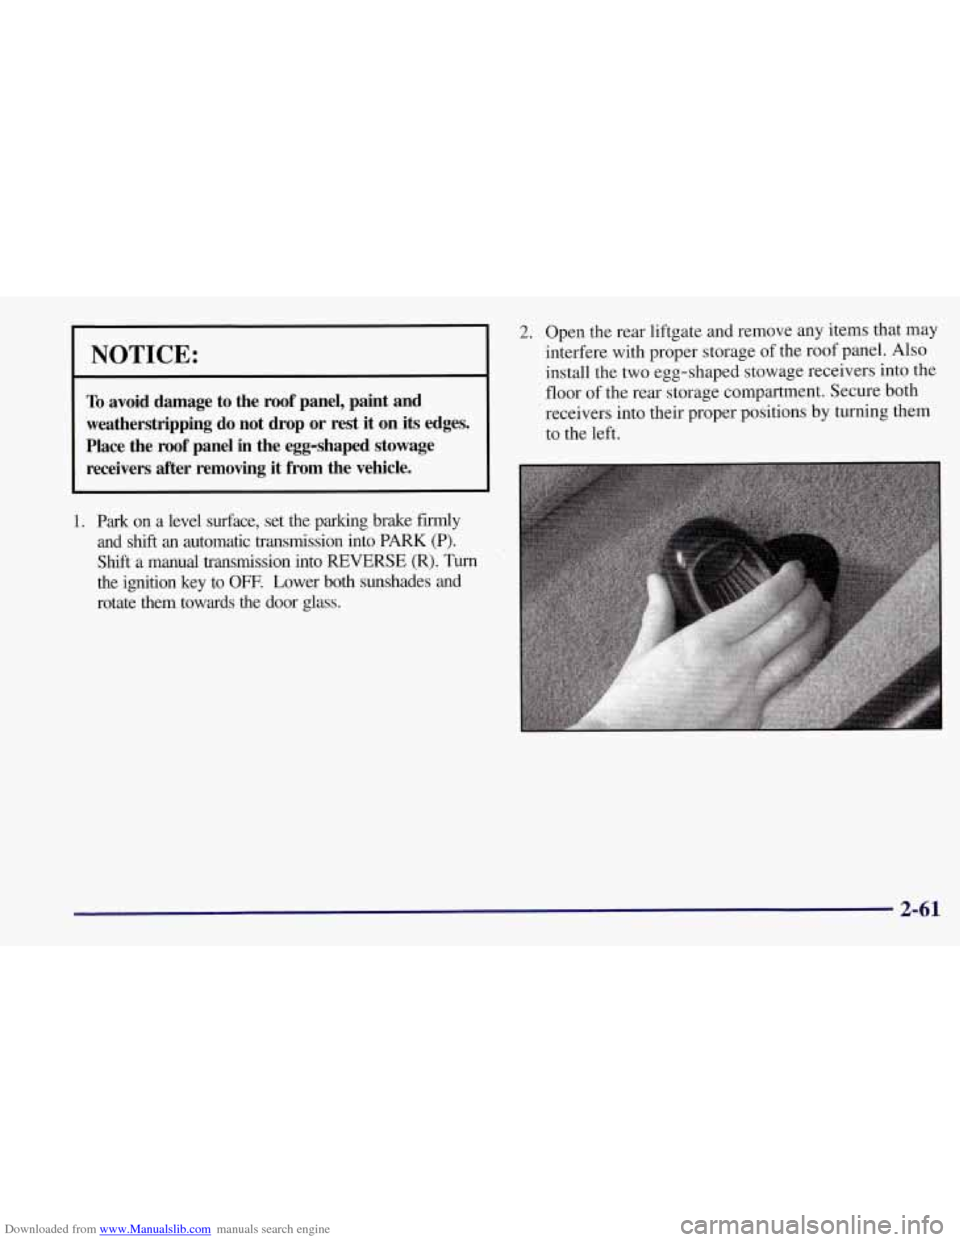
2. Open the rear liftgate and remove any items that may
interfere with proper storage of the roof panel. Also
install the two egg-shaped stowage receivers into the
floor
of the rear storage compartment. Secure both
receivers into their proper positions by turning them
to the left.
2-61