reset CHEVROLET CORVETTE 1998 5.G Owners Manual
[x] Cancel search | Manufacturer: CHEVROLET, Model Year: 1998, Model line: CORVETTE, Model: CHEVROLET CORVETTE 1998 5.GPages: 378, PDF Size: 19.91 MB
Page 58 of 378
Downloaded from www.Manualslib.com manuals search engine Power Door Locks
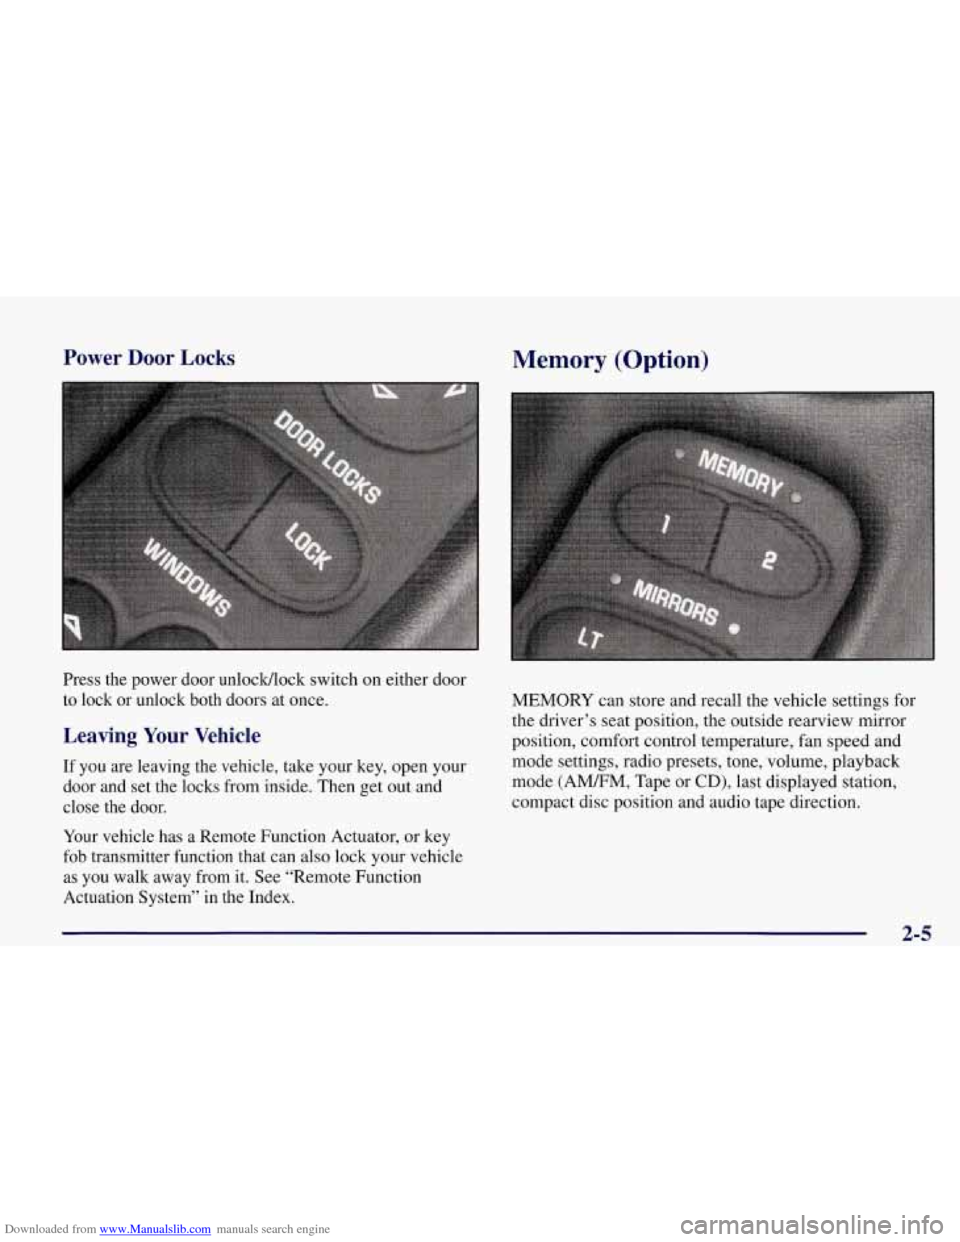
Press the power door unlocWlock switch on either door
to lock or unlock both doors at once.
Leaving Your Vehicle
If you are leaving the vehicle, take your key, open your
door and set the locks from inside. Then get out and
close the door.
Your vehicle has a Remote Function Actuator, or key
fob transmitter function that can also lock your vehicle
as you walk away from it. See “Remote Function
Actuation System’’ in
the Index.
Memory (Option)
MEMORY can store and recall the vehicle settings for
the driver’s seat position, the outside rearview mirror
position, comfort control temperature, fan speed and
mode settings, radio presets, tone, volume, playback
mode (AMEM, Tape or
CD), last displayed station,
compact disc position and audio tape direction.
2-5
Page 64 of 378
Downloaded from www.Manualslib.com manuals search engine Resynchronizing Your Transmitter
Your RFA system uses a continually changing code for
increased security. Normally, the receiver in your
vehicle will keep track of this changing code.
,If your
vehicle does not respond to your transmitter, do the
following to determine what’s wrong:
1. Get closer to the vehicle and try pressing a button
again. Your battery may be low (If
so, see “Battery
Replacement” in the Index).
2. While standing close to your vehicle, press the
LOCK and UNLOCK buttons on your transmitter at
the same time and hold
for seven seconds. This will
attempt to resynchronize
the security code in your
RFA key fob transmitter.
3. When resynchronization is achieved, the horn
will chirp.
Loss of synchronization will occur after transmitter
battery replacement or disconnection of the
vehicle’s battery.
If attempts to resynchronize your transmitter to the
vehicle are not successful, you may need
to match the
transmitter to the vehicle.
Matching Transmitter(s) To Your Vehicle
Each key fob transmitter is coded to prevent another
transmitter from unlocking your vehicle.
If a transmitter
is lost or stolen,
a replacement can be purchased through
your dealer. Remember to bring any remaining
transmitters with you when you go to your dealer. When
the dealer matches the replacement transmitter to your
vehicle, any remaining transmitters must also be
matched. Once your dealer has coded the new
transmitter, the lost transmitter will not unlock your
vehicle. Each vehicle can have only three transmitters
matched to it.
To match transmitters to your vehicle:
1. Turn the ignition key to the ON position.
2. Clear any warning messages on the Driver
Information Center (DIC) by pressing the
RESET button.
3. Press the OPTIONS button on the DIC several times
until the blank page is displayed, then press and hold
the RESET button for two seconds.
2-11
Page 65 of 378
Downloaded from www.Manualslib.com manuals search engine 4. When the message FOB TRAINING is displayed,
push the RESET button once. The message
HOLD
LK + UNLK 1ST FOB will be displayed.
5. Press and hold the LOCK and UNLOCK buttons on
the transmitter simultaneously for
15 seconds.
6. When a transmitter is learned, the DIC will display
FOB LEARNED and then prompt you to learn the
next transmitter.
7. Repeat Steps 5 and 6 for each additional transmitter.
8. Remove the key from the ignition.
The programming mode will shut
off if
0 You don’t program any transmitters for two minutes.
0 You take the key out of the ignition.
0 You have programmed three transmitters.
Battery Replacement
Under normal use, the battery in your key fob
transmitter should last about
18 months.
You can tell the battery is weak if the transmitter won’t
work at the normal range
in any location. If you have to
get close to your vehicle before the transmitter works,
it’s probably time to change the battery.
NOTICE:
When replacing the battery, use care not to touch
any of the circuitry. Static from your body
transferred to these surfaces may damage
the transmitter.
2-12
Page 99 of 378
Downloaded from www.Manualslib.com manuals search engine You can set the wiper speed for a long or short delay
between wipes. This can be very useful in light rain or
snow. Push the lever up to INT (intermittent), then turn
the band, located on the lever, to adjust the delay time.
Rotate the band up for a shorter delay, down for a longer
delay. The wiper speed can only be adjusted when the
lever is in the INT position, not in HI or
LO.
For steady wiping at low speed, move the lever up to the
LO position. For steady high-speed wiping, move the
lever up further, to HI. To stop the wipers, move the
lever down to
OFF.
Be sure to clear ice and snow from the wiper blades
before using them. If they’re frozen to the windshield,
carefully loosen or thaw them. If your blades do become
damaged, get new blades or blade inserts.
Heavy snow or ice can overload your wipers.
A circuit
breaker will stop them until the motor cools. Clear away
snow or ice to prevent an overload.
Windshield Washer
The lever on the right side of your steering column also
controls your windshield washer. There is a push button
at the end
of the lever. To spray washer fluid on the
windshield, push the button and hold it. The washer will
spray until you release the button. The wipers will
continue to clear the window for about six seconds after
the button is released and then stop or return to your
preset speed.
In freezing weather, don’t use your washer until
the windshield is warmed. Otherwise the washer
fluid can form ice
on the windshield, blocking
your vision.
If the fluid in the windshield washer fluid reservoir is
low, the message LOW WASHER FLUID will appear
on the Driver Information Center (DIC) display. It will
take
60 seconds after the bottle is refilled for this
message to turn off. For information on the correct
washer fluid mixture to use, see “Windshield Washer
Fluid” and “Recommended Fluids and Lubricants”
in
the Index.
Page 102 of 378
Downloaded from www.Manualslib.com manuals search engine Resuming a Set Speed
Suppose you set your cruise control at a desired speed
and then you apply the brake or clutch pedal. This, of
course, disengages the cruise control. But you don’t
need to reset it.
Once you’re going about
25 mph (40 km/h) or more,
you can move the cruise control switch to
R/A
(Resume/Accelerate) for about half a second. The
Driver Information Center (DIC) will display the cruise set speed.
You’ll go right back up to your chosen speed and
stay there.
Increasing Speed While Using Cruise Control
There are two ways to go to a higher speed:
1. Use the accelerator pedal to get to the higher speed.
The speed
will not begin to increase until sufficient
pedal travel is achieved. Push the button at the end
of
the lever, then release the button and the accelerator
pedal. You’ll now cruise at the higher speed.
The Driver Information Center (DIC) will display
the cruise set speed.
2. Move the cruise switch to R/A. Hold it there until
you get up to the speed you want, then release the
switch. To increase your speed in very small
amounts, move the switch to
R/A for less than half a
second, then release it. Each time you do this, your
vehicle will go about
1 mph (1.6 km/h) faster.
The DIC will display the cruise set speed.
Reducing Speed While Using Cruise Control
There are two ways to reduce your speed while using
cruise control:
Push in the button at the end of the lever until you
reach the lower speed you want, then release it.
The Driver Information Center (DIC) will display
the cruise set speed.
button for less than half a second. Each time you do
this, you’ll go
1 mph (1.6 km/h) slower.
The DIC will display the cruise set speed.
To slow down in very small amounts, push the
2-49
Page 106 of 378
Downloaded from www.Manualslib.com manuals search engine Reading Lamps
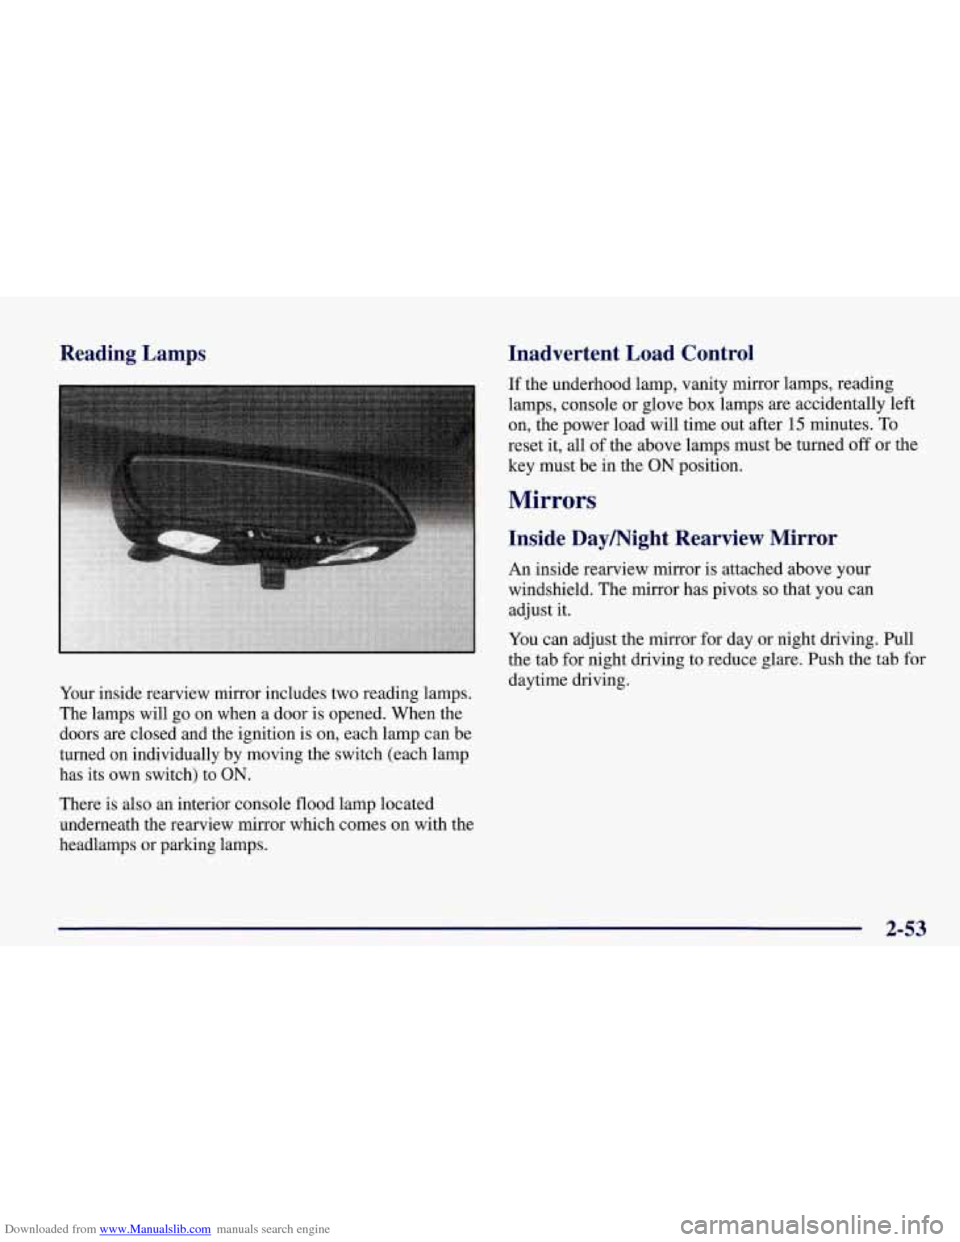
Your inside rearview mirror includes two reading lamps.
The lamps will go on when a door is opened. When the
doors are closed and the ignition is on, each lamp can be
turned on individually by moving the switch (each lamp
has its own switch) to
ON.
There is also an interior console flood lamp located
underneath the rearview mirror which comes on with the
headlamps or parking lamps.
Inadvertent Load Control
If the underhood lamp, vanity mirror lamps, reading
lamps, console or glove box lamps
are accidentally left
on, the power load will time out after
15 minutes. To
reset it, all of the above lamps must be turned off or the
key must be in the
ON position.
Mirrors
Inside Daymight Rearview Mirror
An inside rearview mirror is attached above your
windshield. The mirror has pivots
so that you can
adjust it.
You can adjust the mirror for day.or night driving. Pull
the tab for night driving to reduce glare. Push the tab for
daytime driving.
2-53
Page 133 of 378
Downloaded from www.Manualslib.com manuals search engine If the light comes on while you are driving and you have Anti-Lock Brake System Warning Light
a LOW -BRAKE FLUID message showing on the DIC,
pull
off the road and stop carefully. You may notice that
engine and may stay on for
on, have the vehicle towed for service. (See “Towing on
when you
start your
to the
floor. It may take longer to stop. If the light is still system,
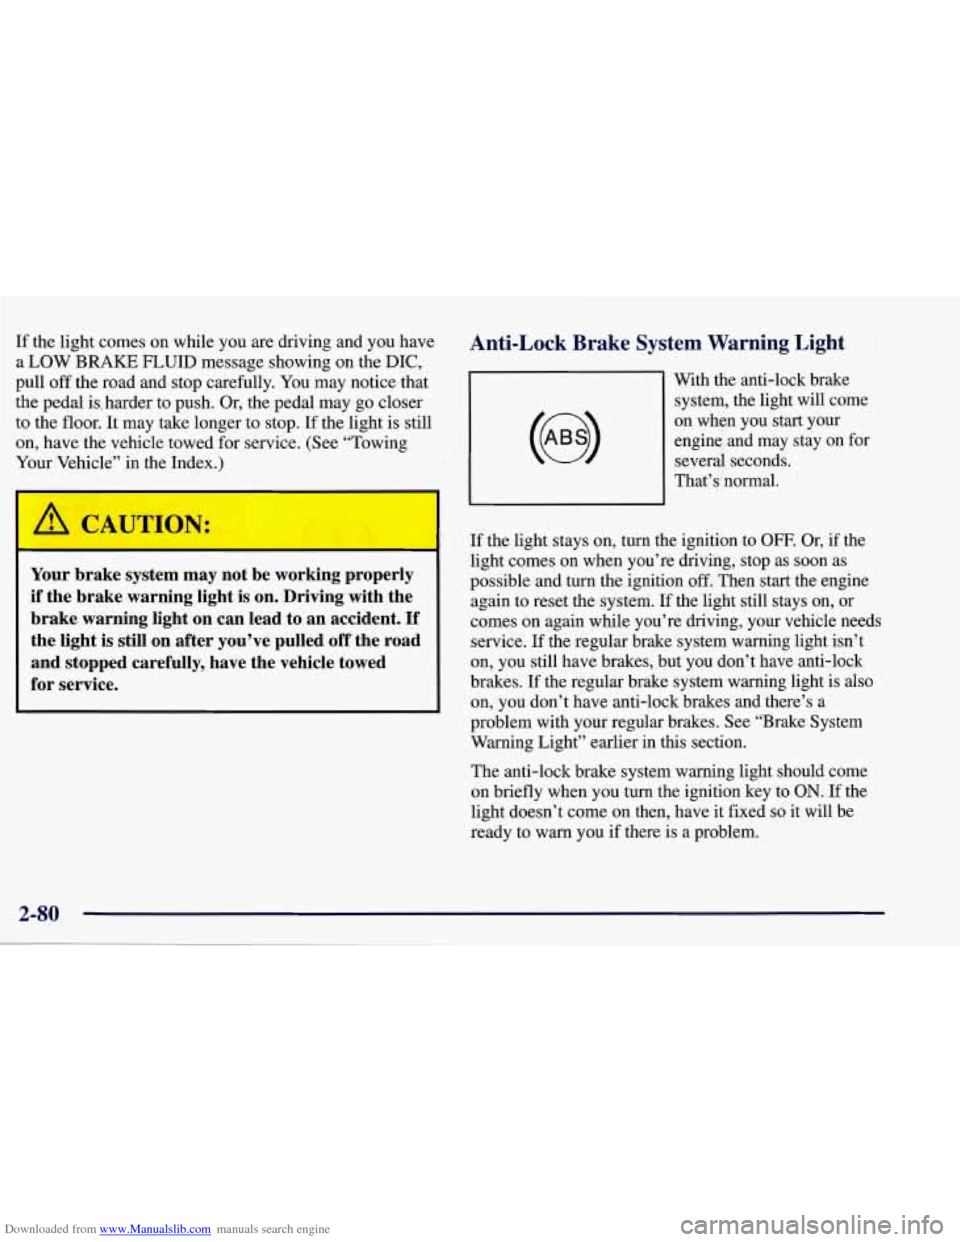
the light will come
the pedal is, harder to push. Or, the pedal may
go closer With
the anti-lock brake
several seconds.
Your Vel le” in the Index.)
w v v
That’s’normal.
Your brake system may not be working properly
if the brake warning light is on. Driving with the
brake warning light on can lead to an accident.
If
the light is still on after you’ve pulled off the road
and stopped carefully, have the vehicle towed
for service.
If the light stays on, turn the ignition to OFF. Or, if the
light comes on when you’re driving, stop as soon as
possible and turn the ignition
off. Then start the engine
again to reset the system.
If the light still stays on, or
comes
on again while you’re driving, your vehicle needs
service. If the regular brake system warning light isn’t
on, you still have brakes, but you don’t have anti-lock
brakes. If the regular brake system warning light
is also
on, you don’t have anti-lock brakes and there’s a
problem with your regular brakes. See “Brake System
Warning Light” earlier in this section.
The anti-lock brake system warning light should come
on briefly when you turn the ignition key to
ON. If the
light doesn’t come on then, have it fixed so it will be
ready to warn you if there is a problem.
Page 139 of 378
Downloaded from www.Manualslib.com manuals search engine Fuel Gage
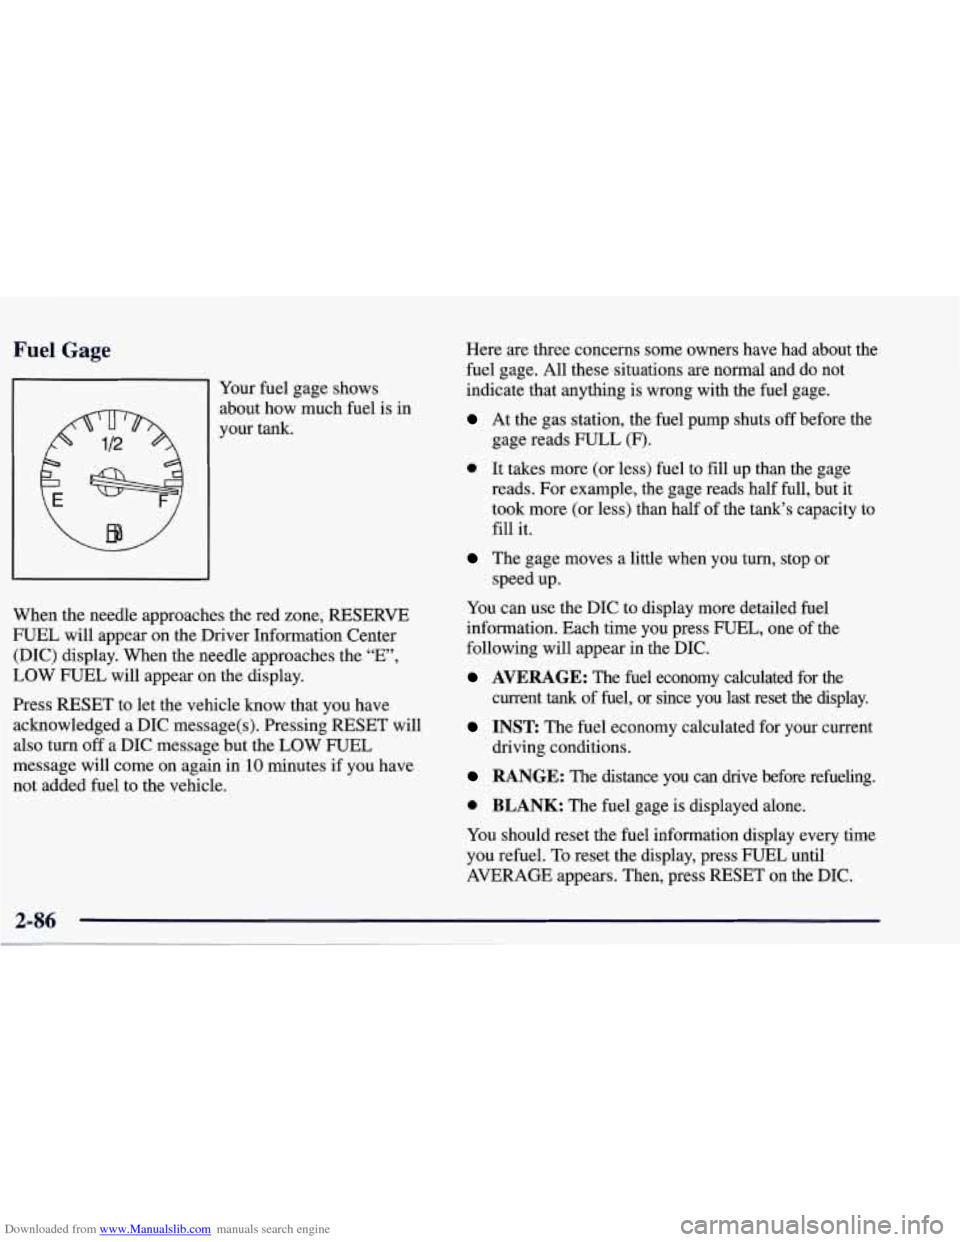
81 Your fuel gage shows
about how-much fuel is in
your tank.
,e red zon When the needle approaches th
e, RESERVE
FUEL will appear
on the Driver Information Center
(DIC) display. When the needle approaches the “E”,
LOW FUEL will appear on the display.
Press RESET to let the vehicle know that you have
acknowledged a DIC message(s). Pressing RESET will
also turn
off a DIC message but the LOW FUEL
message will come on again in’lO minutes if you have
not added fuel to the vehicle. Here are three concerns
some owners have had about the
fuel gage. All these situations are normal and do not
indicate that anything is wrong with the fuel gage.
At the gas station, the fuel pump shuts off before the
gage reads FULL (F).
0 It takes more (or less) fuel to fill up than the gage
reads. For example, the gage reads half full, but it
took more (or less) than half of the tank’s capacity to
fill it.
The gage moves a little when you turn, stop or
speed up.
You can use the DIC to display more detailed fuel
information. Each time you press FUEL, one of the
following will appear
in the DIC.
AVERAGE: The fuel economy calculated for the
current
tank of fuel, or since you last reset the display.
INST The fuel economy calculated for your current
driving conditions.
RANGE: The distance you can drive before refueling.
0 BLANK: The fuel gage is displayed alone.
You should reset the fuel information display every time
you refuel.
To reset the display, press FUEL until
AVERAGE appears. Then, press RESET on the DIC.
2-86
Page 140 of 378
Downloaded from www.Manualslib.com manuals search engine Driver Information Center (DIC)
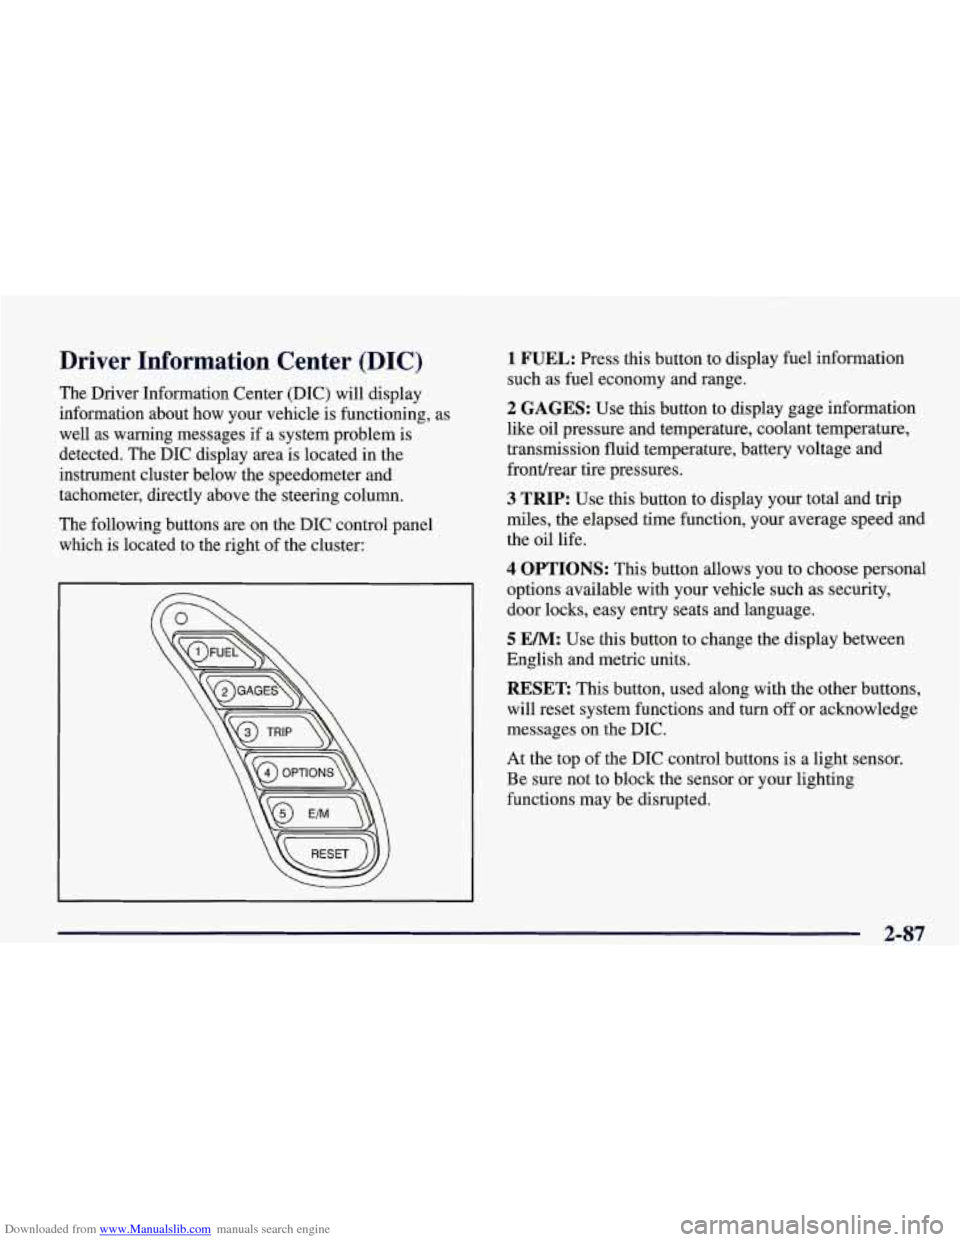
The Driver Information Center (DIC) will display
information about how your vehicle is functioning, as
well as warning messages if a system problem is
detected. The DIC display area is located in the
instrument cluster below the speedometer and
tachometer, directly above the steering column.
The following buttons are on the DIC control panel which is located to the right of the cluster:
1 FUEL: Press this button to display fuel information
such as fuel economy and range.
2 GAGES: Use this button to display gage information
like oil pressure and temperature, coolant temperature,
transmission fluid temperature, battery voltage and
fronthear tire pressures.
3 TRIP: Use this button to display your total and trip
miles, the elapsed time function, your average speed and
the oil life.
4 OPTIONS: This button allows you to choose personal
options available with your vehicle such as security,
door locks, easy entry seats and language.
5 EM: Use this button to change the display between
English and metric units.
RESET: This button, used along with the other buttons,
will reset system functions and turn
off or acknowledge
messages on the DIC.
At the top of the DIC control buttons is a light sensor.
Be sure not to block the sensor or your lighting
functions may be disrupted.
2-87
Page 141 of 378
Downloaded from www.Manualslib.com manuals search engine DIC Controls and Displays
Turn on the system by turning the ignition to ON. When
you turn on the ignition, the DIC will be in the mode last
displayed when the engine was turned
off. Each DIC
button allows you to scroll through a menu. A blank
page ends each menu.
If a problem is detected, a diagnostic message will
appear on the display. Press RESET to acknowledge any
current warning or service messages. The following
pages will show the messages you can see on the DIC
display by pressing the DIC buttons.
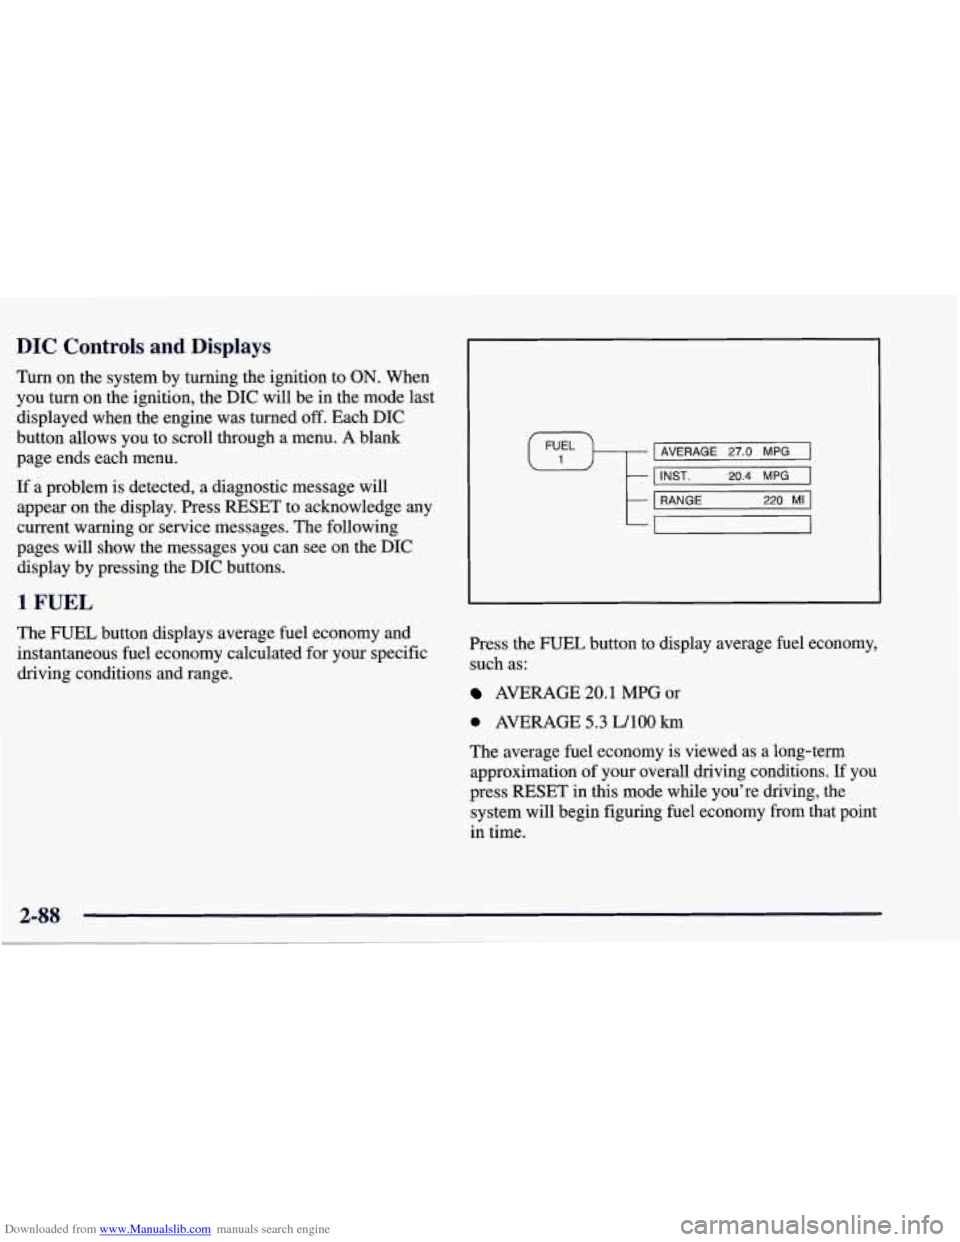
1 FUEL
The FUEL button displays average fuel economy and
instantaneous fuel economy calculated for your specific
driving conditions and range.
I AVERAGE 27.0 MPG
INST. 20.4 MPG
RANGE
220 MI
=
Press the FUEL button to display average fuel economy,
such as:
AVERAGE 20.1 MPG or
0 AVERAGE 5.3 WlOO km
The average fuel economy is viewed as a long-term
approximation of your overall driving conditions. If you
press RESET in this mode while you’re driving, the
system will begin figuring fuel economy from that point
in time.