seats CHEVROLET CORVETTE 1998 5.G Owners Manual
[x] Cancel search | Manufacturer: CHEVROLET, Model Year: 1998, Model line: CORVETTE, Model: CHEVROLET CORVETTE 1998 5.GPages: 378, PDF Size: 19.91 MB
Page 6 of 378
Downloaded from www.Manualslib.com manuals search engine The 1998 Chevrolet Corvette Owner’s Manual
1-1
2-1
3-1
4-1
5-1
6-1
7- 1
8- 1
9-1
Seats and Restraint Systems
This section tells you how to use your seats and safety belts properly. It also explains the air bag system.
Features and Controls
This section explains how to start and operate your vehicle.
Comfort Controls and Audio Systems
This section tells you how to adjust the ventilation and comfort controls and how to operate your audio system.
Your Driving and the Road
Here you’ll find helpful information and tips about the road and how to drive under different conditions.
Problems on the Road
This section tells what to do if you have a problem while driving, such as a flat tire or overheated engine, etc.
Service and Appearance Care
Here the manual tells you how to keep your vehicle running properly and looking good.
Maintenance Schedule
This section tells you when to perform vehicle maintenance and what fluids and lubricants to use.
Customer Assistance Information
This section tells you how to contact Chevrolet for assistance and how to get service and owner publications.
It also gives you information on “Reporting Safety Defects” on page
8-10.
Index
Here’s an alphabetical listing of almost every subject in this manual. You can use it to quickly find
something you want to read.
i
Page 16 of 378
Downloaded from www.Manualslib.com manuals search engine Section 1 Seats and Restraint Systems
Here you’ll find information about the seats in your Corvette and how to use your safety belts properly. You can also
learn about some things you should not do with air bags and safety belts.
1-2 Seats and Seat Controls
1- 18 Air Bag System
1-5 Safety Belts: They’re for Everyone
1-25 Children
1
- 10 Here Are Questions Many People Ask About
Safety Belts
-- and the Answers 1-27 Child Restraints
After a Crash
1
- 18 Passenger Position 1-38
Replacing Restraint System Parts
1-17 Safety Belt Use During Pregnancy 1-37
Safety Belt Extender
1 - 11 How to Wear Safety Belts Properly 1-34 Larger
Children
1-11 Driver Position 1-37 Checking
Your Restraint Systems
1-1
Page 17 of 378
Downloaded from www.Manualslib.com manuals search engine Seats and Seat Controls Power Seat
This part tells you about the seats -- how to adjust them,
and also about reclining seatbacks and seatback latches.
Manual Front Seat (Option, Passenger Only)
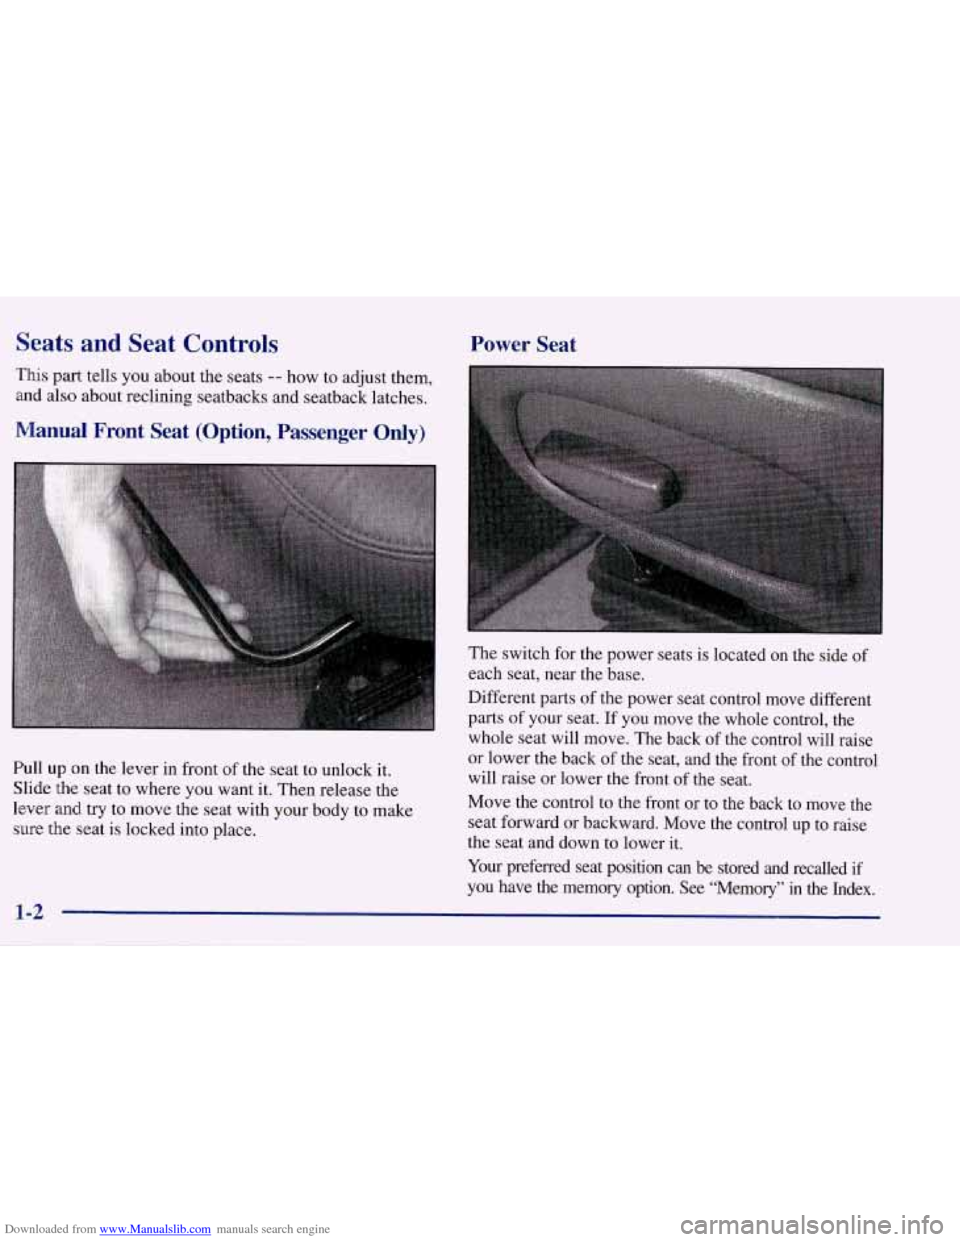
Pull up on the lever in front of the seat to unlock it.
Slide the seat to where you want it. Then release the
lever and
try to move the seat with your body to make
sure the seat
is locked into place.
1-2
The switch for the power seats is located on the side of
each seat, near the base.
Different parts of the power seat control move different
parts
of your seat. If you move the whole control, the
whole seat will move. The back
of the control will raise
or lower the back
of the seat, and the front of the control
will raise or lower the front of the seat.
Move the control to the front or to the back to move the
seat forward or backward. Move the control up to raise
the seat and down to lower it.
Your preferred seat position can be stored and recalled if
you have the memory option.
See “Memory” in the Index.
Page 21 of 378
Downloaded from www.Manualslib.com manuals search engine Don’t let anyone ride where he or she can’t wear
a safety belt properly.
If you are in a crash and
you’re not wearing
a safety belt, your injuries
can be much worse. You can hit things inside the
vehicle or be ejected from it. You can be seriously
injured or killed. In the same crash, you might
not be if you are buckled up. Always fasten your
safety belt, and check that your passenger’s belt
is fastened properly too.
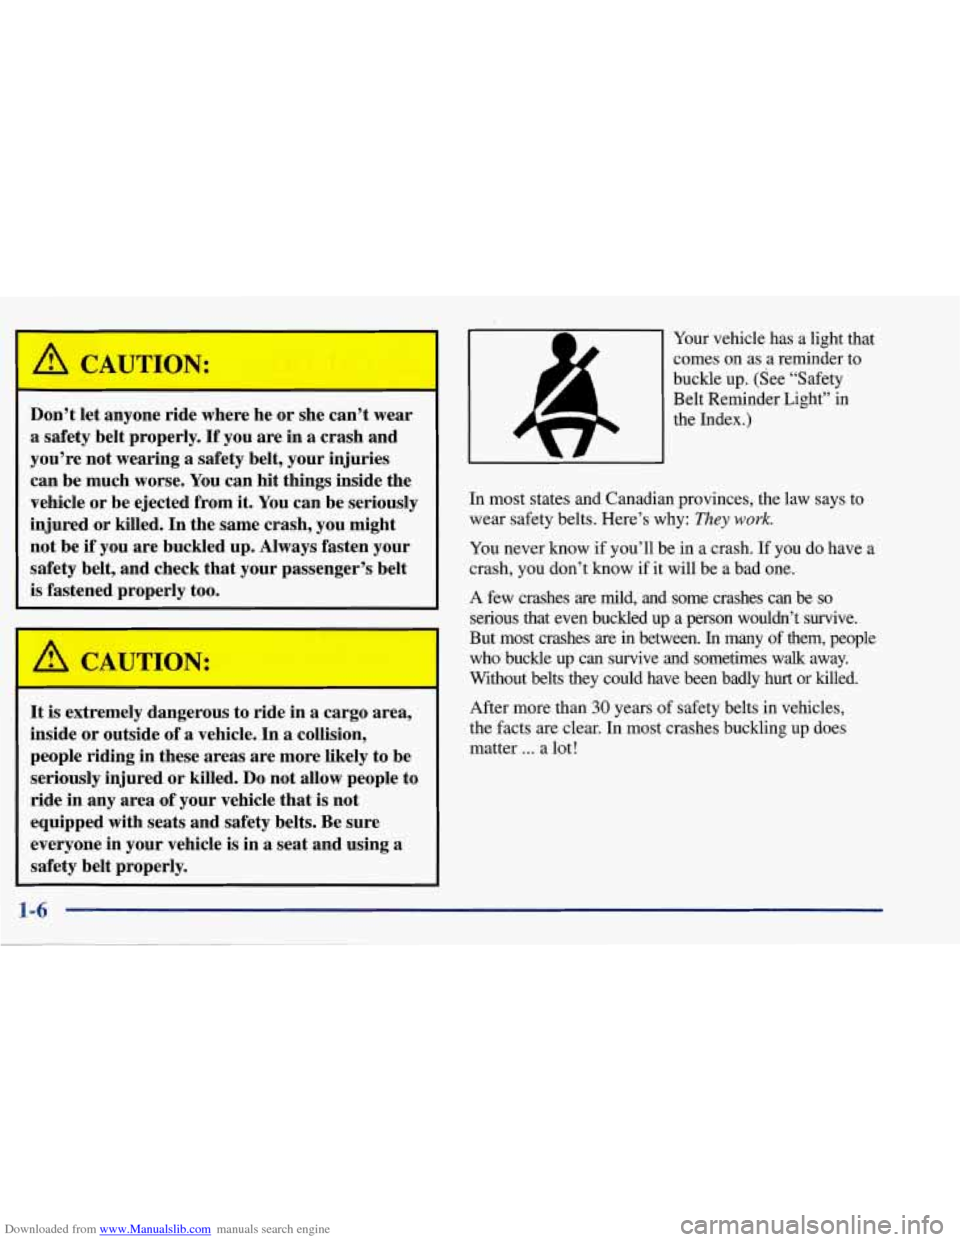
Your vehicle has a light that
comes on as a reminder to
buckle up. (See “Safety
Belt Reminder Light” in
the Index.)
In most states and Canadian provinces, the law says to
wear safety belts. Here’s why:
They work.
You never know if you’ll be in a crash. If you do have a
crash, you don’t know if it will be a bad one.
A few crashes are mild, and some crashes can be so
serious that even buckled up a person wouldn’t survive.
But most crashes are in between.
In many of them, people
who buckle up can survive and sometimes walk away.
Without belts
they could have been badly hurt or killed.
After more than 30 years of safety belts in vehicles,
the facts are clear. In most crashes buckling up does
matter
... a lot!
It is extremely dangerous to ride in a cargo area,
inside or outside of a vehicle. In
a collision,
people riding in these areas are more likely to be
seriously injured or killed.
Do not allow people to
ride in any area of your vehicle that is not
equipped with seats and safety belts. Be sure
everyone in your vehicle
is in a seat and using a
safety belt properly.
1-6
Page 26 of 378
Downloaded from www.Manualslib.com manuals search engine How to Wear Safety Belts Properly
Adults
This part is only for people of adult size.
Be aware that there are special things to know about safety
belts and children.
And there are different rules for smaller
children and babies.
If a child will be ridmg in your
vehicle, see the
part of this manual called “Children.”
Follow those rules for everyone’s protection.
First, you’ll want to know which restraint systems your
vehicle has.
We’ll start with the driver position.
Driver Position
This part describes the driver’s restraint system.
Lap-Shoulder Belt
The driver has a lap-shoulder belt. Here’s how to wear
it properly.
1. Close and lock the door.
2. Adjust the seat (to see how, see “Seats” in the Index)
so you can sit up straight.
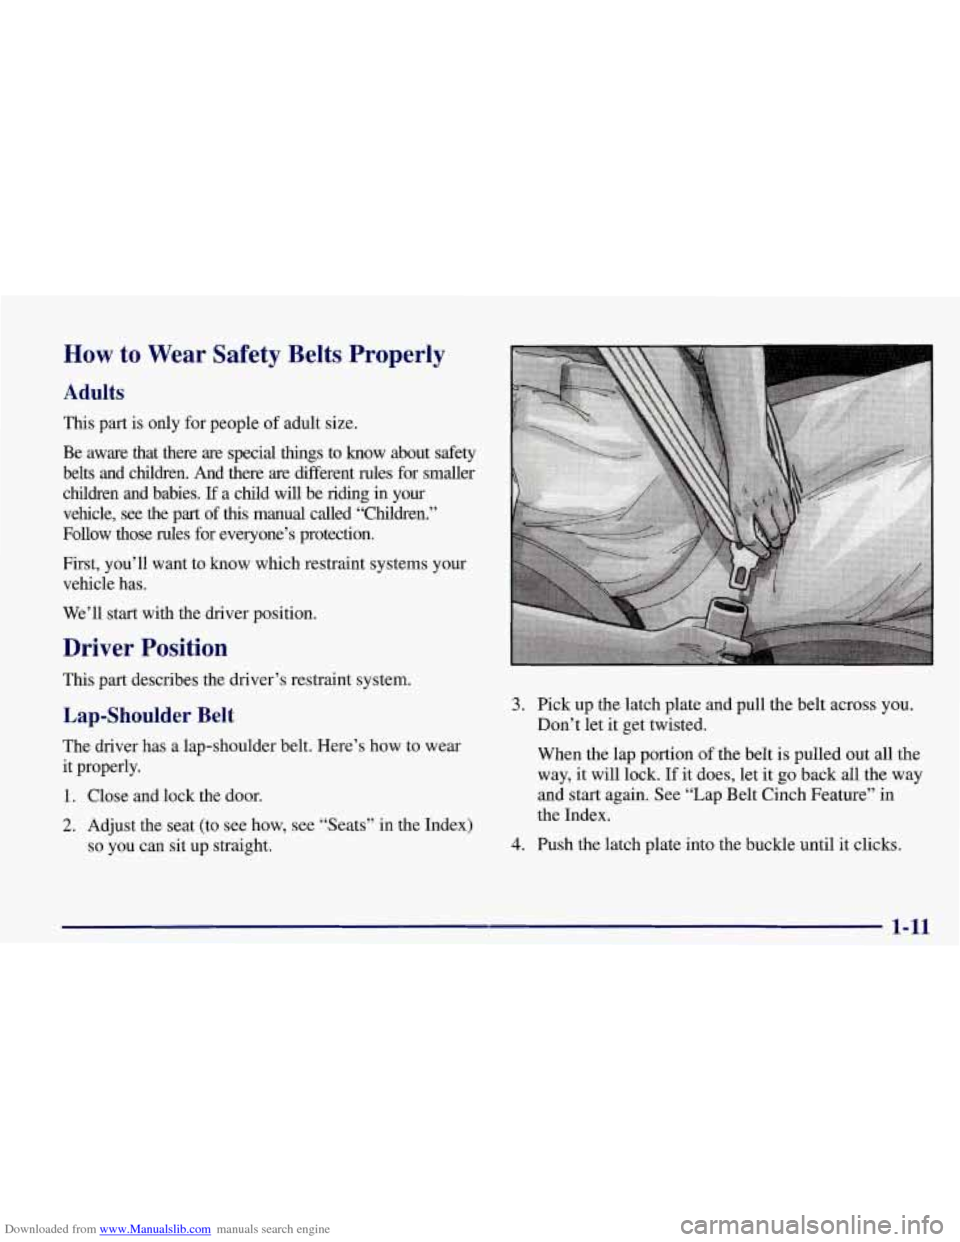
3. Pick up the latch plate and pull the belt across you.
Don’t let it get twisted.
When the lap portion of the belt is pulled out all the
way, it will lock. If it does, let it go back all the way
and start again. See “Lap Belt Cinch Feature” in
the Index.
4. Push the latch plate into the buckle until it clicks.
1-11
Page 43 of 378
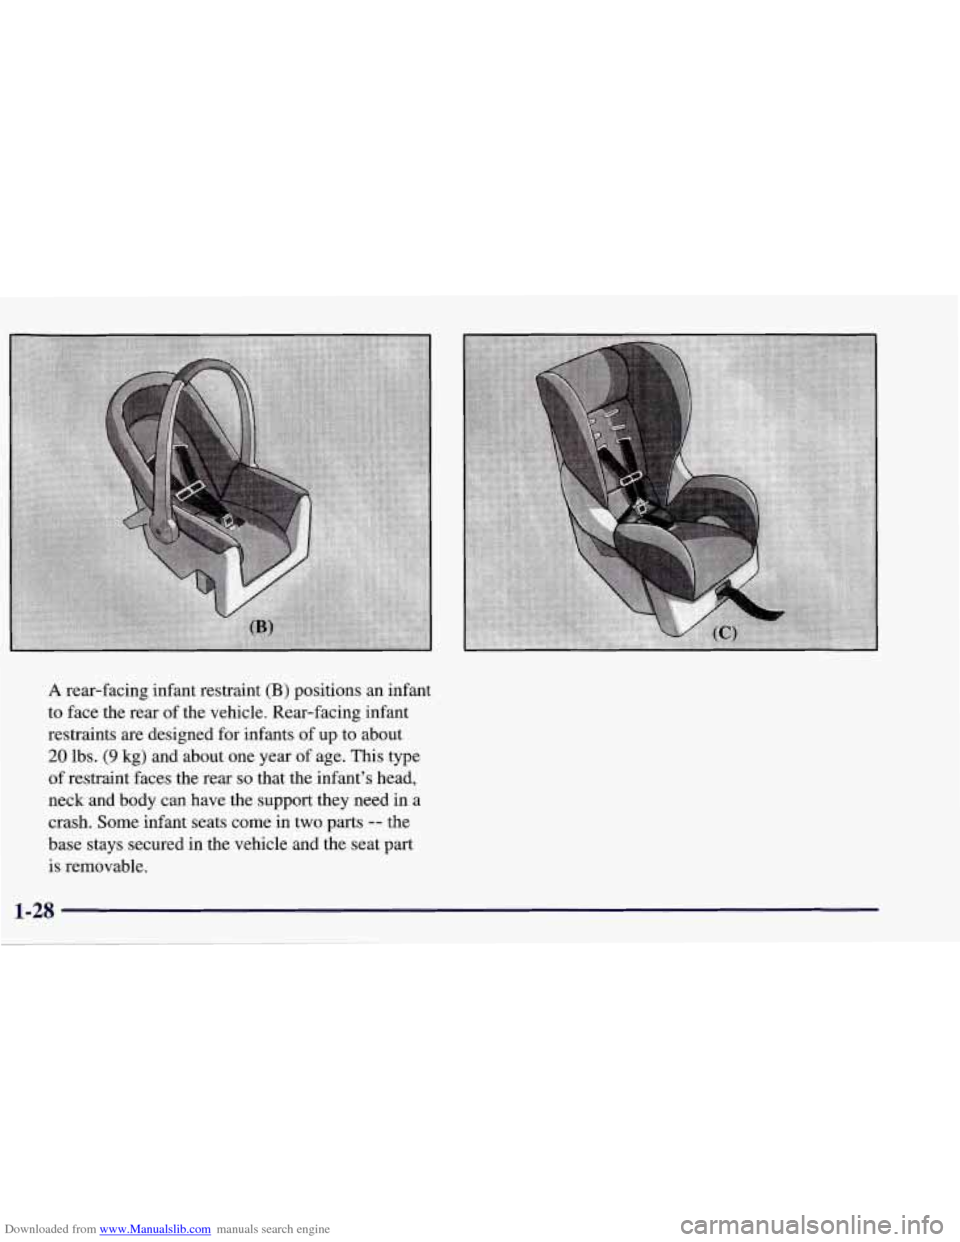
Downloaded from www.Manualslib.com manuals search engine A rear-facing infant restraint (B) positions an infant
to face the rear of the vehicle. Rear-facing infant
restraints are designed for infants of up to about
20 lbs. (9 kg) and about one year of age. This type
of restraint faces the rear
so that the infant’s head,
neck and body can have the support they need in a
crash. Some infant seats come in two parts
-- the
base stays secured in the vehicle and the seat part
is removable.
1-28
Page 45 of 378
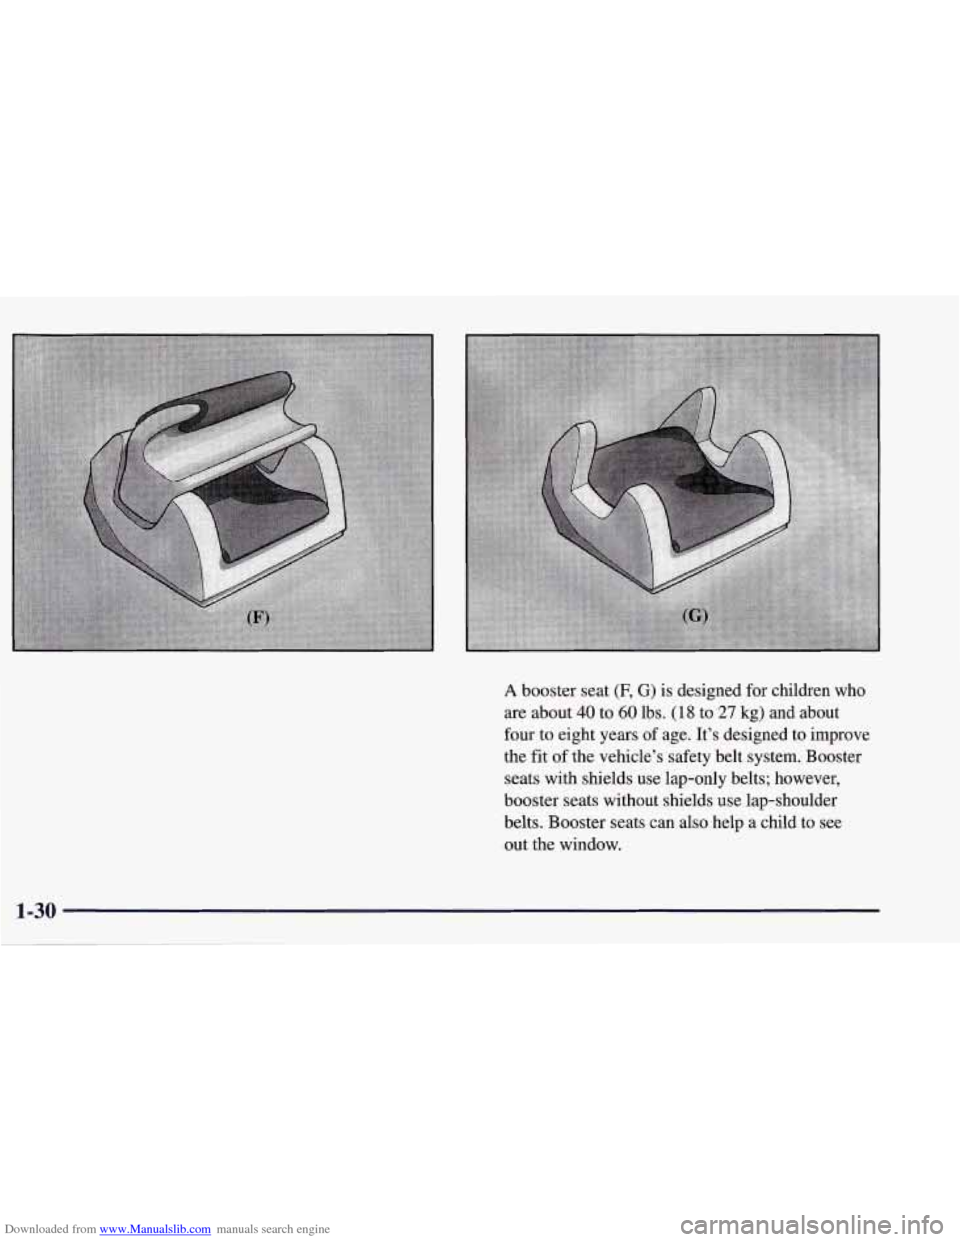
Downloaded from www.Manualslib.com manuals search engine A booster seat (F, G) is designed for children who
are about 40 to 60 lbs. (1 8 to 27 kg) and about
four to eight years
of age. It’s designed to improve
the fit
of the vehicle’s safety belt system. Booster
seats with shields use lap-only belts; however,
booster seats without shields use lap-shoulder
belts. Booster seats can also help a child to see
out the window.
1-30
Page 47 of 378
Downloaded from www.Manualslib.com manuals search engine Securing a Child Restraint in the Passenger
Seat Position
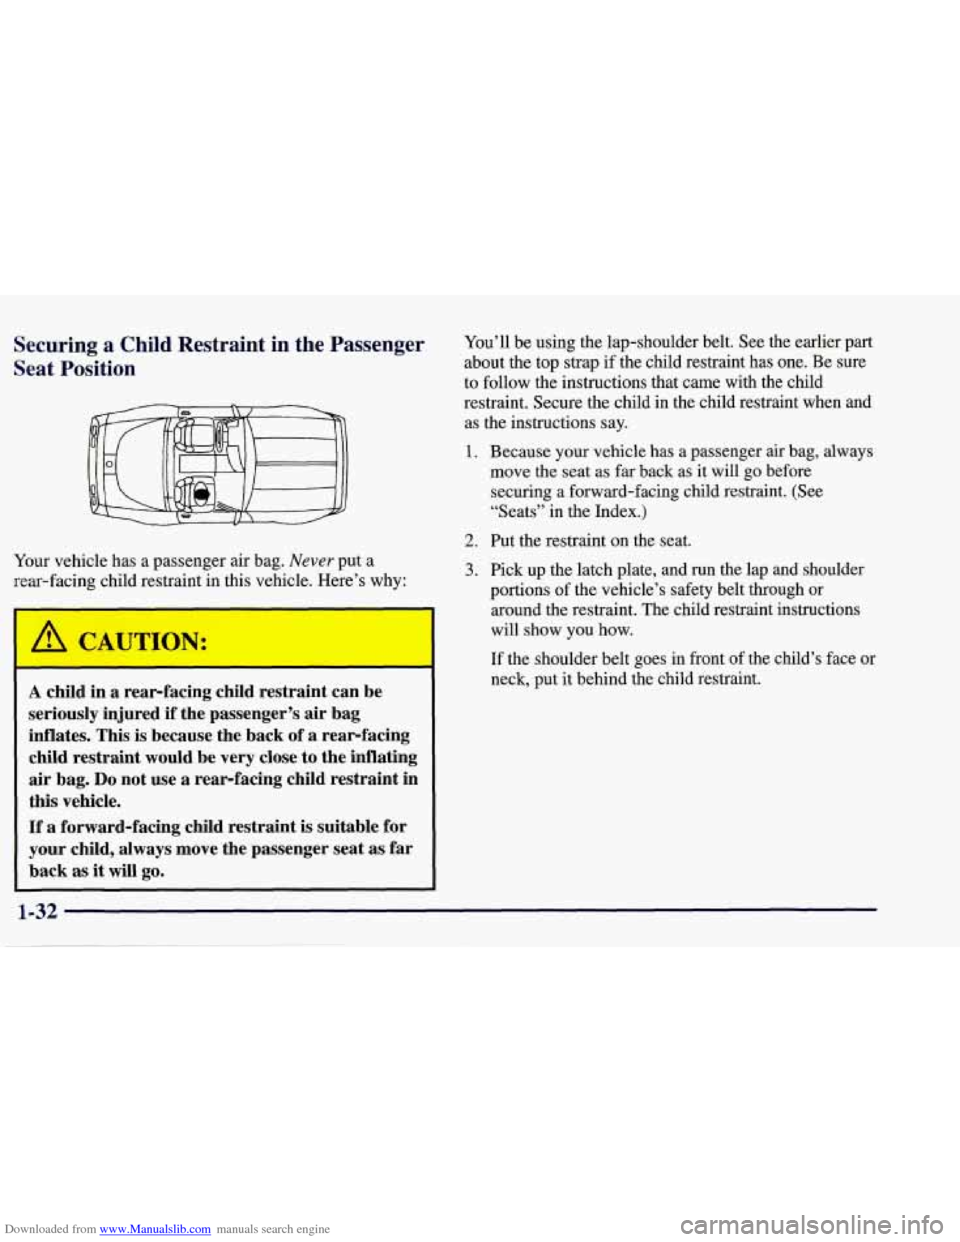
Your vehicle has a passenger air bag. Never put a
rear-facing child restraint in this vehicle. Here’s why:
A child in a rear-facing child restraint can be
seriously injured if the passenger’s air bag
inflates. This is because the back of a rear-facing
child restraint would be very close to the inflating
air bag.
Do not use a rear-facing child restraint in
this vehicle.
If’ a forward-facing child restraint is suitable for
your child, always move the passenger seat as far
back
as it will go.
You’ll be using the lap-shoulder belt. See the earlier part
about the top strap if the child restraint has one. Be sure
to follow the instructions that came with the child
restraint. Secure the child in the child restraint when and
as the instructions say.
1. Because your vehicle has a passenger air bag, always
move the seat as far back as it will go before
securing a forward-facing child restraint. (See
“Seats” in the Index.)
2. Put the restraint on the seat.
3. Pick up the latch plate, and run the lap and shoulder
portions of the vehicle’s safety belt through
or
around the restraint. The child restraint instructions
will show you how.
If the shoulder belt goes in front of the child’s face or
neck, put it behind the child restraint.
Page 124 of 378
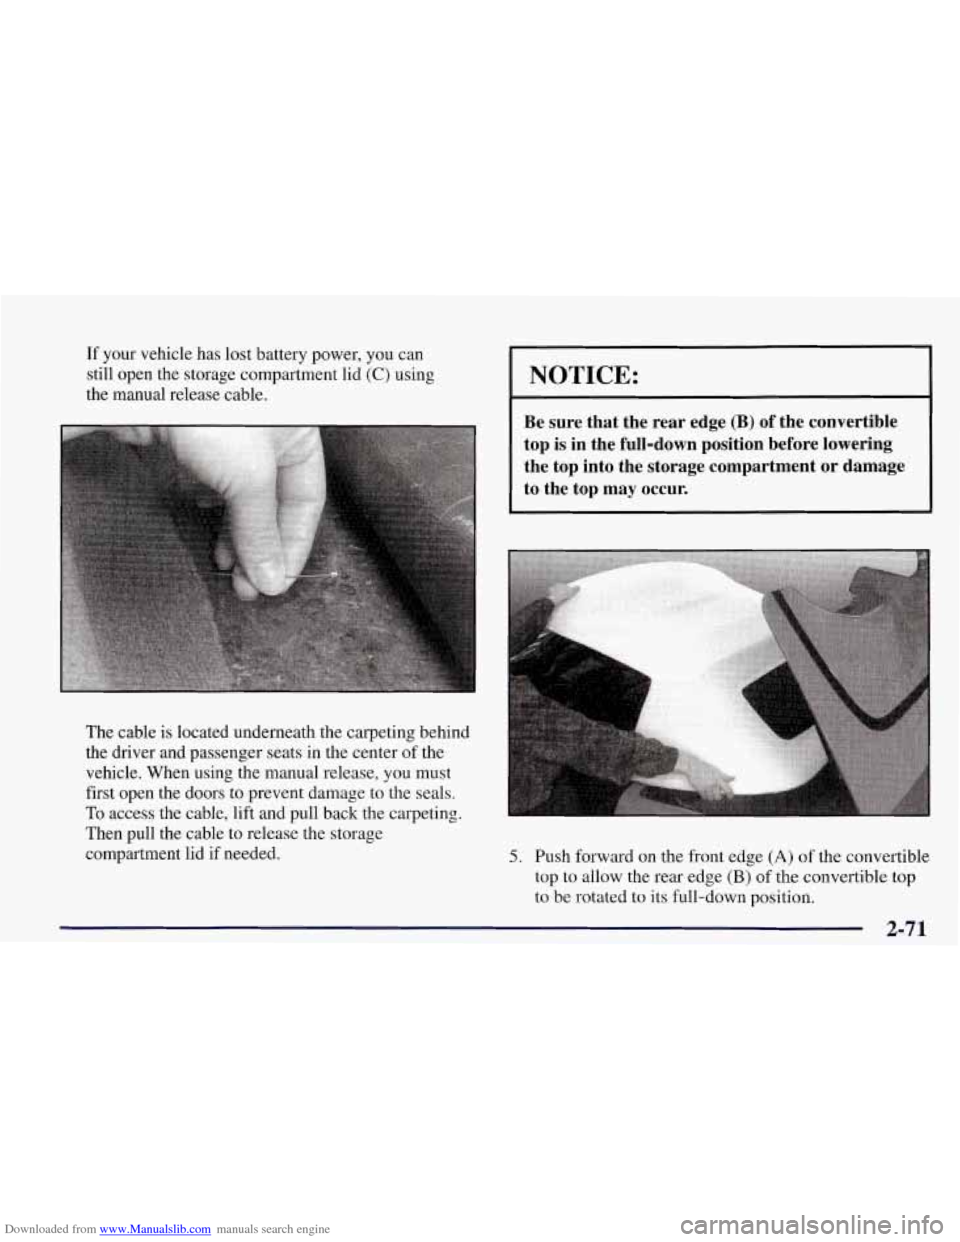
Downloaded from www.Manualslib.com manuals search engine If your vehicle has lost battery power, you can
still open the storage compartment lid
(C) using
the manual release cable.
The cable
is located underneath the carpeting behind
the driver and passenger seats in the center of the
vehicle. When using the manual release, you must
first open the doors to prevent damage to the seals.
To access the cable, lift and pull back the carpeting.
Then pull the cable to release the storage
compartment lid if needed.
NOTICE:
Be sure that the rear edge (B) of the convertible
top is in the full-down position before lowering
the top into the storage compartment or damage
to the top may occur.
5. Push forward on the front edge (A) of the convertible
top to allow the rear edge
(B) of the convertible top
to be rotated to its full-down position.
2-71
Page 140 of 378
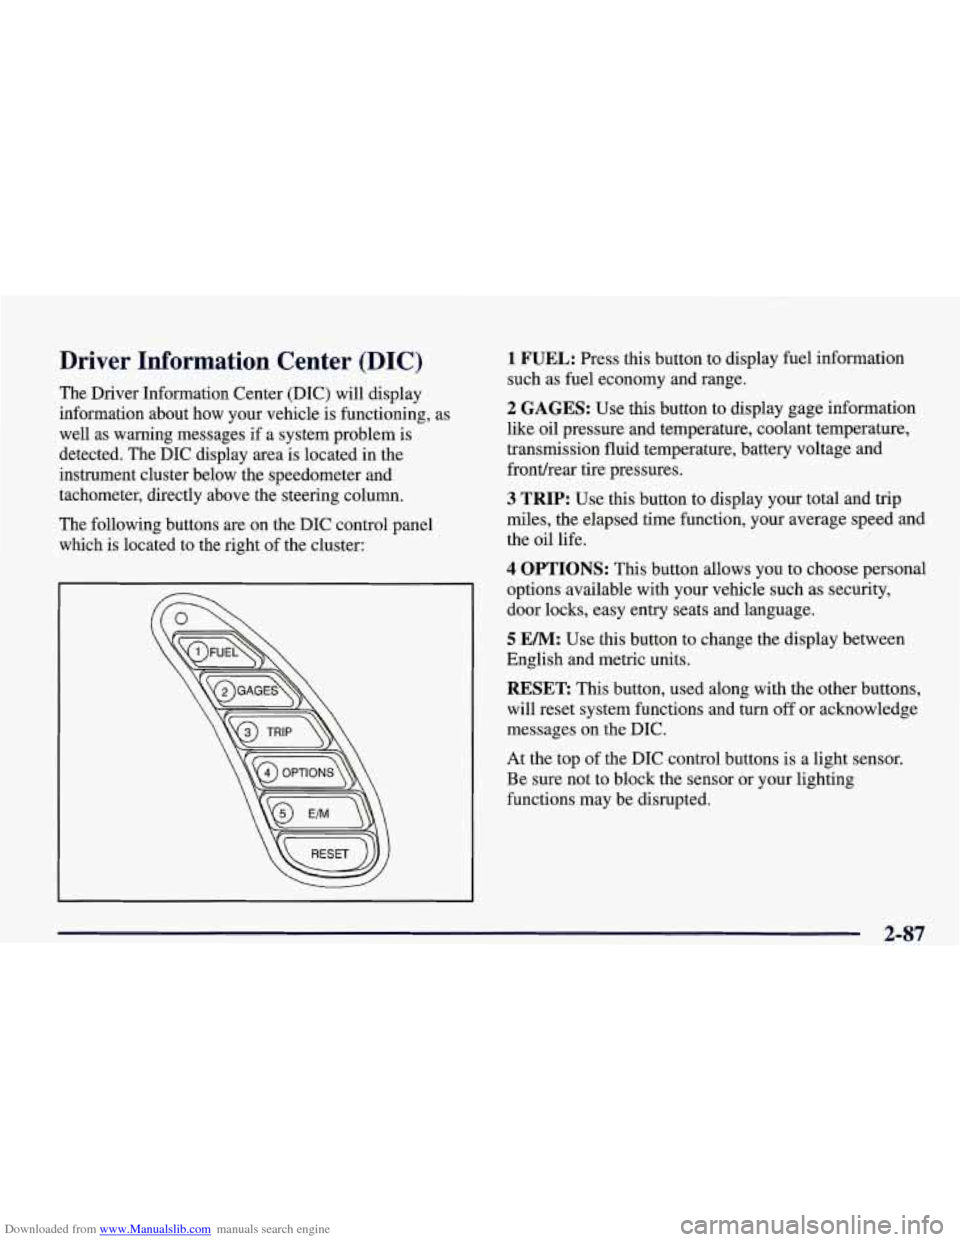
Downloaded from www.Manualslib.com manuals search engine Driver Information Center (DIC)
The Driver Information Center (DIC) will display
information about how your vehicle is functioning, as
well as warning messages if a system problem is
detected. The DIC display area is located in the
instrument cluster below the speedometer and
tachometer, directly above the steering column.
The following buttons are on the DIC control panel which is located to the right of the cluster:
1 FUEL: Press this button to display fuel information
such as fuel economy and range.
2 GAGES: Use this button to display gage information
like oil pressure and temperature, coolant temperature,
transmission fluid temperature, battery voltage and
fronthear tire pressures.
3 TRIP: Use this button to display your total and trip
miles, the elapsed time function, your average speed and
the oil life.
4 OPTIONS: This button allows you to choose personal
options available with your vehicle such as security,
door locks, easy entry seats and language.
5 EM: Use this button to change the display between
English and metric units.
RESET: This button, used along with the other buttons,
will reset system functions and turn
off or acknowledge
messages on the DIC.
At the top of the DIC control buttons is a light sensor.
Be sure not to block the sensor or your lighting
functions may be disrupted.
2-87