brake fluid CHEVROLET CRUZE 2016 1.G Owners Manual
[x] Cancel search | Manufacturer: CHEVROLET, Model Year: 2016, Model line: CRUZE, Model: CHEVROLET CRUZE 2016 1.GPages: 377, PDF Size: 6.35 MB
Page 137 of 377
Chevrolet Cruze Owner Manual (GMNA-Localizing-U.S./Canada/Mexico-
9234744) - 2016 - CRC - 3/9/16
136 Instruments and Controls
Vehicle Messages
Messages displayed on the DIC
indicate the status of the vehicle or
some action that may be needed to
correct a condition. Multiple
messages may display one after the
other.
The messages that do not require
immediate action can be
acknowledged and cleared by
pressing SET/CLR or
V. The
messages that require immediate
action cannot be cleared until that
action is performed. All messages
should be taken seriously and
clearing the messages does not
correct the problem.
The following are some of the
vehicle messages that may be
displayed depending on your
vehicle content.
Battery Voltage and
Charging Messages
BATTERY SAVER ACTIVE
This message displays when the
vehicle has detected that the battery
voltage is dropping beyond a
reasonable point. The battery saver
system starts reducing features of
the vehicle that may be noticed. At
the point that features are disabled,
this message displays. Turn off
unnecessary accessories to allow
the battery to recharge.
LOW BATTERY
This message is displayed when the
battery voltage is low. See Battery -
North America 0259.
SERVICE BATTERY
CHARGING SYSTEM
This message is displayed when
there is a fault in the battery
charging system. Take the vehicle to
your dealer for service.
Brake System Messages
BRAKE FLUID LOW
This message is displayed when the
brake fluid level is low. See Brake
Fluid 0258.
RELEASE PARKING BRAKE
This message is displayed as a
reminder that the parking brake is
on. Release it before you attempt to
drive.
Compass Messages
CAL
This message is displayed when the
compass needs to be calibrated.
See Compass 0106.
– –
Two dashes will be displayed if the
compass needs service. See your
dealer for service.
Page 196 of 377
Chevrolet Cruze Owner Manual (GMNA-Localizing-U.S./Canada/Mexico-
9234744) - 2016 - CRC - 3/9/16
Driving and Operating 195
{Warning
Drinking and then driving is very
dangerous. Your reflexes,
perceptions, attentiveness, and
judgment can be affected by even
a small amount of alcohol. You
can have a serious—or even
fatal —collision if you drive after
drinking.
Do not drink and drive or ride with
a driver who has been drinking.
Ride home in a cab; or if you are
with a group, designate a driver
who will not drink.
Control of a Vehicle
Braking, steering, and accelerating
are important factors in helping to
control a vehicle while driving.
Braking
Braking action involves perception
time and reaction time. Deciding to
push the brake pedal is perception
time. Actually doing it is
reaction time. Average driver reaction time is
about three-quarters of a second. In
that time, a vehicle moving at
100 km/h (60 mph) travels 20 m
(66 ft), which could be a lot of
distance in an emergency.
Helpful braking tips to keep in mind
include:
.
Keep enough distance between
you and the vehicle in front
of you.
. Avoid needless heavy braking.
. Keep pace with traffic.
If the engine ever stops while the
vehicle is being driven, brake
normally but do not pump the
brakes. Doing so could make the
pedal harder to push down. If the
engine stops, there will be some
power brake assist but it will be
used when the brake is applied.
Once the power assist is used up, it
can take longer to stop and the
brake pedal will be harder to push.
Steering
Electric Power Steering
The vehicle has electric power
steering, it does not have power
steering fluid. Regular maintenance
is not required.
If power steering assist is lost due
to a system malfunction, the vehicle
can be steered, but may require
increased effort. See your dealer if
there is a problem.
If the steering wheel is turned until it
reaches the end of its travel, and is
held in that position for an extended
period of time, power steering assist
may be reduced.
If the steering assist is used for an
extended period of time, power
assist may be reduced.
Normal use of the power steering
assist should return when the
system cools down.
See specific vehicle steering
messages under Vehicle
Messages 0136.
Page 198 of 377
Chevrolet Cruze Owner Manual (GMNA-Localizing-U.S./Canada/Mexico-
9234744) - 2016 - CRC - 3/9/16
Driving and Operating 197
The vehicle may straighten out.
Be ready for a second skid if it
occurs.
. Slow down and adjust your
driving according to weather
conditions. Stopping distance
can be longer and vehicle
control can be affected when
traction is reduced by water,
snow, ice, gravel, or other
material on the road. Learn to
recognize warning clues —such
as enough water, ice, or packed
snow on the road to make a
mirrored surface —and slow
down when you have any doubt.
. Try to avoid sudden steering,
acceleration, or braking,
including reducing vehicle speed
by shifting to a lower gear. Any
sudden changes could cause
the tires to slide.
Remember: Antilock brakes help
avoid only the braking skid.
Driving on Wet Roads
Rain and wet roads can reduce
vehicle traction and affect your
ability to stop and accelerate. Always drive slower in these types
of driving conditions and avoid
driving through large puddles and
deep-standing or flowing water.
{Warning
Wet brakes can cause crashes.
They might not work as well in a
quick stop and could cause
pulling to one side. You could
lose control of the vehicle.
After driving through a large
puddle of water or a car/vehicle
wash, lightly apply the brake
pedal until the brakes work
normally.
Flowing or rushing water creates
strong forces. Driving through
flowing water could cause the
vehicle to be carried away. If this
happens, you and other vehicle
occupants could drown. Do not
ignore police warnings and be
very cautious about trying to drive
through flowing water.
Hydroplaning
Hydroplaning is dangerous. Water
can build up under the vehicle's
tires so they actually ride on the
water. This can happen if the road is
wet enough and you are going fast
enough. When the vehicle is
hydroplaning, it has little or no
contact with the road.
There is no hard and fast rule about
hydroplaning. The best advice is to
slow down when the road is wet.
Other Rainy Weather Tips
Besides slowing down, other wet
weather driving tips include:
.
Allow extra following distance.
. Pass with caution.
. Keep windshield wiping
equipment in good shape.
. Keep the windshield washer fluid
reservoir filled.
. Have good tires with proper
tread depth. See Tires0275.
. Turn off cruise control.
Page 199 of 377
Chevrolet Cruze Owner Manual (GMNA-Localizing-U.S./Canada/Mexico-
9234744) - 2016 - CRC - 3/9/16
198 Driving and Operating
Hill and Mountain Roads
Driving on steep hills or through
mountains is different than driving
on flat or rolling terrain. Tips include:
.Keep the vehicle serviced and in
good shape.
. Check all fluid levels and brakes,
tires, cooling system, and
transmission.
. Shift to a lower gear when going
down steep or long hills.
{Warning
Using the brakes to slow the
vehicle on a long downhill slope
can cause brake overheating, can
reduce brake performance, and
could result in a loss of braking.
Shift the transmission to a lower
gear to let the engine assist the
brakes on a steep downhill slope.
{Warning
Coasting downhill in N (Neutral)
or with the ignition off is
dangerous. This can cause
overheating of the brakes and
loss of steering. Always have the
engine running and the vehicle
in gear.
. Drive at speeds that keep the
vehicle in its own lane. Do not
swing wide or cross the
center line.
. Be alert on top of hills;
something could be in your lane
(e.g., stalled car, accident).
. Pay attention to special road
signs (e.g., falling rocks area,
winding roads, long grades,
passing or no-passing zones)
and take appropriate action.
Winter Driving
Driving on Snow or Ice
Snow or ice between the tires and
the road creates less traction or
grip, so drive carefully. Wet ice can
occur at about 0 °C (32 °F) when
freezing rain begins to fall. Avoid
driving on wet ice or in freezing rain
until roads can be treated.
For Slippery Road Driving:
.Accelerate gently. Accelerating
too quickly causes the wheels to
spin and makes the surface
under the tires slick.
. Turn on Traction Control. See
Traction Control/Electronic
Stability Control 0221.
. The Antilock Brake System
(ABS) improves vehicle stability
during hard stops, but the
brakes should be applied sooner
than when on dry pavement.
See Antilock Brake System
(ABS) 0219.
. Allow greater following distance
and watch for slippery spots. Icy
patches can occur on otherwise
Page 241 of 377
Chevrolet Cruze Owner Manual (GMNA-Localizing-U.S./Canada/Mexico-
9234744) - 2016 - CRC - 3/9/16
240 Vehicle Care
Vehicle Care
General Information
General Information . . . . . . . . . . 241
California Proposition65 Warning . . . . . . . . . . . . . . . . . 241
California Perchlorate Materials Requirements . . . . . 242
Accessories and Modifications . . . . . . . . . . . . . . . . 242
Vehicle Checks
Doing Your OwnService Work . . . . . . . . . . . . . . . 243
Hood . . . . . . . . . . . . . . . . . . . . . . . . . 244
Engine Compartment Overview . . . . . . . . . . . . . . . . . . . . 245
Engine Oil . . . . . . . . . . . . . . . . . . . . 246
Engine Oil Life System . . . . . . . 248
Automatic Transmission Fluid . . . . . . . . . . . . . . . . . . . . . . . . 249
Manual Transmission Fluid . . . 250
Hydraulic Clutch . . . . . . . . . . . . . . 250
Engine Air Cleaner/Filter . . . . . . 250
Cooling System . . . . . . . . . . . . . . 252
Engine Coolant . . . . . . . . . . . . . . . 252
Engine Overheating . . . . . . . . . . 255
Washer Fluid . . . . . . . . . . . . . . . . . 257
Brakes . . . . . . . . . . . . . . . . . . . . . . . 257
Brake Fluid . . . . . . . . . . . . . . . . . . . 258 Battery - North America . . . . . . 259
Starter Switch Check . . . . . . . . . 260
Automatic Transmission Shift
Lock Control Function
Check . . . . . . . . . . . . . . . . . . . . . . . 261
Ignition Transmission Lock Check . . . . . . . . . . . . . . . . . . . . . . . 261
Park Brake and P (Park) Mechanism Check . . . . . . . . . . 261
Wiper Blade Replacement . . . . 262
Headlamp Aiming
Headlamp Aiming . . . . . . . . . . . . 263
Bulb Replacement
Bulb Replacement . . . . . . . . . . . . 263
Halogen Bulbs . . . . . . . . . . . . . . . . 263
High Intensity Discharge (HID) Lighting . . . . . . . . . . . . . . . . . . . . . 263
Headlamps and Front Turn Signal . . . . . . . . . . . . . . . . . . . . . . . 264
Taillamps and Back-Up Lamps . . . . . . . . . . . . . . . . . . . . . . 265
Replacement Bulbs . . . . . . . . . . . 267
Electrical System
Electrical System Overload . . . 267
Fuses and Circuit Breakers . . . 268
Engine Compartment Fuse Block . . . . . . . . . . . . . . . . . . . . . . . . 268
Instrument Panel Fuse Block . . . . . . . . . . . . . . . . . . . . . . . . 272
Wheels and Tires
Tires . . . . . . . . . . . . . . . . . . . . . . . . . . 275
All-Season Tires . . . . . . . . . . . . . . 275
Winter Tires . . . . . . . . . . . . . . . . . . 276
Low-Profile Tires . . . . . . . . . . . . . 276
Tire Sidewall Labeling . . . . . . . . 277
Tire Designations . . . . . . . . . . . . . 279
Tire Terminology andDefinitions . . . . . . . . . . . . . . . . . . 279
Tire Pressure . . . . . . . . . . . . . . . . . 282
Tire Pressure for High-Speed Operation . . . . . . . . . . . . . . . . . . . 283
Tire Pressure Monitor System . . . . . . . . . . . . . . . . . . . . . . 284
Tire Pressure Monitor Operation . . . . . . . . . . . . . . . . . . . 285
Tire Inspection . . . . . . . . . . . . . . . . 288
Tire Rotation . . . . . . . . . . . . . . . . . 288
When It Is Time for New Tires . . . . . . . . . . . . . . . . . . . . . . . . 289
Buying New Tires . . . . . . . . . . . . . 290
Different Size Tires and Wheels . . . . . . . . . . . . . . . . . . . . . . 291
Uniform Tire Quality Grading . . . . . . . . . . . . . . . . . . . . . 292
Wheel Alignment and Tire Balance . . . . . . . . . . . . . . . . . . . . . 293
Wheel Replacement . . . . . . . . . . 293
Tire Chains . . . . . . . . . . . . . . . . . . . 294
If a Tire Goes Flat . . . . . . . . . . . . 295
Page 247 of 377
Chevrolet Cruze Owner Manual (GMNA-Localizing-U.S./Canada/Mexico-
9234744) - 2016 - CRC - 3/9/16
246 Vehicle Care
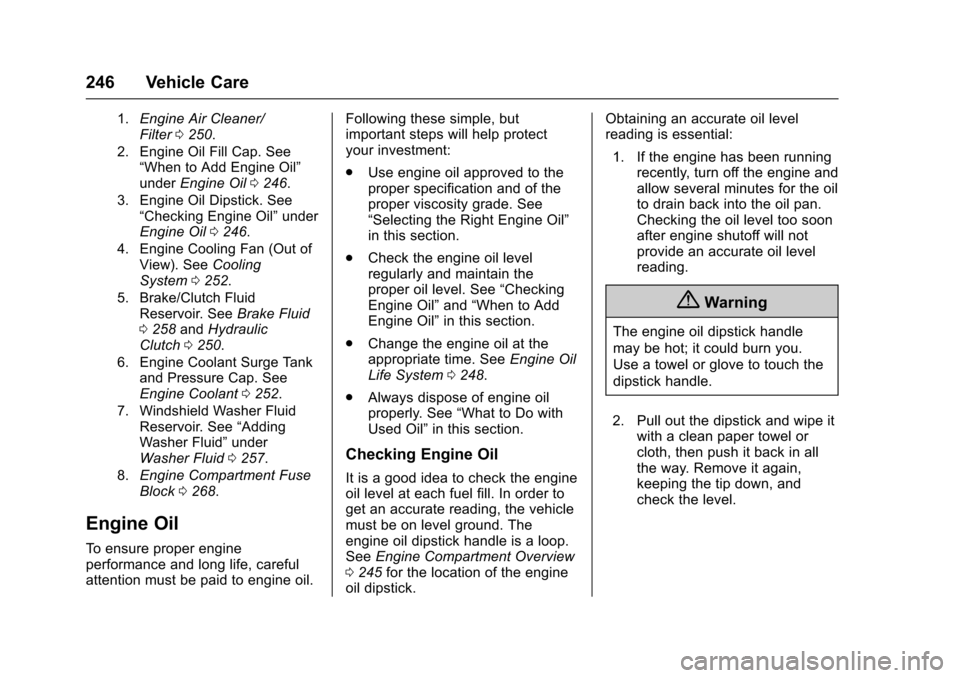
1.Engine Air Cleaner/
Filter0250.
2. Engine Oil Fill Cap. See “When to Add Engine Oil”
under
Engine Oil 0246.
3. Engine Oil Dipstick. See “Checking Engine Oil” under
Engine Oil0246.
4. Engine Cooling Fan (Out of View). See
Cooling
System 0252.
5. Brake/Clutch Fluid Reservoir. See
Brake Fluid
0 258andHydraulic
Clutch 0250.
6. Engine Coolant Surge Tank and Pressure Cap. See
Engine Coolant 0252.
7. Windshield Washer Fluid Reservoir. See “Adding
Washer Fluid” under
Washer Fluid0257.
8.
Engine Compartment Fuse
Block 0268.
Engine Oil
To ensure proper engine
performance and long life, careful
attention must be paid to engine oil. Following these simple, but
important steps will help protect
your investment:
.
Use engine oil approved to the
proper specification and of the
proper viscosity grade. See
“Selecting the Right Engine Oil”
in this section.
. Check the engine oil level
regularly and maintain the
proper oil level. See “Checking
Engine Oil” and“When to Add
Engine Oil” in this section.
. Change the engine oil at the
appropriate time. See Engine Oil
Life System 0248.
. Always dispose of engine oil
properly. See “What to Do with
Used Oil” in this section.
Checking Engine Oil
It is a good idea to check the engine
oil level at each fuel fill. In order to
get an accurate reading, the vehicle
must be on level ground. The
engine oil dipstick handle is a loop.
SeeEngine Compartment Overview
0 245 for the location of the engine
oil dipstick. Obtaining an accurate oil level
reading is essential:
1. If the engine has been running recently, turn off the engine and
allow several minutes for the oil
to drain back into the oil pan.
Checking the oil level too soon
after engine shutoff will not
provide an accurate oil level
reading.
{Warning
The engine oil dipstick handle
may be hot; it could burn you.
Use a towel or glove to touch the
dipstick handle.
2. Pull out the dipstick and wipe it with a clean paper towel or
cloth, then push it back in all
the way. Remove it again,
keeping the tip down, and
check the level.
Page 251 of 377
Chevrolet Cruze Owner Manual (GMNA-Localizing-U.S./Canada/Mexico-
9234744) - 2016 - CRC - 3/9/16
250 Vehicle Care
Manual Transmission
Fluid
How to Check Manual
Transmission Fluid
It is not necessary to check the
manual transmission fluid level.
A transmission fluid leak is the only
reason for fluid loss. If a leak
occurs, take the vehicle to your
dealer and have it repaired as soon
as possible. SeeRecommended
Fluids and Lubricants 0335 for the
proper fluid to use.
Hydraulic Clutch
For vehicles with a manual
transmission, it is not necessary to
regularly check brake/clutch fluid
unless there is a leak suspected.
Adding fluid will not correct a leak.
A fluid loss in this system could
indicate a problem. Have the
system inspected and repaired.
When to Check and What
to Use
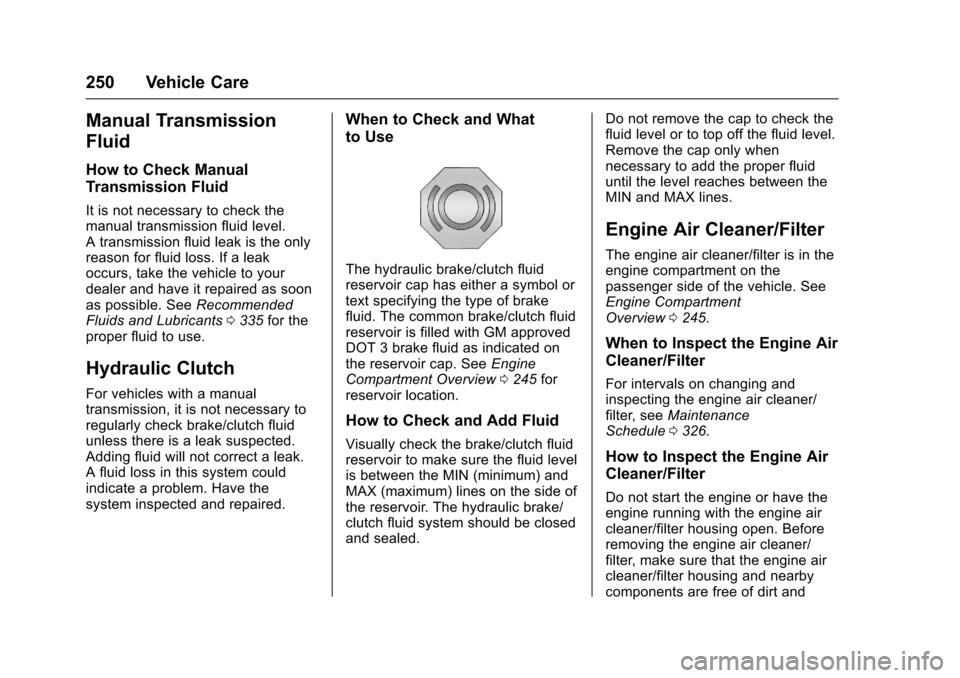
The hydraulic brake/clutch fluid
reservoir cap has either a symbol or
text specifying the type of brake
fluid. The common brake/clutch fluid
reservoir is filled with GM approved
DOT 3 brake fluid as indicated on
the reservoir cap. See Engine
Compartment Overview 0245 for
reservoir location.
How to Check and Add Fluid
Visually check the brake/clutch fluid
reservoir to make sure the fluid level
is between the MIN (minimum) and
MAX (maximum) lines on the side of
the reservoir. The hydraulic brake/
clutch fluid system should be closed
and sealed. Do not remove the cap to check the
fluid level or to top off the fluid level.
Remove the cap only when
necessary to add the proper fluid
until the level reaches between the
MIN and MAX lines.
Engine Air Cleaner/Filter
The engine air cleaner/filter is in the
engine compartment on the
passenger side of the vehicle. See
Engine Compartment
Overview
0245.
When to Inspect the Engine Air
Cleaner/Filter
For intervals on changing and
inspecting the engine air cleaner/
filter, see Maintenance
Schedule 0326.
How to Inspect the Engine Air
Cleaner/Filter
Do not start the engine or have the
engine running with the engine air
cleaner/filter housing open. Before
removing the engine air cleaner/
filter, make sure that the engine air
cleaner/filter housing and nearby
components are free of dirt and
Page 258 of 377

Chevrolet Cruze Owner Manual (GMNA-Localizing-U.S./Canada/Mexico-
9234744) - 2016 - CRC - 3/9/16
Vehicle Care 257
If there is no sign of steam, idle the
engine for three minutes while
parked. If the warning is still
displayed, turn off the engine until it
cools down.
Washer Fluid
What to Use
When windshield washer fluid is
needed, be sure to read the
manufacturer's instructions before
use. If operating the vehicle in an
area where the temperature may fall
below freezing, use a fluid that has
sufficient protection against
freezing.
Adding Washer Fluid
Open the cap with the washer
symbol on it. Add washer fluid until
the tank is full. SeeEngine
Compartment Overview 0245 for
reservoir location.
Caution
. Do not use washer fluid that
contains any type of water
repellent coating. This can
cause the wiper blades to
chatter or skip.
. Do not use engine coolant
(antifreeze) in the
windshield washer. It can
damage the windshield
washer system and paint.
. Do not mix water with
ready-to-use washer fluid.
Water can cause the
solution to freeze and
damage the washer fluid
tank and other parts of the
washer system.
(Continued)
Caution (Continued)
.When using concentrated
washer fluid, follow the
manufacturer instructions for
adding water.
. Fill the washer fluid tank
only three-quarters full when
it is very cold. This allows
for fluid expansion if
freezing occurs, which could
damage the tank if it is
completely full.
Brakes
Disc brake pads have built-in wear
indicators that make a high-pitched
warning sound when the brake pads
are worn and new pads are needed.
The sound can come and go or be
heard all the time the vehicle is
moving, except when applying the
brake pedal firmly.
Page 259 of 377
Chevrolet Cruze Owner Manual (GMNA-Localizing-U.S./Canada/Mexico-
9234744) - 2016 - CRC - 3/9/16
258 Vehicle Care
{Warning
The brake wear warning sound
means that soon the brakes will
not work well. That could lead to
a crash. When the brake wear
warning sound is heard, have the
vehicle serviced.
Caution
Continuing to drive with worn-out
brake pads could result in costly
brake repair.
Some driving conditions or climates
can cause a brake squeal when the
brakes are first applied or lightly
applied. This does not mean
something is wrong with the brakes.
Properly torqued wheel nuts are
necessary to help prevent brake
pulsation. When tires are rotated,
inspect brake pads for wear and
evenly tighten wheel nuts in the proper sequence to torque
specifications in
Capacities and
Specifications 0339.
If the vehicle has rear drum brakes,
they do not have wear indicators,
but if a rear brake rubbing noise is
heard, have the rear brake linings
inspected immediately. Rear brake
drums should be removed and
inspected each time the tires are
removed for rotation or changing.
Drum brakes have an inspection
hole to inspect lining wear during
scheduled maintenance. When the
front brake pads are replaced, have
the rear brakes inspected, too.
Brake linings should always be
replaced as complete axle sets.
Brake Pedal Travel
See your dealer if the brake pedal
does not return to normal height,
or if there is a rapid increase in
pedal travel. This could be a sign
that brake service may be required.
Replacing Brake System Parts
Always replace brake system parts
with new, approved replacement
parts. If this is not done, the brakes may not work properly. The braking
performance expected can change
in many other ways if the wrong
replacement brake parts are
installed or parts are improperly
installed.
Brake Fluid
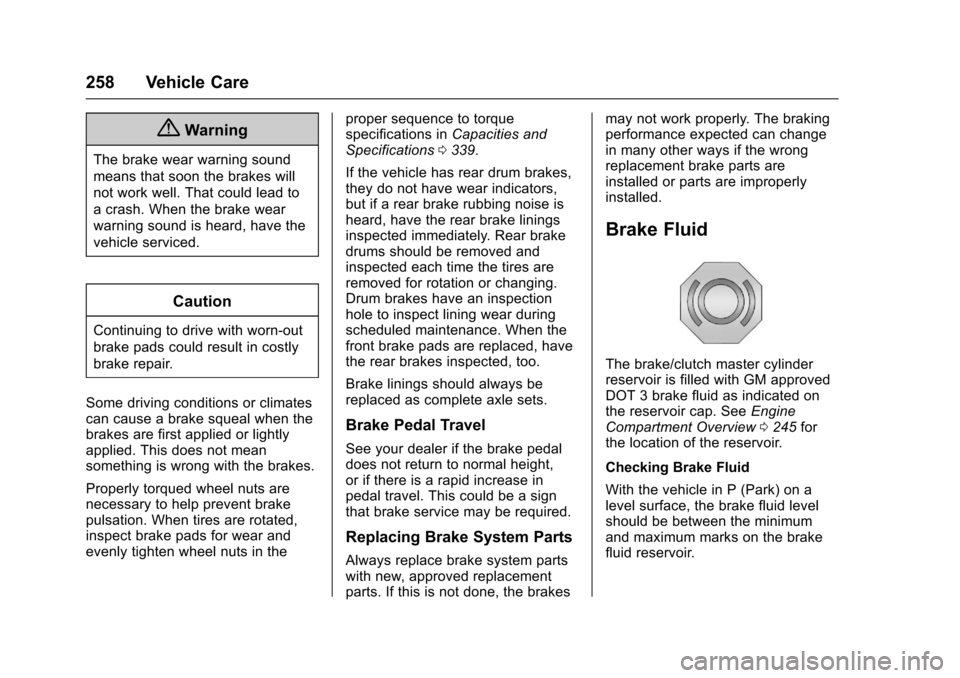
The brake/clutch master cylinder
reservoir is filled with GM approved
DOT 3 brake fluid as indicated on
the reservoir cap. See
Engine
Compartment Overview 0245 for
the location of the reservoir.
Checking Brake Fluid
With the vehicle in P (Park) on a
level surface, the brake fluid level
should be between the minimum
and maximum marks on the brake
fluid reservoir.
Page 260 of 377
Chevrolet Cruze Owner Manual (GMNA-Localizing-U.S./Canada/Mexico-
9234744) - 2016 - CRC - 3/9/16
Vehicle Care 259
There are only two reasons why the
brake fluid level in the reservoir may
go down:
.Normal brake lining wear. When
new linings are installed, the
fluid level goes back up.
. A fluid leak in the brake/clutch
hydraulic system. Have the
brake/clutch hydraulic system
fixed. With a leak, the brakes will
not work well.
Always clean the brake fluid
reservoir cap and the area around
the cap before removing it.
Do not top off the brake/clutch fluid.
Adding fluid does not correct a leak.
If fluid is added when the linings are
worn, there will be too much fluid
when new brake linings are
installed. Add or remove fluid, as
necessary, only when work is done
on the brake/clutch hydraulic
system.{Warning
If too much brake fluid is added, it
can spill on the engine and burn,
if the engine is hot enough. You
or others could be burned, and
the vehicle could be damaged.
Add brake fluid only when work is
done on the brake/clutch
hydraulic system.
When the brake/clutch fluid falls to a
low level, the brake warning light
comes on. See Brake System
Warning Light 0124.
Brake fluid absorbs water over time
which degrades the effectiveness of
the brake fluid. Replace brake fluid
at the specified intervals to prevent
increased stopping distance. See
Maintenance Schedule 0326.
What to Add
Use only GM approved DOT 3
brake fluid from a clean, sealed
container. See Recommended
Fluids and Lubricants 0335.
{Warning
The wrong or contaminated brake
fluid could result in damage to the
brake system. This could result in
the loss of braking leading to a
possible injury. Always use the
proper GM approved brake fluid.
Caution
If brake fluid is spilled on the
vehicle's painted surfaces, the
paint finish can be damaged.
Immediately wash off any painted
surface.
Battery - North America
The original equipment battery is
maintenance free. Do not remove
the cap and do not add fluid.
Refer to the replacement number on
the original battery label when a
new battery is needed.