tow CHEVROLET DURAMAX 2006 Owners Manual
[x] Cancel search | Manufacturer: CHEVROLET, Model Year: 2006, Model line: DURAMAX, Model: CHEVROLET DURAMAX 2006Pages: 100, PDF Size: 0.71 MB
Page 1 of 100
Features and Controls..................................... 2-1
Starting and Operating Your Vehicle ............. 2-2
Instrument Panel ............................................. 3-1
Warning Lights, Gages and Indicators ........... 3-2
Driving Your Vehicle ....................................... 4-1
Towing ..................................................... 4-2 Service and Appearance Care
.......................... 5-1
Diesel Fuel Requirements and Fuel System ..... 5-2
Checking Things Under the Hood ...............5-18
Capacities and Specifications .....................5-50
Maintenance Schedule ..................................... 6-1
Maintenance Schedule ................................ 6-2
2006 DURAMAX®Diesel EngineM
Index ......................................................................... 1
ProCarManuals.com
Page 8 of 100
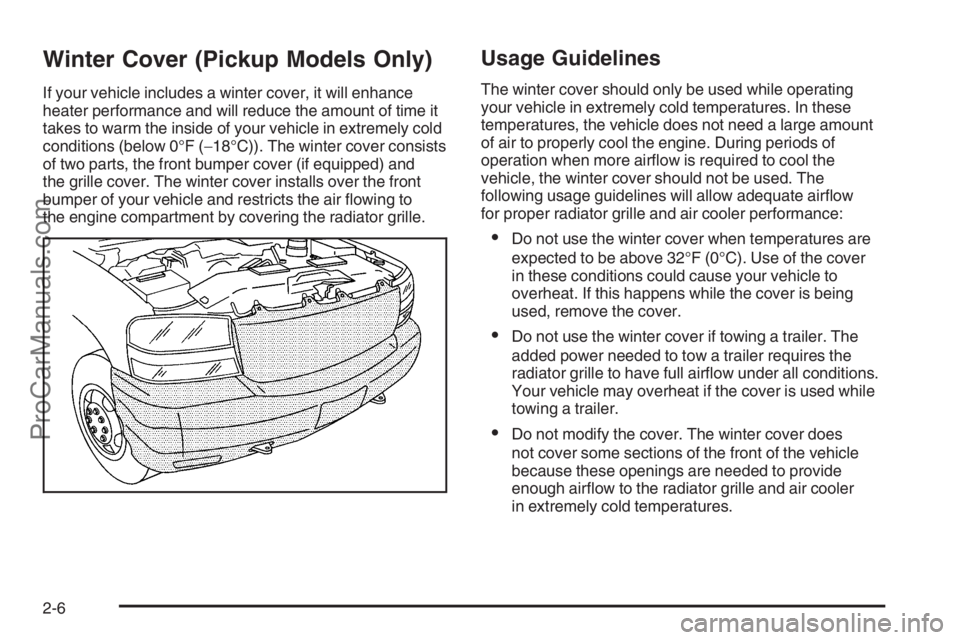
Winter Cover (Pickup Models Only)
If your vehicle includes a winter cover, it will enhance
heater performance and will reduce the amount of time it
takes to warm the inside of your vehicle in extremely cold
conditions (below 0°F (−18°C)). The winter cover consists
of two parts, the front bumper cover (if equipped) and
the grille cover. The winter cover installs over the front
bumper of your vehicle and restricts the air flowing to
the engine compartment by covering the radiator grille.
Usage Guidelines
The winter cover should only be used while operating
your vehicle in extremely cold temperatures. In these
temperatures, the vehicle does not need a large amount
of air to properly cool the engine. During periods of
operation when more airflow is required to cool the
vehicle, the winter cover should not be used. The
following usage guidelines will allow adequate airflow
for proper radiator grille and air cooler performance:
•Do not use the winter cover when temperatures are
expected to be above 32°F (0°C). Use of the cover
in these conditions could cause your vehicle to
overheat. If this happens while the cover is being
used, remove the cover.
•Do not use the winter cover if towing a trailer. The
added power needed to tow a trailer requires the
radiator grille to have full airflow under all conditions.
Your vehicle may overheat if the cover is used while
towing a trailer.
•Do not modify the cover. The winter cover does
not cover some sections of the front of the vehicle
because these openings are needed to provide
enough airflow to the radiator grille and air cooler
in extremely cold temperatures.
2-6
ProCarManuals.com
Page 23 of 100
Towing............................................................4-2
Towing a Trailer.............................................4-2
Section 4 Driving Your Vehicle
4-1
ProCarManuals.com
Page 24 of 100
Towing
Towing a Trailer
When towing at high altitude on steep uphill grades,
consider the following:
Engine coolant will boil at a lower temperature than sea
level. If you turn your engine off immediately after towing
at high altitude on steep uphill grades, your vehicle may
show signs similar to engine overheating.To avoid this, let the engine run while parked (preferably
on level ground) with automatic transmission equipped
vehicles in PARK (P) or manual transmission equipped
vehicles in NEUTRAL with the park brake applied for at
least five minutes before turning the engine off. If you do
get the overheat warning, seeEngine Overheating on
page 5-39.
4-2
ProCarManuals.com
Page 45 of 100
A. Battery
B. Coolant Surge Tank
C. Automatic Transmission Dipstick
D. Engine Fan
E. Engine Air Cleaner/Filter
F. Engine Oil Fill Cap
G. Power Steering Fluid Reservoir
H. Brake Fluid Reservoir
I. Windshield Washer Fluid Reservoir
Engine Oil
Checking Engine Oil
It is a good idea to check your engine oil level every
time you get fuel.
The engine oil dipstick handle is a yellow loop.
SeeEngine Compartment Overview on page 5-18
for the location of the engine oil dipstick.In order to get an accurate reading, the oil must be
warm, at normal operating temperature, and the vehicle
must be on level ground.
1. Turn off the engine and give the oil at least
five minutes to drain back into the oil pan. With a
cool engine, allow 30 minutes. If you do not do this,
the oil dipstick might not show the actual level.
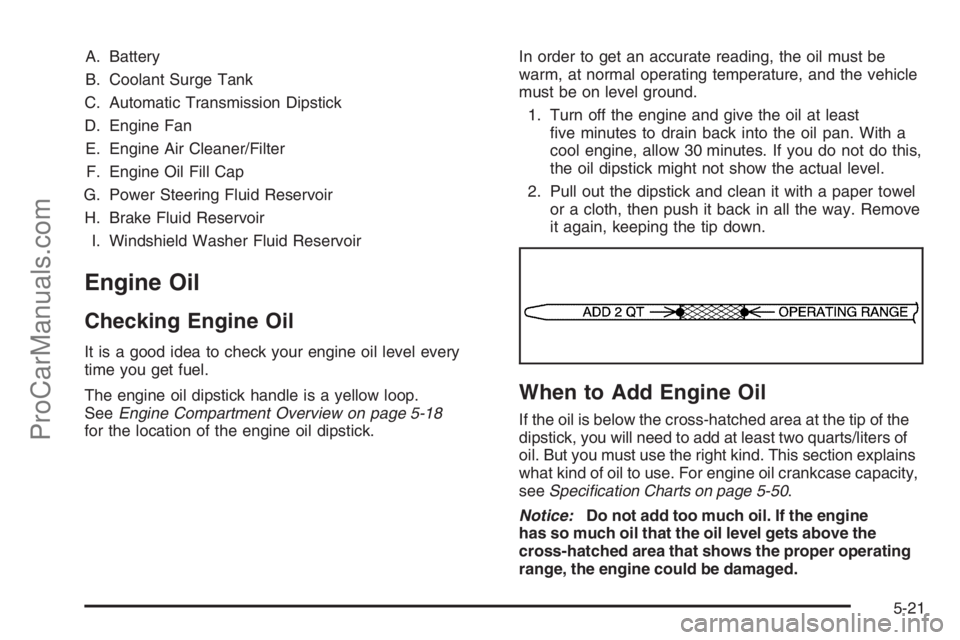
2. Pull out the dipstick and clean it with a paper towel
or a cloth, then push it back in all the way. Remove
it again, keeping the tip down.
When to Add Engine Oil
If the oil is below the cross-hatched area at the tip of the
dipstick, you will need to add at least two quarts/liters of
oil. But you must use the right kind. This section explains
what kind of oil to use. For engine oil crankcase capacity,
seeSpeci�cation Charts on page 5-50.
Notice:Do not add too much oil. If the engine
has so much oil that the oil level gets above the
cross-hatched area that shows the proper operating
range, the engine could be damaged.
5-21
ProCarManuals.com
Page 53 of 100
Automatic Transmission Fluid
When to Check and Change
(Pickup Models)
A good time to check your automatic transmission fluid
level is when the engine oil is changed.
Change both the fluid and filter every 25,000 miles
(41 500 km) if the vehicle is mainly driven under one
or more of these conditions:
•In heavy city traffic where the outside temperature
regularly reaches 90°F (32°C) or higher.
•In hilly or mountainous terrain.
•When doing frequent trailer towing.
•Uses such as found in taxi, police or
delivery service.
If you do not use your vehicle under any of
these conditions, change the fluid and filter
every 50,000 miles (83 000 km).
SeeScheduled Maintenance on page 6-4.
How to Check
Because this operation can be a little difficult, you may
choose to have this done at the dealership service
department.
If you do it yourself, be sure to follow all the instructions
here, or you could get a false reading on the dipstick.
Notice:Too much or too little �uid can damage your
transmission. Too much can mean that some of the
�uid could come out and fall on hot engine part or
exhaust system parts, starting a �re. Too little �uid
could cause the transmission to overheat. Be sure
to get an accurate reading if you check your
transmission �uid.
Wait at least 30 minutes before checking the
transmission fluid level if you have been driving:
•When outside temperatures are above 90°F (32°C).
•At high speed for quite a while.
•In heavy traffic — especially in hot weather.
•While pulling a trailer.
5-29
ProCarManuals.com
Page 54 of 100
Checking the Fluid Level
Prepare your vehicle as follows:
•Park your vehicle on a level place. Keep the
engine running.
•With the parking brake applied, place the shift lever
in PARK (P).
•With your foot on the brake pedal, run the engine
for at least one minute and shift to DRIVE (D).
Then shift to NEUTRAL (N) and then REVERSE (R)
to fill the hydraulic system. Then, put the shift
lever in PARK (P).
•Allow the engine to run at idle (500 – 800 rpm).
Slowly release the brake pedal.Then, without shutting off the engine, follow these steps:
Cold Check Procedure
The purpose of the cold check is to determine if the
transmission has enough fluid to be operated safely until
a hot check can be made. The fluid level rises as fluid
temperature increases. DO NOT fill above the COLD
CHECK band if the transmission fluid is below normal
operating temperatures.
1. Pull out the dipstick and wipe it with a clean rag or
paper towel. The transmission dipstick is located
near the center of the engine compartment. See
Engine Compartment Overview on page 5-18for
more information on location.
2. Push it back in all the way, wait three seconds and
then pull it back out again.
3. Check the fluid level reading. Repeat the check
procedure to verify the reading.
4. If the fluid level is within the COLD CHECK band, the
transmission may be operated until the fluid is hot
enough to perform a hot check. If the fluid level is not
within the COLD CHECK band, add or drain fluid as
necessary to bring the level into the middle of the
COLD CHECK band.
5-30
ProCarManuals.com
Page 55 of 100
5. Perform a hot check at the first opportunity after the
normal operating temperature of 160°F (71°C) to
200°F (93°C) is reached.
6. If the fluid level is in the acceptable range, push the
dipstick back in all the way.
Hot Check Procedure
The fluid must be hot to ensure an accurate check.
The fluid level rises as temperature increases.
1. Operate the transmission in DRIVE (D) until the
normal operating temperature of 160°F (71°C) to
200°F (93°C) is reached.
2. Pull out the dipstick and wipe it with a clean rag or
paper towel.
3. Push it back in all the way, wait three seconds
and then pull it back out again. Repeat the check
procedure to verify the reading.
4. Safe operating level is within the HOT RUN band
on the dipstick. The width of the HOT RUN band
represents approximately 1.06 quart (1.0 liter)
of fluid at normal operating temperature.
5. If the fluid level is not within the HOT RUN band,
add or drain fluid as necessary to bring the fluid
level to within the HOT RUN band.
6. If the fluid level is in the acceptable range, push the
dipstick back in all the way.
Consistency of Readings
Always check the fluid level at least twice using the
procedures described previously. Consistency
(repeatable readings) is important to maintaining proper
fluid level. If inconsistent readings persist, check the
transmission breather to be sure it is clean and
unclogged. If readings are still inconsistent, contact
your dealer.
How to Add Fluid
Refer to the Maintenance Schedule to determine what
kind of transmission fluid to use. SeeRecommended
Fluids and Lubricants on page 6-15.
Add fluid only after checking the transmission fluid while
it is hot. A cold check is used only as a reference. If the
fluid level is low, add only enough of the proper fluid to
bring the level up to the HOT area for a hot check. It
doesn’t take much fluid, generally less than one pint
(0.5 L).Don’t over�ll.
Notice:Use of the incorrect automatic transmission
�uid may damage your vehicle, and the damages may
not be covered by your warranty. Always use the
automatic transmission �uid listed inRecommended
Fluids and Lubricants on page 6-15.
•After adding fluid, recheck the fluid level as described
under “How to Check.”
•When the correct fluid level is obtained, push the
dipstick back in all the way.
5-31
ProCarManuals.com
Page 57 of 100
Checking the Fluid Level
Prepare your vehicle as follows:
•Park your vehicle on a level place. Keep the engine
running.
•With the parking brake applied, place the shift lever
in PARK (P).
•With your foot on the brake pedal, move the shift
lever through each gear range, pausing for about
three seconds in each range. Then, position the shift
lever in PARK (P).
•Let the engine run at idle for three minutes or more.
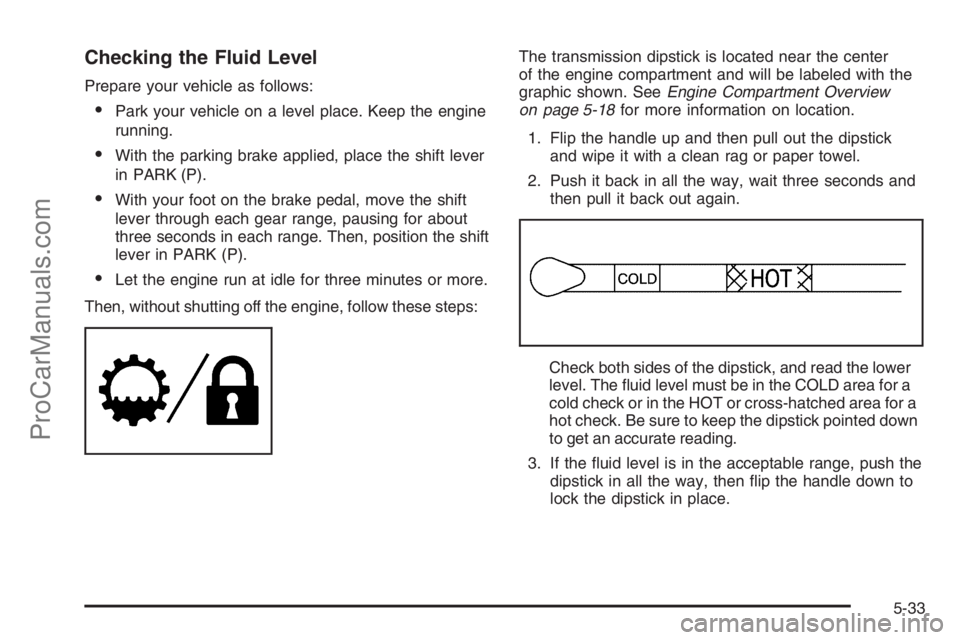
Then, without shutting off the engine, follow these steps:The transmission dipstick is located near the center
of the engine compartment and will be labeled with the
graphic shown. SeeEngine Compartment Overview
on page 5-18for more information on location.
1. Flip the handle up and then pull out the dipstick
and wipe it with a clean rag or paper towel.
2. Push it back in all the way, wait three seconds and
then pull it back out again.
Check both sides of the dipstick, and read the lower
level. The fluid level must be in the COLD area for a
cold check or in the HOT or cross-hatched area for a
hot check. Be sure to keep the dipstick pointed down
to get an accurate reading.
3. If the fluid level is in the acceptable range, push the
dipstick in all the way, then flip the handle down to
lock the dipstick in place.
5-33
ProCarManuals.com
Page 64 of 100
If Steam Is Coming From Your Engine
{CAUTION:
Steam from an overheated engine can burn you
badly, even if you just open the hood. Stay away
from the engine if you see or hear steam coming
from it. Just turn it off and get everyone away
from the vehicle until it cools down. Wait until
there is no sign of steam or coolant before
you open the hood.
If you keep driving when your engine is
overheated, the liquids in it can catch �re.
You or others could be badly burned. Stop
your engine if it overheats, and get out of the
vehicle until the engine is cool.
Notice:If your engine catches �re because you keep
driving with no coolant, your vehicle can be badly
damaged. The costly repairs would not be covered
by your warranty.
If No Steam Is Coming From
Your Engine
An overheat warning, along with a low coolant condition,
can indicate a serious problem.
If you get an engine overheat warning and don’t have a
low coolant condition, but see or hear no steam, the
problem may not be too serious. Sometimes the engine
can get a little too hot when you:
•Climb a long hill on a hot day.
•Stop after high-speed driving.
•Idle for long periods in traffic.
•Tow a trailer. See “Driving on Grades” in the
owner’s manual Index.
5-40
ProCarManuals.com