brake CHEVROLET EPICA 2004 1.G Owners Manual
[x] Cancel search | Manufacturer: CHEVROLET, Model Year: 2004, Model line: EPICA, Model: CHEVROLET EPICA 2004 1.GPages: 338, PDF Size: 2.38 MB
Page 60 of 338
•Your vehicle is equipped with a crash sensing
and diagnostic module, which records information
about the frontal air bag system. The module
records information about the readiness of the
system, when the system commands air bag
inflation and driver’s safety belt usage at deployment.
The module also records speed, engine rpm,
brake and throttle data.
•Let only qualified technicians work on your air bag
systems. Improper service can mean that an air bag
system will not work properly. See your dealer for
service.
Notice:If you damage the covering for the driver’s
or the right front passenger’s air bag, or an air
bag covering on a seatback, the bag may not work
properly. You may have to replace the air bag
module in the steering wheel, both the air bag
module and the instrument panel for the right front
passenger’s air bag, or the air bag module and
seatback for a side impact air bag. Do not open
or break the air bag coverings.
Servicing Your Air Bag-Equipped
Vehicle
Air bags affect how your vehicle should be serviced.
There are parts of the air bag systems in several places
around your vehicle. Your dealer and the service manual
have information about servicing your vehicle and the air
bag systems. To purchase a service manual, seeService
Publications Ordering Information on page 7-12.
{CAUTION:
For up to 10 seconds after the ignition key is
turned off and the battery is disconnected,
an air bag can still in�ate during improper
service. You can be injured if you are close
to an air bag when it in�ates. Avoid yellow
connectors. They are probably part of the air
bag system. Be sure to follow proper service
procedures, and make sure the person
performing work for you is quali�ed to do so.
The air bag systems do not need regular maintenance.
1-54
Page 63 of 338
Keys...............................................................2-2
Remote Keyless Entry System.........................2-4
Remote Keyless Entry System Operation...........2-5
Doors and Locks.............................................2-7
Door Locks....................................................2-7
Central Door Unlocking System........................2-8
Power Door Locks..........................................2-9
Door Ajar Reminder........................................2-9
Rear Door Security Locks..............................2-10
Lockout Protection........................................2-10
Leaving Your Vehicle....................................2-11
Trunk..........................................................2-11
Windows........................................................2-13
Power Windows............................................2-14
Sun Visors...................................................2-14
Theft-Deterrent Systems..................................2-15
Theft-Deterrent System..................................2-15
Immobilizer..................................................2-17
Immobilizer Operation....................................2-17
Starting and Operating Your Vehicle................2-18
New Vehicle Break-In....................................2-18
Ignition Positions..........................................2-19
Starting Your Engine.....................................2-20Engine Coolant Heater..................................2-21
Automatic Transaxle Operation.......................2-22
Parking Brake..............................................2-26
Shifting Into Park (P).....................................2-27
Shifting Out of Park (P).................................2-28
Parking Over Things That Burn.......................2-29
Engine Exhaust............................................2-29
Running Your Engine While
You Are Parked........................................2-30
Mirrors...........................................................2-31
Manual Rearview Mirror.................................2-31
Automatic Dimming Rearview Mirror................2-31
Outside Power Mirrors...................................2-32
Outside Convex Mirror...................................2-33
Outside Heated Mirrors..................................2-33
Storage Areas................................................2-33
Glove Box...................................................2-33
Cupholder(s)................................................2-33
Coinholder(s)................................................2-33
Sunglasses Storage Compartment...................2-34
Center Console Storage Area.........................2-34
Rear Seat Armrest........................................2-34
Sunroof.........................................................2-35
Section 2 Features and Controls
2-1
Page 80 of 338
When trying to start the vehicle, if the engine does
not start and the security light continues flashing, the
key may have a damaged transponder. Turn the ignition
off and try again.
If the engine still does not start, and the key appears to
be undamaged, try another key. At this time, you may
also want to check the fuse. SeeFuses and Circuit
Breakers on page 5-79. If the engine still does not start
with the other key, your vehicle needs service. If your
vehicle does start, the first key may be faulty. See your
dealer who can service the theft-deterrent system to
have a new key made.
Up to four keys may be programmed for the vehicle.
If you lose or damage your keys, only a GM dealer
can service the theft-deterrent system to have new
keys made.
If you are ever driving and the security light comes on
and stays on, you will be able to restart your engine
if you turn it off. The theft-deterrent system, however,
is not working properly and must be serviced by
your dealer. Your vehicle is not protected by the
theft-deterrent system at this time.
In an emergency, contact Chevrolet Roadside
Assistance. SeeRoadside Assistance Program
on page 7-6.Starting and Operating Your
Vehicle
New Vehicle Break-In
Notice:Your vehicle does not need an elaborate
“break-in.” But it will perform better in the long run
if you follow these guidelines:
Do not drive at any one speed — fast or
slow — for the �rst 500 miles (805 km).
Do not make full-throttle starts.
Avoid making hard stops for the �rst
200 miles (322 km) or so. During this time
your new brake linings are not yet broken in.
Hard stops with new linings can mean
premature wear and earlier replacement.
Follow this breaking-in guideline every time
you get new brake linings.
Do not tow a trailer during break-in.
SeeTowing a Trailer on page 4-35for
more information.
2-18
Page 84 of 338
Automatic Transaxle Operation
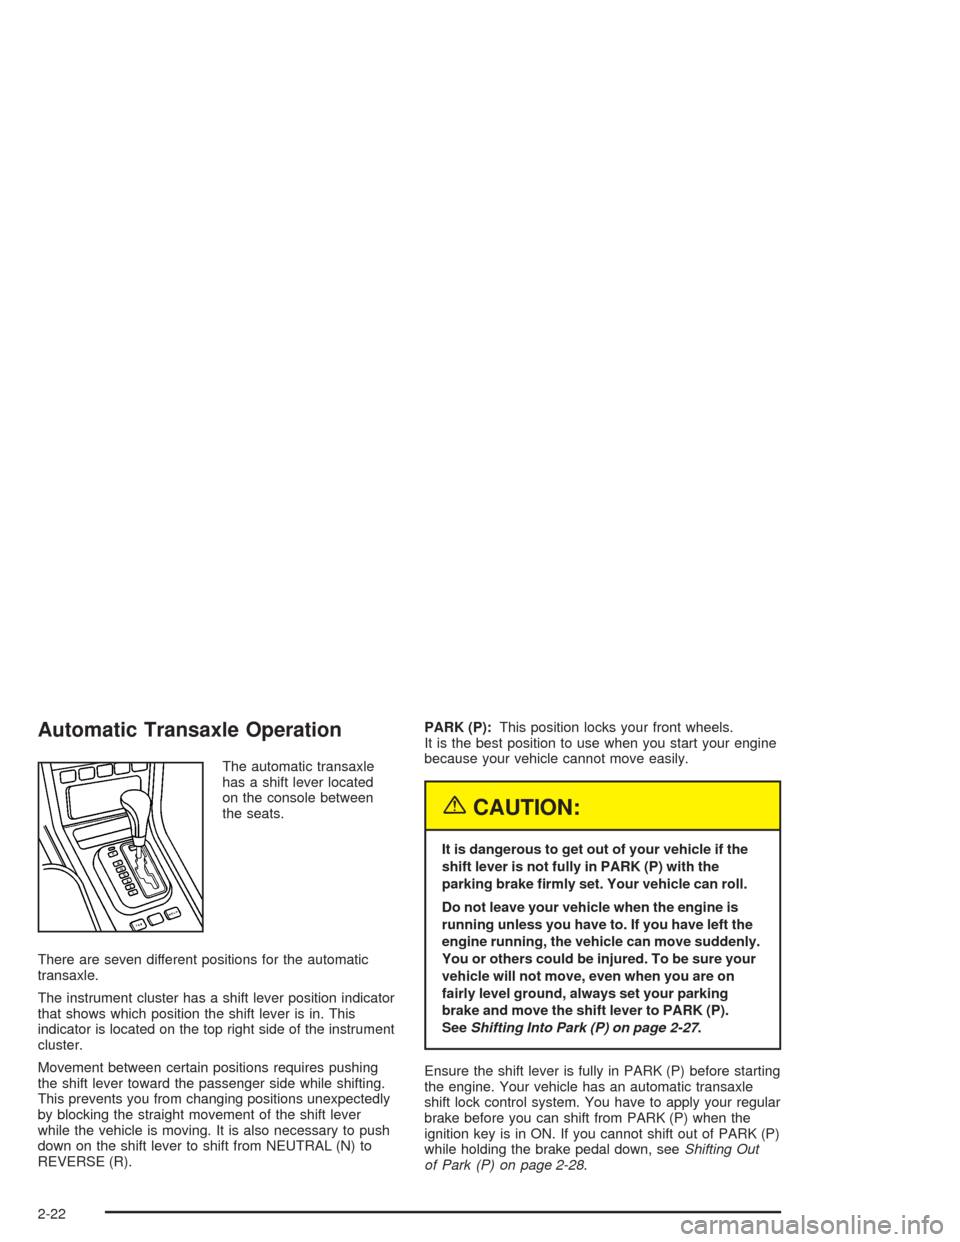
The automatic transaxle
has a shift lever located
on the console between
the seats.
There are seven different positions for the automatic
transaxle.
The instrument cluster has a shift lever position indicator
that shows which position the shift lever is in. This
indicator is located on the top right side of the instrument
cluster.
Movement between certain positions requires pushing
the shift lever toward the passenger side while shifting.
This prevents you from changing positions unexpectedly
by blocking the straight movement of the shift lever
while the vehicle is moving. It is also necessary to push
down on the shift lever to shift from NEUTRAL (N) to
REVERSE (R).PARK (P):This position locks your front wheels.
It is the best position to use when you start your engine
because your vehicle cannot move easily.
{CAUTION:
It is dangerous to get out of your vehicle if the
shift lever is not fully in PARK (P) with the
parking brake �rmly set. Your vehicle can roll.
Do not leave your vehicle when the engine is
running unless you have to. If you have left the
engine running, the vehicle can move suddenly.
You or others could be injured. To be sure your
vehicle will not move, even when you are on
fairly level ground, always set your parking
brake and move the shift lever to PARK (P).
SeeShifting Into Park (P) on page 2-27.
Ensure the shift lever is fully in PARK (P) before starting
the engine. Your vehicle has an automatic transaxle
shift lock control system. You have to apply your regular
brake before you can shift from PARK (P) when the
ignition key is in ON. If you cannot shift out of PARK (P)
while holding the brake pedal down, seeShifting Out
of Park (P) on page 2-28.
2-22
Page 85 of 338
REVERSE (R):Use this gear to back up.
When shifting from NEUTRAL (N) to REVERSE (R), you
must press down on the shift lever and push it toward
the passenger side of the vehicle while shifting.
Notice:Shifting to REVERSE (R) while your vehicle
is moving forward could damage the transaxle. The
repairs would not be covered by your warranty. Shift
to REVERSE (R) only after your vehicle is stopped.
To rock your vehicle back and forth to get out of snow,
ice or sand without damaging your transaxle, seeIf You
Are Stuck: In Sand, Mud, Ice or Snow on page 4-28.
NEUTRAL (N):In this position, your engine does not
connect with the wheels. To restart while you are
already moving, use NEUTRAL (N) only. Also, use
NEUTRAL (N) when your vehicle is being towed.
{CAUTION:
Shifting into a drive gear while your engine is
running at high speed is dangerous. Unless
your foot is �rmly on the brake pedal, your
vehicle could move very rapidly. You could
lose control and hit people or objects. Do not
shift into a drive gear while your engine is
running at high speed.Notice:Shifting out of PARK (P) or NEUTRAL (N)
with the engine racing may damage the transaxle.
The repairs would not be covered by your warranty.
Be sure the engine is not racing when shifting
your vehicle.
AUTOMATIC OVERDRIVE (D):This position is for
normal driving.
THIRD (3):This position gives you more power and
lower fuel economy than AUTOMATIC OVERDRIVE (D).
Here are some times you might choose THIRD (3)
instead of AUTOMATIC OVERDRIVE (D):
•When driving on hilly, winding roads.
•When going down a steep hill.
SECOND (2):This position gives you more power but
lower fuel economy. You can use SECOND (2) on
hills. It can help control your speed as you go down
steep mountain roads, but then you would also want to
use your brakes off and on.
Notice:Do not drive in SECOND (2) at speeds over
65 mph (105 km/h), or you can damage the transaxle.
Use THIRD (3) or AUTOMATIC OVERDRIVE (D) as
much as possible. Do not shift into SECOND (2)
unless you are going slower than 65 mph (105 km/h)
or you can damage your engine.
2-23
Page 86 of 338
FIRST (1):This position gives you even more power
but lower fuel economy than SECOND (2). You can use
it on very steep hills, or in deep snow or mud. If the
shift lever is put in FIRST (1), the transaxle will not shift
into first gear until the vehicle is going slowly enough.
Notice:Spinning the tires or holding the vehicle in
one place on a hill using only the accelerator
pedal may damage the transaxle. If you are stuck,
do not spin the tires. When stopping on a hill,
use the brakes to hold the vehicle in place.
Adaptive Shift Logic
Your automatic transaxle will automatically select from
three adaptive shift patterns based upon driver behavior:
•Economy mode provides a softer shift feel and
optimizes fuel economy.
•Normal mode provides a solid shift feel and is used
for normal driving conditions.
•Sport mode provides a firm shift feel and optimizes
performance.The driver cannot manually select the shift pattern. The
adaptive shift logic tries to operate in economy mode
as much as possible. Normal and sport modes are used
as little as possible in order to maximize fuel economy.
The first few shifts of every drive cycle may be
somewhat rough until the adaptive shift logic has
learned the driver’s behavior. This is normal.
The transaxle also has the ability to adapt to changing
road grade conditions. It will shift between three
different load settings:
•Load 1 is designed for driving on moderate road
grades.
•Load 2 is designed for driving on steep road
grades.
•Load 3 is designed for driving downhill and allows
for better engine braking.
If there is a malfunction with the automatic transaxle, the
malfunction indicator lamp (MIL) or the HOLD indicator
light will turn on or flash. SeeMalfunction Indicator Lamp
on page 3-39orHold Mode Light on page 3-38.
Have your vehicle fixed as soon as possible.
2-24
Page 88 of 338
Parking Brake
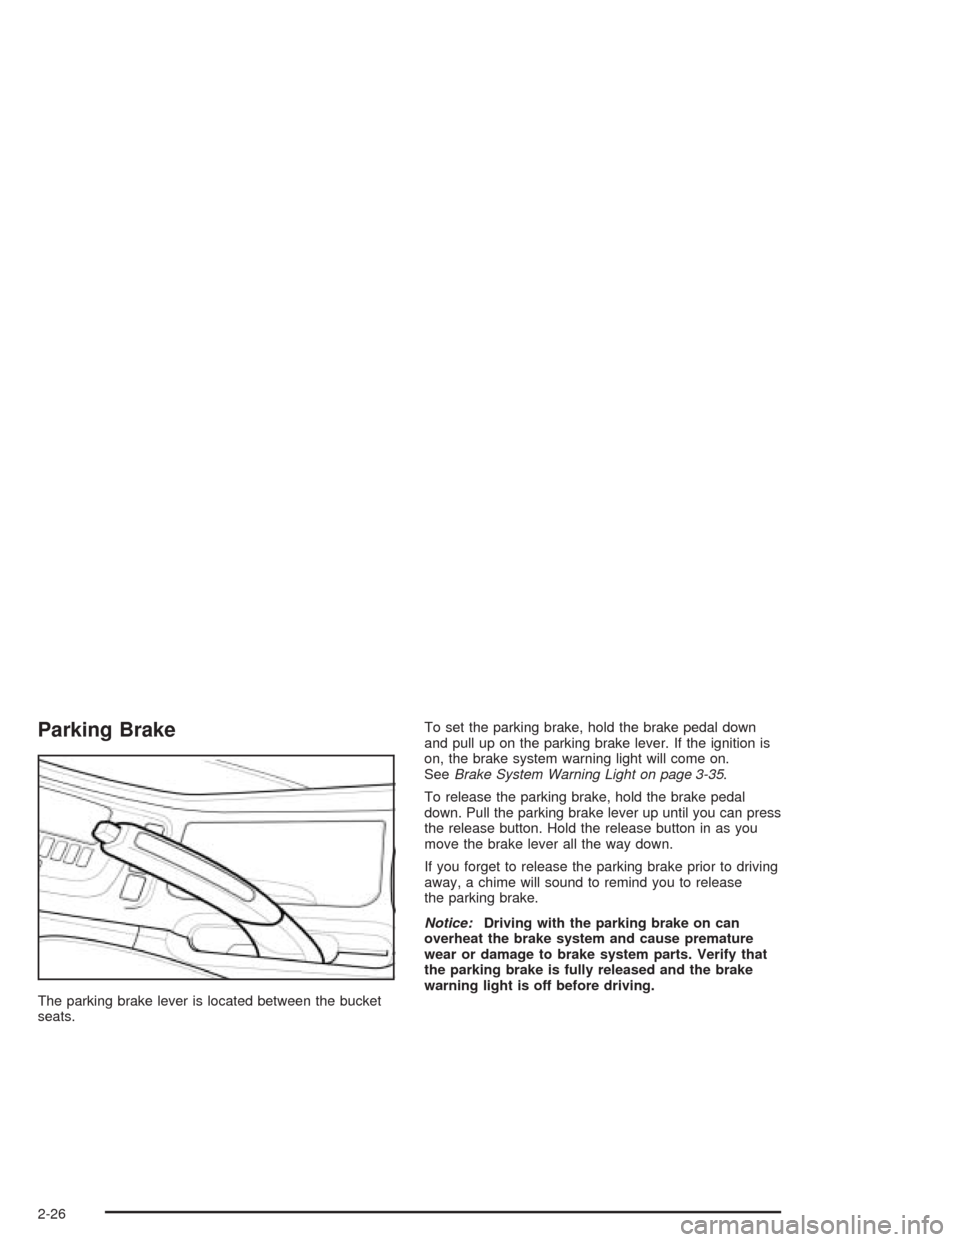
The parking brake lever is located between the bucket
seats.To set the parking brake, hold the brake pedal down
and pull up on the parking brake lever. If the ignition is
on, the brake system warning light will come on.
SeeBrake System Warning Light on page 3-35.
To release the parking brake, hold the brake pedal
down. Pull the parking brake lever up until you can press
the release button. Hold the release button in as you
move the brake lever all the way down.
If you forget to release the parking brake prior to driving
away, a chime will sound to remind you to release
the parking brake.
Notice:Driving with the parking brake on can
overheat the brake system and cause premature
wear or damage to brake system parts. Verify that
the parking brake is fully released and the brake
warning light is off before driving.
2-26
Page 89 of 338
Shifting Into Park (P)
{CAUTION:
It can be dangerous to get out of your vehicle
if the shift lever is not fully in PARK (P) with
the parking brake �rmly set. Your vehicle can
roll. If you have left the engine running, the
vehicle can move suddenly. You or others
could be injured. To be sure your vehicle will
not move, even when you are on fairly level
ground, use the steps that follow.
1. Hold the brake pedal down and set the parking
brake.
2. Move the shift lever into PARK (P) by pushing the
lever up and toward the driver’s side of the vehicle.
3. Turn the ignition key to LOCK.
4. Remove the key and take it with you. If you can
leave your vehicle with the ignition key in your
hand, your vehicle is in PARK (P).
Leaving Your Vehicle With the Engine
Running
{CAUTION:
It can be dangerous to leave your vehicle with
the engine running. Your vehicle could move
suddenly if the shift lever is not fully in
PARK (P) with the parking brake �rmly set.
And, if you leave the vehicle with the engine
running, it could overheat and even catch �re.
You or others could be injured. Do not leave
your vehicle with the engine running.
If you have to leave your vehicle with the engine
running, be sure your vehicle is in PARK (P) and your
parking brake is firmly set before you leave it. After you
have moved the shift lever into PARK (P), hold the
regular brake pedal down. Then, see if you can move
the shift lever away from PARK (P). If you can, it means
that the shift lever was not fully locked into PARK (P).
2-27
Page 90 of 338
Torque Lock
If you are parking on a hill and you do not shift your
transaxle into PARK (P) properly, the weight of the
vehicle may put too much force on the parking pawl in
the transaxle. You may find it difficult to pull the shift lever
out of PARK (P). This is called “torque lock.” To prevent
torque lock, set the parking brake and then shift into
PARK (P) properly before you leave the driver’s seat.
To find out how, seeShifting Into Park (P) on page 2-27.
When you are ready to drive, move the shift lever out of
PARK (P)beforeyou release the parking brake.
If torque lock does occur, you may need to have another
vehicle push yours a little uphill to take some of the
pressure from the parking pawl in the transaxle, so you
can pull the shift lever out of PARK (P).
Shifting Out of Park (P)
Your vehicle has an automatic transaxle shift-lock
control system. You have to fully apply your regular
brakes before you can shift from PARK (P) when
the ignition is turned to ON. SeeAutomatic Transaxle
Operation on page 2-22.
If you cannot shift out of PARK (P) while holding the
brake pedal down, try this:
1. Set the parking brake.
2. Turn the ignition off and remove the key.3. Remove the cover over the shift-lock release slot
by prying it off using a small, flat object, like a
screwdriver. The shift-lock release slot is located at
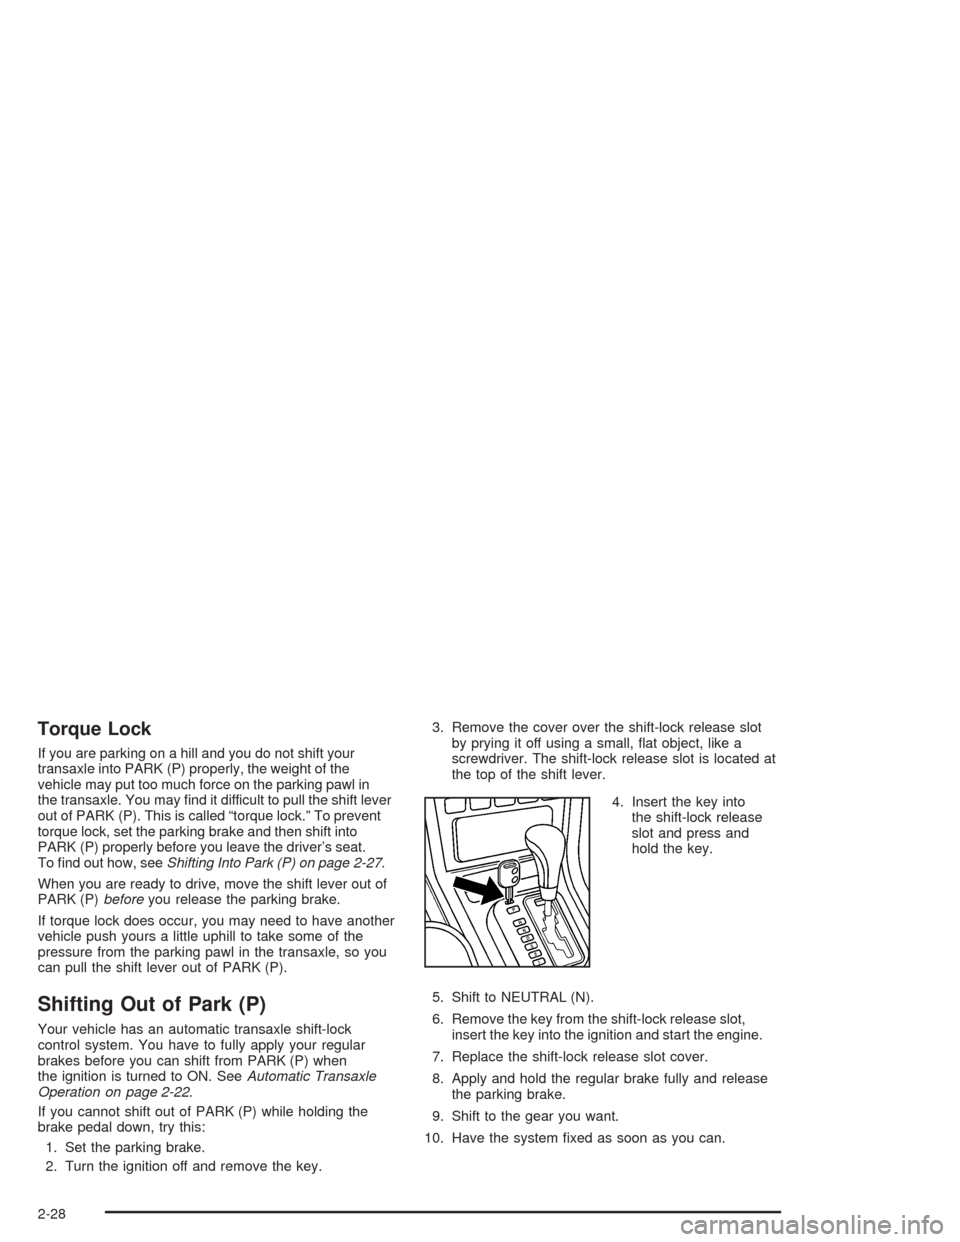
the top of the shift lever.
4. Insert the key into
the shift-lock release
slot and press and
hold the key.
5. Shift to NEUTRAL (N).
6. Remove the key from the shift-lock release slot,
insert the key into the ignition and start the engine.
7. Replace the shift-lock release slot cover.
8. Apply and hold the regular brake fully and release
the parking brake.
9. Shift to the gear you want.
10. Have the system fixed as soon as you can.
2-28
Page 92 of 338
Running Your Engine While You
Are Parked
It is better not to park with the engine running. But if
you ever have to, here are some things to know.
{CAUTION:
Idling the engine with the climate control
system off could allow dangerous exhaust into
your vehicle. See the earlier Caution under
Engine Exhaust on page 2-29.
Also, idling in a closed-in place can let deadly
carbon monoxide (CO) into your vehicle even
if the climate control fan is at the highest
setting. One place this can happen is a garage.
Exhaust — with CO — can come in easily.
NEVER park in a garage with the engine
running.
Another closed-in place can be a blizzard.
SeeWinter Driving on page 4-24.
{CAUTION:
It can be dangerous to get out of your vehicle
if the shift lever is not fully in PARK (P) with
the parking brake �rmly set. Your vehicle can
roll. Do not leave your vehicle when the engine
is running unless you have to. If you have left
the engine running, the vehicle can move
suddenly. You or others could be injured.
To be sure your vehicle will not move, even
when you are on fairly level ground, always
set your parking brake and move the shift
lever to PARK (P).
Follow the proper steps to be sure your vehicle will not
move. SeeShifting Into Park (P) on page 2-27.
If you are parking on a hill and if you are pulling a
trailer, also seeTowing a Trailer on page 4-35.
2-30