CHEVROLET EPICA 2005 1.G Owners Manual
Manufacturer: CHEVROLET, Model Year: 2005, Model line: EPICA, Model: CHEVROLET EPICA 2005 1.GPages: 340, PDF Size: 2.19 MB
Page 121 of 340
Accessory Power Outlets
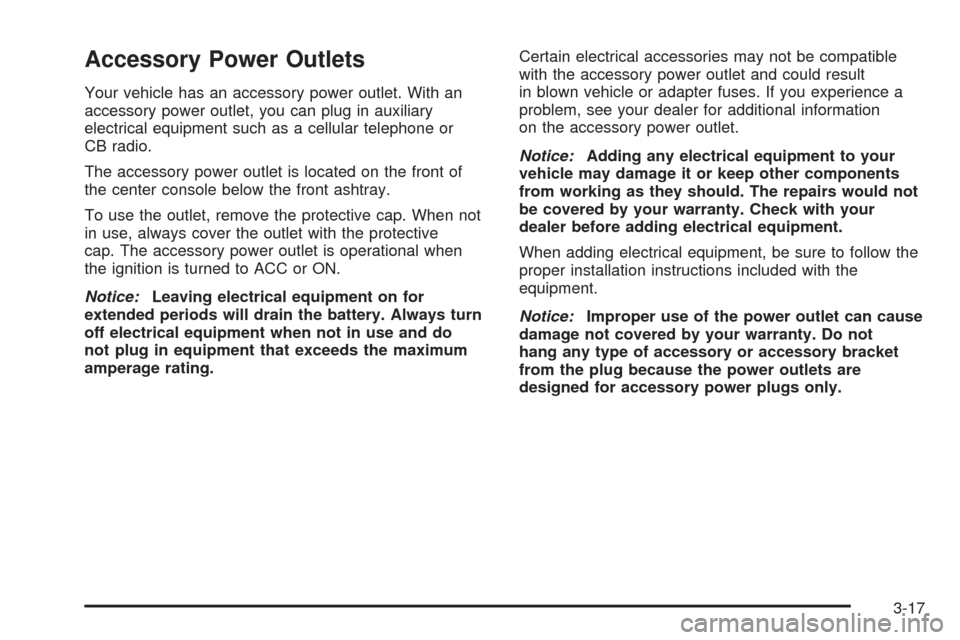
Your vehicle has an accessory power outlet. With an
accessory power outlet, you can plug in auxiliary
electrical equipment such as a cellular telephone or
CB radio.
The accessory power outlet is located on the front of
the center console below the front ashtray.
To use the outlet, remove the protective cap. When not
in use, always cover the outlet with the protective
cap. The accessory power outlet is operational when
the ignition is turned to ACC or ON.
Notice:Leaving electrical equipment on for
extended periods will drain the battery. Always turn
off electrical equipment when not in use and do
not plug in equipment that exceeds the maximum
amperage rating.Certain electrical accessories may not be compatible
with the accessory power outlet and could result
in blown vehicle or adapter fuses. If you experience a
problem, see your dealer for additional information
on the accessory power outlet.
Notice:Adding any electrical equipment to your
vehicle may damage it or keep other components
from working as they should. The repairs would not
be covered by your warranty. Check with your
dealer before adding electrical equipment.
When adding electrical equipment, be sure to follow the
proper installation instructions included with the
equipment.
Notice:Improper use of the power outlet can cause
damage not covered by your warranty. Do not
hang any type of accessory or accessory bracket
from the plug because the power outlets are
designed for accessory power plugs only.
3-17
Page 122 of 340
Ashtrays and Cigarette Lighter
The front ashtray and cigarette lighter are located at the
lower part of the center instrument panel, behind a
cover. Press in the cover and it will automatically open.
To remove the front ashtray for cleaning, pull the bin
out. To replace, press the bin back into place.
The rear ashtray is located at the rear of the center
console. To remove the rear ashtray, press in the
retaining spring and pull the bin out. To replace the rear
ashtray, insert the bottom tabs first and then press in
the retaining spring and push the ashtray closed.
Notice:If you put papers or other �ammable items
in the ashtray, hot cigarettes or other smoking
materials could ignite them and possibly damage
your vehicle. Never put �ammable items in the
ashtray.
The cigarette lighter is located to the right of the front
ashtray. To use it, turn the ignition to ACC or ON, push
the cigarette lighter in all the way and let go. When it
is ready, it will pop back out by itself.
Notice:Holding a cigarette lighter in while it is
heating will not allow the lighter to back away from
the heating element when it is hot. Damage from
overheating may occur to the lighter or heating
element. Do not hold a cigarette lighter in while it
is heating.
Clock
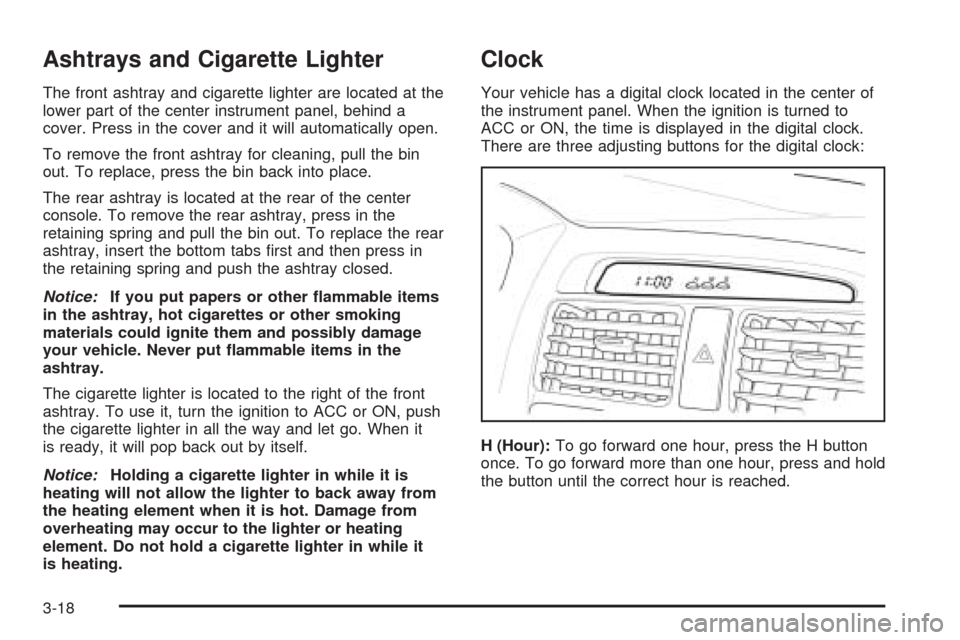
Your vehicle has a digital clock located in the center of
the instrument panel. When the ignition is turned to
ACC or ON, the time is displayed in the digital clock.
There are three adjusting buttons for the digital clock:
H (Hour):To go forward one hour, press the H button
once. To go forward more than one hour, press and hold
the button until the correct hour is reached.
3-18
Page 123 of 340
M (Minute):To go forward one minute, press the
M button once. To go forward more than one minute,
press and hold the button until the correct minute
is reached.
S (Set):To reset the time to the nearest hour, press the
S button.
For example, if the set button is pressed while the time
is between 8:00 and 8:29, the display is set to 8:00.
If this button is pressed while the time is between 8:30
and 8:59, the display is set to 9:00.
After disconnecting the battery or replacing the fuse,
reset the clock.Climate Controls
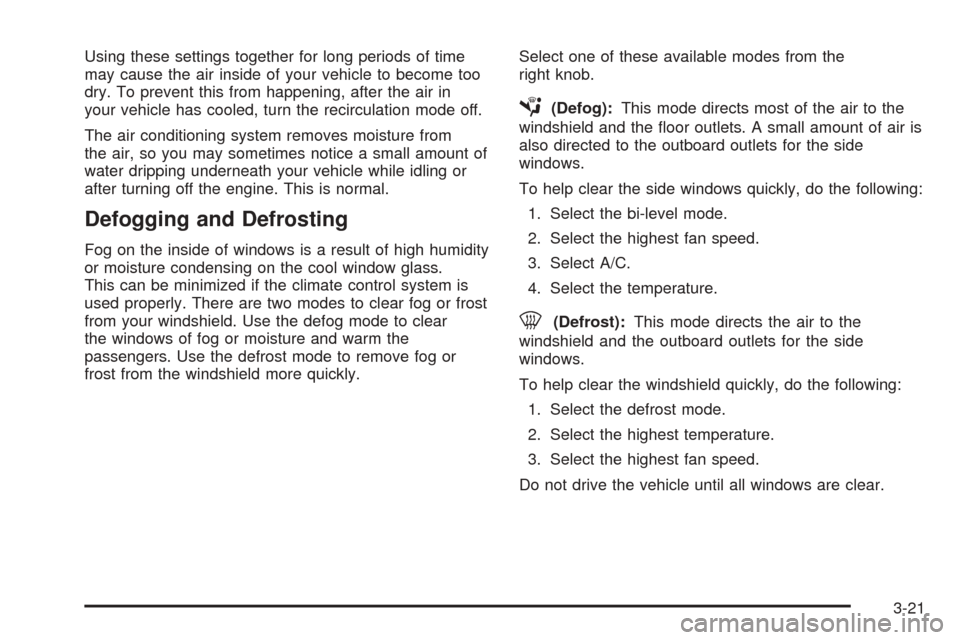
Climate Control System
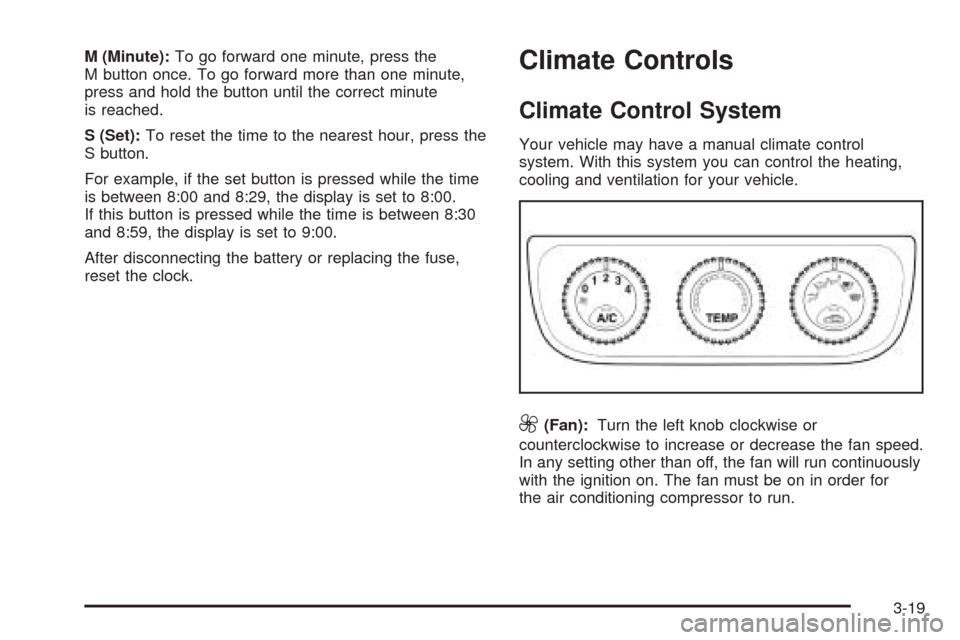
Your vehicle may have a manual climate control
system. With this system you can control the heating,
cooling and ventilation for your vehicle.
9(Fan):Turn the left knob clockwise or
counterclockwise to increase or decrease the fan speed.
In any setting other than off, the fan will run continuously
with the ignition on. The fan must be on in order for
the air conditioning compressor to run.
3-19
Page 124 of 340
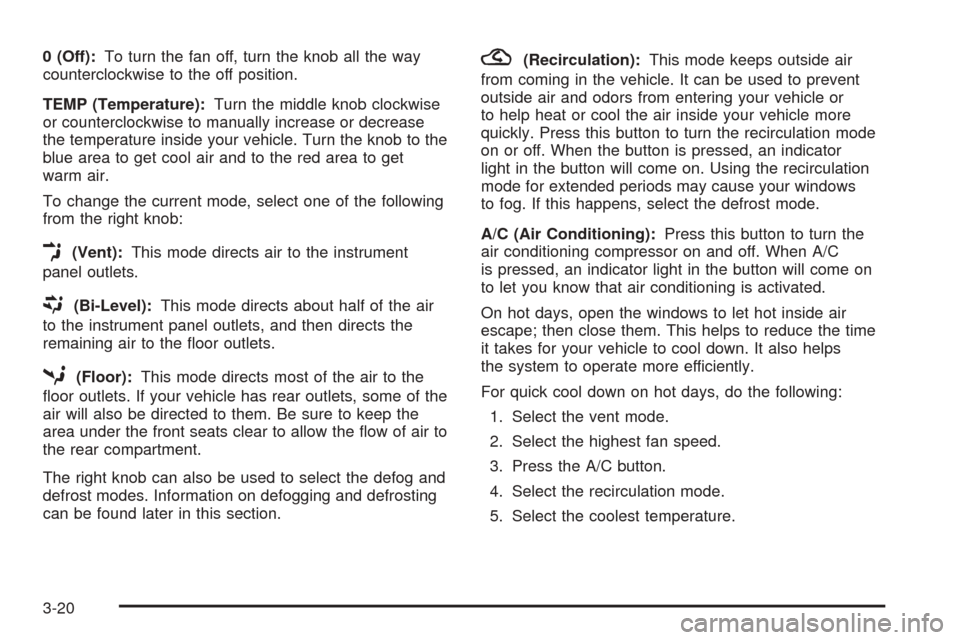
0 (Off):To turn the fan off, turn the knob all the way
counterclockwise to the off position.
TEMP (Temperature):Turn the middle knob clockwise
or counterclockwise to manually increase or decrease
the temperature inside your vehicle. Turn the knob to the
blue area to get cool air and to the red area to get
warm air.
To change the current mode, select one of the following
from the right knob:
E(Vent):This mode directs air to the instrument
panel outlets.
((Bi-Level):This mode directs about half of the air
to the instrument panel outlets, and then directs the
remaining air to the floor outlets.
5(Floor):This mode directs most of the air to the
floor outlets. If your vehicle has rear outlets, some of the
air will also be directed to them. Be sure to keep the
area under the front seats clear to allow the flow of air to
the rear compartment.
The right knob can also be used to select the defog and
defrost modes. Information on defogging and defrosting
can be found later in this section.
?(Recirculation):This mode keeps outside air
from coming in the vehicle. It can be used to prevent
outside air and odors from entering your vehicle or
to help heat or cool the air inside your vehicle more
quickly. Press this button to turn the recirculation mode
on or off. When the button is pressed, an indicator
light in the button will come on. Using the recirculation
mode for extended periods may cause your windows
to fog. If this happens, select the defrost mode.
A/C (Air Conditioning):Press this button to turn the
air conditioning compressor on and off. When A/C
is pressed, an indicator light in the button will come on
to let you know that air conditioning is activated.
On hot days, open the windows to let hot inside air
escape; then close them. This helps to reduce the time
it takes for your vehicle to cool down. It also helps
the system to operate more efficiently.
For quick cool down on hot days, do the following:
1. Select the vent mode.
2. Select the highest fan speed.
3. Press the A/C button.
4. Select the recirculation mode.
5. Select the coolest temperature.
3-20
Page 125 of 340
Using these settings together for long periods of time
may cause the air inside of your vehicle to become too
dry. To prevent this from happening, after the air in
your vehicle has cooled, turn the recirculation mode off.
The air conditioning system removes moisture from
the air, so you may sometimes notice a small amount of
water dripping underneath your vehicle while idling or
after turning off the engine. This is normal.
Defogging and Defrosting
Fog on the inside of windows is a result of high humidity
or moisture condensing on the cool window glass.
This can be minimized if the climate control system is
used properly. There are two modes to clear fog or frost
from your windshield. Use the defog mode to clear
the windows of fog or moisture and warm the
passengers. Use the defrost mode to remove fog or
frost from the windshield more quickly.Select one of these available modes from the
right knob.
É(Defog):This mode directs most of the air to the
windshield and the floor outlets. A small amount of air is
also directed to the outboard outlets for the side
windows.
To help clear the side windows quickly, do the following:
1. Select the bi-level mode.
2. Select the highest fan speed.
3. Select A/C.
4. Select the temperature.
0(Defrost):This mode directs the air to the
windshield and the outboard outlets for the side
windows.
To help clear the windshield quickly, do the following:
1. Select the defrost mode.
2. Select the highest temperature.
3. Select the highest fan speed.
Do not drive the vehicle until all windows are clear.
3-21
Page 126 of 340
Rear Window and Outside Mirror
Defogger
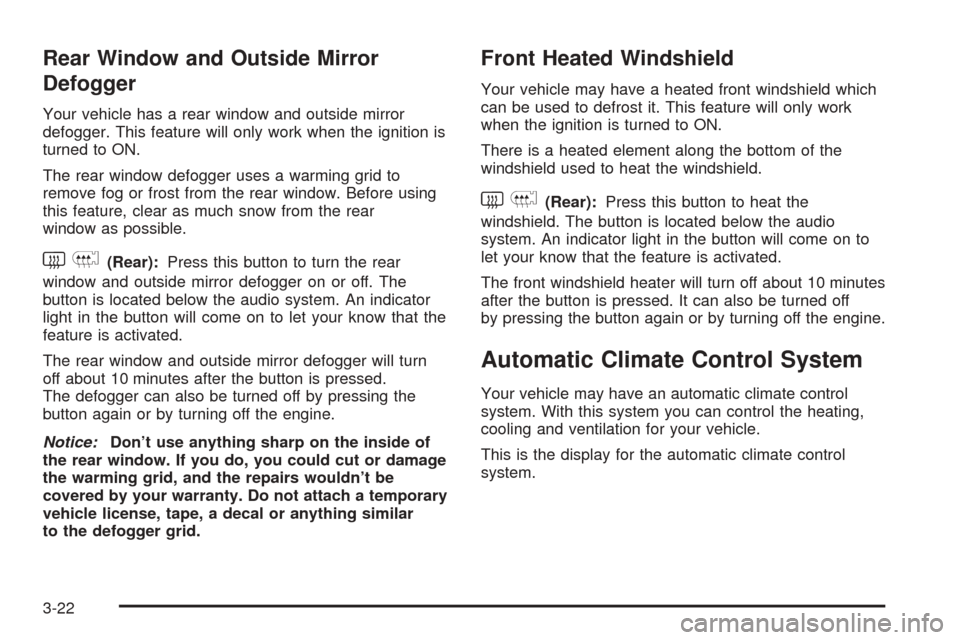
Your vehicle has a rear window and outside mirror
defogger. This feature will only work when the ignition is
turned to ON.
The rear window defogger uses a warming grid to
remove fog or frost from the rear window. Before using
this feature, clear as much snow from the rear
window as possible.
button is located below the audio system. An indicator
light in the button will come on to let your know that the
feature is activated.
The rear window and outside mirror defogger will turn
off about 10 minutes after the button is pressed.
The defogger can also be turned off by pressing the
button again or by turning off the engine.
Notice:Don’t use anything sharp on the inside of
the rear window. If you do, you could cut or damage
the warming grid, and the repairs wouldn’t be
covered by your warranty. Do not attach a temporary
vehicle license, tape, a decal or anything similar
to the defogger grid.
Front Heated Windshield
Your vehicle may have a heated front windshield which
can be used to defrost it. This feature will only work
when the ignition is turned to ON.
There is a heated element along the bottom of the
windshield used to heat the windshield.
system. An indicator light in the button will come on to
let your know that the feature is activated.
The front windshield heater will turn off about 10 minutes
after the button is pressed. It can also be turned off
by pressing the button again or by turning off the engine.
Automatic Climate Control System
Your vehicle may have an automatic climate control
system. With this system you can control the heating,
cooling and ventilation for your vehicle.
This is the display for the automatic climate control
system.
3-22
Page 127 of 340
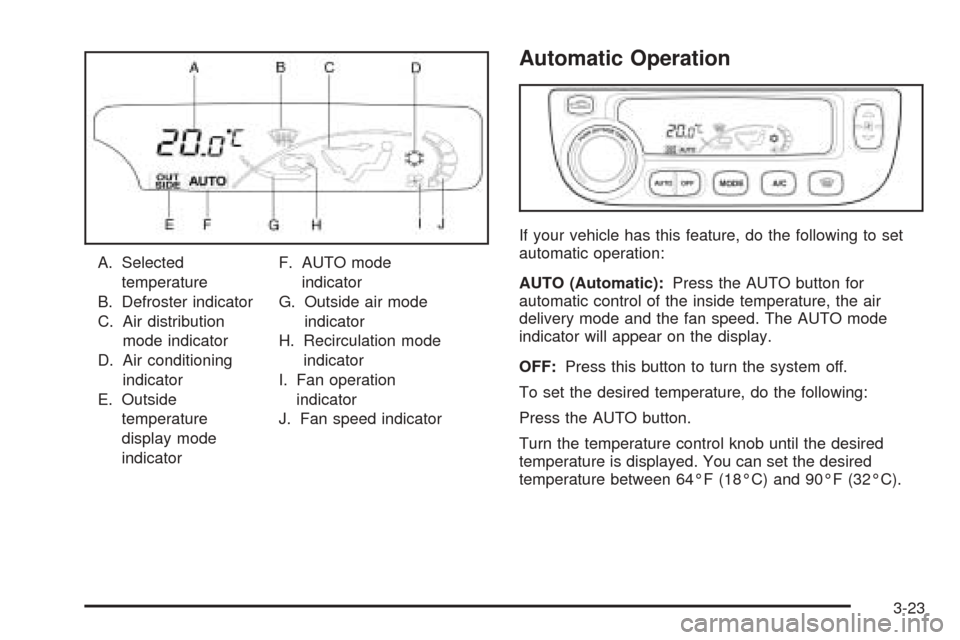
A. Selected
temperature
B. Defroster indicator
C. Air distribution
mode indicator
D. Air conditioning
indicator
E. Outside
temperature
display mode
indicatorF. AUTO mode
indicator
G. Outside air mode
indicator
H. Recirculation mode
indicator
I. Fan operation
indicator
J. Fan speed indicator
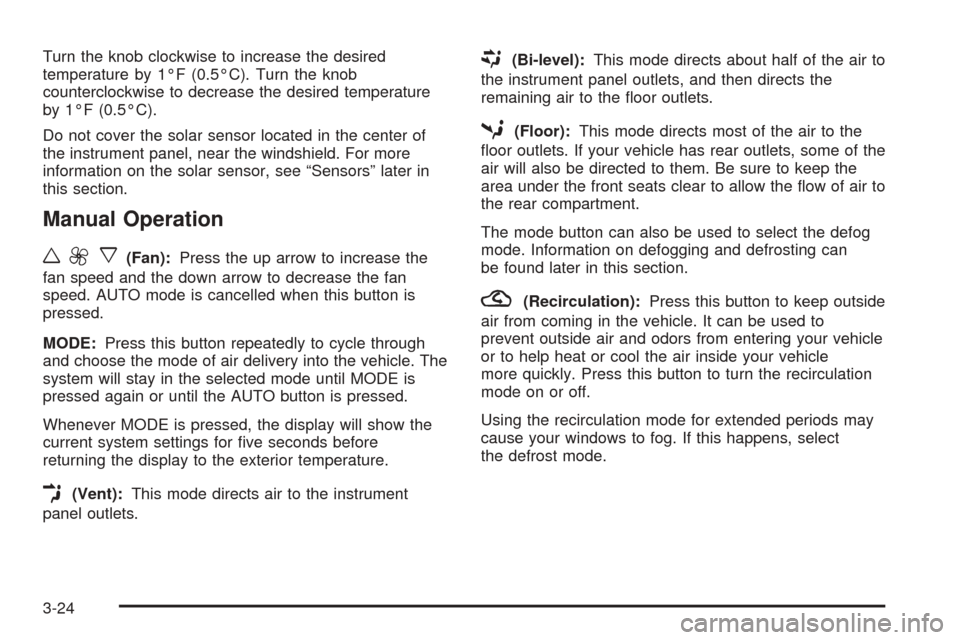
Automatic Operation
If your vehicle has this feature, do the following to set
automatic operation:
AUTO (Automatic):Press the AUTO button for
automatic control of the inside temperature, the air
delivery mode and the fan speed. The AUTO mode
indicator will appear on the display.
OFF:Press this button to turn the system off.
To set the desired temperature, do the following:
Press the AUTO button.
Turn the temperature control knob until the desired
temperature is displayed. You can set the desired
temperature between 64°F (18°C) and 90°F (32°C).
3-23
Page 128 of 340
Turn the knob clockwise to increase the desired
temperature by 1°F (0.5°C). Turn the knob
counterclockwise to decrease the desired temperature
by 1°F (0.5°C).
Do not cover the solar sensor located in the center of
the instrument panel, near the windshield. For more
information on the solar sensor, see “Sensors” later in
this section.
Manual Operation
w9x
(Fan):Press the up arrow to increase the
fan speed and the down arrow to decrease the fan
speed. AUTO mode is cancelled when this button is
pressed.
MODE:Press this button repeatedly to cycle through
and choose the mode of air delivery into the vehicle. The
system will stay in the selected mode until MODE is
pressed again or until the AUTO button is pressed.
Whenever MODE is pressed, the display will show the
current system settings for five seconds before
returning the display to the exterior temperature.
E(Vent):This mode directs air to the instrument
panel outlets.
((Bi-level):This mode directs about half of the air to
the instrument panel outlets, and then directs the
remaining air to the floor outlets.
5(Floor):This mode directs most of the air to the
floor outlets. If your vehicle has rear outlets, some of the
air will also be directed to them. Be sure to keep the
area under the front seats clear to allow the flow of air to
the rear compartment.
The mode button can also be used to select the defog
mode. Information on defogging and defrosting can
be found later in this section.
?(Recirculation):Press this button to keep outside
air from coming in the vehicle. It can be used to
prevent outside air and odors from entering your vehicle
or to help heat or cool the air inside your vehicle
more quickly. Press this button to turn the recirculation
mode on or off.
Using the recirculation mode for extended periods may
cause your windows to fog. If this happens, select
the defrost mode.
3-24
Page 129 of 340
A/C (Air Conditioning):Press this button to override
the automatic system and turn the air conditioning
system on or off. When A/C is pressed, the indicator
light on the display panel will come on to let you know
that it is activated.
Press this button again to turn the air conditioning
system off, or press the OFF button to turn the entire
system off.
On hot days, open the windows to let hot inside air
escape; then close them. This helps to reduce the time
it takes for your vehicle to cool down. It also helps
the system to operate more efficiently.
For quick cool down on hot days, press the AUTO
button and the system will automatically enter
recirculation mode and the temperature will be at the
full cold position for maximum cooling.
Using these settings together for long periods of time
may cause the air inside of your vehicle to become too
dry. To prevent this from happening, after the air in
your vehicle has cooled, turn the recirculation mode off.The air conditioning system removes moisture from the
air, so you may sometimes notice a small amount of
water dripping underneath your vehicle while idling
or after turning off the engine. This is normal.
Outside Temperature:To display the outside
temperature, press the temperature control knob.
Pressing this knob again will cancel the outside
temperature display, otherwise the display will return
to the temperature inside of the vehicle after about
five seconds.
The outside temperature sensor is located near the front
bumper, so the displayed temperature may be affected
by road or engine heat while the vehicle is idling or
traveling at slow speeds. For this reason, the displayed
temperature will be most accurate at speeds over
25 mph (40 km/h).
3-25
Page 130 of 340
Sensors
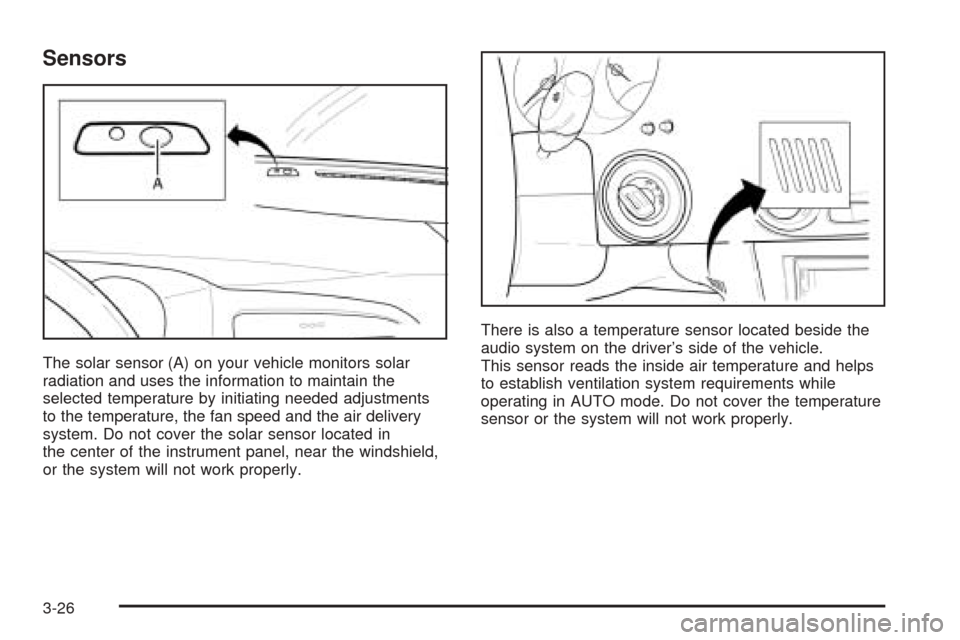
The solar sensor (A) on your vehicle monitors solar
radiation and uses the information to maintain the
selected temperature by initiating needed adjustments
to the temperature, the fan speed and the air delivery
system. Do not cover the solar sensor located in
the center of the instrument panel, near the windshield,
or the system will not work properly.There is also a temperature sensor located beside the
audio system on the driver’s side of the vehicle.
This sensor reads the inside air temperature and helps
to establish ventilation system requirements while
operating in AUTO mode. Do not cover the temperature
sensor or the system will not work properly.
3-26