lock CHEVROLET EXPRESS 1997 1.G Owner's Guide
[x] Cancel search | Manufacturer: CHEVROLET, Model Year: 1997, Model line: EXPRESS, Model: CHEVROLET EXPRESS 1997 1.GPages: 386, PDF Size: 20.32 MB
Page 88 of 386
Downloaded from www.Manualslib.com manuals search engine Shifting Out of PARK (P)
Your vehicle has a brake-transmission shift interlock
system. You have to fully apply your regular brakes
before you can shift from PARK
(P) when the ignition
is in RUN.
See “Automatic Transmission” in the Index.
If you cannot shift out of PARK
(P), ease pressure on
the shift lever and push the shift lever all the way up
into PARK (P) as
you maintain brake application.
Then, move the shift lever into the gear
you want.
If you ever hold the brake pedal down but still can’t
shift out
of PARK (P), try this:
1. Turn the key to OFF.
2. Apply and hold the brake until the end of Step 4.
3. Shift to NEUTRAL (N).
4. Start the vehicle and then shift to the drive gear
you want.
5. Have the brake-transmission shift interlock system
fixed as soon as
you can.
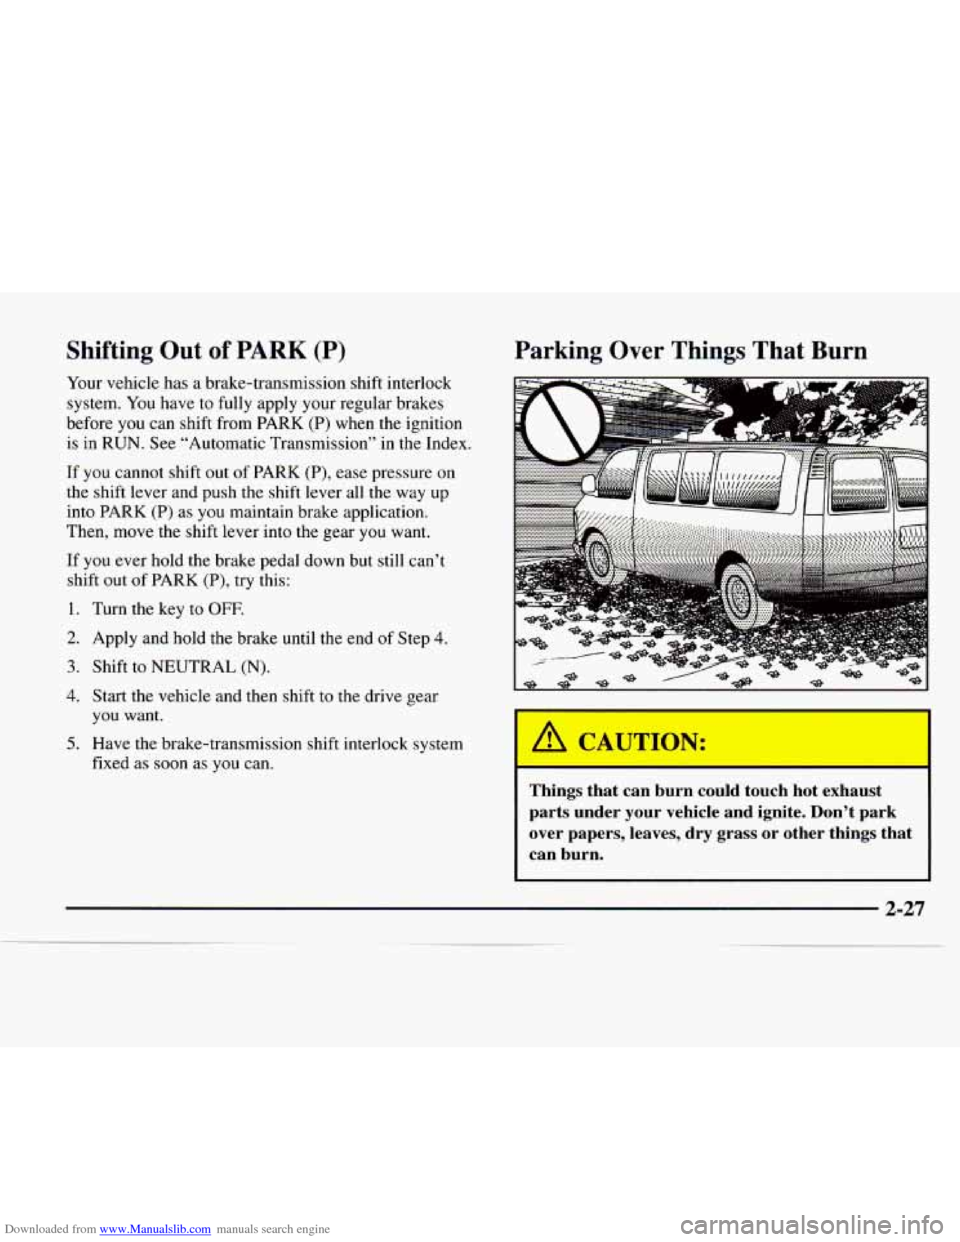
Parking Over Things That Burn
a CAUTIO, i: I
.
Things that can burn could touch hot exhaust
parts under your vehicle and ignite. Don’t park
over papers, leaves, dry grass or other things that
can burn.
2-27
Page 91 of 386

Downloaded from www.Manualslib.com manuals search engine The driver’s door has a switch for the passenger
windows as well. Your power windows will work when
the ignition has been turned to the
RUN position.
Push the rear of the switch with the power window
symbol on
it to lower the window.
Swing-Out Windows
Push the front of the switch with the power window
symbol on
it to raise the window.
The driver’s window switch
also has an express-down
feature that allows the window to lower without holding
the switch. Press and hold the side of the window switch
marked AUTO for one second to activate the
express-down mode. The express-down mode can be
cancelled at any time
by pressing the opposite side of
the switch. To open the window partway, lightly tap the
switch until the window is at the desired position.
Side Swing-Out Window
To open your side door swing-out windows, pull up on
the latch at the edge
of the window and swing the
window out and push down the latch into the locked
open position.
2-30
Page 92 of 386

Downloaded from www.Manualslib.com manuals search engine Rear Swing-Out Window
To close the window, pull the latch toward you and push
down
on the latch to lock it. Your rear swing-out
windows
work the same way, but the latch is at the
bottom edge of the window.
It can be dangerous to drive with the rear
swing-out windows or rear door@) open because
carbon monoxide
(CO) gas can come into your
vehicle. You can’t see
or smell CO. It can cause
unconsciousness and even death.
If you must drive with the rear swing-out
windows or rear door(s) open or if electrical
wiring or other cable connections must pass
through the seal between the body and the rear
swing-out windows or rear door(s):
0 Make sure all windows are shut.
Thrn the fan on your heating or cooling
system to its highest speed with the setting on
VENT,
HEAT, BLEND or DEE Additionally,
on vehicles with heatingair conditioning
systems,
NORM A/C or BI-LEV A/C can be
used. That will force outside air into your
vehicle. See “Comfort Controls’’ in the Index.
instrument panel, open them
all the way.
0 If you have air outlets on or under the
See “Engine Exhaust” in the Index.
2-31
Page 93 of 386
Downloaded from www.Manualslib.com manuals search engine Horn
Press one of the horn buttons at each side of the steering
wheel
to sound the horn.
If your vehicle is equipped with an air bag, press
anywhere
on the module to sound the horn.
If your vehicle is not equipped with an air bag, press
on the cap in the center
of the steering wheel to
sound the horn.
Tilt Wheel (Option)
A tilt steering wheel allows you to adjust the steering
wheel before
you drive. You can also raise it to the
highest level
to give your legs more room when you
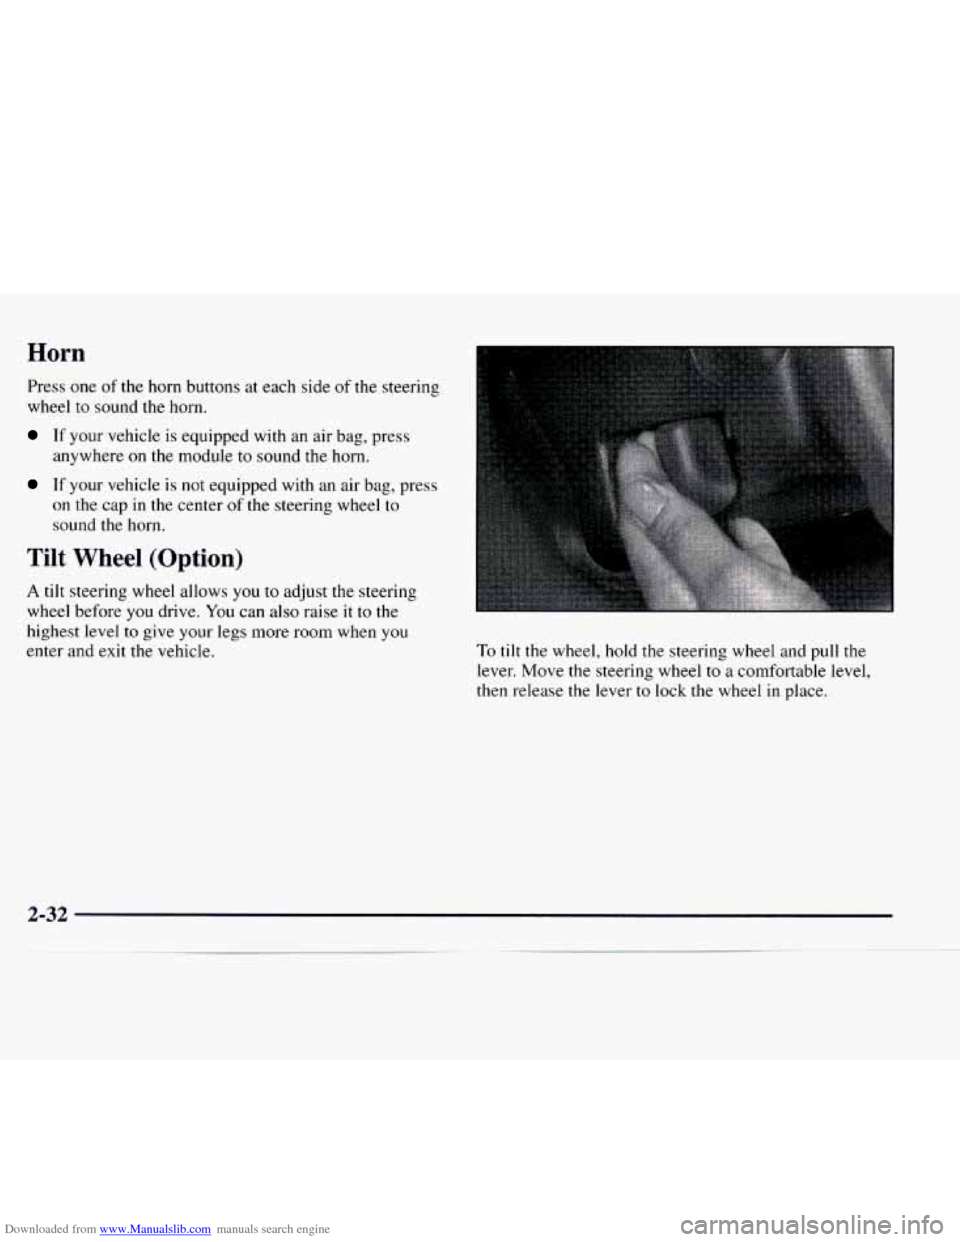
enter and exit the vehicle. To tilt the wheel, hold the steering wheel and pull the
lever. Move the steering wheel
to a comfortable level,
then release the lever
to lock the wheel in place.
Page 96 of 386
Downloaded from www.Manualslib.com manuals search engine For steady wiping at low speed, turn the band to the
LOW position. For high-speed wiping, turn the
band further, to HIGH.
To stop the wipers, move the
band to OFF.
Remember that damaged wiper blades may prevent you
from seeing well enough to drive safely.
To avoid
damage, be sure to clear ice and snow from the wiper
blades before using them. If they are frozen to the
windshield, carefully loosen or thaw them. If your
blades do become damaged, get new blades or
blade inserts.
Heavy snow or ice can overload your wipers. The
windshield wiper motor is protected from overload by a
circuit breaker and a fuse. If the motor overheats due to
heavy snow, etc., the wiper will stop until the motor cools. Although the circuit is protected from electrical overload,
overload due to heavy snow, etc. may cause wiper linkage
damage. Always clear ice
and heavy snow from the
windshield before using your windshield wipers.
Windshield Washer
At the top of the lever, there’s a paddle with the word
PUSH on it.
To spray washer fluid on the windshield,
push the paddle.
Washer fluid will spray
as long as you push the paddle.
When you let go of the paddle, the wipers will continue
to wipe for approximately two more wipe cycles and
then either stop or return to the preset speed.
In freezing weather, don’t use your washer until
the windshield is warmed. Otherwise the washer
fluid can form ice on the windshield, blocking
your vision.
2-35
Page 100 of 386
Downloaded from www.Manualslib.com manuals search engine When the wheel is turned to full brilliance, and then into
the first detent position, the radio display and PRNDL
display will go to the day mode (full intensity).
This is
known as “parade” mode. The rest
of the I/P
illumination will stay
in the maximum dimming state
(full brilliance dimming). Turning the wheel up one
more detent will activate the interior dome light circuit
(with slightly higher effort).
The dome lights cannot be turned
on by depressing the
dome light switch button, located below the parWhead
lamp switch knob. This switch is a dome lamp off
switch and will only interrupt inputs from the door jamb
switches, inhibiting interior light operation when
depressed. It will not inhibit the light function from
the
I/P dimmer switch.
The delayed entry will allow
you to enter or exit your
vehicle with the lights staying on for about
20 seconds
after the door
is closed or ignition is cycled.
Rotate
the switch knob clockwise to the parking lamp
symbol
to turn on:
0 Parking Lamps
0 Sidemarker Lamps
Taillamps
0 License Plate Lamps
0 Instrument Panel Lights
Ashtray Lamp
0 Glove Box Lamp
Rotate
the switch knob clockwise again to the master
lighting symbol to turn
on all the lamps listed above as
well as the headlamps.
Rotate the switch counterclockwise to OFF to
turn off
your lamps and lights.
Rotate the thumb wheel
next to the switch knob up to
adjust instrument panel lights. Rotate the thumb wheel
up to
the first notch to return the radio display and
gearshift indicator Vacuum Fluorescence
(VF) display
to full intensity when the headlamps or parking lamps
are
on.
Rotate the thumb wheel up to the second notch to
activate the interior dome lamps.
You can switch your headlamps from high to low beam
by pulling on the turn signalhigh beam lever.
A circuit breaker protects your headlamps. If you have
an electrical overload, your headlamps will flicker
on
and off. Have your headlamp wiring checked right away
if this happens.
Page 101 of 386
Downloaded from www.Manualslib.com manuals search engine Headlamps On Reminder
A tone will sound when your headlamps are turned on
and your ignition is in OFF, LOCK or ACCESSORY.
If
you need to use your headlamps when the ignition
switch is in
OFF, LOCK or ACCESSORY, the tone
can be turned off by turning the thumb wheel next
to
the parking lamp/headlamp switch all the way down.
Daytime Running Lamps (If Equipped)
Daytime Running Lamps (Dm) can make it easier for
others
to see the front of your vehicle during the day.
DRL can be helpful
in many different driving conditions,
but they can be especially helpful in the short periods
after dawn and before sunset.
The DRL system will make your headlamps come on at
a reduced brightness when:
The ignition is on,
The headlamp switch is off, and
0 The parking brake is released.
If your vehicle was first sold, when new,
in Canada,
your headlamps will come on at reduced brightness.
If your vehicle was first sold, when new, in the United
States, your vehicle may be equipped with DRL.
If your
vehicle has DRL, you
will see the the DRL indicator light
on your instrument panel and your low-beam
headlamps will come on at reduced brightness.
When the DRL are on, only your headlamps will be on.
The taillamps, sidemarker and other lamps won’t be
on.
Your instrument panel won’t be lit up either.
When it begins to get dark, your
DRL indicator light is a
reminder to
turn your headlamp switch on. The other lamps
that come on
with your headlamps will also come on.
When
you turn off the headlamp switch, the regular
lamps will go
off, and your headlamps will change to
the reduced brightness of DRL.
To idle your vehicle with the engine on and the DRL off,
set the parking brake. The DRL will stay off until you
release
the parking brake.
As with any vehicle, you should turn on the regular
headlamp system when you need it.
Dome Lamps
The dome lamps will come on when you open the doors.
You can also turn the dome lamps on by rotating the
thumb wheel, located next to the headlamp knob, all
the way up
to the second notch. In this position, the
dome lamps will remain
on whether the doors are
opened or closed.
2-40
Page 103 of 386
Downloaded from www.Manualslib.com manuals search engine Underhood Reel Lamp (Option)
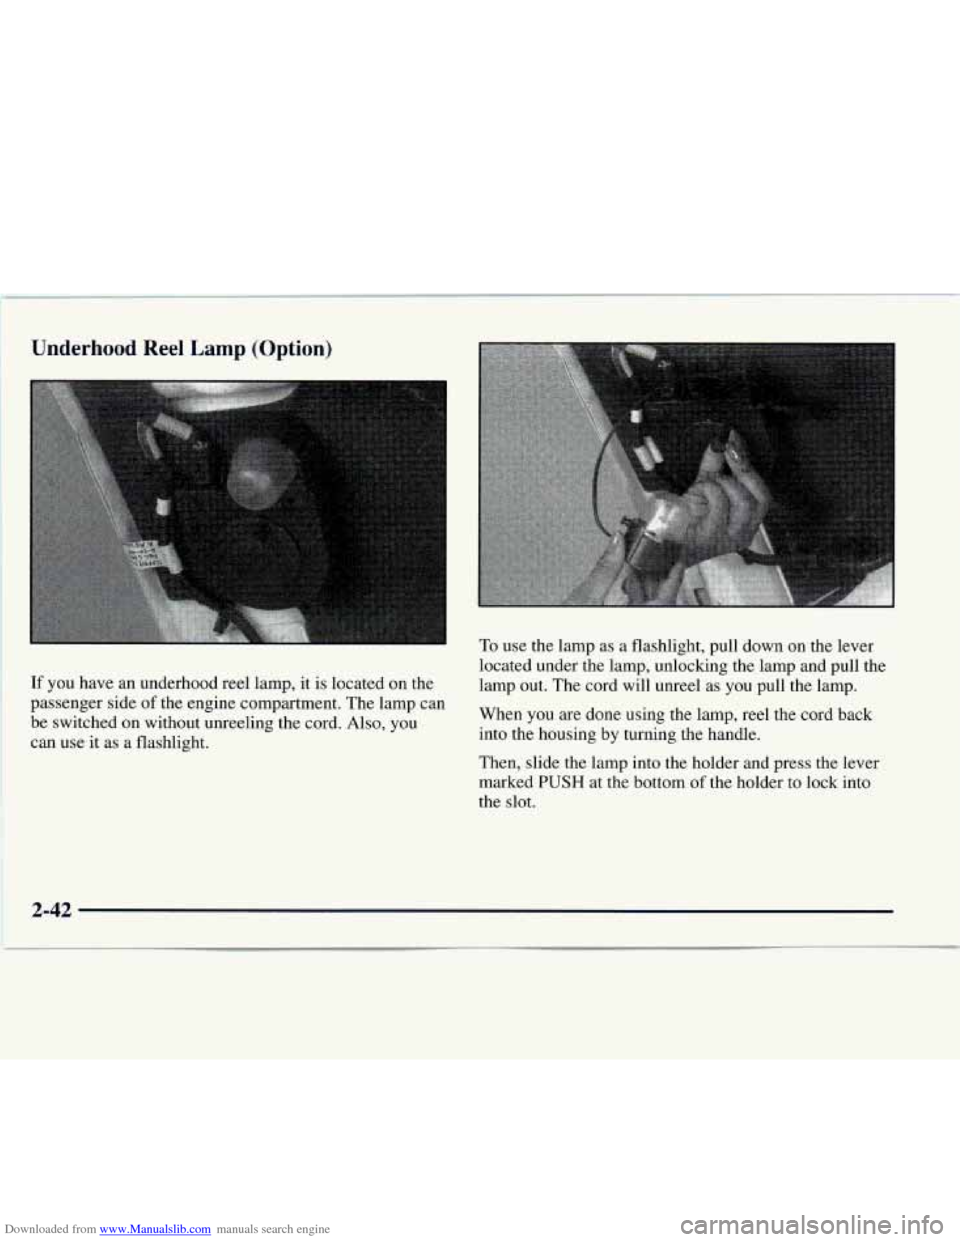
If you have an underhood reel lamp, it is located on the
passenger side
of the engine compartment. The lamp can
be switched on without unreeling the cord. Also, you
can use it as a flashlight.
To use the lamp as a flashlight, pull down on the lever
located under the lamp, unlocking the lamp and pull the
lamp out. The cord will unreel as you pull the lamp.
When you are done using the lamp, reel the cord back
into the housing by turning the handle.
Then, slide the lamp into the holder and press the lever
marked
PUSH at the bottom of the holder to lock into
the slot.
2-42
Page 104 of 386
Downloaded from www.Manualslib.com manuals search engine Mirrors
Inside Mirror
Push or pull the tab under
the mirror to red1 Jce glare
from headlamps behind you after dark.
Outside Mirrors
Adjust your outside mirrors so you can just see the
side of your vehicle, and have a clear view
of objects
behind
you. Some mirrors can be folded in to enter
narrow doorways.
Electric Outside Rearview Mirrors (Option)
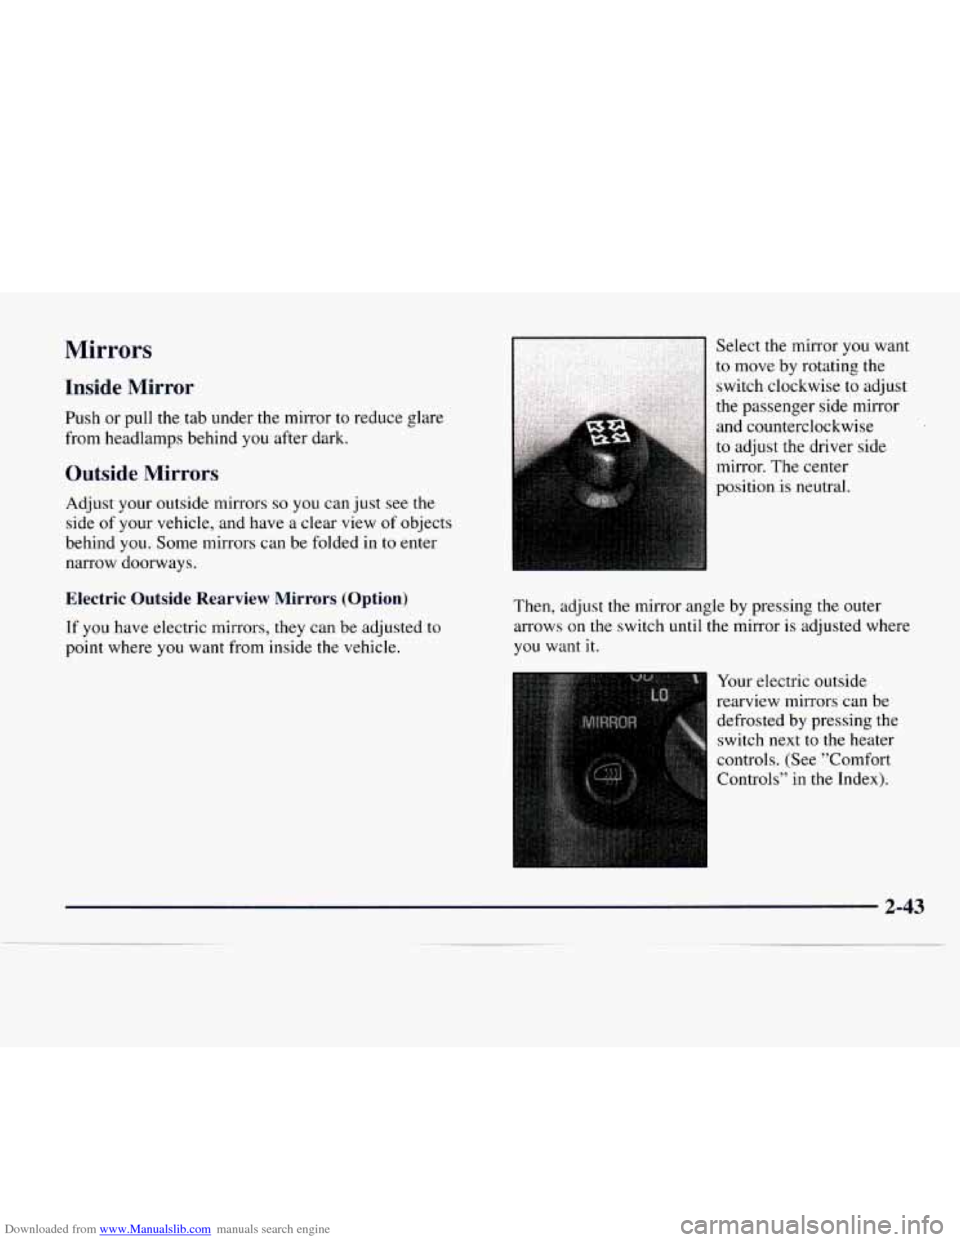
If you have electric mirrors, they can be adjusted to
point where you want from inside the vehicle. Select
the mirror you want
to move
by rotating the
switch clockwise to adjust
the passenger side mirror
and counterclockwise
to adjust the driver side
mirror. The center
position is neutral.
Then, adjust the mirror angle by pressing the outer
arrows on the switch until the mirror is adjusted where
you want
it.
Your electric outside
rearview mirrors can be
defrosted by pressing the
switch next
to the heater
controls. (See "Comfort
Controls" in the Index).
2-43
Page 107 of 386
Downloaded from www.Manualslib.com manuals search engine NOTICE:
Holding a cigarette lighter in with your hand
while it is heating can make it overload,
damaging the lighter and the heating element.
Just push the lighter all the way in and let go. When it’s done, it
will pop back by itself.
To remove the front ashtray, pull up on the tab with a
key or screwdriver inserted in the tab, and lift the
ashtray
out.
Sun Visors
To block out glare, you can swing down the
can also swing them from side
to side. Your visors.
You
visors have
elastic straps you can use to hold items such as maps.
Visor Vanity Mirror (Option)
Some visors have illuminated mirrors on them. Pull the
visor down and lift the mirror cover (if there is one), to
use the mirror.
2-46