check engine CHEVROLET EXPRESS 1997 1.G Workshop Manual
[x] Cancel search | Manufacturer: CHEVROLET, Model Year: 1997, Model line: EXPRESS, Model: CHEVROLET EXPRESS 1997 1.GPages: 386, PDF Size: 20.32 MB
Page 259 of 386
Downloaded from www.Manualslib.com manuals search engine Thermostat
Engine coolant temperature is controlled by a thermostat
in the engine cooling system. The thermostat stops the
flow of coolant through the radiator until the coolant
reaches a preset temperature.
When you replace your thermostat, an
AC@ thermostat
is recommended.
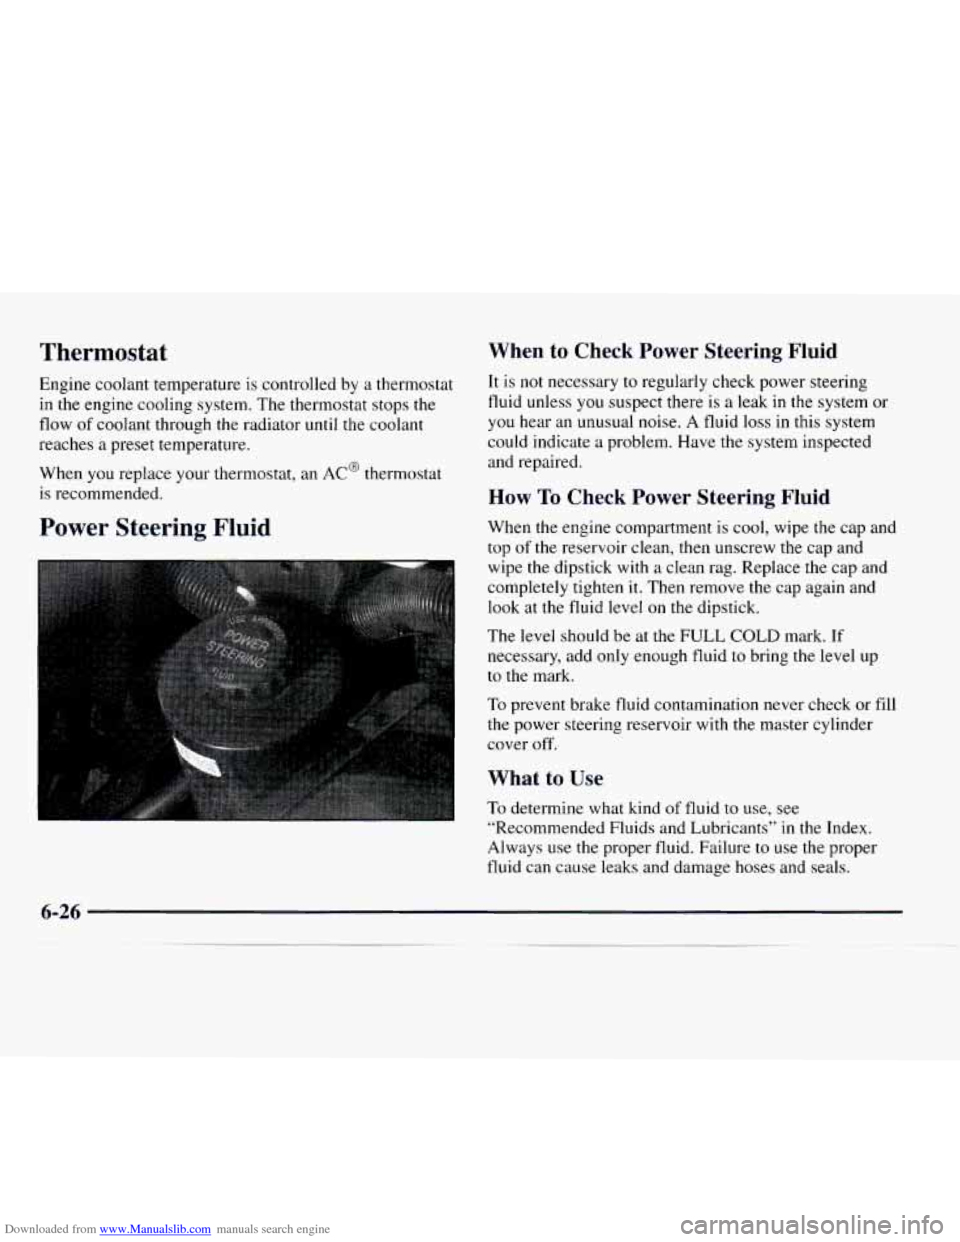
Power Steering Fluid
When to Check Power Steering Fluid
It is not necessary to regularly check power steering
fluid unless you suspect there is a leak in the system or
you hear an unusual noise.
A fluid loss in this system
could indicate a problem. Have the system inspected
and repaired.
How To Check Power Steering Fluid
When the engine compartment is cool, wipe the cap and
top
of the reservoir clean, then unscrew the cap and
wipe the dipstick with
a clean rag. Replace the cap and
completely tighten it. Then remove the cap again and
look at the fluid level on the dipstick.
The level should be at the
FULL COLD mark. If
necessary, add only enough fluid to bring the level up
to the mark.
To prevent brake fluid contamination never check or fill
the power steering reservoir with the master cylinder
cover
off.
What to Use
To determine what kind of fluid to use, see
“Recommended Fluids and Lubricants”
in the Index.
Always use the proper fluid. Failure
to use the proper
fluid can cause leaks and damage hoses and seals.
6-26
Page 261 of 386
Downloaded from www.Manualslib.com manuals search engine Brakes
Brake Fluid
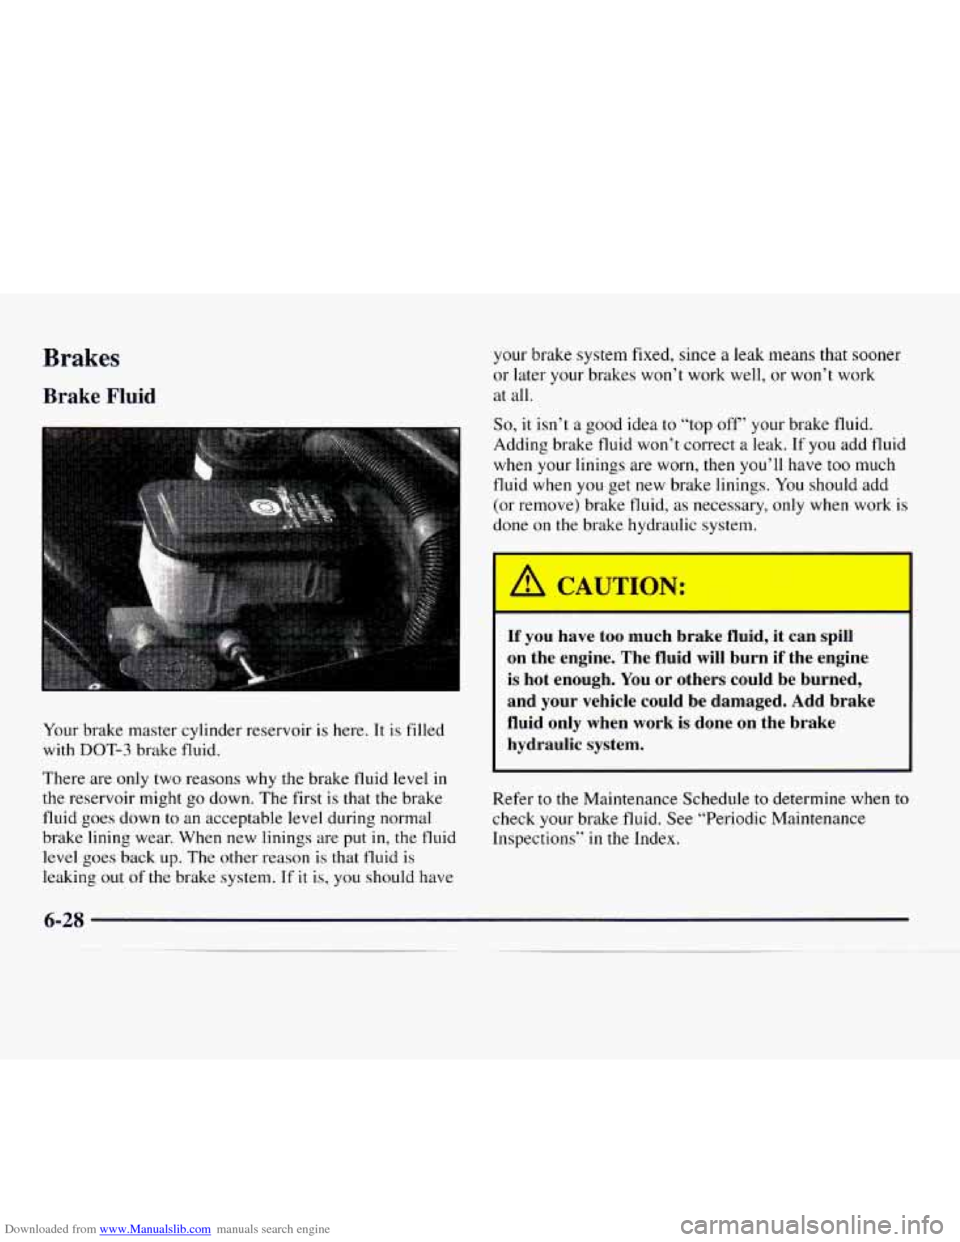
Your brake master cylinder reservoir is here. It is filled
with
DOT-3 brake fluid.
There are only two reasons why the brake fluid level in
the reservoir might go down. The first is that the brake
fluid goes down to an acceptable level during normal
brake lining wear. When new linings are put in, the fluid
level goes back up. The other reason is that fluid is
leaking out
of the brake system. If it is, you should have your brake system
fixed, since a leak means that sooner
or later your brakes won’t work well, or won’t work
at all.
So, it isn’t a good idea to “top off’ your brake fluid.
Adding brake fluid won’t correct
a leak. If you add fluid
when your linings are worn, then you’ll have too much
fluid when you get new brake linings.
You should add
(or remove) brake fluid,
as necessary, only when work is
done on
the brake hydraulic system.
If you have too much brake fluid, it can spill
on the engine. The fluid will burn
if the engine
is hot enough. You or others could be burned,
and your vehicle could be damaged. Add brake
fluid only when work is done on the brake
hydraulic system.
Refer to the Maintenance Schedule to determine when to
check your brake fluid. See “Periodic Maintenance
Inspections”
in the Index.
6-28
Page 262 of 386
Downloaded from www.Manualslib.com manuals search engine Checking Brake Fluid What
to Add
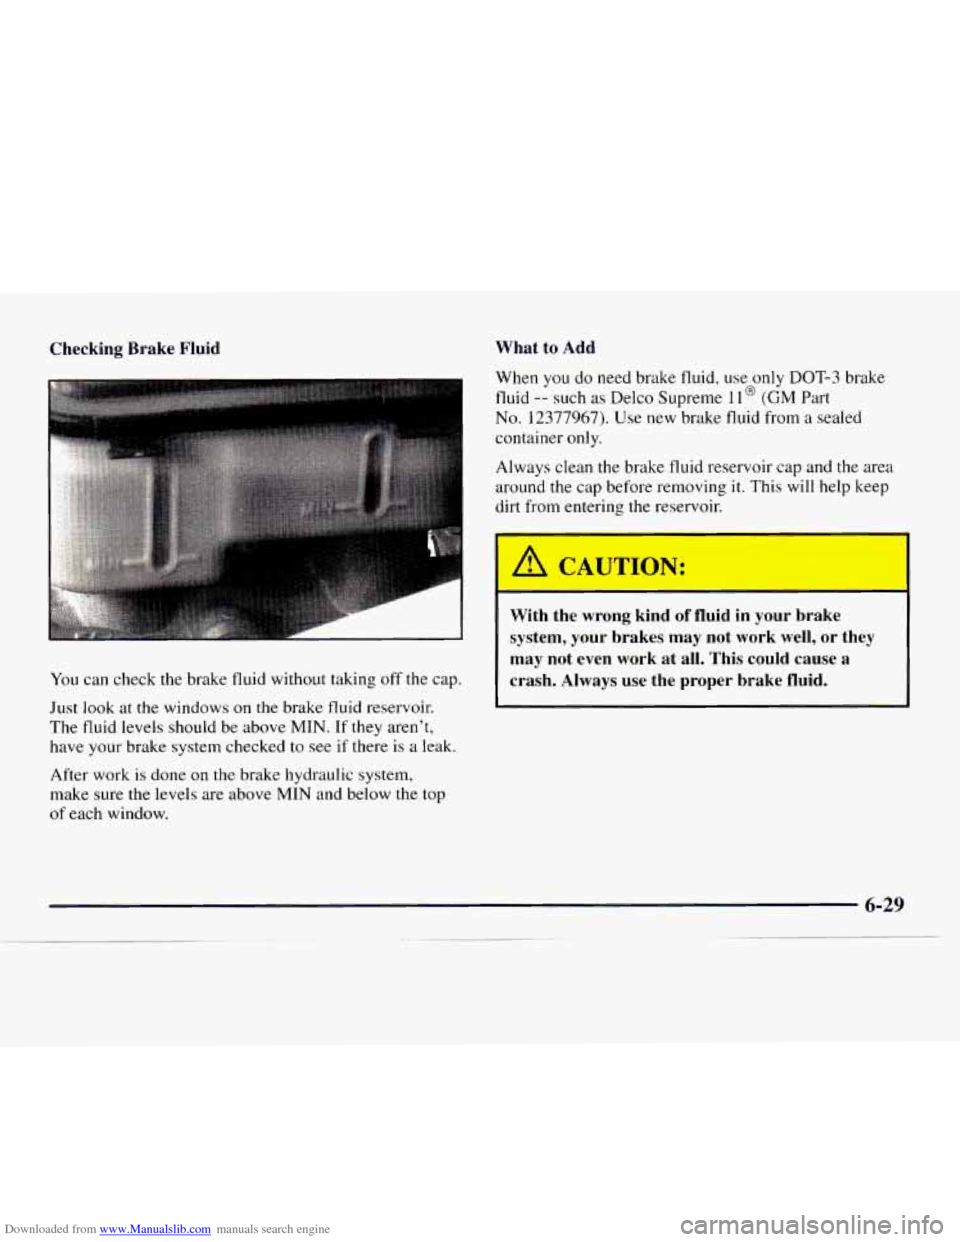
You can check the brake fluid without taking off the cap.
Just
look at the windows on the brake fluid reservoir.
The fluid levels should be above
MIN. If they aren't,
have your brake system checked to see if there
is a leak.
After work is done
on the brake hydraulic system,
make sure the levels are above
MIN and below the top
of each window. When
you do
need brake fluid, use only DOT-3 brake
fluid
-- such as Delco Supreme 11 @ (GM Part
No. 12377967). Use new brake fluid from a sealed
container only.
Always clean the brake fluid reservoir cap and the area
around the cap before removing
it. This will help keep
dirt from entering the reservoir.
, A CAUTION:
H
With the wrong kind of fluid in your brake
system, your brakes may
not work well, or they
may not even work at all. This could cause a
crash. Always use the proper brake fluid.
Page 274 of 386
Downloaded from www.Manualslib.com manuals search engine 2.
3.
4.
5.
6.
7.
Press down on the blade assembly pivot locking tab.
Pull down on the blade assembly to release it from
the wiper arm hook.
Remove the insert from the blade assembly. The
insert has two notches at one end that are locked by
bottom claws of the blade assembly. At the notched
end, pull the insert from the blade assembly.
To install the new wiper insert, slide the notched end
last, into the end with two blade claws. Slide the
insert all the way through the blade claws at the
opposite end.
Be sure that the notches are locked by the bottom
claws. Make sure that all other claws are properly
locked on both sides of the insert slot.
Put the blade assembly pivot
in the wiper arm hook. Pull
up until the pivot locking tab locks
in the hook slot.
Carefully lower the wiper
arm and blade assembly
into the windshield.
Tires
Your new vehicle comes with high-quality tires made by
a leading tire manufacturer.
If you ever have questions
about your tire warranty and where to obtain service, see
your
GM Warranty booklet for details.
a
0
a
a
Poorly maintained and improperly used tires
are dangerous.
Overloading your tires can cause
overheating
as a result of too much friction.
You could have an air-out and a serious
accident. See “Loading Your Vehicle” in
the Index.
Underinflated tires pose the same danger as
overloaded tires. The resulting accident
could cause serious injury. Check all tires
frequently to maintain the recommended
pressure. Tire pressure should be checked
when your tires are cold.
Overinflated tires are more likely to be
cut, punctured or broken by
a sudden
impact
-- such as when you hit a pothole.
Keep tires at the recommended pressure.
Worn, old tires can cause accidents.
If your
tread is badly worn, or if your tires have
been damaged, replace them.
6-41
Page 275 of 386
Downloaded from www.Manualslib.com manuals search engine Inflation -- Tire Pressure
The CertificatiodTire label, which is on the rear edge of
the driver’s door, shows the correct inflation pressures
for your tires when they’re cold.
“Cold” means your
vehicle has been sitting for at least three hours or driven
no more than
1 mile (1.6 lun).
NOTICE:
Don’t let anyone tell you that underinflation or
overinflation is all right. It’s not.
If your tires
don’t have enough air (underinflation), you can
get the following:
0 Too much flexing
Too much heat
Tire overloading
Bad wear
0 Bad handling
Bad fuel economy.
NOTICE: (Continued) NOTICE:
(Continued)
If your tires have too much air (overinflation),
you can get the following:
Unusual wear
0 Bad handling
0 Rough ride
0 Needless damage from road hazards.
When to Check
Check.your tires once a month or more. Also, check the
tire pressure of the spare tire.
How to Check
Use a good quality pocket-type gage to check tire
pressure. You can’t tell if your tires are properly inflated
simply by looking at them. Radial tires may look
properly inflated even when they’re underinflated.
Be
sure to put the valve caps back on the valve stems.
They help prevent leaks by keeping out
dirt and moisture.
6-42
Page 276 of 386
Downloaded from www.Manualslib.com manuals search engine Tire Inspection and Rotation
Tires should be rotated every 6,000 to 8,000 miles
(10 000 to 13 000 km). Any time you notice unusual
wear, rotate your tires as soon as possible and check
wheel alignment. Also check for damaged tires or
wheels. See “When It’s Time for New Tires” and
“Wheel Replacement” later in
this section for more
information. If your vehicle has dual rear wheels, also
see “Dual Tire Operation” later in this section.
The purpose of regular rotation is to achieve more
uniform wear for
all tires on the vehicle. The first
rotation is the most important. See “Scheduled
Maintenance Services’’
in the Index for scheduled
rotation intervals.
I FRT FRT
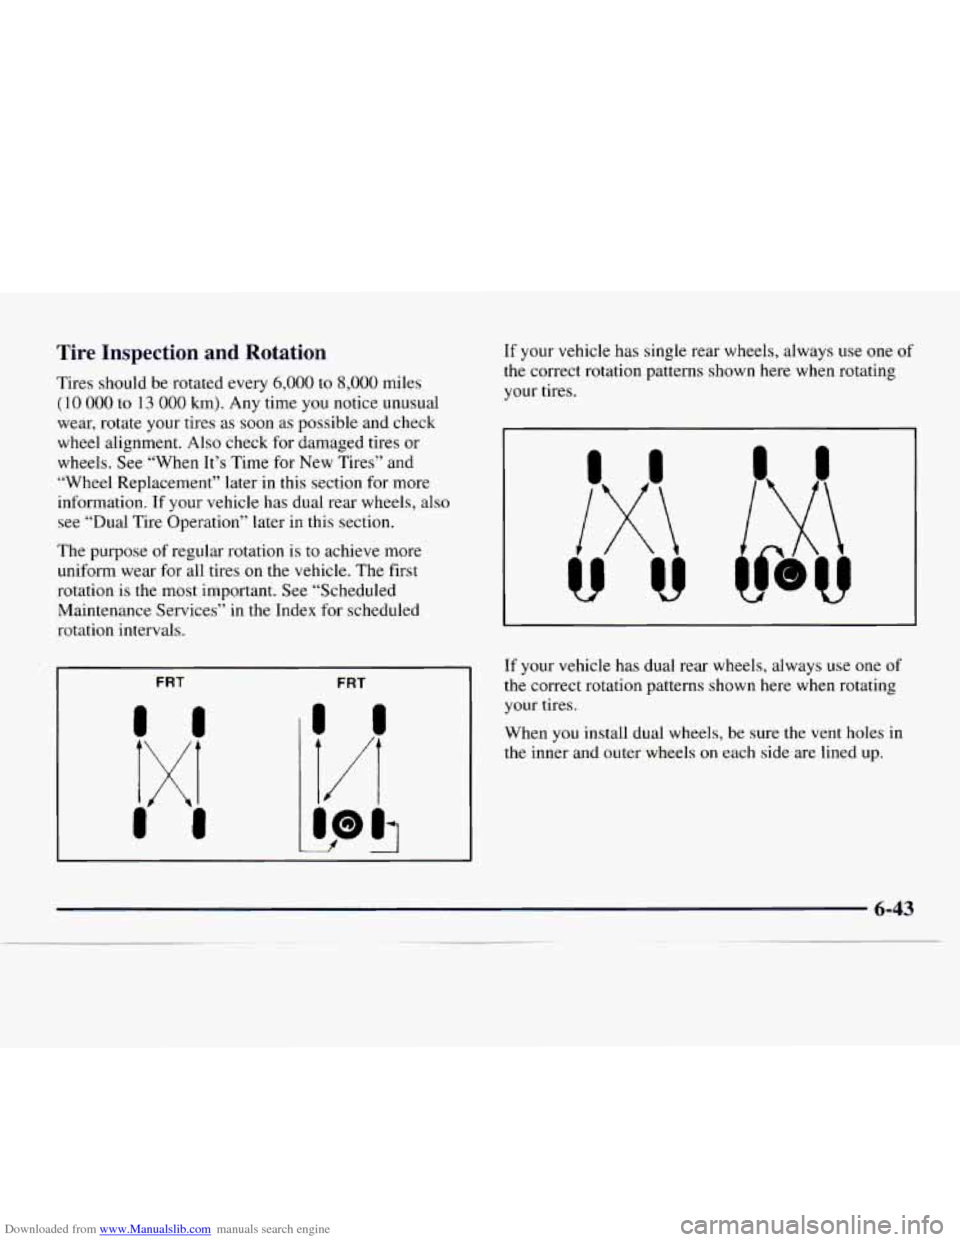
If your vehicle has single rear wheels, always use one of
the correct rotation patterns shown here when rotating
your tires.
If your vehicle has dual rear wheels, always use one
of
the correct rotation patterns shown here when rotating
your tires.
When you install dual wheels, be sure the vent holes in
the inner and outer wheels on each side are lined
up.
Page 277 of 386
Downloaded from www.Manualslib.com manuals search engine After the tires have been rotated, adjust the front and rear
inflation pressures as shown on the Certificatioflire label.
Make certain that
all wheel nuts are properly tightened.
See “Wheel Nut Torque” in the Index.
1
Rust or dirt on a wheel, or on the parts to which
it is fastened, can make wheel nuts become loose
after
a time. The wheel could come off and cause
an accident. When you change
a wheel, remove
any rust or dirt from places where the wheel
attaches to the vehicle. In
an emergency, you can
use a cloth or a paper towel to do this; but be
sure to use
a scraper or wire brush later, if you
need to, to get all the rust or dirt
off. (See
“Changing a Flat Tire” in the Index.) When
It’s Time
for New Tires
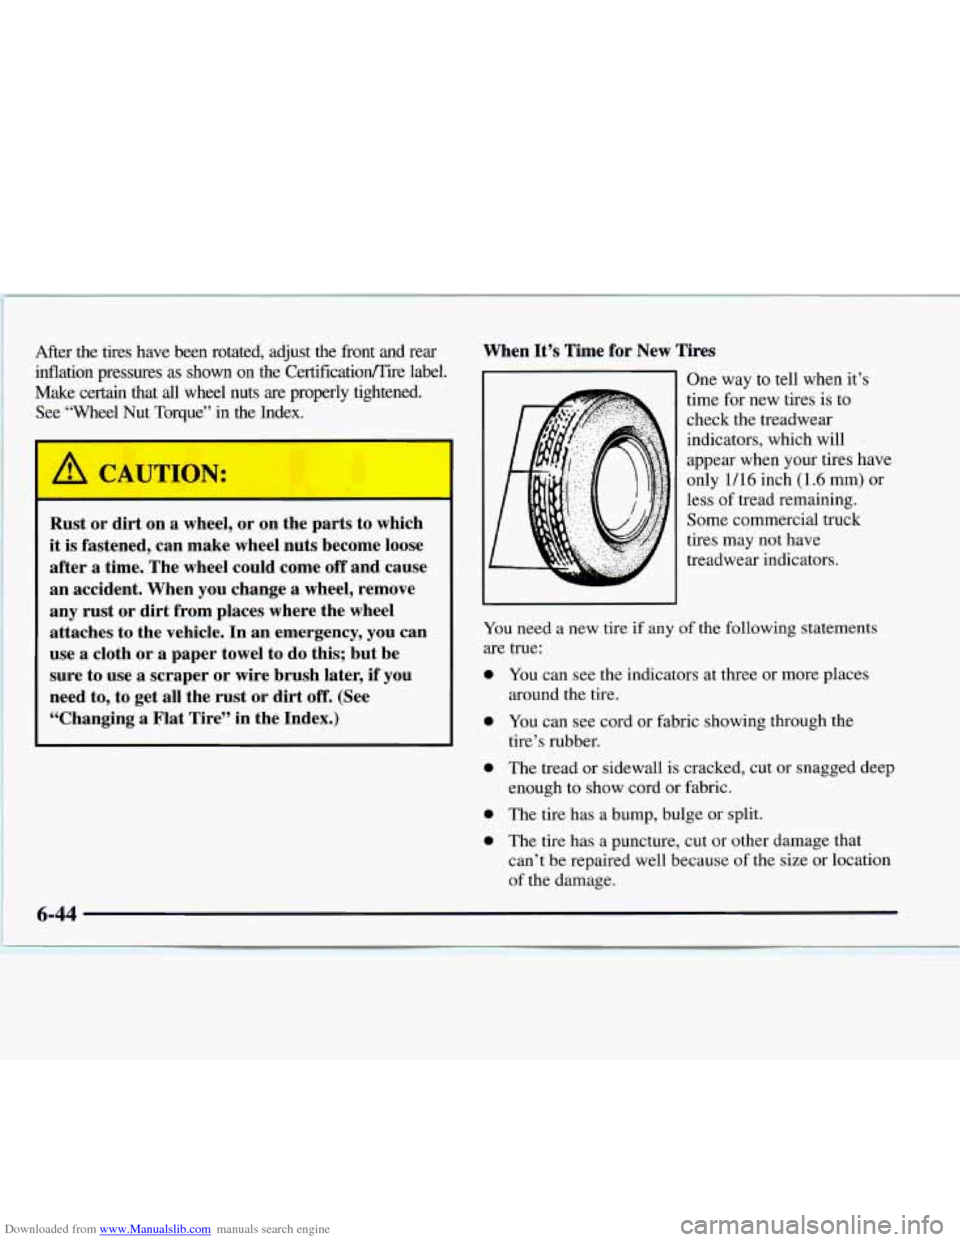
One way to tell when it’s
time for new tires is to
check the treadwear
indicators, which will
appear when your tires have
only
1/16 inch (1.6 mm) or
less
of tread remaining.
Some commercial truck
tires may not have
treadwear indicators.
You need
a new tire if any of the following statements
are true:
0 You can see the indicators at three or more places
0 You can see cord or fabric showing through the
around the tire.
tire’s rubber.
0 The tread or sidewall is cracked, cut or snagged deep
enough
to show cord or fabric.
0 The tire has a bump, bulge or split.
0 The tire has a puncture, cut or other damage that
can’t be repaired well because
of the size or location
of the damage.
6-44
, , , .
Page 278 of 386
Downloaded from www.Manualslib.com manuals search engine Dual Tire Operation
When the vehicle is new, or whenever a wheel, wheel
bolt or wheel nut is replaced, check the wheel
nut torque
after
100, 1,000 and 6,000 miles ( 160, 1 600 and
10 000 km) of driving. For proper torque, see “Wheel
Nut Torque’’ in
the Index.
The outer tire on a dual wheel setup generally wears
faster than the inner tire. Your tires will wear more
evenly and last longer if you rotate the tires periodically.
If you’re going to be doing a lot
of driving on
high-crown roads, you can reduce tire wear by adding
5 psi (35 kPa) to the tire pressure in the outer tires. Be
sure
to return to the recommended pressures when no
longer driving under those conditions. See “Changing a
Flat Tire” in the Index for more information.
A CAUTION:
Buying New Tires
To find out what kind and size of tires you need, look at
the Certificationrnire label.
The tires installed
on your vehicle when it was new had
a Tire Performance Criteria Specification (TPC Spec)
number
on each tire’s sidewall. When you get new tires,
get ones with that same TPC Spec number. That way
your vehicle will continue
to have tires that are designed
to give proper endurance, handling, speed rating,
traction, ride and other things during normal service on
your vehicle. If your tires have an all-season tread
design, the TPC number will be followed by
an “MS”
(for mud and snow).
If you ever replace your tires with those not having a
TPC Spec number, make sure they are the same size,
load range, speed rating and construction type (bias,
bias-belted or radial) as your original tires.
If you operate your vehicle with a tire that is
badly underinflated, the tire can overheat. An
overheated tire can lose air suddenly or catch
fire.
You or others could be injured. Be sure all
tires (including the spare) are properly inflated.
Page 281 of 386
Downloaded from www.Manualslib.com manuals search engine Using the wrong replacement wheels, wheel
bolts or wheel nuts on your vehicle can be
dangerous.
It could affect the braking and
handling
of your vehicle, make your tires lose
air and make you lose control. You could have a
collision in which you
or others could be injured.
Always use the correct wheel, wheel bolts and
wheel nuts
for replacement.
I NOTICE:
The wrong wheel can also cause problems with
bearing life, brake cooling, speedometer or
odometer calibration, headlamp aim, bumper
height, vehicle ground clearance and tire or tire
chain clearance to the body and chassis.
Whenever a wheel, wheel bolt or wheel nut is replaced
on a dual wheel setup, check the wheel nut torque after
100, 1,000 and 6,000 miles (I 60, 1 600 and 10 000 km)
of driving. For proper torque, see “Wheel Nut Torque”
in the Index.
See “Changing a Flat Tire” in the Index for
more information.
Used Replacement Wheels
Putting a used wheel on your vehicle is
dangerous. You can’t know how it’s been used or
how far it’s been driven. It could fail suddenly
and cause an accident.
If you have to replace a
wheel, use a new GM original equipment wheel.
6-48
Page 286 of 386
Downloaded from www.Manualslib.com manuals search engine Care of Safety Belts
Keep belts cle: 1 dry.
Cleaning the Outside of the
Windshield and Wiper Blades
A CAUTION:
Do not bleach or dye safety belts. If you do, it
may severely weaken them. In a crash, they
might not be able to provide adequate protection.
Clean safety belts only with mild soap and
lukewarm water.
Cleaning Glass Surfaces
Glass should be cleaned often. GM Glass Cleaner (GM
Part
No. 1050427) or a liquid household glass cleaner
will remove normal tobacco smoke and dust films
on
interior glass.
Don’t use abrasive cleaners on glass, because they may
cause scratches. Avoid placing decals on the inside rear
window, since
they may have to be scraped off later.
If abrasive cleaners are used on the inside of the rear
window, an electric defogger element may be damaged.
Any temporary license should not be attached across the
defogger grid.
If the windshield is not clear after using the windshield
washer, or
if the wiper blade chatters when running,
wax, sap
or other material may be on the blade
or windshield.
Clean the outside of the windshield
with GM Glass
Cleaner, Bon Ami@ Powder (non-scratching glass
cleaning powder), GM Part
No. 105001 1. The
windshield is clean
if beads do not form when you
rinse
it with water.
Grime from the windshield
will stick to the wiper blades
and affect their performance. Clean the blade by wiping
vigorously with a cloth soaked
in full-strength windshield
washer solvent. Then rinse
the blade with water.
Check the wiper blades and clean them as necessary; replace worn blades.
Weatherstrips
Silicone grease on weatherstrips will make them last
longer, seal better, and not stick or squeak. Apply
silicone grease
with a clean cloth at least every six
months. During very cold, damp weather more frequent
application may be required. (See “Recommended
Fluids and Lubricants”
in the Index.)