radiator cap CHEVROLET EXPRESS 1997 1.G Owners Manual
[x] Cancel search | Manufacturer: CHEVROLET, Model Year: 1997, Model line: EXPRESS, Model: CHEVROLET EXPRESS 1997 1.GPages: 386, PDF Size: 20.32 MB
Page 207 of 386
Downloaded from www.Manualslib.com manuals search engine Cooling System
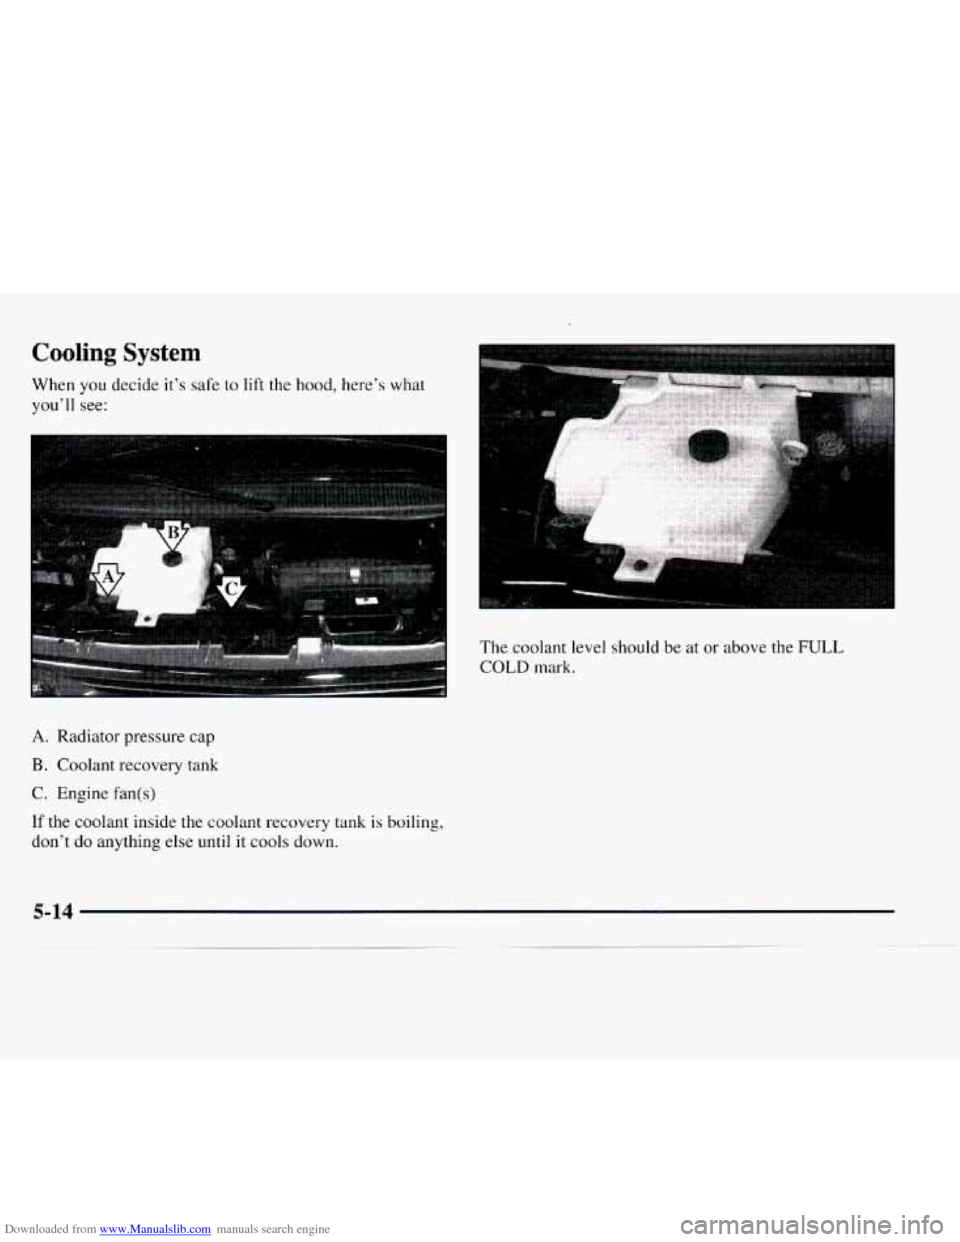
When you decide it’s safe to lift the hood, here’s what
you’ll see:
A. Radiator pressure cap
B. Coolant recovery tank
C. Engine fan(s)
If the coolant inside the coolant recovery tank is boiling,
don’t do anything else until it cools down.
The coolant level should be at or above the FULL
COLD mark.
5-14
Page 211 of 386
Downloaded from www.Manualslib.com manuals search engine A CAUTION:
- -
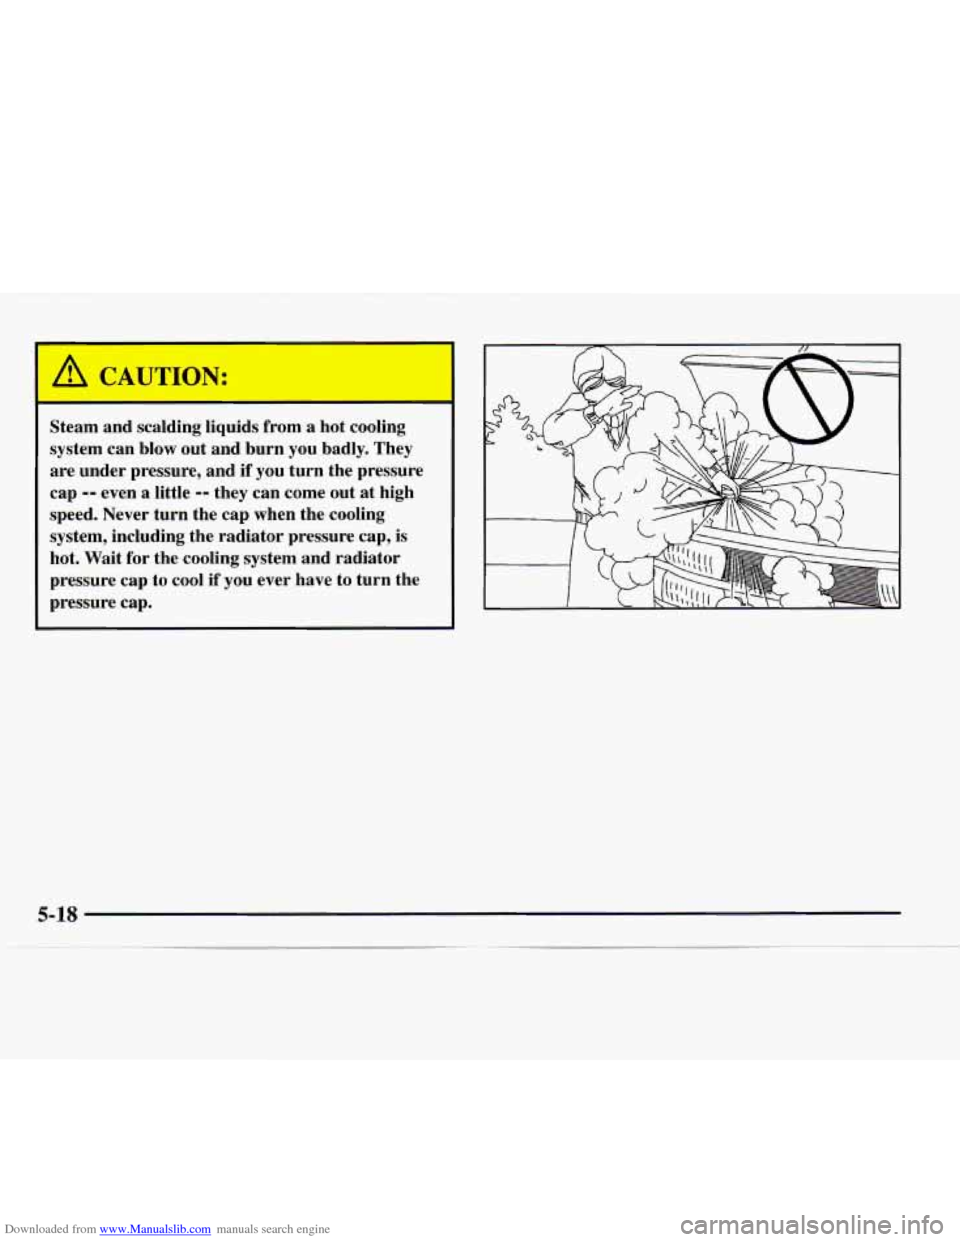
Steam and scalding liquids from a hot cooling
system can blow out and burn you badly. They
are under pressure, and if you turn the pressure
cap
-- even a little -- they can come out at high
speed. Never turn the cap when the cooling
system, including the radiator pressure cap, is
hot. Wait for the cooling system and radiator
pressure cap to cool if you ever have to turn the
pressure cap.
Page 212 of 386
Downloaded from www.Manualslib.com manuals search engine How to Add Coolant to the Radiator
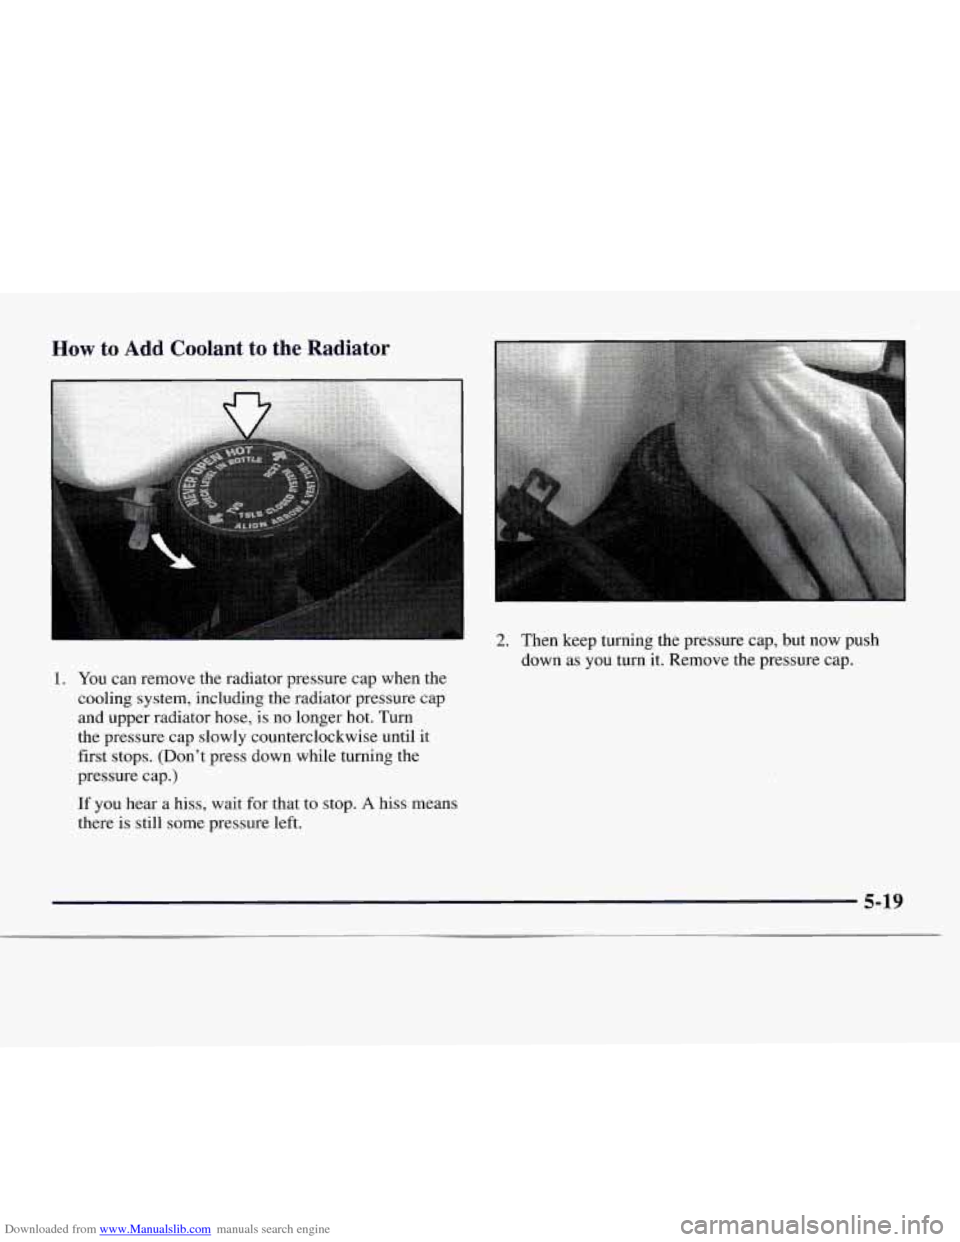
1. You can remove the radiator pressure cap when the
cooling system, including the radiator pressure cap
and upper radiator hose, is no longer hot. Turn
the pressure cap slowly counterclockwise until it
first stops. (Don't press down while turning the
pressure cap.)
' 2. Then keep turning the pressure cap, but now push
down
as you turn it. Remove the pressure cap.
If you hear a hiss, wait for that to stop. A hiss means
there is still some pressure left.
5-19
Page 213 of 386
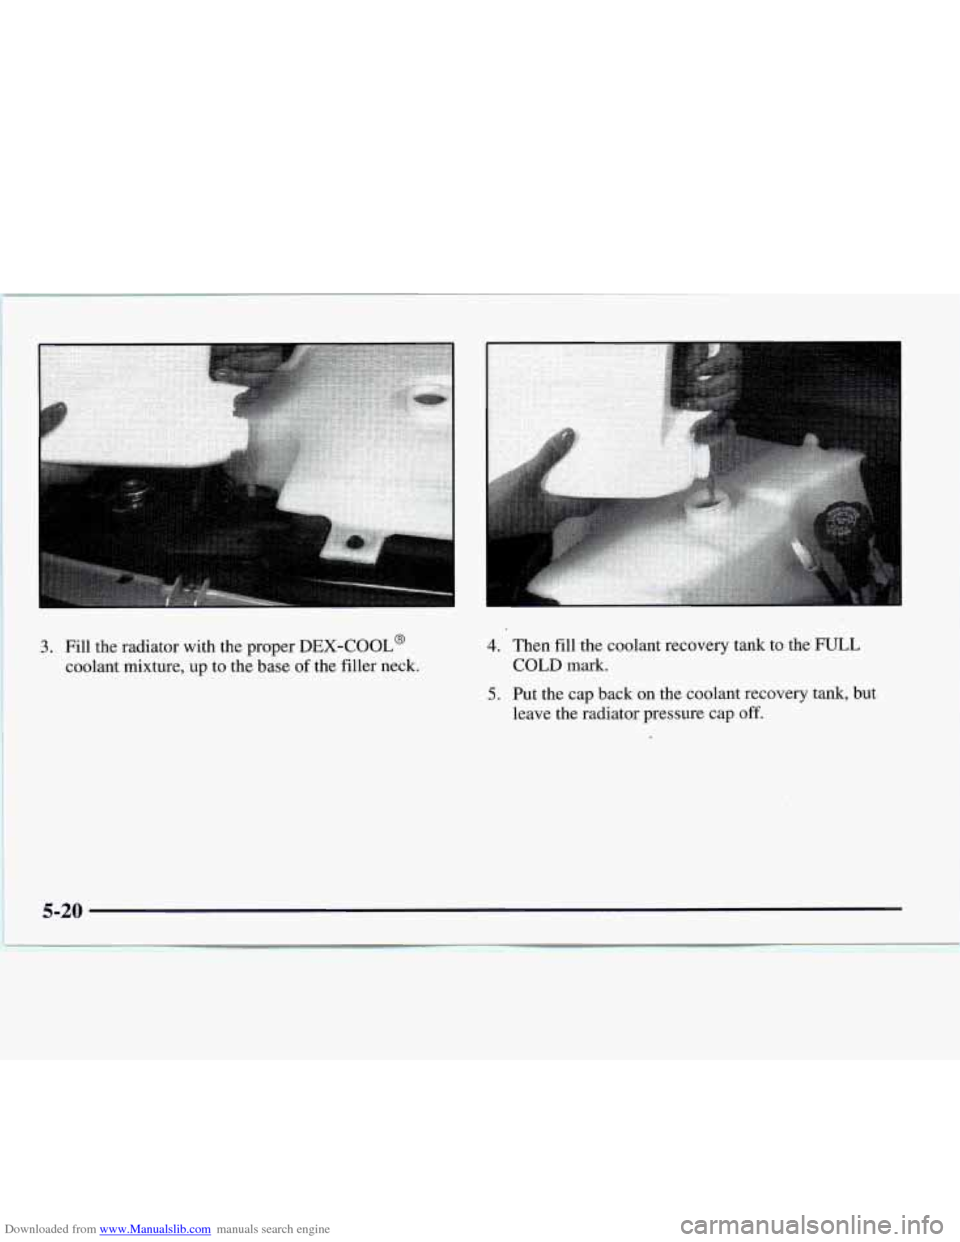
Downloaded from www.Manualslib.com manuals search engine 3. Fill the radiator with the proper DEX-COOL@
coolant mixture, up to the base
of the filler neck.
4. Then fill the coolant recovery tank to the FULL
COLD mark.
5. Put the cap back on the coolant recovery tank, but
leave the radiator pressure cap off.
5-20
Page 214 of 386
Downloaded from www.Manualslib.com manuals search engine 6.
7.
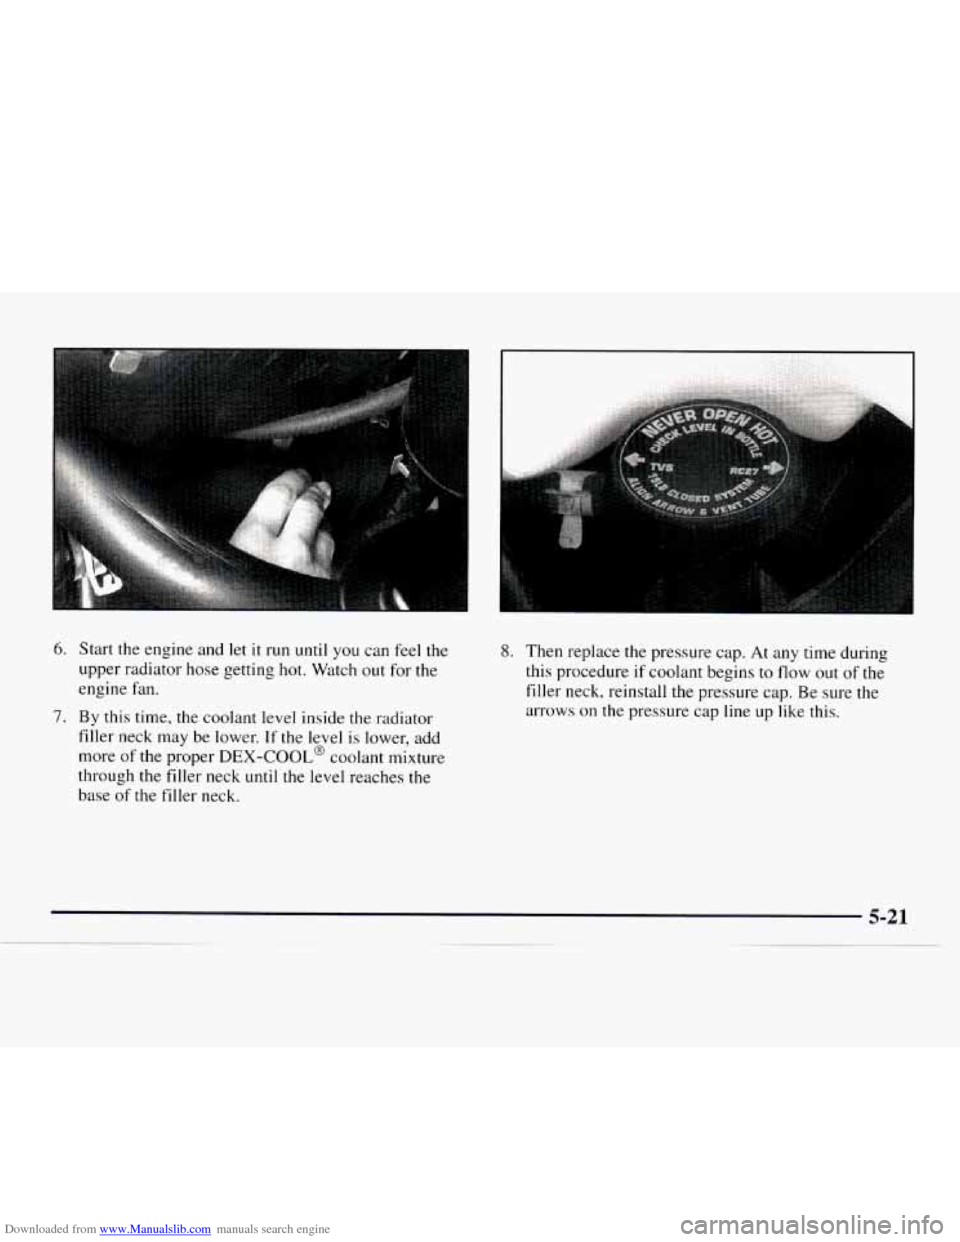
Start the engine and let it run until you can feel the
upper radiator hose getting hot. Watch out for the
engine fan.
By this time, the coolant level inside the radiator
filler neck may be lower.
If the level is lower, add
more
of the proper DEX-COOL@ coolant mixture
through the filler neck
until the level reaches the
base
of the filler neck.
8. Then replace the pressure cap. At any time during
this procedure
if coolant begins to flow out of the
filler neck, reinstall the pressure cap. Be sure the
arrows
on the pressure cap line up like this.
Page 234 of 386
Downloaded from www.Manualslib.com manuals search engine Section 6 Service and Appearance Care
Here you will find information about the care of your vehicle. This section begins with service and fuel information,
and then it shows how to check important fluid and lubricant levels. There
is also technical information about your
vehicle, and
a part devoted to its appearance care.
6-2
6-3
6-5
6-5
6-7
6-1 1
6-12 6-17
6-18
6-22
6-22
6-25
6-26 6-26
6-27
6-28 6-32 Service
Fuel (Gasoline Engine)
Fuels in Foreign Countries
Filling Your Tank
Checking Things Under the Hood
Noise Control System
Engine Oil (Gasoline Engine)
Air Cleaner (Gasoline Engines)
Automatic Transmission Fluid
Rear Axle
Engine Coolant Radiator Pressure Cap
Thermostat Power Steering Fluid
Windshield Washer Fluid
Brakes
Battery 6-32
6-32
6-40
6-4
1
6-49
6-50
6-54
6-55
6-55
6-55
6-56
6-57
6-5 8
6-59
6-63
6-66
6-67 Bulb Replacement
Halogen Bulbs
Windshield Wiper Blade Replacement
Tires Appearance Care
Cleaning the Inside
of Your Vehicle
Cleaning the Outside of Your Vehicle
Cleaning Aluminum Wheels
(If Equipped)
Cleaning Tires Sheet Metal Damage
Finish Damage
Appearance Care Materials Chart
Vehicle Identification Number (VIN)
Electrical System
Capacities and Specifications
Air Conditioning Refrigerants
Lamp and Bulb Data
Page 258 of 386
Downloaded from www.Manualslib.com manuals search engine Adding Coolant
If you need more coolant, add the proper DEX-COOL@
coolant mixture at the coolant recovery tank.
I A CAUTION:
I
Thrning the radiator pressure cap when the
engine and radiator are hot can allow steam and
scalding liquids to blow out and burn
you badly.
With the coolant recovery tank, you
will almost
never have to add coolant at the radiator.
Never turn the radiator pressure cap
-- even a
little
-- when the engine and radiator are hot.
Add coolant mixture at the recovery tank, but be careful
not to spill it.
' A CAUTION:
I --
You can be burned if you spill coolant on hot
engine parts. Coolant contains ethylene glycol,
and it will burn if the engine parts are hot
enough. Don't spill coolant on a hot engine.
Radiator Pressure Cap
The radiator pressure cap must be tightly installed with
the arrows
on the cap lined up with the overflow tube on
the radiator filler neck.
I NOTICE:
Your radiator cap is a pressure-type cap and
must be tightly installed to prevent coolant loss
and possible engine damage from overheating.
Be sure the arrows
on the cap line up with the
overflow tube on the radiator filler neck.
Page 259 of 386
Downloaded from www.Manualslib.com manuals search engine Thermostat
Engine coolant temperature is controlled by a thermostat
in the engine cooling system. The thermostat stops the
flow of coolant through the radiator until the coolant
reaches a preset temperature.
When you replace your thermostat, an
AC@ thermostat
is recommended.
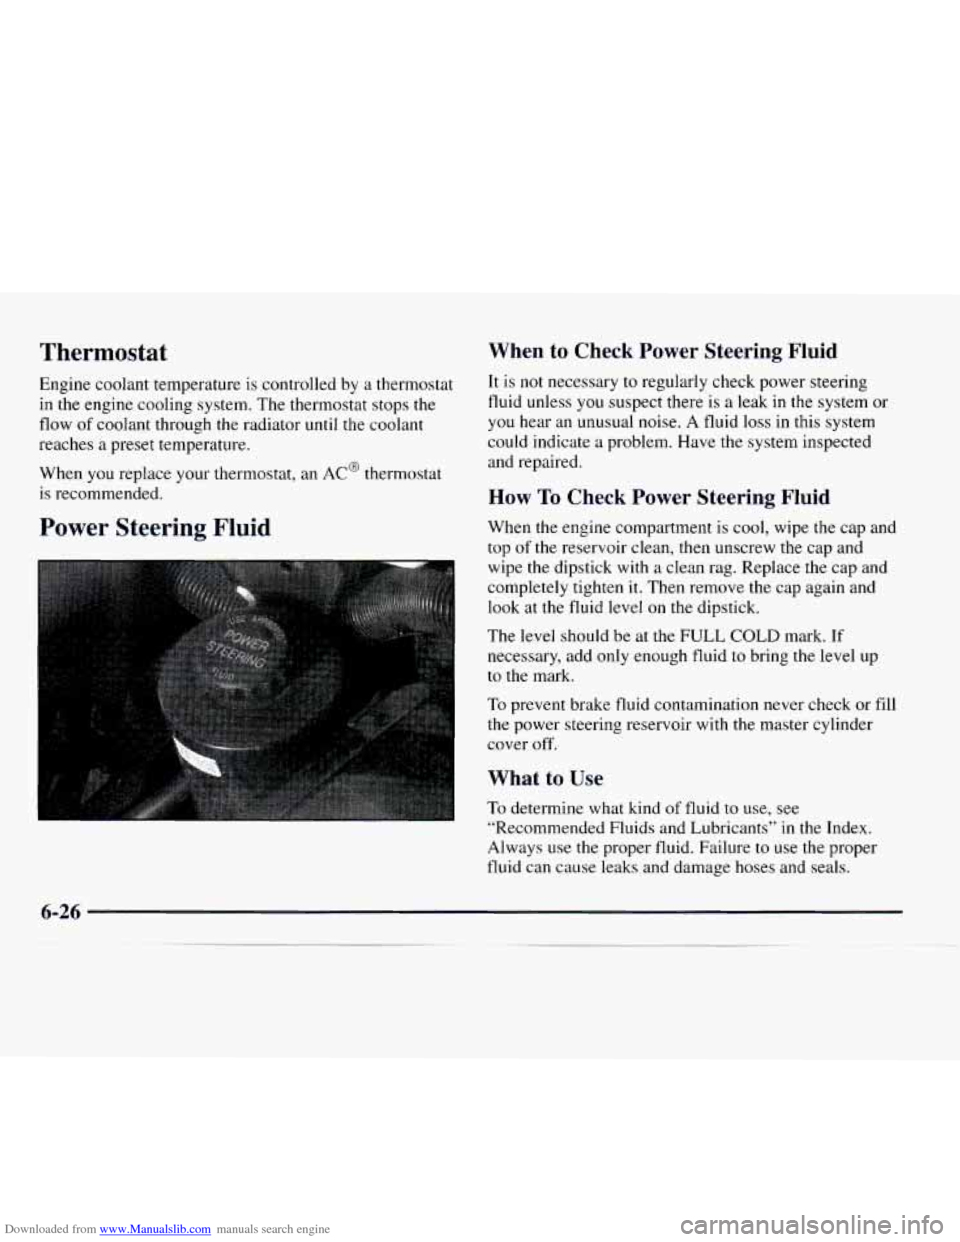
Power Steering Fluid
When to Check Power Steering Fluid
It is not necessary to regularly check power steering
fluid unless you suspect there is a leak in the system or
you hear an unusual noise.
A fluid loss in this system
could indicate a problem. Have the system inspected
and repaired.
How To Check Power Steering Fluid
When the engine compartment is cool, wipe the cap and
top
of the reservoir clean, then unscrew the cap and
wipe the dipstick with
a clean rag. Replace the cap and
completely tighten it. Then remove the cap again and
look at the fluid level on the dipstick.
The level should be at the
FULL COLD mark. If
necessary, add only enough fluid to bring the level up
to the mark.
To prevent brake fluid contamination never check or fill
the power steering reservoir with the master cylinder
cover
off.
What to Use
To determine what kind of fluid to use, see
“Recommended Fluids and Lubricants”
in the Index.
Always use the proper fluid. Failure
to use the proper
fluid can cause leaks and damage hoses and seals.
6-26
Page 260 of 386
Downloaded from www.Manualslib.com manuals search engine Windshield Washer Fluid
What to Use
When you need windshield washer fluid, be sure to read
the manufacturer’s instructions before use. If you will be
operating your vehicle in an area where the temperature
may fall below freezing, use
a fluid that has sufficient
protection against freezing.
Adding Washer Fluid
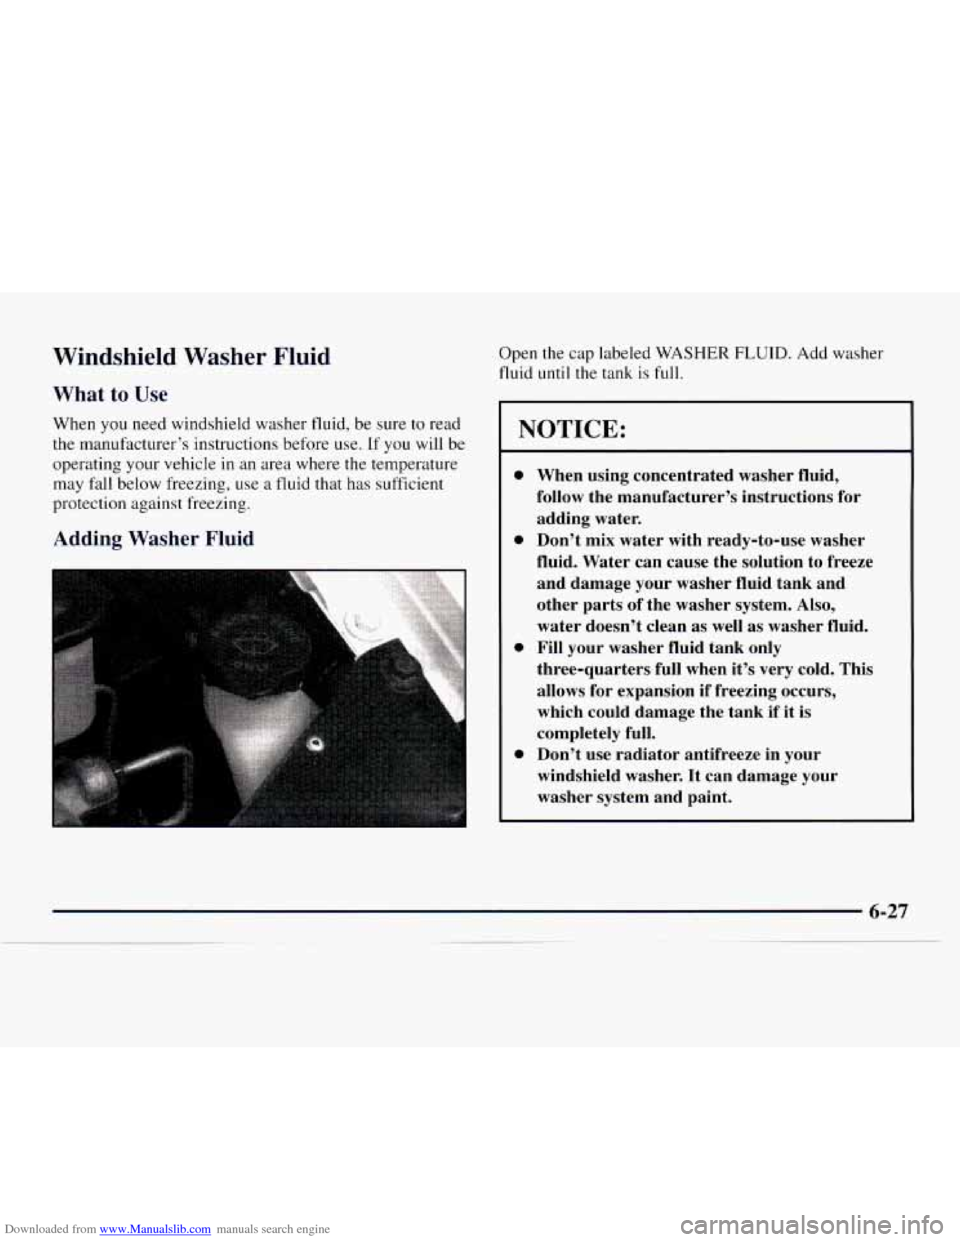
Open the cap labeled WASHER FLUID. Add washer
fluid
until the tank is full.
NOTICE:
e
e
e
e
When using concentrated washer fluid,
follow the manufacturer’s instructions for
adding water.
Don’t mix water with ready-to-use washer
fluid. Water can cause the solution to freeze
and damage your washer fluid tank and
other parts of the washer system.
Also,
water doesn’t clean as well as washer fluid.
Fill your washer fluid tank only
three-quarters full when it’s very cold. This
allows
for expansion if freezing occurs,
which could damage the tank if it is
completely full.
Don’t use radiator antifreeze in your
windshield washer.
It can damage your
washer system and paint.
Page 300 of 386
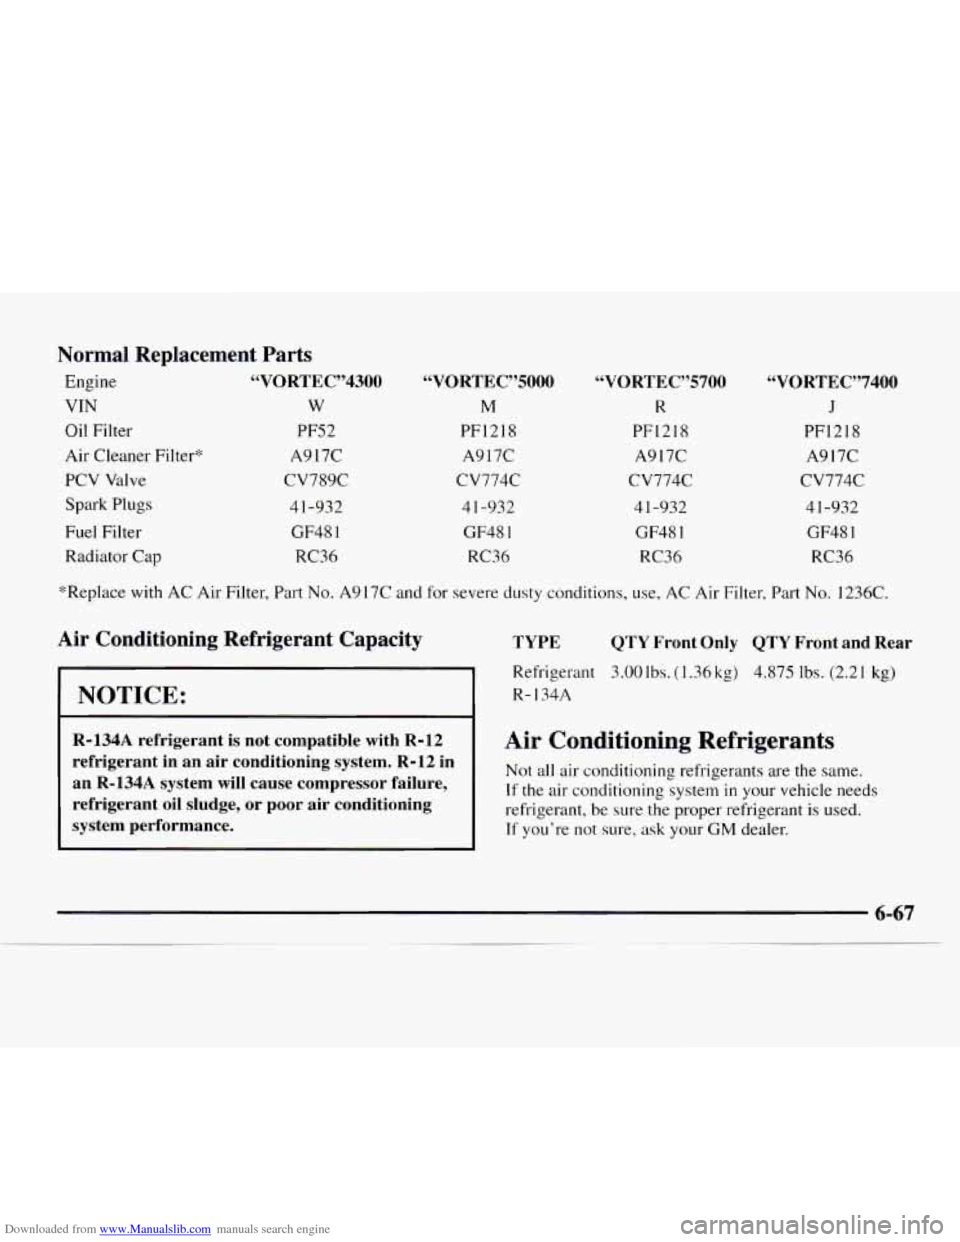
Downloaded from www.Manualslib.com manuals search engine Normal Replacement Parts
Engine VIN
Oil Filter
Air Cleaner Filter*
PCV Valve
Spark Plugs
Fuel Filter
Radiator Cap
*Replace with AC Ai
“VORTEC”4300
w
PF52
A9 17C
CV789C
41-932 GF48
1
RC36
“VORTEC”5000
r Filter, Part No. A917C and fi
Air Conditioning Refrigerant Capacity
M
PF1218
A917C
cv774c
4 1-932 GF48
1
RC36
or severe dua
NOTICE:
R-134A refrigerant is not compatible with R-12
refrigerant in an air conditioning system. R-12 in
an R-134A system
will cause compressor failure,
refrigerant oil sludge, or poor air conditioning
system performance. “VORTEC”5700
R
PF1218
A9 17C
cv774c
4 1-932
GF48
1
RC36
“VORTEC”7400
J
PF1218
A917C
cv774c
41-932 GF48
1
RC36
;ty conditions, use, AC Air Filter, Part No. 1236C.
TYPE QTY Front Only QTY Front and Rear
Refrigerant 3.00 Ibs. (1.36 kg) 4.875 Ibs. (2.2 1 kg)
R- 134A
Air Conditioning Refrigerants
Not all air conditioning refrigerants are the same.
If the air conditioning system in your vehicle needs
refrigerant,
be sure the proper refrigerant is used.
Tf you’re not sure, ask your GM dealer.