audio CHEVROLET EXPRESS 2007 Owners Manual
[x] Cancel search | Manufacturer: CHEVROLET, Model Year: 2007, Model line: EXPRESS, Model: CHEVROLET EXPRESS 2007Pages: 440, PDF Size: 2.42 MB
Page 1 of 440
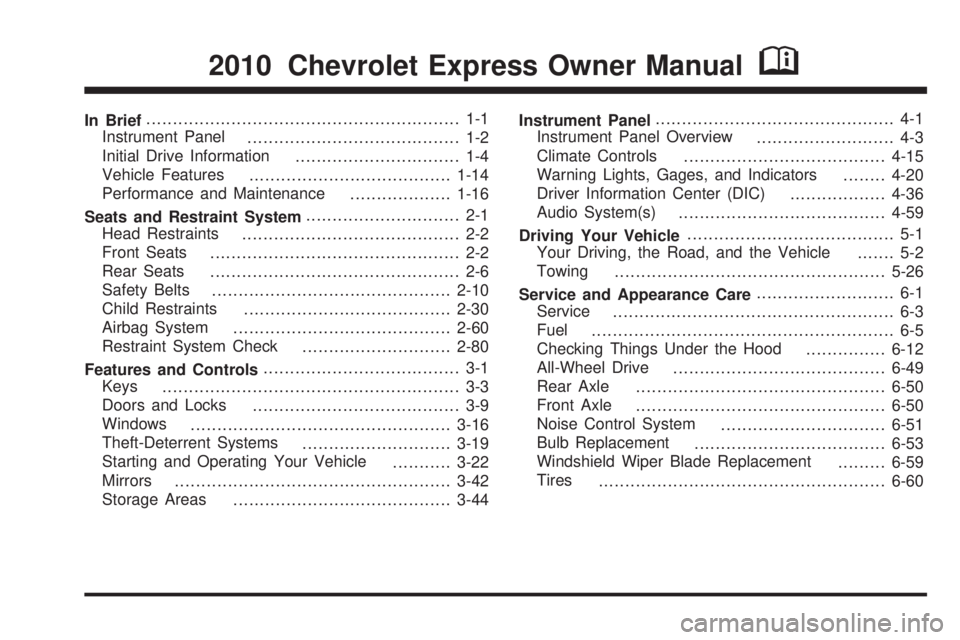
In Brief........................................................... 1-1
Instrument Panel
........................................ 1-2
Initial Drive Information
............................... 1-4
Vehicle Features
......................................1-14
Performance and Maintenance
...................1-16
Seats and Restraint System............................. 2-1
Head Restraints
......................................... 2-2
Front Seats
............................................... 2-2
Rear Seats
............................................... 2-6
Safety Belts
.............................................2-10
Child Restraints
.......................................2-30
Airbag System
.........................................2-60
Restraint System Check
............................2-80
Features and Controls..................................... 3-1
Keys
........................................................ 3-3
Doors and Locks
....................................... 3-9
Windows
.................................................3-16
Theft-Deterrent Systems
............................3-19
Starting and Operating Your Vehicle
...........3-22
Mirrors
....................................................3-42
Storage Areas
.........................................3-44Instrument Panel............................................. 4-1
Instrument Panel Overview
.......................... 4-3
Climate Controls
......................................4-15
Warning Lights, Gages, and Indicators
........4-20
Driver Information Center (DIC)
..................4-36
Audio System(s)
.......................................4-59
Driving Your Vehicle....................................... 5-1
Your Driving, the Road, and the Vehicle
....... 5-2
Towing
...................................................5-26
Service and Appearance Care.......................... 6-1
Service
..................................................... 6-3
Fuel
......................................................... 6-5
Checking Things Under the Hood
...............6-12
All-Wheel Drive
........................................6-49
Rear Axle
...............................................6-50
Front Axle
...............................................6-50
Noise Control System
...............................6-51
Bulb Replacement
....................................6-53
Windshield Wiper Blade Replacement
.........6-59
Tires
......................................................6-60
2010 Chevrolet Express Owner ManualM
Page 5 of 440
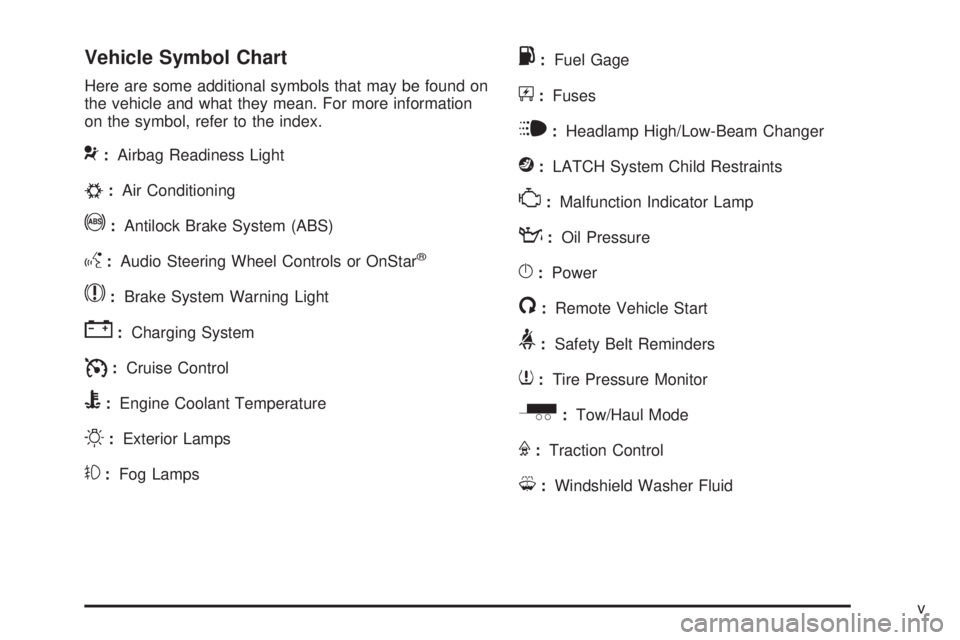
Vehicle Symbol Chart
Here are some additional symbols that may be found on
the vehicle and what they mean. For more information
on the symbol, refer to the index.
9:Airbag Readiness Light
#:Air Conditioning
!:Antilock Brake System (ABS)
g:Audio Steering Wheel Controls or OnStar®
$:Brake System Warning Light
":Charging System
I:Cruise Control
B:Engine Coolant Temperature
O:Exterior Lamps
#:Fog Lamps
.:Fuel Gage
+:Fuses
i:Headlamp High/Low-Beam Changer
j:LATCH System Child Restraints
*:Malfunction Indicator Lamp
::Oil Pressure
}:Power
/:Remote Vehicle Start
>:Safety Belt Reminders
7:Tire Pressure Monitor
_:Tow/Haul Mode
F:Traction Control
M:Windshield Washer Fluid
v
Page 7 of 440
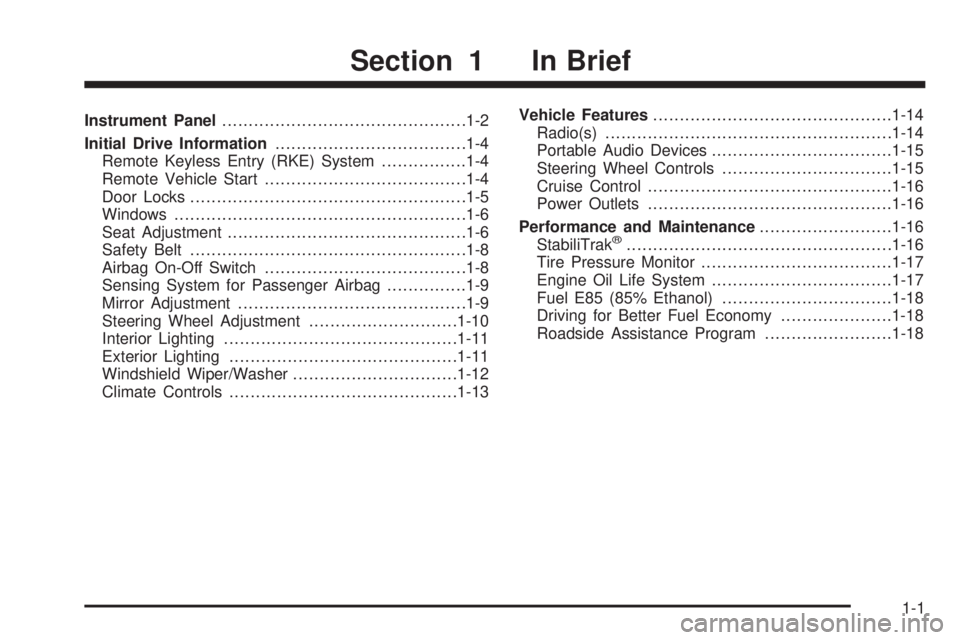
Instrument Panel..............................................1-2
Initial Drive Information....................................1-4
Remote Keyless Entry (RKE) System................1-4
Remote Vehicle Start......................................1-4
Door Locks....................................................1-5
Windows.......................................................1-6
Seat Adjustment.............................................1-6
Safety Belt....................................................1-8
Airbag On-Off Switch......................................1-8
Sensing System for Passenger Airbag...............1-9
Mirror Adjustment...........................................1-9
Steering Wheel Adjustment............................1-10
Interior Lighting............................................1-11
Exterior Lighting...........................................1-11
Windshield Wiper/Washer...............................1-12
Climate Controls...........................................1-13Vehicle Features.............................................1-14
Radio(s)......................................................1-14
Portable Audio Devices..................................1-15
Steering Wheel Controls................................1-15
Cruise Control..............................................1-16
Power Outlets..............................................1-16
Performance and Maintenance.........................1-16
StabiliTrak
®..................................................1-16
Tire Pressure Monitor....................................1-17
Engine Oil Life System..................................1-17
Fuel E85 (85% Ethanol)................................1-18
Driving for Better Fuel Economy.....................1-18
Roadside Assistance Program........................1-18
Section 1 In Brief
1-1
Page 9 of 440
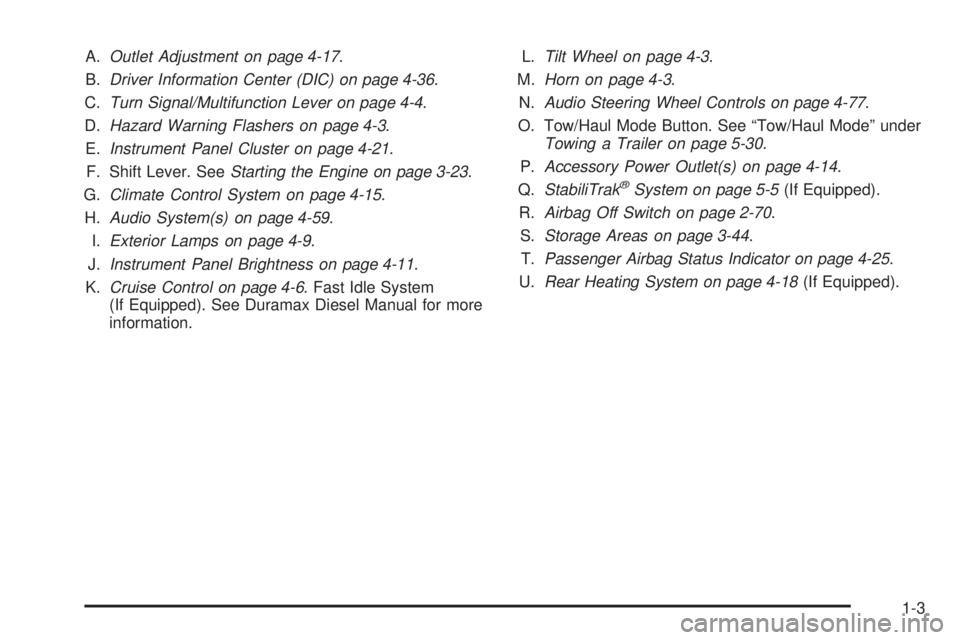
A.Outlet Adjustment on page 4-17.
B.Driver Information Center (DIC) on page 4-36.
C.Turn Signal/Multifunction Lever on page 4-4.
D.Hazard Warning Flashers on page 4-3.
E.Instrument Panel Cluster on page 4-21.
F. Shift Lever. SeeStarting the Engine on page 3-23.
G.Climate Control System on page 4-15.
H.Audio System(s) on page 4-59.
I.Exterior Lamps on page 4-9.
J.Instrument Panel Brightness on page 4-11.
K.Cruise Control on page 4-6. Fast Idle System
(If Equipped). See Duramax Diesel Manual for more
information.L.Tilt Wheel on page 4-3.
M.Horn on page 4-3.
N.Audio Steering Wheel Controls on page 4-77.
O. Tow/Haul Mode Button. See “Tow/Haul Mode” under
Towing a Trailer on page 5-30.
P.Accessory Power Outlet(s) on page 4-14.
Q.StabiliTrak
®System on page 5-5(If Equipped).
R.Airbag Off Switch on page 2-70.
S.Storage Areas on page 3-44.
T.Passenger Airbag Status Indicator on page 4-25.
U.Rear Heating System on page 4-18(If Equipped).
1-3
Page 20 of 440
Vehicle Features
Radio(s)
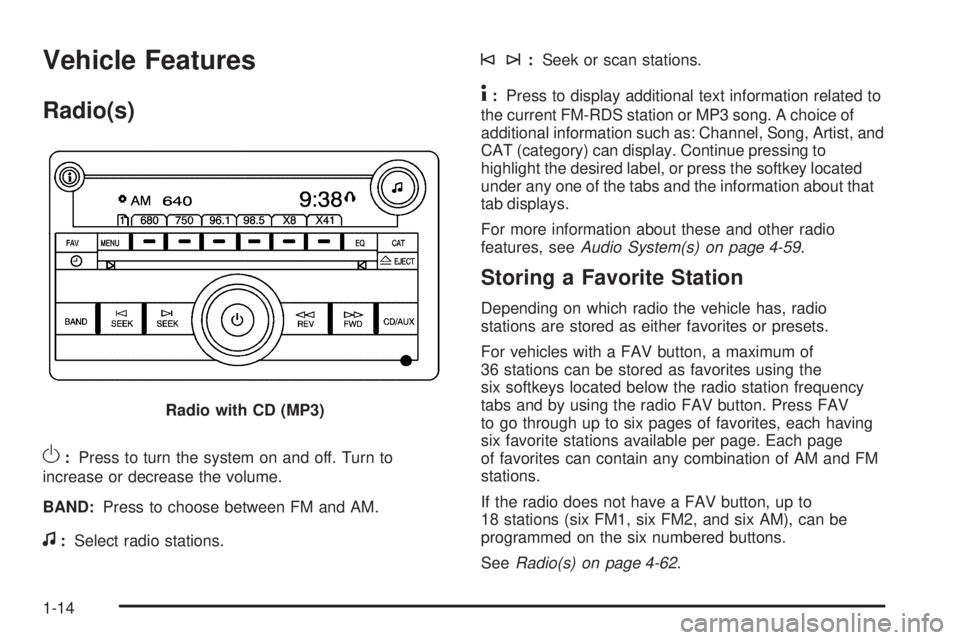
O:Press to turn the system on and off. Turn to
increase or decrease the volume.
BAND:Press to choose between FM and AM.
f:Select radio stations.
©¨:Seek or scan stations.
4:Press to display additional text information related to
the current FM-RDS station or MP3 song. A choice of
additional information such as: Channel, Song, Artist, and
CAT (category) can display. Continue pressing to
highlight the desired label, or press the softkey located
under any one of the tabs and the information about that
tab displays.
For more information about these and other radio
features, seeAudio System(s) on page 4-59.
Storing a Favorite Station
Depending on which radio the vehicle has, radio
stations are stored as either favorites or presets.
For vehicles with a FAV button, a maximum of
36 stations can be stored as favorites using the
six softkeys located below the radio station frequency
tabs and by using the radio FAV button. Press FAV
to go through up to six pages of favorites, each having
six favorite stations available per page. Each page
of favorites can contain any combination of AM and FM
stations.
If the radio does not have a FAV button, up to
18 stations (six FM1, six FM2, and six AM), can be
programmed on the six numbered buttons.
SeeRadio(s) on page 4-62. Radio with CD (MP3)
1-14
Page 21 of 440
Setting the Clock
To set the time and date for the Radio with CD (MP3):
1. Press
Hand the HR, MIN, MM, DD, YYYY
(hour, minute, month, day, and year) displays.
2. Press the pushbutton located below any one of the
tabs that you want to change.
3. Increase or decrease the time or date depending
on the radio, by pressing
©SEEK¨arrows,
s\REV/FWD buttons or by turningfclockwise
or counterclockwise.
For detailed instructions on setting the clock for your
specific audio system, seeSetting the Clock on
page 4-60.
Portable Audio Devices
This vehicle may have an auxiliary input jack, located
on the audio faceplate. External devices such as iPod®,
MP3 players, etc. can be connected to the auxiliary
input jack using a 3.5 mm (1/8 in) input jack cable.
See “Using the Auxiliary Input Jack” underRadio(s) on
page 4-62.
Steering Wheel Controls
If equipped, these controls
are located on the right
side of the steering wheel.
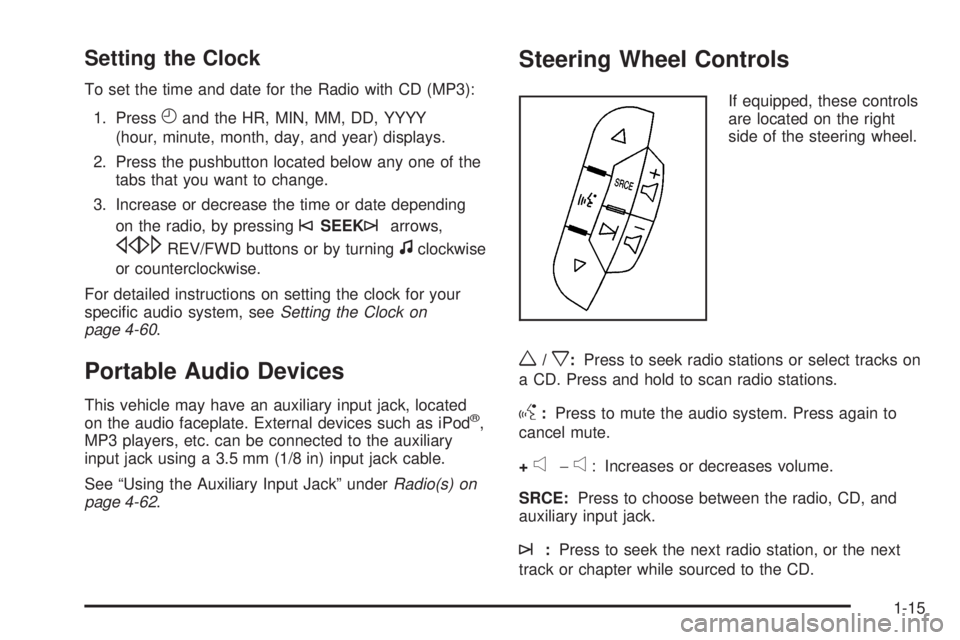
w/x:Press to seek radio stations or select tracks on
a CD. Press and hold to scan radio stations.
g:Press to mute the audio system. Press again to
cancel mute.
+
e−e: Increases or decreases volume.
SRCE:Press to choose between the radio, CD, and
auxiliary input jack.
¨:Press to seek the next radio station, or the next
track or chapter while sourced to the CD.
1-15
Page 129 of 440
B (ACC/ACCESSORY):This is the position in which
you can operate things like the radio and the windshield
wipers when the engine is off.
C (ON/RUN):This position can be used to operate the
electrical accessories and to display some instrument
panel cluster warning and indicator lights. The
switch stays in this position when the engine is running.
If you leave the key in the ACC/ACCESSORY or
ON/RUN position with the engine off, the battery could
be drained. You may not be able to start the vehicle
if the battery is allowed to drain for an extended period
of time.
D (START):This is the position that starts the engine.
When the engine starts, release the key. The ignition
switch returns to ON/RUN for driving.
A warning tone will sound when the driver door is
opened, the ignition is in ACC/ACCESSORY or
LOCK/OFF and the key is in the ignition.Retained Accessory Power (RAP)
These vehicle accessories can be used for up to
10 minutes after the engine is turned off:
•Audio System
•Power Windows (if equipped)
These features will work when the ignition key is in
ON/RUN or ACC/ACCESSORY. Once the key is turned
from ON/RUN to LOCK/OFF, power to the radio will
continue to work 10 minutes or until the driver door is
opened. The power windows will continue to work for up
to 10 minutes or until any door is opened.
Starting the Engine
If the vehicle has the DURAMAX®Diesel engine, see
the DURAMAX®Diesel manual for more information.
To place the transmission in the proper gear:
Move the shift lever to P (Park) or N (Neutral). The
engine will not start in any other position. To restart the
engine when the vehicle is already moving, use
N (Neutral) only.
3-23
Page 152 of 440
Security Light...............................................4-34
Cruise Control Light......................................4-35
Highbeam On Light.......................................4-35
Tow/Haul Mode Light....................................4-35
Fuel Gage...................................................4-35
Driver Information Center (DIC).......................4-36
DIC Operation and Displays...........................4-37
DIC Compass..............................................4-42
DIC Warnings and Messages.........................4-44
DIC Vehicle Customization.............................4-52Audio System(s).............................................4-59
Setting the Clock..........................................4-60
Radio(s)......................................................4-62
Using an MP3..............................................4-72
Theft-Deterrent Feature..................................4-77
Audio Steering Wheel Controls.......................4-77
Radio Reception...........................................4-78
Fixed Mast Antenna......................................4-78
Section 4 Instrument Panel
4-2
Page 168 of 440
Rear Heating System
For vehicles with a rear heating system, it lets you adjust
the amount of air flowing into the rear of the vehicle, from
the front-seating area. This feature works with the main
climate-control system in the vehicle.
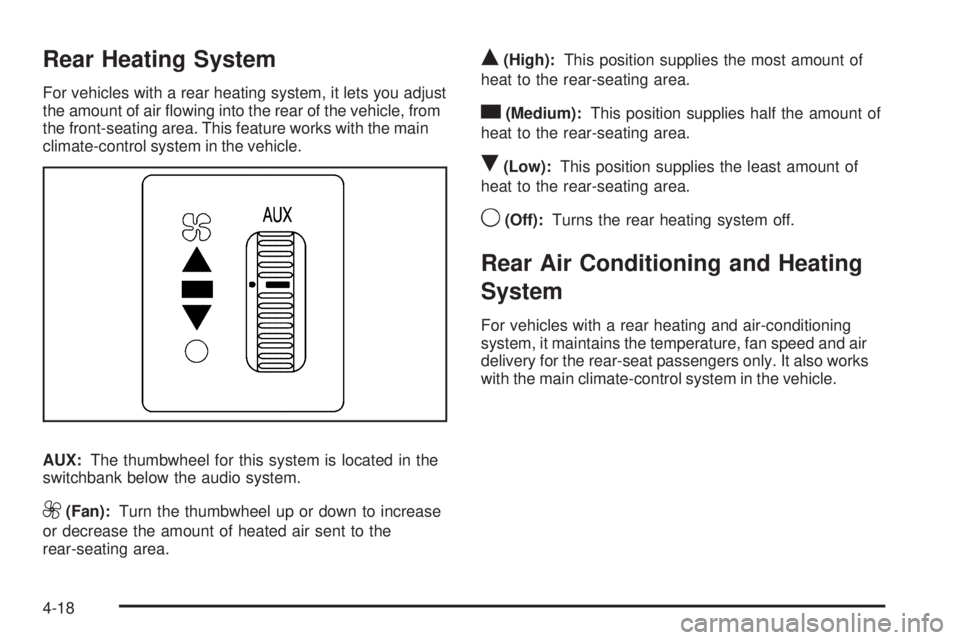
AUX:The thumbwheel for this system is located in the
switchbank below the audio system.
9(Fan):Turn the thumbwheel up or down to increase
or decrease the amount of heated air sent to the
rear-seating area.
Q(High):This position supplies the most amount of
heat to the rear-seating area.
c(Medium):This position supplies half the amount of
heat to the rear-seating area.
R(Low):This position supplies the least amount of
heat to the rear-seating area.
9(Off):Turns the rear heating system off.
Rear Air Conditioning and Heating
System
For vehicles with a rear heating and air-conditioning
system, it maintains the temperature, fan speed and air
delivery for the rear-seat passengers only. It also works
with the main climate-control system in the vehicle.
4-18
Page 209 of 440
Audio System(s)
If the vehicle came without a radio, the wiring provisions
for a radio and an antenna were installed at the
assembly plant, so that if you want, a radio can be
installed at the dealer/retailer.
Determine which radio the vehicle has and read the
following pages to become familiar with its features.
{WARNING:
Taking your eyes off the road for extended periods
could cause a crash resulting in injury or death to
you or others. Do not give extended attention to
entertainment tasks while driving.
This system provides access to many audio and non
audio listings.
To minimize taking your eyes off the road while driving,
do the following while the vehicle is parked:
•Become familiar with the operation and controls of
the audio system.
•Set up the tone, speaker adjustments, and preset
radio stations.For more information, seeDefensive Driving on
page 5-2.
Notice:Contact your dealer/retailer before adding
any equipment.
Adding audio or communication equipment could
interfere with the operation of the vehicle’s engine,
radio, or other systems, and could damage them.
Follow federal rules covering mobile radio and
telephone equipment.
Notice:The chime signals related to safety belts,
parking brake, and other functions of your vehicle
operate through the radio/entertainment system.
If that equipment is replaced or additional equipment
is added to your vehicle, the chimes may not
work. Make sure that replacement or additional
equipment is compatible with your vehicle before
installing it. SeeAccessories and Modifications
on page 6-3.
The vehicle has Retained Accessory Power (RAP).
With RAP, the audio system can be played even after
the ignition is turned off. SeeRetained Accessory
Power (RAP) on page 3-23for more information.
4-59