start stop button CHEVROLET HHR 2011 1.G Owners Manual
[x] Cancel search | Manufacturer: CHEVROLET, Model Year: 2011, Model line: HHR, Model: CHEVROLET HHR 2011 1.GPages: 430, PDF Size: 4.57 MB
Page 27 of 430
Black plate (21,1)Chevrolet HHR Owner Manual - 2011
Tire Pressure Monitor
This vehicle may have a Tire Pressure Monitor
System (TPMS).
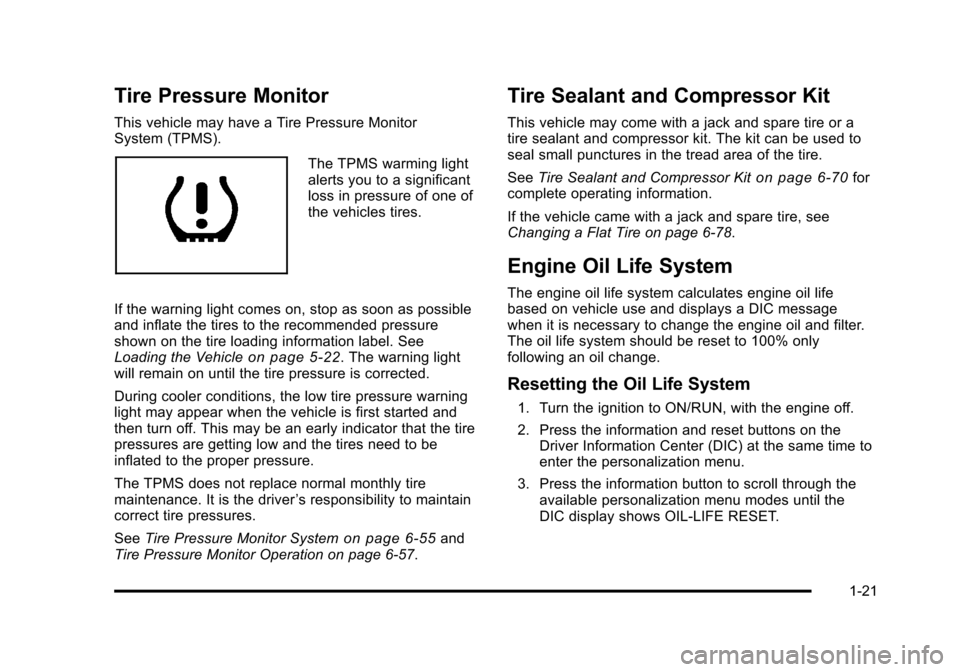
The TPMS warming light
alerts you to a significant
loss in pressure of one of
the vehicles tires.
If the warning light comes on, stop as soon as possible
and inflate the tires to the recommended pressure
shown on the tire loading information label. See
Loading the Vehicle
on page 5‑22. The warning light
will remain on until the tire pressure is corrected.
During cooler conditions, the low tire pressure warning
light may appear when the vehicle is first started and
then turn off. This may be an early indicator that the tire
pressures are getting low and the tires need to be
inflated to the proper pressure.
The TPMS does not replace normal monthly tire
maintenance. It is the driver ’s responsibility to maintain
correct tire pressures.
See Tire Pressure Monitor System
on page 6‑55and
Tire Pressure Monitor Operation on page 6‑57.
Tire Sealant and Compressor Kit
This vehicle may come with a jack and spare tire or a
tire sealant and compressor kit. The kit can be used to
seal small punctures in the tread area of the tire.
See Tire Sealant and Compressor Kit
on page 6‑70for
complete operating information.
If the vehicle came with a jack and spare tire, see
Changing a Flat Tire on page 6‑78.
Engine Oil Life System
The engine oil life system calculates engine oil life
based on vehicle use and displays a DIC message
when it is necessary to change the engine oil and filter.
The oil life system should be reset to 100% only
following an oil change.
Resetting the Oil Life System
1. Turn the ignition to ON/RUN, with the engine off.
2. Press the information and reset buttons on the Driver Information Center (DIC) at the same time to
enter the personalization menu.
3. Press the information button to scroll through the available personalization menu modes until the
DIC display shows OIL-LIFE RESET.
1-21
Page 28 of 430
Black plate (22,1)Chevrolet HHR Owner Manual - 2011
4. Press and hold the reset button until the DICdisplay shows ACKNOWLEDGED. This will tell you
the system has been reset.
5. Turn the key to LOCK/OFF.
For vehicles with the 2.2L (VIN Code V) or 2.4L
(VIN Code B) engines, you can also reset the
system as follows: 1. Turn the ignition key to ON/RUN with the engine off.
2. Fully press and release the accelerator pedal slowly three times within five seconds.
3. Turn the key to LOCK/OFF, then start the engine.
See Engine Oil Life System on page 6‑19.
Fuel E85 (85% Ethanol)
Vehicles that have a FlexFuel badge and a yellow fuel
cap can use either unleaded gasoline or ethanol fuel
containing up to 85% ethanol (E85). See Fuel E85
(85% Ethanol)
on page 6‑8. For all other vehicles,
use only the unleaded gasoline described under
Gasoline Octane on page 6‑6.
Driving for Better Fuel Economy
Driving habits can affect fuel mileage. Here are some
driving tips to get the best fuel economy possible.
.Avoid fast starts and accelerate smoothly.
.Brake gradually and avoid abrupt stops.
.Avoid idling the engine for long periods of time.
.When road and weather conditions are
appropriate, use cruise control, if equipped.
.Always follow posted speed limits or drive more
slowly when conditions require.
.Keep vehicle tires properly inflated.
.Combine several trips into a single trip.
.Replace the vehicle's tires with the same TPC
Spec number molded into the tire's sidewall near
the size.
.Follow recommended scheduled maintenance.
1-22
Page 133 of 430
Black plate (27,1)Chevrolet HHR Owner Manual - 2011
WARNING: (Continued)
Do not leave the vehicle when the engine is
running unless you have to. If you have left the
engine running, the vehicle can move suddenly.
You or others could be injured. To be sure the
vehicle will not move, even when you are on fairly
level ground, always set the parking brake and
move the shift lever to P (Park). SeeShifting Into
Park (Automatic Transmission)
on page 3‑31.
If you are pulling a trailer, see Towing a Trailer
(Automatic Transmission)
on page 5‑31or
Towing a Trailer (Manual Transmission)
on
page 5‑37
.
Make sure the shift lever is fully in P (Park) before
starting the engine. The vehicle has an automatic
transmission shift lock control system. You have to fully
apply the regular brakes first and then press the shift
lever button before the vehicle can shift from P (Park)
when the ignition key is in ON/RUN. If the vehicle
cannot shift out of P (Park), ease pressure on the shift
lever and push the shift lever all the way into P (Park)
as you maintain brake application. Then press the shift
lever button and then move the shift lever into another
gear. See Shifting Out of Park (Automatic Transmission)
on page 3‑33. R (Reverse):
Use this gear to back up.
Notice: Shifting to R (Reverse) while the vehicle is
moving forward could damage the transmission.
The repairs would not be covered by the vehicle
warranty. Shift to R (Reverse) only after the vehicle
is stopped.
To rock your vehicle back and forth to get out of snow,
ice, or sand without damaging the transmission, see If
Your Vehicle is Stuck in Sand, Mud, Ice, or Snow
on
page 5‑21.
N (Neutral): In this position, the engine does not
connect with the wheels. To restart the engine when the
vehicle is already moving, use N (Neutral) only. Also,
use N (Neutral) when the vehicle is being towed.
{WARNING:
Shifting into a drive gear while the engine is
running at high speed is dangerous. Unless your
foot is firmly on the brake pedal, the vehicle could
move very rapidly. You could lose control and hit
people or objects. Do not shift into a drive gear
while the engine is running at high speed.
3-27
Page 218 of 430
Black plate (62,1)Chevrolet HHR Owner Manual - 2011
Care of CDs
Store CD(s) in their original cases or other protective
cases and away from direct sunlight and dust. The
CD player scans the bottom of the disc. If the bottom
of a CD is damaged it may not play properly or at all.
Do not touch the bottom of a CD while handling it. Pick
up CDs by grasping the outer edges or the edge of the
hole and the outer edge.
If the surface of a CD is dirty, take a soft, lint free
cloth or dampen a clean, soft cloth in a mild, neutral
detergent solution mixed with water, and clean it.
Make sure the wiping process starts from the center
to the edge.
Care of the CD Player
Do not add labels to a CD, it could get caught in the
CD player. Use a marking pen to write on the top of
the CD if a description is needed.
Do not use CD lens cleaners, they could damage the
CD player.
Notice:If a label is added to a CD, or more than
one CD is inserted into the slot at a time, or an
attempt is made to play scratched or damaged CDs,
the CD player could be damaged. While using the
CD player, use only CDs in good condition without
any label, load one CD at a time, and keep the
CD player and the loading slot free of foreign
materials, liquids, and debris. If an error displays, see
“CD Messages”earlier in this
section.
Using the Auxiliary Input Jack
The radio system may have an auxiliary input jack
located on the lower right side of the faceplate. This is
not an audio output; do not plug the headphone set into
the front auxiliary input jack. An external audio device
such as an iPod
®, laptop computer, MP3 player,
CD changer, etc. can be connected to the auxiliary
input jack for use as another audio source.
Drivers are encouraged to set up any auxiliary device
while the vehicle is in P (Park). See Defensive Driving
on page 5‑2for more information on driver distraction.
To use a portable audio player, connect a 3.5 mm
(1/8 in) cable to the radio's front auxiliary input jack.
When a device is connected, press the radio
CD/AUX button to begin playing audio from the
device over the vehicle speakers.
O(Power/Volume): Turn to adjust the volume.
Additional volume adjustments may have to be made
from the portable device if the volume is too quiet or
not loud.
BAND: Press to listen to the radio while a portable
audio device is connected to the auxiliary input. The
portable audio device continues playing until it is
stopped or turned off.
4-62
Page 335 of 430
Black plate (59,1)Chevrolet HHR Owner Manual - 2011
TPMS Sensor Matching Process
Each TPMS sensor has a unique identification code.
Any time you replace one or more of the TPMS sensors
or rotate the vehicle's tires, the identification codes
need to be matched to the new tire/wheel location. The
sensors are matched, to the tire/wheel locations, in the
following order: driver side front tire, passenger side
front tire, passenger side rear tire, and driver side rear
tire using a TPMS diagnostic tool. See your dealer for
service.
The TPMS sensors can also be matched to each tire/
wheel position by increasing or decreasing the tire's air
pressure. When increasing the tire's pressure, do not
exceed the maximum inflation pressure indicated on the
tire's sidewall. To decrease the tire's air-pressure use
the pointed end of the valve cap, a pencil-style air
pressure gauge, or a key.
You have two minutes to match each tire and wheel
position. If it takes longer than two minutes to match
any tire and wheel position, the matching process stops
and you need to start over.
The TPMS matching process is outlined below:1. Set the parking brake.
2. Turn the ignition switch to ON/RUN with the engine off. 3. Press and hold the Remote Keyless Entry (RKE)
transmitter's LOCK and UNLOCK buttons, at the
same time, for about five seconds to start the
TPMS learn mode. The horn sounds twice
indicating the TPMS receiver is ready and in
learn mode.
4. Start with the driver side front tire. The driver side front turn signal also comes on to indicate that
corner's sensor is ready to be learned.
5. Remove the valve cap from the tire's valve stem. Activate the TPMS sensor by increasing or
decreasing the tire's air pressure for about
eight seconds. The horn chirp, can take up to
30 seconds to sound. It chirps one time and then
all the turn signals flash one time to confirm the
sensor identification code has been matched to the
tire/wheel position.
6. The passenger side front turn signal comes on to indicate that corner sensor is ready to be learned.
Proceed to the passenger side front tire and repeat
the procedure in Step 5.
7. The passenger side rear turn signal comes on to indicate that corner sensor is ready to be learned.
Proceed to the passenger side rear tire and repeat
the procedure in Step 5.
6-59