instrument panel CHEVROLET IMPALA 2010 9.G Owner's Guide
[x] Cancel search | Manufacturer: CHEVROLET, Model Year: 2010, Model line: IMPALA, Model: CHEVROLET IMPALA 2010 9.GPages: 432, PDF Size: 1.89 MB
Page 159 of 432
Ending Cruise ControlThere are three ways to end cruise control:•
Step lightly on the brake pedal.
•
Press the
[
button on the steering wheel.
•
Press the
T
button on the steering wheel.
Erasing Speed MemoryThe cruise control set speed memory is erased by
turning off the cruise control or the ignition.Exterior Lamps
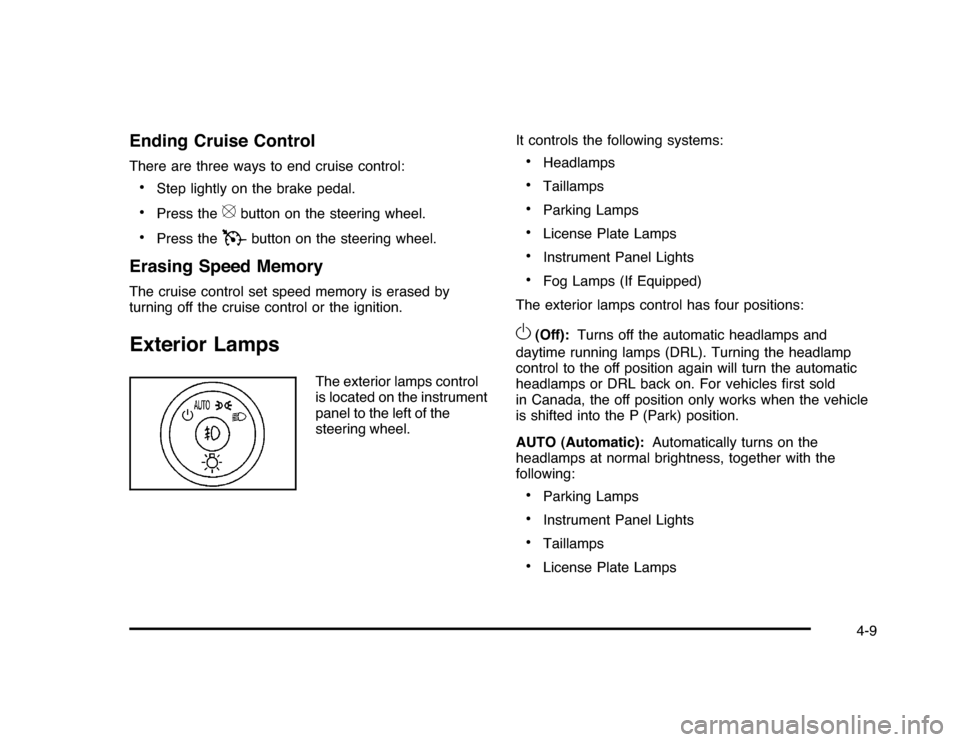
The exterior lamps control
is located on the instrument
panel to the left of the
steering wheel.It controls the following systems:
•
Headlamps
•
Taillamps
•
Parking Lamps
•
License Plate Lamps
•
Instrument Panel Lights
•
Fog Lamps (If Equipped)
The exterior lamps control has four positions:
O
(Off):Turns off the automatic headlamps and
daytime running lamps (DRL). Turning the headlamp
control to the off position again will turn the automatic
headlamps or DRL back on. For vehicles first sold
in Canada, the off position only works when the vehicle
is shifted into the P (Park) position.
AUTO (Automatic):Automatically turns on the
headlamps at normal brightness, together with the
following:•
Parking Lamps
•
Instrument Panel Lights
•
Taillamps
•
License Plate Lamps
4-9
Page 160 of 432
;
(Parking Lamps):Turns on the parking lamps
together with the following:
•
Instrument Panel Lights
•
Taillamps
•
License Plate Lamps
2
(Headlamps):Turns on the headlamps together with
the following lamps listed below. When the headlamps
are turned on while the vehicle is on, the headlamps will
turn off automatically 10 minutes after the ignition is
turned off. When the headlamps are turned on while the
vehicle is off, the headlamps will stay on for 10 minutes
before automatically turning off to prevent the battery
from being drained. Turn the headlamp control to off
and then back to the headlamp on position to make
the headlamps stay on for an additional 10 minutes.•
Parking Lamps
•
Taillamps
•
License Plate Lamps
•
Instrument Panel Lights
#
(Fog Lamps) (If Equipped):Turns on the fog
lamps.
SeeFog Lamps on page 4-11.
Daytime Running Lamps (DRL)/
Automatic Headlamp SystemDaytime Running Lamps (DRL) can make it easier for
others to see the front of your vehicle during the day.
Fully functional daytime running lamps are required
on all vehicles first sold in Canada.
The DRL system makes the low-beam headlamps
come on at a reduced brightness when the following
conditions are met:•
The ignition is in the ON/RUN position.
•
The exterior lamps control is in AUTO.
•
The engine is running.
When the DRL are on, the regular headlamps, taillamps,
sidemarker, and other lamps are not on. The instrument
panel and cluster are also not on.
The headlamps automatically change from DRL to
the regular headlamps depending on the darkness of
the surroundings. The other lamps that come on with
the headlamps will also come on.
When it is bright enough outside, the headlamps go off
and the DRL come on.
The regular headlamp system should be turned on
when needed.
Do not cover the light sensor on top of the instrument
panel because it works with the DRL.
4-10
Page 161 of 432
Fog Lamps#
(Fog Lamps):For vehicles with fog lamps,
the button is located on the exterior lamps control.
The exterior lamps control is located on the instrument
panel to the left of the steering column.
The ignition must be in the ON/RUN position for the fog
lamps to come on.
Press
#
to turn the fog lamps on or off. A light will
come on in the instrument panel cluster.
When the headlamps are changed to high-beam, the
fog lamps also go off.
Some localities have laws that require the headlamps to
be on along with the fog lamps.
Instrument Panel BrightnessD
(Instrument Panel Brightness):The knob with this
symbol on it is located next to the exterior lamps control
to the left of the steering wheel. Push the knob in all the
way until it extends out and then turn the knob clockwise
or counterclockwise to brighten or dim the lights. Push
the knob back in when finished.
Courtesy LampsWhen a door is opened, the courtesy lamps
automatically come on. They make it easy for you to
enter and leave your vehicle. You can also manually
turn these lamps on by fully turning the instrument
panel brightness control clockwise.
The reading lamps, located on the rearview mirror,
can be turned on or off independent of the automatic
courtesy lamps, when the doors are closed.Dome LampThe center mounted dome lamp overhead comes on
when a door is opened. This lamp can also be turned
on by turning the instrument panel brightness control
clockwise.
4-11
Page 163 of 432
Delayed Exit LightingThis feature illuminates the interior for a period of time
after the key is removed from the ignition.
The ignition must be off for delayed exit lighting to work.
When the key is removed, interior illumination activates
and remains on until one of the following occurs:•
The ignition is in ON/RUN.
•
The power door locks are activated.
•
An illumination period of 20 seconds has elapsed.
If during the illumination period a door is opened,
the timed illumination period will be canceled and the
interior lamps will remain on because a door is open.
Parade DimmingParade mode automatically prohibits the dimming of
the instrument panel displays during the daylight while
the headlamps are on so that the displays are still
able to be seen.Reading LampsThe vehicle has reading lamps that also act as the
dome lamp. Press the button near each lamp to turn
them on and off.
Map LampsThe vehicle has map lamps on the rearview mirror.
Press the button near each lamp on the mirror to turn
the map lamps on and off.Electric Power ManagementThe vehicle has Electric Power Management (EPM) that
estimates the battery’s temperature and state of charge.
It then adjusts the voltage for best performance and
extended life of the battery.
When the battery’s state of charge is low, the voltage is
raised slightly to quickly bring the charge back up. When
the state of charge is high, the voltage is lowered slightly
to prevent overcharging. If the vehicle has a voltmeter
gage or a voltage display on the Driver Information
Center (DIC), you may see the voltage move up or down.
This is normal. If there is a problem, an alert will be
displayed.
The battery can be discharged at idle if the electrical
loads are very high. This is true for all vehicles. This is
because the generator (alternator) may not be spinning
fast enough at idle to produce all the power that is
needed for very high electrical loads.
4-13
Page 165 of 432
Accessory Power Outlet(s)The vehicle has three 12-volt outlets which can be
used to plug in electrical equipment, such as a cellular
telephone.
On vehicles with a center console, one outlet is located
inside the center floor console and two outlets are located
at the front of the console bin under the instrument panel.
Lift the cover to access the outlet. Close the cover when
not using the outlet.
On vehicles without a center console, two are located
under the climate controls and another outlet for the rear
seat passengers is at the rear of the center front seat.
Remove the cover to access the outlets. When not using
the outlet, make sure the cover is closed.
Notice:Leaving electrical equipment plugged in for
an extended period of time while the vehicle is off
will drain the battery. Power is always supplied
to the outlets. Always unplug electrical equipment
when not in use and do not plug in equipment
that exceeds the maximum 20 ampere rating.Certain accessory plugs may not be compatible to the
accessory power outlet and could result in blown vehicle
and adapter fuses. If you experience a problem, see
your dealer/retailer for additional information on
the power accessory plugs.
Notice:Adding any electrical equipment to the
vehicle can damage it or keep other components
from working as they should. The repairs would
not be covered by the vehicle warranty. Do not use
equipment exceeding maximum amperage rating
of 20 amperes. Check with your dealer/retailer before
adding electrical equipment.
When adding electrical equipment, be sure to follow
the proper installation instructions included with the
equipment. Check with your dealer/retailer before adding
electrical equipment, and never use anything that
exceeds the maximum amperage rating of 20 amps.
Notice:Improper use of the power outlet can
cause damage not covered by the vehicle warranty.
Do not hang any type of accessory or accessory
bracket from the plug because the power outlets
are designed for accessory power plugs only.
4-15
Page 167 of 432

A. Fan Control
B. Outside Air
C. Temperature Control
D. RecirculationE. Air Delivery Mode
Control
F. Air Conditioning
G. Rear Window
Defogger
Temperature Control:For dual zone, turn the
thumbwheels up or down to increase or decrease
the temperature on the driver or the passenger side
of the vehicle. For single zone, turn the knob clockwise
or counterclockwise to increase or decrease the
temperature.
9
(Fan Control):Turn clockwise or counterclockwise to
increase or decrease the fan speed. Positioning the knob
between two modes, can select a combination of those
modes.
If the airflow seems low when the fan is at the highest
setting, the passenger compartment air filter may need to
be replaced. There will be some airflow noticeable from
the various outlets when driving, even with the fan in
the off position. For more information, seePassenger
Compartment Air Filter on page 4-20andScheduled
Maintenance on page 7-3.
Air Delivery Mode Control:Turn clockwise or
counterclockwise to change the direction of the airflow
inside the vehicle.
To change the current mode, select one of the following:
H
(Vent):Air is directed to the instrument panel
outlets.
)
(Bi-Level):Air is divided between the instrument
panel outlets and the floor outlets. Single Zone
4-17
Page 172 of 432

Instrument Panel ClusterThe instrument panel cluster is designed to show how the vehicle is running. It shows how fast the vehicle is going,
about how much fuel has been used and many other things needed to drive safely and economically.
United States Uplevel shown, Base and Canada similar4-22
Page 174 of 432
Passenger Safety Belt Reminder LightSeveral seconds after the engine is started, a chime
sounds for several seconds to remind the front
passenger to buckle their safety belt. This only occurs
if the passenger airbag is enabled. SeePassenger
Sensing System on page 2-66for more information.
The passenger safety belt light, located on the instrument
panel, comes on and stays on for several seconds and
then flashes for several more.
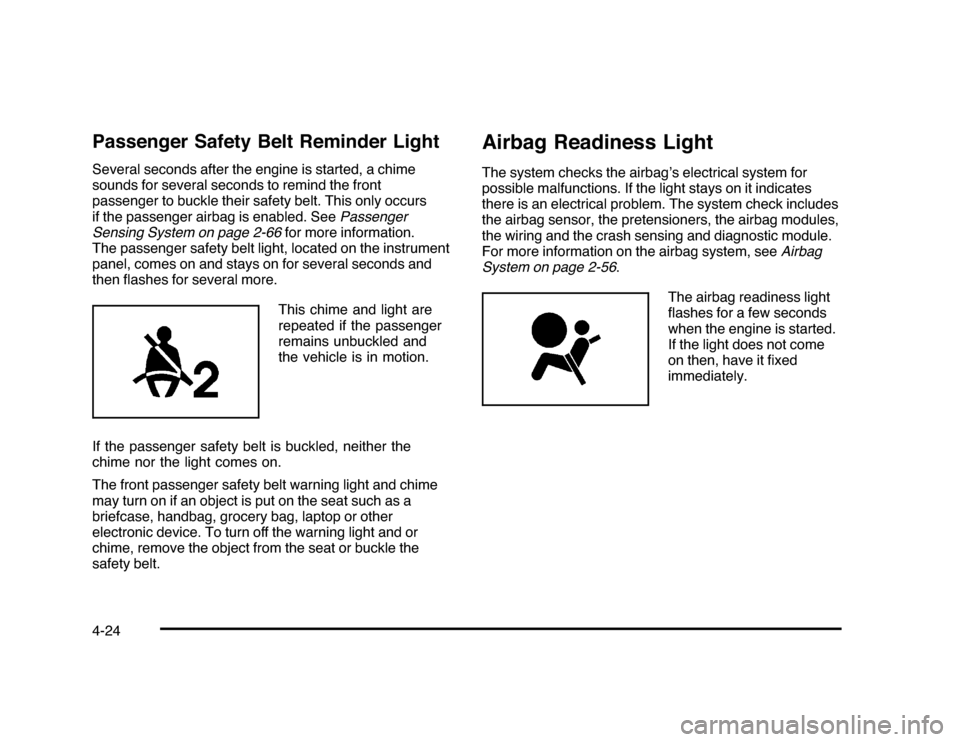
This chime and light are
repeated if the passenger
remains unbuckled and
the vehicle is in motion.
If the passenger safety belt is buckled, neither the
chime nor the light comes on.
The front passenger safety belt warning light and chime
may turn on if an object is put on the seat such as a
briefcase, handbag, grocery bag, laptop or other
electronic device. To turn off the warning light and or
chime, remove the object from the seat or buckle the
safety belt.
Airbag Readiness LightThe system checks the airbag’s electrical system for
possible malfunctions. If the light stays on it indicates
there is an electrical problem. The system check includes
the airbag sensor, the pretensioners, the airbag modules,
the wiring and the crash sensing and diagnostic module.
For more information on the airbag system, seeAirbag
System on page 2-56.
The airbag readiness light
flashes for a few seconds
when the engine is started.
If the light does not come
on then, have it fixed
immediately.
4-24
Page 175 of 432
{
WARNING:
If the airbag readiness light stays on after the
vehicle is started or comes on while driving, it
means the airbag system might not be working
properly. The airbags in the vehicle might not
inflate in a crash, or they could even inflate
without a crash. To help avoid injury, have the
vehicle serviced right away.
If there is a problem with the airbag system, an airbag
Driver Information Center (DIC) message can also come
on. SeeDIC Warnings and Messages on page 4-44
for more information.
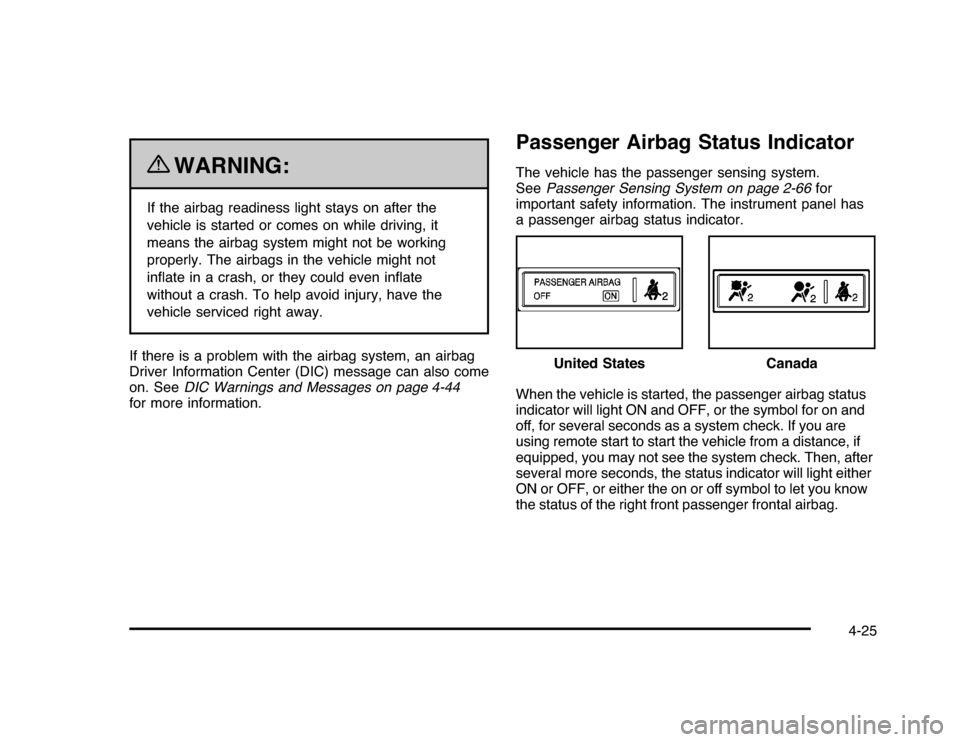
Passenger Airbag Status IndicatorThe vehicle has the passenger sensing system.
SeePassenger Sensing System on page 2-66for
important safety information. The instrument panel has
a passenger airbag status indicator.
When the vehicle is started, the passenger airbag status
indicator will light ON and OFF, or the symbol for on and
off, for several seconds as a system check. If you are
using remote start to start the vehicle from a distance, if
equipped, you may not see the system check. Then, after
several more seconds, the status indicator will light either
ON or OFF, or either the on or off symbol to let you know
the status of the right front passenger frontal airbag.United States
Canada
4-25
Page 187 of 432
Driver Information Center (DIC)Your vehicle has a Driver Information Center (DIC).
All messages will appear in the DIC display located
below the speedometer in the instrument panel cluster.
The DIC buttons are located on the instrument panel,
to the right of the instrument panel cluster.
The DIC comes on when the ignition is on. After a short
delay, the DIC will display the information that was
last displayed before the engine was turned off.
The DIC displays trip, fuel, and vehicle system
information, and warning messages if a system problem
is detected. The bottom line of the DIC shows the shift
lever position indicator. SeeAutomatic Transmission
Operation on page 3-24for more information.
If your vehicle has these features, the DIC also displays
the compass direction and the outside air temperature
when viewing the trip and fuel information. The compass
direction appears on the top right corner of the DIC
display. The outside air temperature automatically
appears in the bottom right corner of the DIC display.
If there is a problem with the system that controls the
temperature display, the numbers will be replaced with
dashes. If this occurs, have the vehicle serviced by your
dealer/retailer.
The DIC also allows some features to be customized.
SeeDIC Vehicle Customization on page 4-51for
more information.
DIC Operation and DisplaysThe DIC has different displays which can be accessed
by pressing the DIC buttons located on the instrument
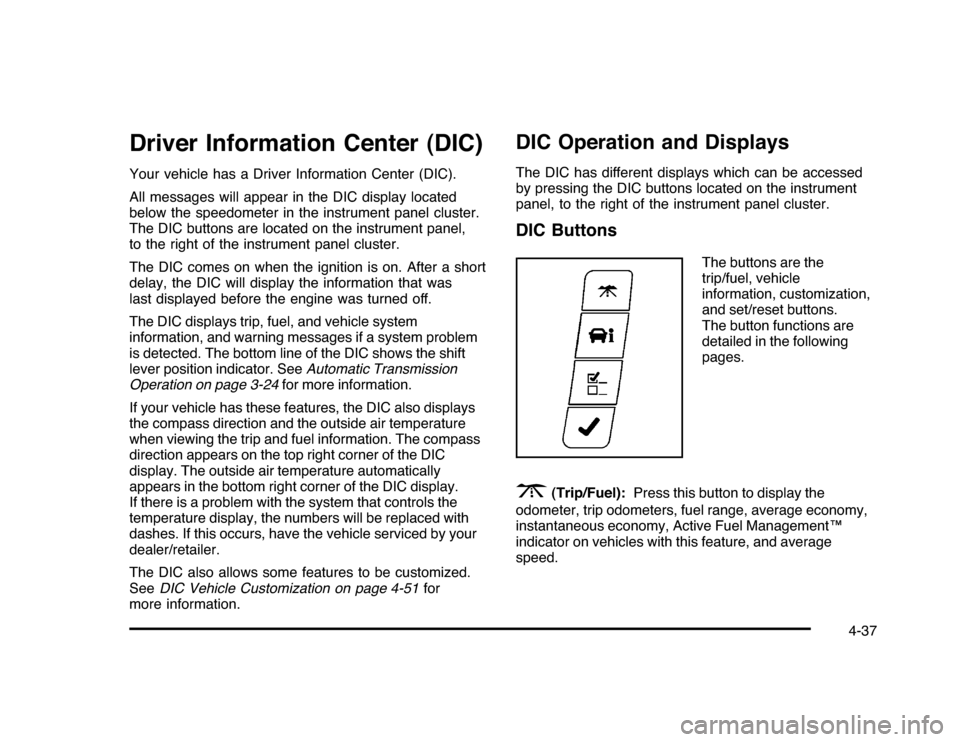
panel, to the right of the instrument panel cluster.DIC Buttons
The buttons are the
trip/fuel, vehicle
information, customization,
and set/reset buttons.
The button functions are
detailed in the following
pages.
3
(Trip/Fuel):Press this button to display the
odometer, trip odometers, fuel range, average economy,
instantaneous economy, Active Fuel Management™
indicator on vehicles with this feature, and average
speed.
4-37