service schedule CHEVROLET KODIAK 2004 Owners Manual
[x] Cancel search | Manufacturer: CHEVROLET, Model Year: 2004, Model line: KODIAK, Model: CHEVROLET KODIAK 2004Pages: 366, PDF Size: 6.87 MB
Page 1 of 366
Seats and Restraint Systems........................... 1-1
Front Seats
............................................... 1-2
Rear Seats
............................................... 1-7
Safety Belts
.............................................. 1-8
Child Restraints
.......................................1-27
Air Bag System
.......................................1-48
Restraint System Check
............................1-61
Features and Controls..................................... 2-1
Keys
........................................................ 2-2
Doors and Locks
....................................... 2-6
Windows
.................................................. 2-8
Theft-Deterrent Systems
............................2-10
Starting and Operating Your Vehicle
...........2-11
Mirrors
....................................................2-39
Storage Areas
.........................................2-41
Instrument Panel............................................. 3-1
Instrument Panel Overview
.......................... 3-4
Climate Controls
......................................3-19
Warning Lights, Gages, and Indicators
........3-23
Audio System(s)
.......................................3-45
Driving Your Vehicle....................................... 4-1
Your Driving, the Road, and Your Vehicle
..... 4-2
Towing
...................................................4-31Service and Appearance Care.......................... 5-1
Service
..................................................... 5-3
Fuel
......................................................... 5-6
Checking Things Under the Hood
...............5-18
Rear Axle
...............................................5-61
Noise Control System
...............................5-62
Bulb Replacement
....................................5-63
Windshield Wiper Blade Replacement
.........5-63
Other Service Items
..................................5-64
Tires
......................................................5-68
Appearance Care
.....................................5-76
Vehicle Identification
.................................5-85
Electrical System
......................................5-86
Capacities and Specifications
.....................5-93
Normal Maintenance Replacement Parts
....5-100
Maintenance Schedule..................................... 6-1
Maintenance Schedule
................................ 6-2
Customer Assistance and Information.............. 7-1
Customer Assistance and Information
........... 7-2
Reporting Safety Defects
............................ 7-6
Index.................................................................1
2004 Chevrolet Kodiak Owner ManualM
Page 148 of 366
A reading in the low pressure zone may be caused by a
dangerously low oil level or other problem.
If you have a Caterpillar
®diesel engine, also see your
Caterpillar®Operation & Maintenance Manual.
{CAUTION:
Do not keep driving if the oil pressure is low. If
you do, your engine can become so hot that it
catches �re. You or others could be burned.
Check your oil as soon as possible and have
your vehicle serviced.
Notice:Lack of proper engine oil maintenance may
damage the engine. The repairs would not be
covered by your warranty. Always follow the
maintenance schedule in this manual for changing
engine oil.
Low Oil Level Light
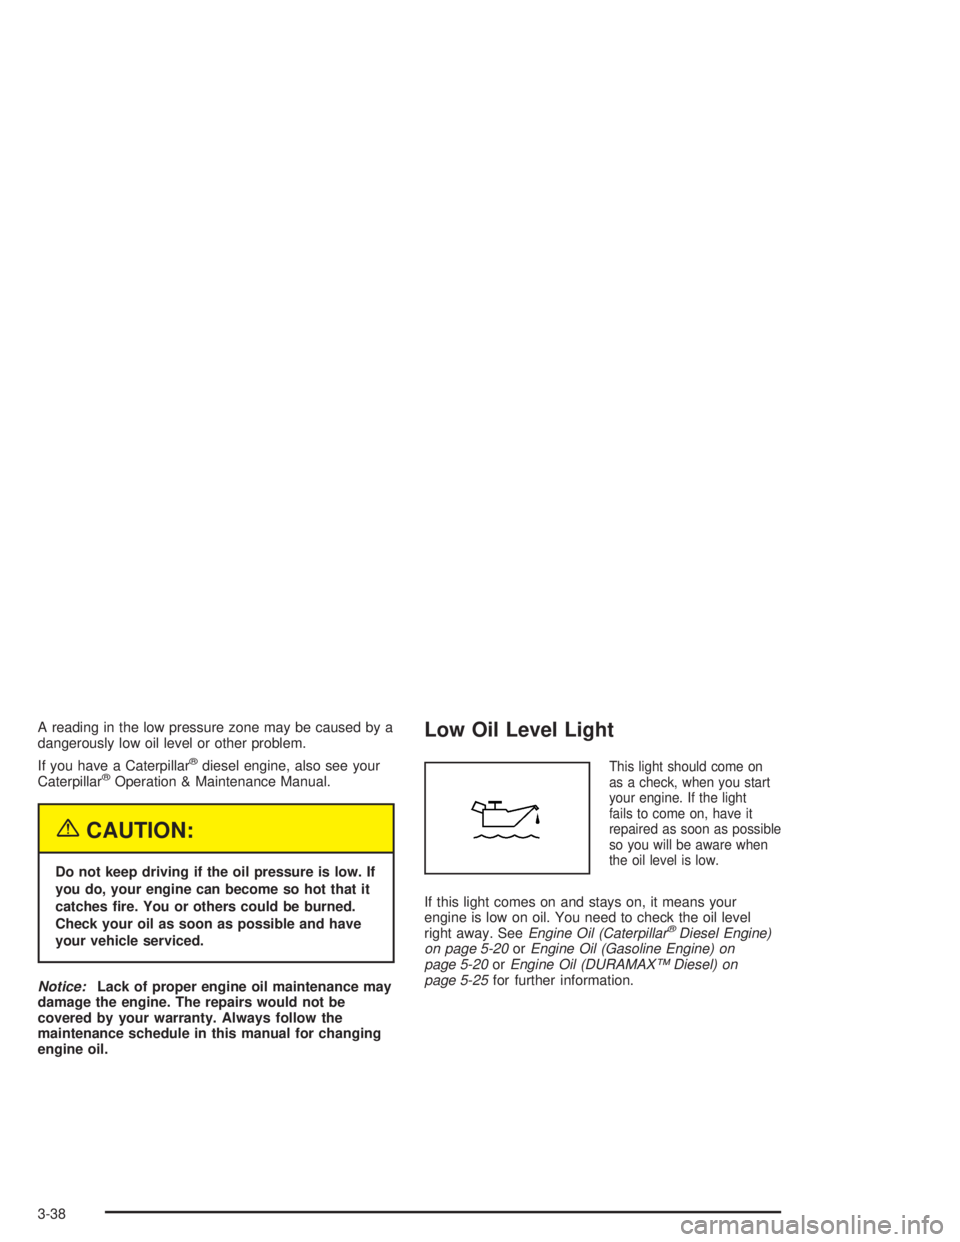
This light should come on
as a check, when you start
your engine. If the light
fails to come on, have it
repaired as soon as possible
so you will be aware when
the oil level is low.
If this light comes on and stays on, it means your
engine is low on oil. You need to check the oil level
right away. SeeEngine Oil (Caterpillar
®Diesel Engine)
on page 5-20orEngine Oil (Gasoline Engine) on
page 5-20orEngine Oil (DURAMAX™ Diesel) on
page 5-25for further information.
3-38
Page 257 of 366
Electric Air Compressor
Your vehicle may have an electric air compressor. This
compressor is used to run options that require
pressurized air, such as air horn, air seat, exhaust
restrictor or an exhaust brake.
The air compressor is used when vehicles are not
equipped with an air brake system.
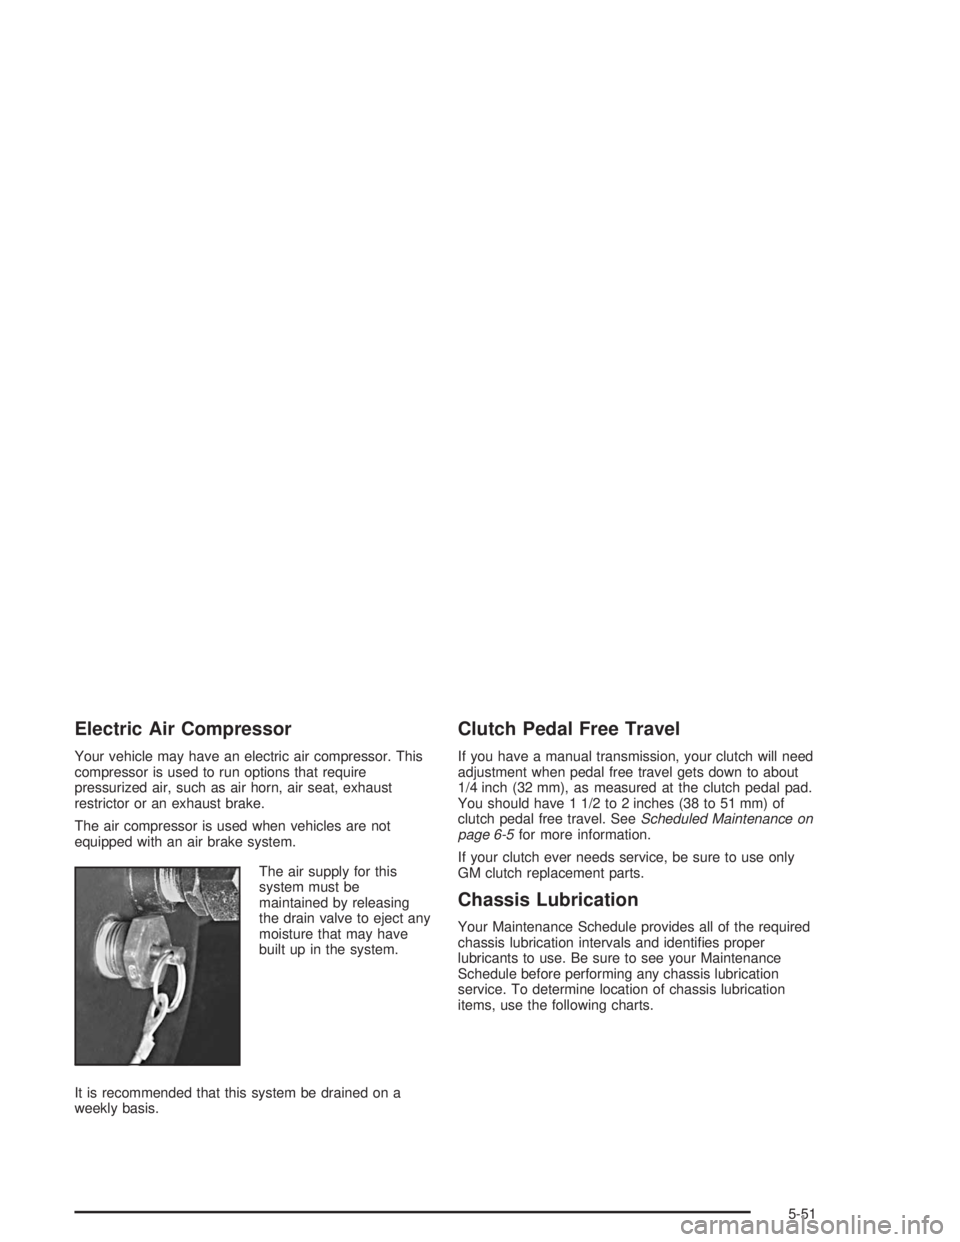
The air supply for this
system must be
maintained by releasing
the drain valve to eject any
moisture that may have
built up in the system.
It is recommended that this system be drained on a
weekly basis.
Clutch Pedal Free Travel
If you have a manual transmission, your clutch will need
adjustment when pedal free travel gets down to about
1/4 inch (32 mm), as measured at the clutch pedal pad.
You should have 1 1/2 to 2 inches (38 to 51 mm) of
clutch pedal free travel. SeeScheduled Maintenance on
page 6-5for more information.
If your clutch ever needs service, be sure to use only
GM clutch replacement parts.
Chassis Lubrication
Your Maintenance Schedule provides all of the required
chassis lubrication intervals and identifies proper
lubricants to use. Be sure to see your Maintenance
Schedule before performing any chassis lubrication
service. To determine location of chassis lubrication
items, use the following charts.
5-51
Page 270 of 366
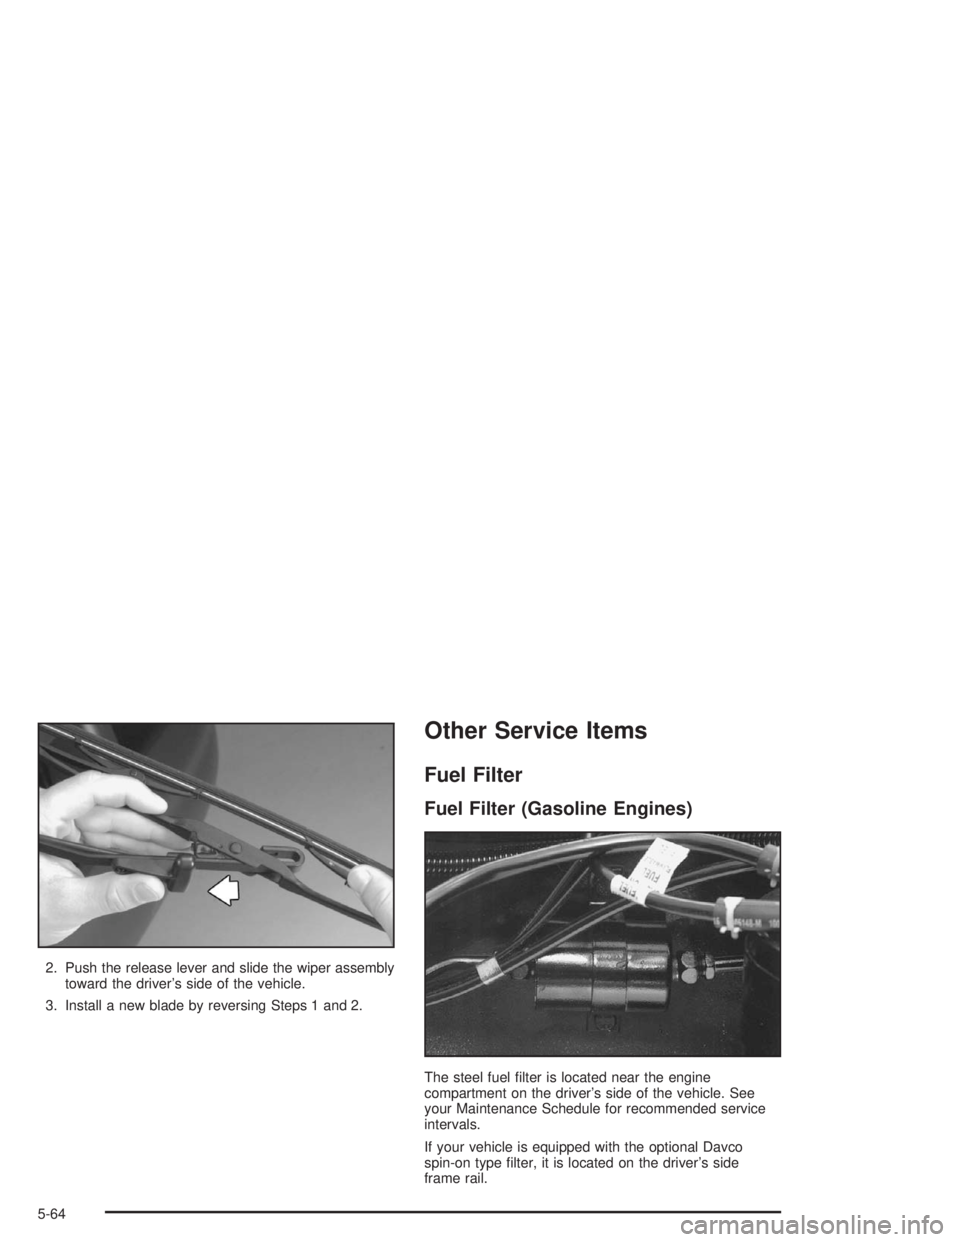
2. Push the release lever and slide the wiper assembly
toward the driver’s side of the vehicle.
3. Install a new blade by reversing Steps 1 and 2.
Other Service Items
Fuel Filter
Fuel Filter (Gasoline Engines)
The steel fuel filter is located near the engine
compartment on the driver’s side of the vehicle. See
your Maintenance Schedule for recommended service
intervals.
If your vehicle is equipped with the optional Davco
spin-on type filter, it is located on the driver’s side
frame rail.
5-64
Page 271 of 366
Fuel Filter (Diesel Engines)
If you have a diesel engine, your fuel filter is located in
the engine compartment on the driver’s side of the
vehicle, or along the driver’s side frame rail. SeeFuel
Filter Replacementearlier in this section for further
information.
Also seeScheduled Maintenance on page 6-5for
recommended service intervals.
Primary Fuel Filter and Water
Separator
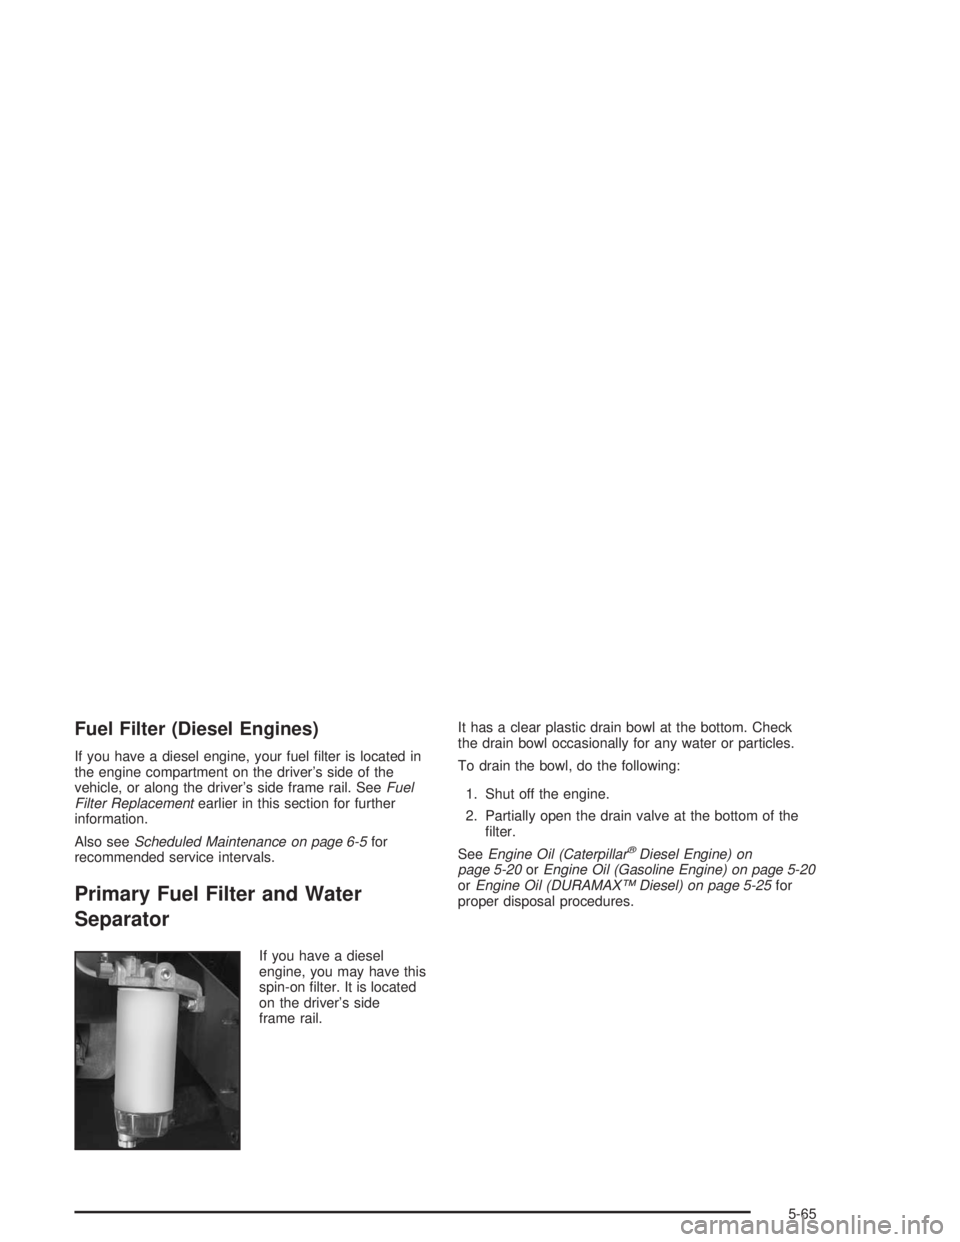
If you have a diesel
engine, you may have this
spin-on filter. It is located
on the driver’s side
frame rail.It has a clear plastic drain bowl at the bottom. Check
the drain bowl occasionally for any water or particles.
To drain the bowl, do the following:
1. Shut off the engine.
2. Partially open the drain valve at the bottom of the
filter.
SeeEngine Oil (Caterpillar
®Diesel Engine) on
page 5-20orEngine Oil (Gasoline Engine) on page 5-20
orEngine Oil (DURAMAX™ Diesel) on page 5-25for
proper disposal procedures.
5-65
Page 279 of 366
{CAUTION:
If wheel studs are damaged, they can break. If
all the studs on a wheel broke, the wheel could
come off and cause a crash. If any stud is
damaged because of a loose-running wheel, it
could be that all of the studs are damaged. To
be sure, replace all studs on the wheel. If the
stud holes in a wheel have become larger, the
wheel could collapse in operation. Replace any
wheel if its stud holes have become larger or
distorted in any way. Inspect hubs and hub
piloted wheels for damage. Because of loose
running wheels, piloting pad damage may
occur and require replacement of the entire
hub, for proper centering of the wheels. When
replacing studs, hubs, wheel nuts or wheels,
be sure to use GM original equipment parts.
{CAUTION:
Rust or dirt on a wheel, or on the parts to
which it is fastened, can make wheel nuts
become loose after a time. The wheel could
come off and cause a crash. When you change
a wheel, remove any rust or dirt from places
where the wheel attaches to the vehicle. In an
emergency, you can use a cloth or a paper
towel to do this; but be sure to use a scraper
or wire brush later, if you need to, to get all the
rust or dirt off.
How Often to Check
Wheel tightness is so important you should have a
technician check nut tightness on all wheels with
a torque wrench after your first 100 miles (160 km), and
then 1,000 miles (1 600 km) after that. Be sure to
repeat this service whenever you have a tire removed
or serviced. SeeScheduled Maintenance on page 6-5
for further information.
5-73
Page 311 of 366
Maintenance Schedule......................................6-2
Introduction...................................................6-2
Maintenance Requirements..............................6-2
Your Vehicle and the Environment....................6-2
How This Section is Organized.........................6-3
Part A: Scheduled Maintenance Services...........6-4
Using Your Maintenance Schedule....................6-4
Scheduled Maintenance Supplements................6-4Scheduled Maintenance...................................6-5
Part B: Owner Checks and Services................6-24
At Each Fuel Fill..........................................6-24
At Least Twice a Year...................................6-25
At Least Once a Year...................................6-28
Part C: Recommended Fluids and Lubricants. . . .6-29
Part D: Maintenance Record..........................6-31
Section 6 Maintenance Schedule
6-1
Page 313 of 366
How This Section is Organized
This maintenance schedule is divided into four parts:
Part A: Scheduled Maintenance Services”:explains
what to have done and how often. Some of these
services can be complex, so unless you are technically
qualified and have the necessary equipment, you
should let your GM dealer’s service department do
these jobs.
Your GM dealer has GM-trained and supported
service people that will perform the work using genuine
GM parts.
{CAUTION:
Performing maintenance work on a vehicle can
be dangerous. In trying to do some jobs, you
can be seriously injured. Do your own
maintenance work only if you have the
required know-how and the proper tools and
equipment for the job. If you have any doubt,
have a quali�ed technician do the work.If you want to get the service information, seeService
Publications Ordering Information on page 7-7.
“Part B: Owner Checks and Services”:tells you what
should be checked and when. It also explains what
you can easily do to keep your vehicle in good condition.
“Part C: Recommended Fluids and Lubricants”:
lists some recommended products necessary to
help keep your vehicle properly maintained. These
products, or their equivalents, should be used whether
you do the work yourself or have it done.
“Part D: Maintenance Record”:is a place for you to
record and keep track of the maintenance performed on
your vehicle. Keep your maintenance receipts. They
may be needed to qualify your vehicle for warranty
repairs.
6-3
Page 314 of 366
Part A: Scheduled Maintenance
Services
In this part are scheduled maintenance services which
are to be performed at the mileage intervals specified.
Using Your Maintenance Schedule
We at General Motors want to help keep your vehicle in
good working condition. But we do not know exactly
how you will drive it. You may drive very short distances
only a few times a week. Or you may drive long
distances all the time in very hot, dusty weather. You
may use your vehicle in making deliveries or in
many other ways.
Because of all the different ways people use their
vehicles, maintenance needs vary. You may need more
frequent checks and replacements. So please read
the following and note how you drive. If you have any
questions on how to keep your vehicle in good condition,
see your dealer.
This part tells you the maintenance services you should
have done and when to schedule them.
When you go to your dealer for your service needs, you
will know that GM-trained and supported service
people will perform the work using genuine GM parts.The proper fluids and lubricants to use are listed in
Part C. Make sure whoever services your vehicle uses
these. All parts should be replaced and all necessary
repairs done before you or anyone else drives the
vehicle.
This schedule is for vehicles that:
•carry passengers and cargo within recommended
limits. You will find limits on your vehicle’s GVW
Rating label. SeeLoading Your Vehicle on
page 4-33.
•are driven on reasonable road surfaces within legal
driving limits.
•use the recommended fuel. SeeWhat Fuel to Use
on page 5-8.
Scheduled Maintenance
Supplements
If your vehicle has a Caterpillar®diesel engine, your
owner’s manual is supplemented by the Caterpillar®
Diesel Engine Operation & Maintenance Manual. If your
vehicle has an Allison transmission, your owner’s
manual is supplemented by an Allison
Transmission
®Operator’s Manual. Always refer to these
manuals for related maintenance services.
6-4
Page 315 of 366
Scheduled Maintenance
The services shown in this schedule up to 100,000 miles
(166 000 km) should be repeated after 100,000 miles
(166 000 km) at the same intervals for the life of
this vehicle. The services shown after 100,000 miles
(166 000 km) should be repeated at the same miles (km)
after those intervals for the life of this vehicle.
Gasoline engine vehicles have a computer that lets you
know when to change your engine oil. This is not
based on mileage, but on engine revolutions and engine
operating temperature. When the computer has
calculated that the oil needs changing, the GM Oil Life
System will indicate that a change is necessary.
The “Footnotes” at the end of this Maintenance
Schedule further explain maintenance services.
SeeService Publications Ordering Information on
page 7-7.
100 Miles (160 km)
❑Wheel stud nut service.(46)
1,000 Miles (1 600 km)
❑Wheel stud nut service.(46)
❑Rear axle air shift motor service.(11)
7,500 Miles (12 000 km)
❑Gasoline Engine Only: Check Oil Life System. If
engine oil and filter are changed, reset system. See
“Engine Oil (Gasoline Engine)” in the Index.(3) (9)
❑Check fluid levels (or every 3 months, whichever
occurs first).(1) (6)
❑Chassis lubrication service (or every 6 months,
whichever occurs first).(12)
❑Wheels and tires service.(15)
❑Hydraulic brake service (or every 6 months, whichever
occurs first).(7) (46)
❑Parking brake service (or every 6 months, whichever
occurs first).(8)
❑Air brake service (or every 6 months, whichever
occurs first).(39)
❑Air brake automatic slack adjuster service (or every
500 hours, whichever occurs first).(40)
❑Check air brake relay valve operation and check for
leaks (or every month, or every 300 hours, whichever
occurs first).
❑Clean air brake application valve (or every 3 months,
or every 300 hours, whichever occurs first). Lubricate
linkage.
❑Air brake chamber service (or every 2 months,
whichever occurs first).(41)
❑Trailer brake hand control valve service (or every
3 months, or every 900 hours, whichever occurs
first).(42)
6-5