low oil pressure CHEVROLET KODIAK 2004 Owners Manual
[x] Cancel search | Manufacturer: CHEVROLET, Model Year: 2004, Model line: KODIAK, Model: CHEVROLET KODIAK 2004Pages: 366, PDF Size: 6.87 MB
Page 84 of 366
Diesel Engine Warm-Up
Several factors affect how quickly your diesel engine
warms up. These can include outside temperature,
engine load, idle time and your vehicle’s option content.
Your vehicle may be equipped with some features
that can help the engine reach operating temperature
sooner. Some of these features are discussed below.
Also, remember that an automatic transmission
adds heat to the cooling system through the heat
exchanger in the radiator. Because of this, vehicles
equipped with automatic transmissions are often able to
retain engine coolant heat better than manual
transmission vehicles.
See your Caterpillar
®Operation & Maintenance manual
for additional diesel engine warm-up information.
Engine Alarm and Automatic Shutdown
Your check gages light will come on if the system
senses high engine temperature or low engine oil
pressure. If high engine temperature or low engine oil
pressure is detected, you will also hear a tone alarm at
two beats per second. The alarm and the light will
remain on until the condition is fixed. If the engine
temperature or oil pressure condition worsens, the tone
alarm will go to five beats per second.If the system senses low engine coolant, the five beat
per second alarm and the low coolant warning light
will come on.
The five beats per second tone alarm means that your
engine will shut down in about 25–30 seconds.
There is also an engine shutdown light to indicate that
the engine will shut down. SeeEngine Shutdown
Warning Light on page 3-39.
Pull off the road and shut off the engine. Don’t start it
until the reason for the problem is known, and the
problem is fixed. If the engine shuts down when you are
still in traffic, you can restart the engine and get
another 25–30 seconds of operation. Do this only if you
have to, since there is a problem that can harm the
engine if it isn’t fixed. Engine automatic shutdown, for
gasoline engines, requires activation by your dealer.
High Idle System (Caterpillar®
Diesel and Gasoline Engines)
Your vehicle has both automatic and manual high idle
capabilities.
2-16
Page 88 of 366
If you’re trying to start your engine after you’ve run out
of fuel, seeRunning Out of Fuel on page 5-15.
When your engine is cold, let it run for a few minutes
before you move your vehicle. This lets oil pressure
build up. Your engine will sound louder when it’s cold.
Notice:If you are not in an idling vehicle and
the engine overheats, you would not be there to see
the overheated engine indication. This could
damage your vehicle. Do not let your engine run
when you are not in your vehicle.
Cold Weather Starting (Diesel Engine)
The following tips will help you get good starting in
cold weather.
Use the recommended engine oil when the outside
temperature drops below freezing. SeeEngine Oil
(Caterpillar
®Diesel Engine) on page 5-20orEngine Oil
(Gasoline Engine) on page 5-20orEngine Oil
(DURAMAX™ Diesel) on page 5-25. When the outside
temperature drops below 0°F (−18°C), use of the
engine coolant heater is recommended.If you experience longer cranking times, notice an
unusual amount of exhaust smoke or are at higher
altitudes (over 7,000 ft. or 2 135 m), you may use your
engine coolant heater. SeeEngine Coolant Heater
on page 2-23.
SeeWhat Fuel to Use on page 5-8for information on
what fuel to use in cold weather.
If Your Diesel Engine Won’t Start
If you’ve run out of fuel, seeRunning Out of Fuel on
page 5-15.
If you’re not out of fuel, and your engine won’t start,
do this:
Turn your ignition key to RUN. IMMEDIATELY after
the wait to start light goes off, turn the ignition key
to START.
If the light doesn’t go off, wait a few seconds, then try
starting your engine again. And, see your dealer as soon
as you can for a starting system check.
If the light comes on and then goes off and you know
your batteries are charged, but your engine still
won’t start, your vehicle needs service.
If the light does not come on when the engine is cold,
your vehicle needs service.
2-20
Page 90 of 366
When the engine is started, it will slowly ramp up to the
high idle speed after a delay of a few seconds up to
about two minutes. For this method to work properly
there must be no throttle or brake pedal faults, and the
throttle pedal must not fall below 75 percent of wide
open throttle while pressing the brake pedal.
The engine idle speed will return to normal once the
following conditions are met:
•Once engine coolant temperature reaches
150°F (65°C).
•Air intake temperature reaches 41°F (5°C).
The high idle speed will be temporarily interrupted and
the engine speed will return to normal if any of the
following conditions occur:
•The brake pedal is applied.
•The accelerator pedal is pressed.
•The automatic transmission is shifted out of
PARK (P) or NEUTRAL (N).
•The clutch pedal on the manual transmission is
pressed.
•Vehicle speed is detected.
Once these inputs are removed, the engine idle speed
will slowly ramp back up to high idle after the normal
delay, if the conditions for engine coolant temperature
and air intake temperature are still met.
Engine Checks Before Operating
When you’ve started your engine, let it run for
20 to 30 seconds before you put a load on the engine.
Butdon’tleave the vehicle while the engine is running.
Avoid unnecessary idling of diesel engine equipped
vehicles.
If the engine idles too long, the temperature of the
engine coolant will fall below the normal operating
range. Low engine operating temperature causes
several conditions which affect engine operation and
reduce engine life.
The engine should be permitted to go through a
warm-up period. Operate the vehicle at a minimum of
600 rpm during the warm-up period. During this
period and during operation, the following observations
should be made.
During this warm-up period, check your warning lights
and gages:
•If oil pressure doesn’t begin to rise within
15 seconds of starting, stop the engine and find the
cause.
•If the engine coolant temperature gage needle goes
into the hot area on the gage, stop the engine and
find the cause of the overheating.
2-22
Page 111 of 366
Instrument Panel Overview...............................3-4
Hazard Warning Flashers................................3-5
Other Warning Devices...................................3-6
Horn.............................................................3-6
Tilt Wheel.....................................................3-7
Turn Signal/Multifunction Lever.........................3-7
Exterior Lamps.............................................3-13
Interior Lamps..............................................3-15
Instrument Panel Switchbank..........................3-16
Accessory Power Outlets...............................3-17
Ashtrays and Cigarette Lighter........................3-18
Climate Controls............................................3-19
Climate Control System.................................3-19
Outlet Adjustment.........................................3-22
Rear Heating System....................................3-23
Warning Lights, Gages, and Indicators............3-23
Instrument Panel Cluster................................3-24
Speedometer and Odometer...........................3-25
Tachometer.................................................3-26
Safety Belt Reminder Light.............................3-26
Safety Belt Reminder Tone............................3-26
Air Bag Readiness Light................................3-27
Air Bag Off Light..........................................3-28Charging System Light..................................3-30
Voltmeter Gage............................................3-30
Service Transmission Warning Light................3-31
Range Inhibit Warning Indicator......................3-31
Brake System Warning Light..........................3-31
Parking Brake Warning Light..........................3-34
Anti-Lock Brake System Warning Light.............3-34
Trailer Anti-Lock Brake System
Warning Light...........................................3-35
Engine Coolant Temperature Gage..................3-35
Low Coolant Warning Light............................3-36
Wait to Start Indicator...................................3-36
Malfunction Indicator Lamp.............................3-37
Oil Pressure Gage........................................3-37
Low Oil Level Light.......................................3-38
Change Engine Oil Light................................3-39
Engine Overspeed Warning Light....................3-39
Engine Shutdown Warning Light.....................3-39
Transmission Temperature Gage.....................3-40
Exhaust Brake Indicator Light.........................3-40
Differential Lock Indicator Light.......................3-40
Reduced Engine Power Light.........................3-41
Daytime Running Lamps Indicator Light...........3-41
Section 3 Instrument Panel
3-1
Page 147 of 366
Malfunction Indicator Lamp
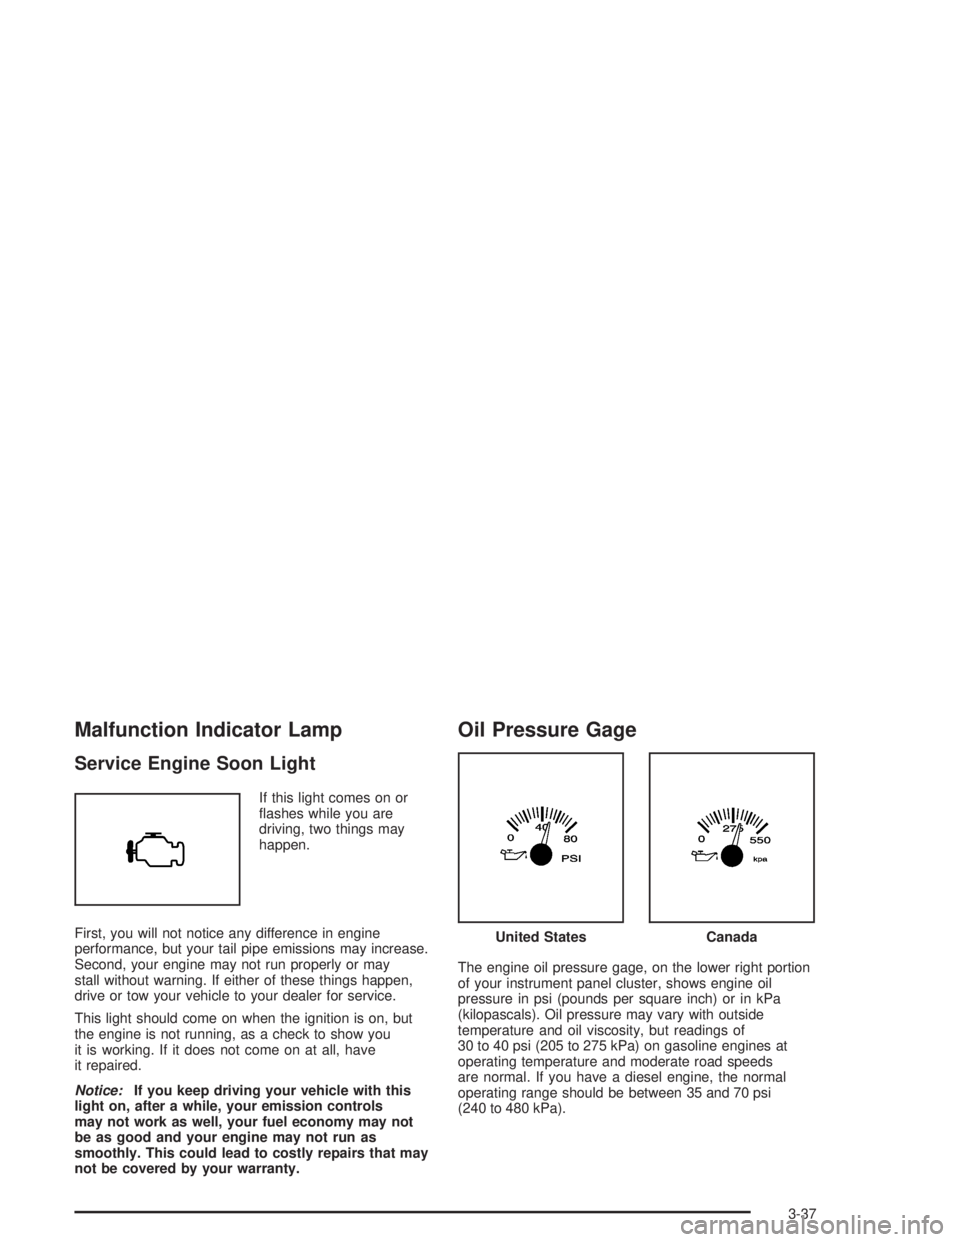
Service Engine Soon Light
If this light comes on or
flashes while you are
driving, two things may
happen.
First, you will not notice any difference in engine
performance, but your tail pipe emissions may increase.
Second, your engine may not run properly or may
stall without warning. If either of these things happen,
drive or tow your vehicle to your dealer for service.
This light should come on when the ignition is on, but
the engine is not running, as a check to show you
it is working. If it does not come on at all, have
it repaired.
Notice:If you keep driving your vehicle with this
light on, after a while, your emission controls
may not work as well, your fuel economy may not
be as good and your engine may not run as
smoothly. This could lead to costly repairs that may
not be covered by your warranty.
Oil Pressure Gage
The engine oil pressure gage, on the lower right portion
of your instrument panel cluster, shows engine oil
pressure in psi (pounds per square inch) or in kPa
(kilopascals). Oil pressure may vary with outside
temperature and oil viscosity, but readings of
30 to 40 psi (205 to 275 kPa) on gasoline engines at
operating temperature and moderate road speeds
are normal. If you have a diesel engine, the normal
operating range should be between 35 and 70 psi
(240 to 480 kPa).
United StatesCanada
3-37
Page 148 of 366
A reading in the low pressure zone may be caused by a
dangerously low oil level or other problem.
If you have a Caterpillar
®diesel engine, also see your
Caterpillar®Operation & Maintenance Manual.
{CAUTION:
Do not keep driving if the oil pressure is low. If
you do, your engine can become so hot that it
catches �re. You or others could be burned.
Check your oil as soon as possible and have
your vehicle serviced.
Notice:Lack of proper engine oil maintenance may
damage the engine. The repairs would not be
covered by your warranty. Always follow the
maintenance schedule in this manual for changing
engine oil.
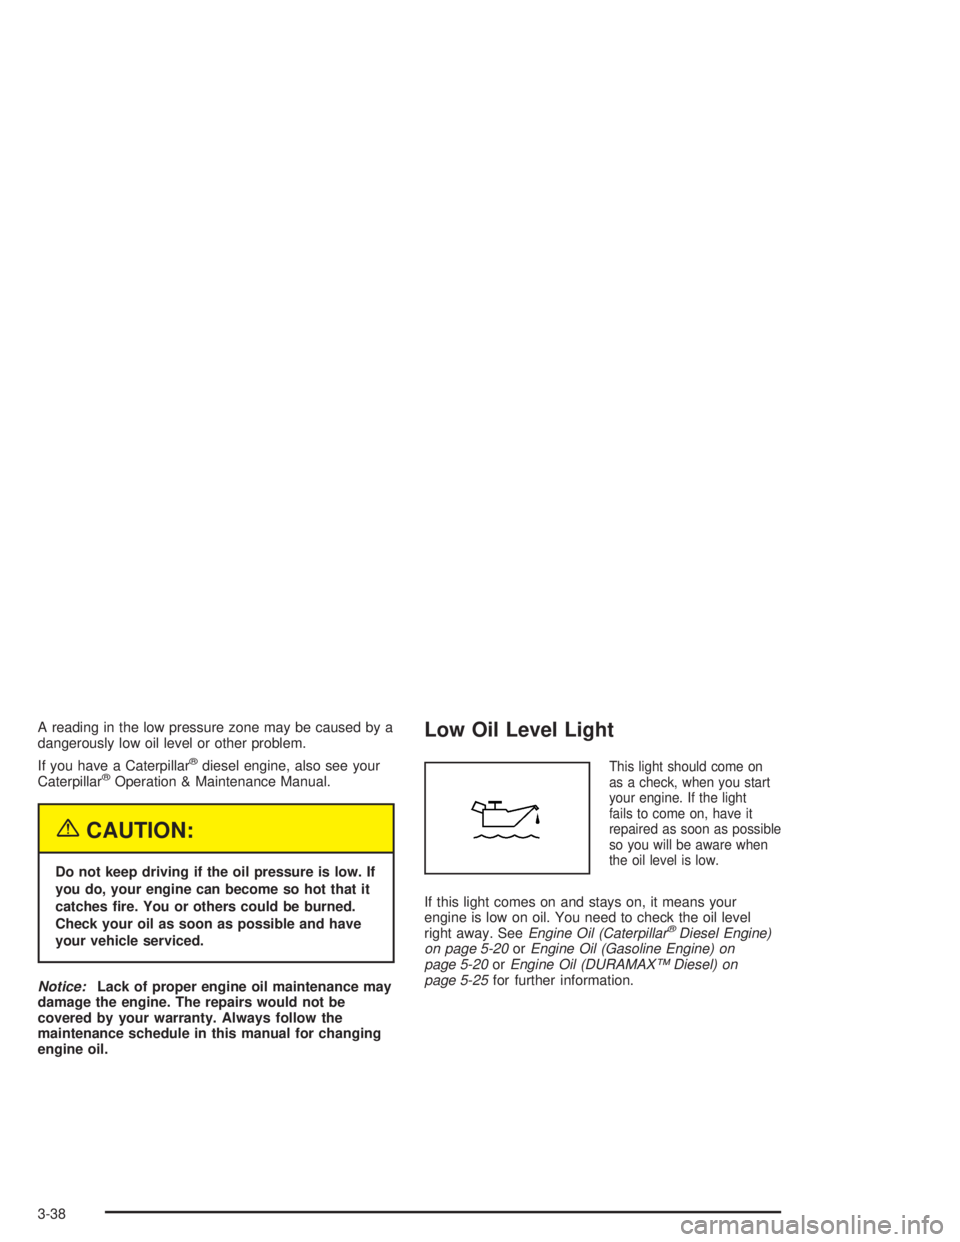
Low Oil Level Light
This light should come on
as a check, when you start
your engine. If the light
fails to come on, have it
repaired as soon as possible
so you will be aware when
the oil level is low.
If this light comes on and stays on, it means your
engine is low on oil. You need to check the oil level
right away. SeeEngine Oil (Caterpillar
®Diesel Engine)
on page 5-20orEngine Oil (Gasoline Engine) on
page 5-20orEngine Oil (DURAMAX™ Diesel) on
page 5-25for further information.
3-38
Page 152 of 366
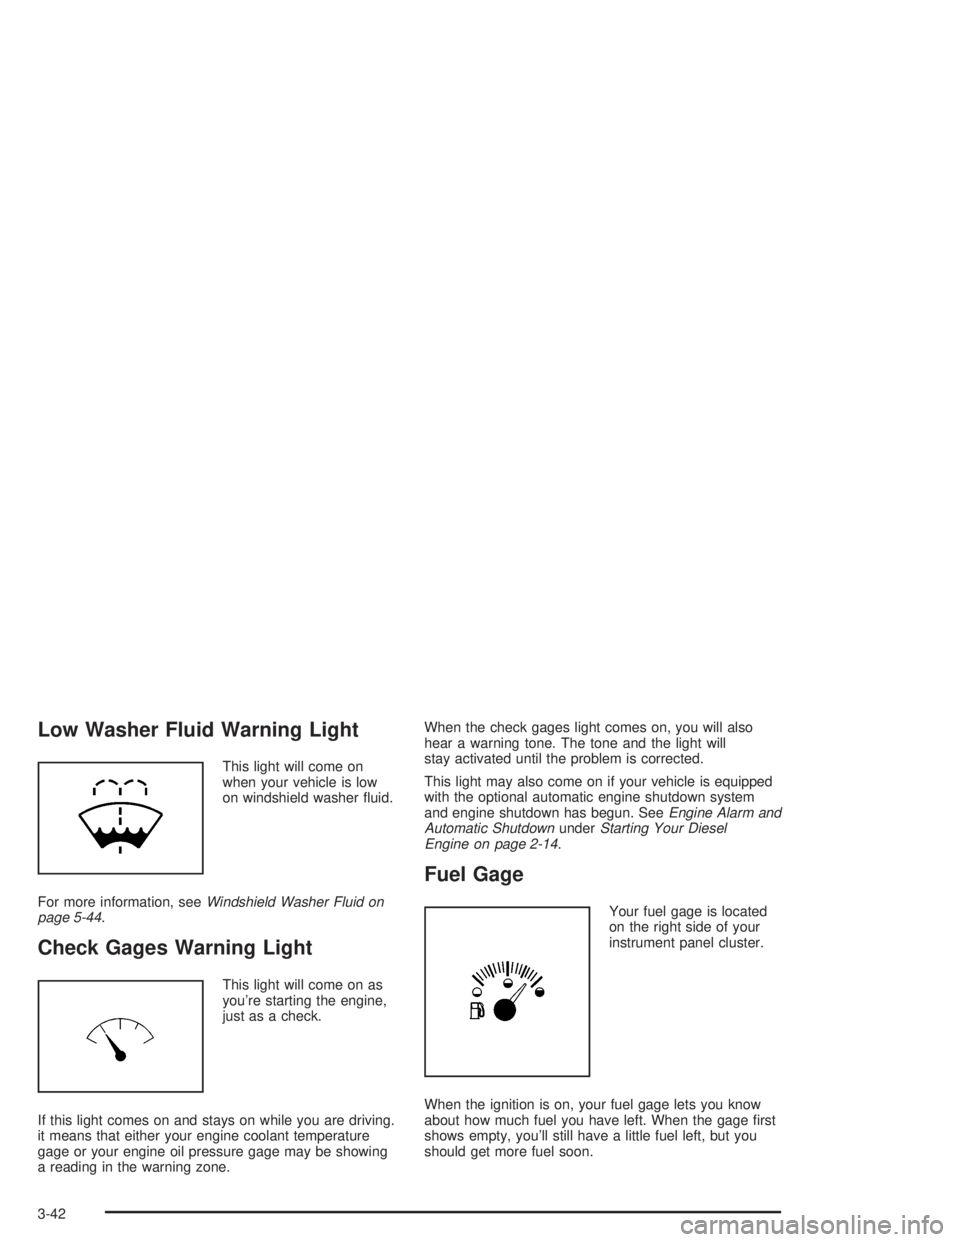
Low Washer Fluid Warning Light
This light will come on
when your vehicle is low
on windshield washer fluid.
For more information, seeWindshield Washer Fluid on
page 5-44.
Check Gages Warning Light
This light will come on as
you’re starting the engine,
just as a check.
If this light comes on and stays on while you are driving.
it means that either your engine coolant temperature
gage or your engine oil pressure gage may be showing
a reading in the warning zone.When the check gages light comes on, you will also
hear a warning tone. The tone and the light will
stay activated until the problem is corrected.
This light may also come on if your vehicle is equipped
with the optional automatic engine shutdown system
and engine shutdown has begun. SeeEngine Alarm and
Automatic ShutdownunderStarting Your Diesel
Engine on page 2-14.
Fuel Gage
Your fuel gage is located
on the right side of your
instrument panel cluster.
When the ignition is on, your fuel gage lets you know
about how much fuel you have left. When the gage first
shows empty, you’ll still have a little fuel left, but you
should get more fuel soon.
3-42
Page 247 of 366
{CAUTION:
Adding only plain water to your cooling
system can be dangerous. Plain water, or
some other liquid such as alcohol, can boil
before the proper coolant mixture will. Your
vehicle’s coolant warning system is set for the
proper coolant mixture. With plain water or the
wrong mixture, your engine could get too hot
but you would not get the overheat warning.
Your engine could catch �re and you or others
could be burned. Use a 50/50 mixture of clean,
drinkable water and DEX-COOL
®coolant.
Notice:In cold weather, water can freeze and crack
the engine, radiator, heater core and other parts.
Use the recommended coolant and the proper
coolant mixture.
{CAUTION:
You can be burned if you spill coolant on hot
engine parts. Coolant contains ethylene glycol
and it will burn if the engine parts are hot
enough. Do not spill coolant on a hot engine.
1. Park the vehicle on a level surface. You can
remove the coolant surge tank pressure cap
when the cooling system, including the coolant
surge tank pressure cap and upper radiator hose, is
no longer hot. Turn the pressure cap slowly
counterclockwise (left) about one full turn. If you
hear a hiss, wait for that to stop. A hiss means there
is still some pressure left.
2. Then keep turning the pressure cap slowly, and
remove it.
5-41
Page 330 of 366
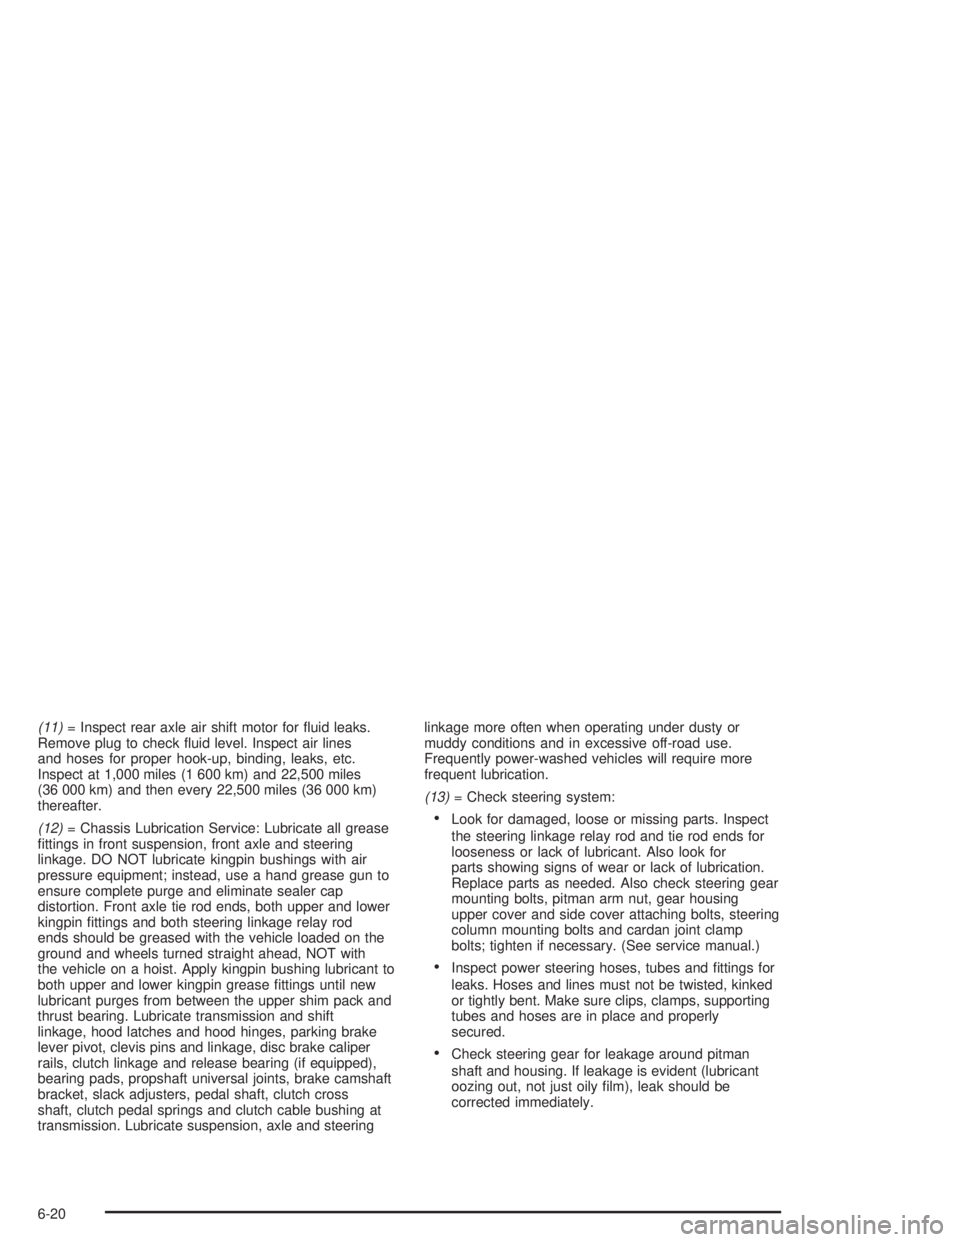
(11)= Inspect rear axle air shift motor for fluid leaks.
Remove plug to check fluid level. Inspect air lines
and hoses for proper hook-up, binding, leaks, etc.
Inspect at 1,000 miles (1 600 km) and 22,500 miles
(36 000 km) and then every 22,500 miles (36 000 km)
thereafter.
(12)= Chassis Lubrication Service: Lubricate all grease
fittings in front suspension, front axle and steering
linkage. DO NOT lubricate kingpin bushings with air
pressure equipment; instead, use a hand grease gun to
ensure complete purge and eliminate sealer cap
distortion. Front axle tie rod ends, both upper and lower
kingpin fittings and both steering linkage relay rod
ends should be greased with the vehicle loaded on the
ground and wheels turned straight ahead, NOT with
the vehicle on a hoist. Apply kingpin bushing lubricant to
both upper and lower kingpin grease fittings until new
lubricant purges from between the upper shim pack and
thrust bearing. Lubricate transmission and shift
linkage, hood latches and hood hinges, parking brake
lever pivot, clevis pins and linkage, disc brake caliper
rails, clutch linkage and release bearing (if equipped),
bearing pads, propshaft universal joints, brake camshaft
bracket, slack adjusters, pedal shaft, clutch cross
shaft, clutch pedal springs and clutch cable bushing at
transmission. Lubricate suspension, axle and steeringlinkage more often when operating under dusty or
muddy conditions and in excessive off-road use.
Frequently power-washed vehicles will require more
frequent lubrication.
(13)= Check steering system:
•Look for damaged, loose or missing parts. Inspect
the steering linkage relay rod and tie rod ends for
looseness or lack of lubricant. Also look for
parts showing signs of wear or lack of lubrication.
Replace parts as needed. Also check steering gear
mounting bolts, pitman arm nut, gear housing
upper cover and side cover attaching bolts, steering
column mounting bolts and cardan joint clamp
bolts; tighten if necessary. (See service manual.)
•Inspect power steering hoses, tubes and fittings for
leaks. Hoses and lines must not be twisted, kinked
or tightly bent. Make sure clips, clamps, supporting
tubes and hoses are in place and properly
secured.
•Check steering gear for leakage around pitman
shaft and housing. If leakage is evident (lubricant
oozing out, not just oily film), leak should be
corrected immediately.
6-20
Page 331 of 366
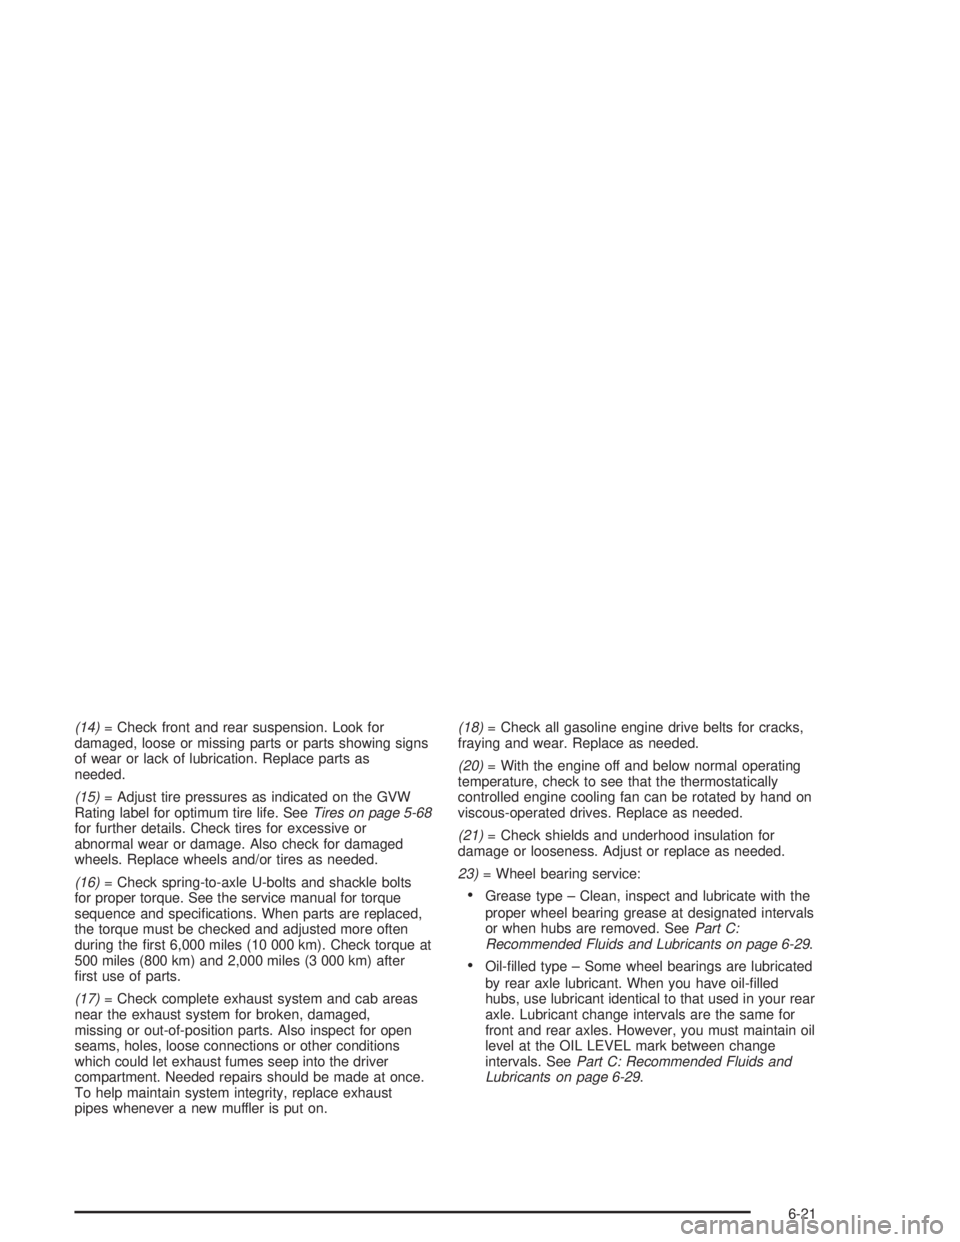
(14)= Check front and rear suspension. Look for
damaged, loose or missing parts or parts showing signs
of wear or lack of lubrication. Replace parts as
needed.
(15)= Adjust tire pressures as indicated on the GVW
Rating label for optimum tire life. SeeTires on page 5-68
for further details. Check tires for excessive or
abnormal wear or damage. Also check for damaged
wheels. Replace wheels and/or tires as needed.
(16)= Check spring-to-axle U-bolts and shackle bolts
for proper torque. See the service manual for torque
sequence and specifications. When parts are replaced,
the torque must be checked and adjusted more often
during the first 6,000 miles (10 000 km). Check torque at
500 miles (800 km) and 2,000 miles (3 000 km) after
first use of parts.
(17)= Check complete exhaust system and cab areas
near the exhaust system for broken, damaged,
missing or out-of-position parts. Also inspect for open
seams, holes, loose connections or other conditions
which could let exhaust fumes seep into the driver
compartment. Needed repairs should be made at once.
To help maintain system integrity, replace exhaust
pipes whenever a new muffler is put on.(18)= Check all gasoline engine drive belts for cracks,
fraying and wear. Replace as needed.
(20)= With the engine off and below normal operating
temperature, check to see that the thermostatically
controlled engine cooling fan can be rotated by hand on
viscous-operated drives. Replace as needed.
(21)= Check shields and underhood insulation for
damage or looseness. Adjust or replace as needed.
23)= Wheel bearing service:
•Grease type – Clean, inspect and lubricate with the
proper wheel bearing grease at designated intervals
or when hubs are removed. SeePart C:
Recommended Fluids and Lubricants on page 6-29.
•Oil-filled type – Some wheel bearings are lubricated
by rear axle lubricant. When you have oil-filled
hubs, use lubricant identical to that used in your rear
axle. Lubricant change intervals are the same for
front and rear axles. However, you must maintain oil
level at the OIL LEVEL mark between change
intervals. SeePart C: Recommended Fluids and
Lubricants on page 6-29.
6-21