brakes CHEVROLET KODIAK 2005 Owner's Manual
[x] Cancel search | Manufacturer: CHEVROLET, Model Year: 2005, Model line: KODIAK, Model: CHEVROLET KODIAK 2005Pages: 374, PDF Size: 5.46 MB
Page 193 of 374
{CAUTION:
Wet brakes can cause accidents. They will not
work as well in a quick stop and may cause
pulling to one side. You could lose control of
the vehicle.
After driving through a large puddle of water
or a vehicle wash, apply your brake pedal
lightly until your brakes work normally.
Hydroplaning
Hydroplaning is dangerous. So much water can build up
under your tires that they can actually ride on the
water. This can happen if the road is wet enough and
you are going fast enough. When your vehicle is
hydroplaning, it has little or no contact with the road.Hydroplaning does not happen often. But it can if your
tires do not have much tread or if the pressure in one or
more is low. It can happen if a lot of water is standing
on the road. If you can see reflections from trees,
telephone poles, or other vehicles, and raindrops dimple
the water’s surface, there could be hydroplaning.
Hydroplaning usually happens at higher speeds. There
just is not a hard and fast rule about hydroplaning.
The best advice is to slow down when it is raining.
Driving Through Deep Standing Water
Notice:If you drive too quickly through deep
puddles or standing water, water can come in
through your engine’s air intake and badly damage
your engine. Never drive through water that is
slightly lower than the underbody of your vehicle. If
you cannot avoid deep puddles or standing water,
drive through them very slowly.
4-19
Page 198 of 374
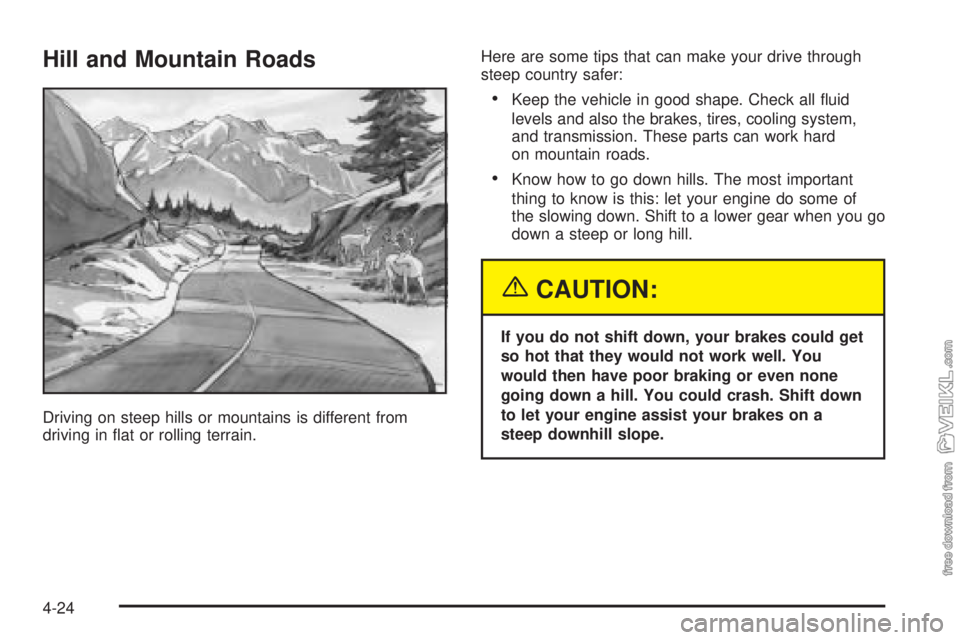
Hill and Mountain Roads
Driving on steep hills or mountains is different from
driving in flat or rolling terrain.Here are some tips that can make your drive through
steep country safer:
•Keep the vehicle in good shape. Check all fluid
levels and also the brakes, tires, cooling system,
and transmission. These parts can work hard
on mountain roads.
•Know how to go down hills. The most important
thing to know is this: let your engine do some of
the slowing down. Shift to a lower gear when you go
down a steep or long hill.
{CAUTION:
If you do not shift down, your brakes could get
so hot that they would not work well. You
would then have poor braking or even none
going down a hill. You could crash. Shift down
to let your engine assist your brakes on a
steep downhill slope.
4-24
Page 199 of 374
{CAUTION:
Coasting downhill in NEUTRAL (N) or with the
ignition off is dangerous. Your brakes will have
to do all the work of slowing down. They could
get so hot that they would not work well. You
would then have poor braking or even none
going down a hill. You could crash. Always
have your engine running and your vehicle in
gear when you go downhill.
•Know how to go uphill. Use lower gears. They help
cool your engine and transmission, and you can
climb the hill better.
•Stay in your own lane when driving on two-lane
roads in hills or mountains. Do not swing wide
or cut across the center of the road. Drive at speeds
that let you stay in your own lane.
•As you go over the top of a hill, be alert. There
could be something in your lane, like a stalled car or
an accident.
•You may see highway signs on mountains that
warn of special problems. Examples are long
grades, passing or no-passing zones, a falling rocks
area, winding roads, and special truck lanes. Be
alert to these and take appropriate action.
4-25
Page 201 of 374
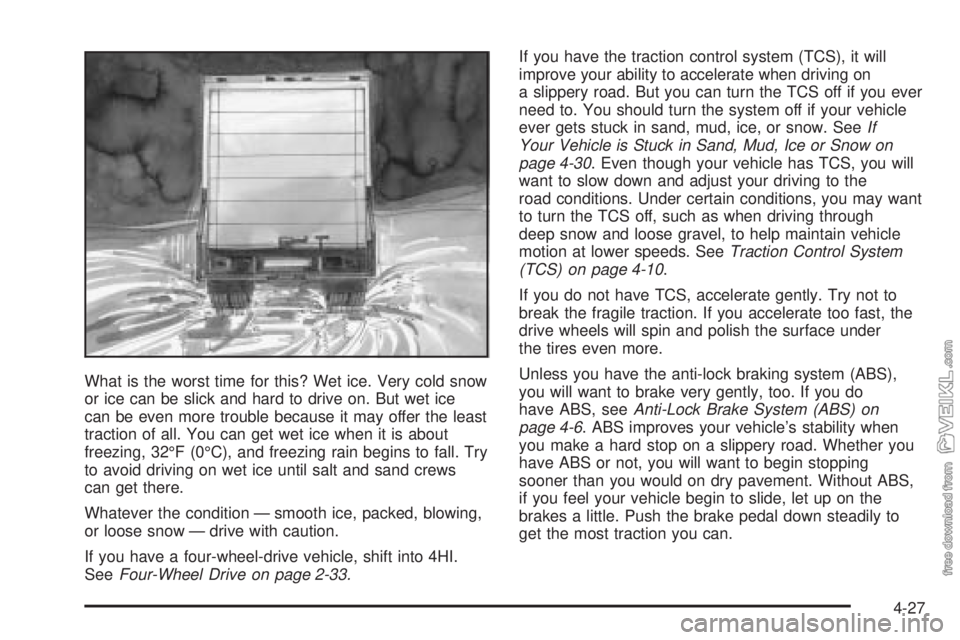
What is the worst time for this? Wet ice. Very cold snow
or ice can be slick and hard to drive on. But wet ice
can be even more trouble because it may offer the least
traction of all. You can get wet ice when it is about
freezing, 32°F (0°C), and freezing rain begins to fall. Try
to avoid driving on wet ice until salt and sand crews
can get there.
Whatever the condition — smooth ice, packed, blowing,
or loose snow — drive with caution.
If you have a four-wheel-drive vehicle, shift into 4HI.
SeeFour-Wheel Drive on page 2-33.If you have the traction control system (TCS), it will
improve your ability to accelerate when driving on
a slippery road. But you can turn the TCS off if you ever
need to. You should turn the system off if your vehicle
ever gets stuck in sand, mud, ice, or snow. SeeIf
Your Vehicle is Stuck in Sand, Mud, Ice or Snow on
page 4-30. Even though your vehicle has TCS, you will
want to slow down and adjust your driving to the
road conditions. Under certain conditions, you may want
to turn the TCS off, such as when driving through
deep snow and loose gravel, to help maintain vehicle
motion at lower speeds. SeeTraction Control System
(TCS) on page 4-10.
If you do not have TCS, accelerate gently. Try not to
break the fragile traction. If you accelerate too fast, the
drive wheels will spin and polish the surface under
the tires even more.
Unless you have the anti-lock braking system (ABS),
you will want to brake very gently, too. If you do
have ABS, seeAnti-Lock Brake System (ABS) on
page 4-6. ABS improves your vehicle’s stability when
you make a hard stop on a slippery road. Whether you
have ABS or not, you will want to begin stopping
sooner than you would on dry pavement. Without ABS,
if you feel your vehicle begin to slide, let up on the
brakes a little. Push the brake pedal down steadily to
get the most traction you can.
4-27
Page 208 of 374
Adding a Snow Plow or Similar
Equipment
If you will be installing a snow plow on your vehicle, we
recommend that the vehicle be equipped with the
snow plow prep package (RPO ANQ). Before installing
a snow plow, see your dealer for information on
other recommended optional equipment and vehicle
weight restrictions.
Notice:If your vehicle does not have the snow
plow prep package, adding a plow can damage your
vehicle, and the repairs would not be covered by
warranty. The payload your vehicle can carry will be
reduced when a snow plow is installed. Your
vehicle can be damaged if either the front or rear
axle ratings, or the GVW, are exceeded. See
your dealer for more information.
{CAUTION:
On some vehicles equipped with certain front
mounted equipment, such as a snow plow, it
may be possible to load the front axle to the
front GAWR but not have enough weight on
the rear axle to have proper braking
performance. If your brakes can not work
properly, you could have a crash. To help your
brakes work properly when a snow plow is
installed, always follow the snow plow
manufacturer or installer’s recommendation for
rear ballast to ensure a proper front and rear
weight distribution ratio, even though the
actual front weight may be less than the front
GAWR, and the total vehicle weight is less
than the GVWR. Maintaining a proper front and
rear weight distribution ratio is necessary to
provide proper braking performance.
4-34
Page 209 of 374
Towing
Towing Your Vehicle
Consult your dealer or a professional towing service if
you need to have your disabled vehicle towed. See
Roadside Assistance Program on page 7-5.
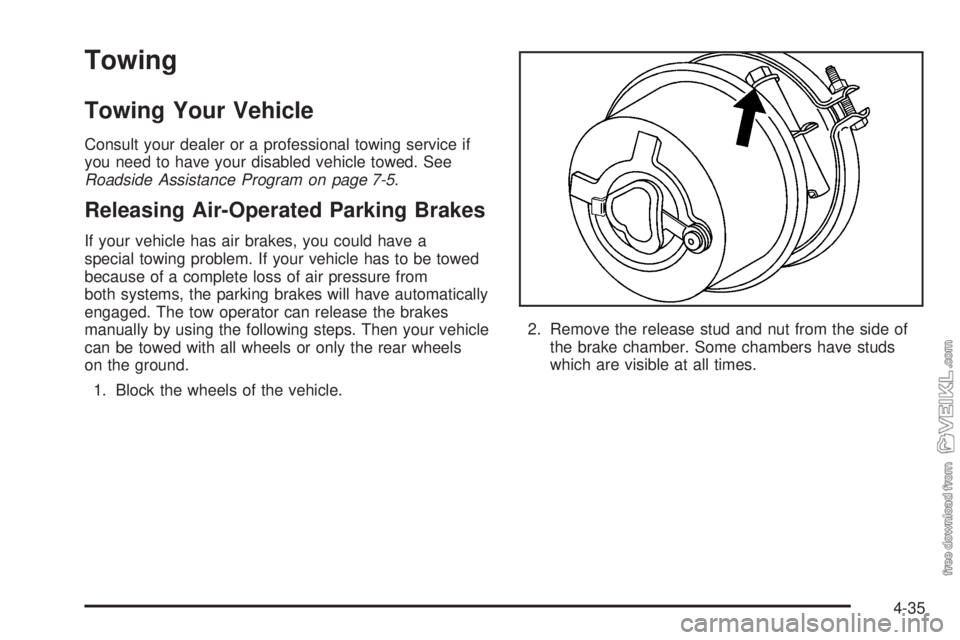
Releasing Air-Operated Parking Brakes
If your vehicle has air brakes, you could have a
special towing problem. If your vehicle has to be towed
because of a complete loss of air pressure from
both systems, the parking brakes will have automatically
engaged. The tow operator can release the brakes
manually by using the following steps. Then your vehicle
can be towed with all wheels or only the rear wheels
on the ground.
1. Block the wheels of the vehicle.2. Remove the release stud and nut from the side of
the brake chamber. Some chambers have studs
which are visible at all times.
4-35
Page 210 of 374
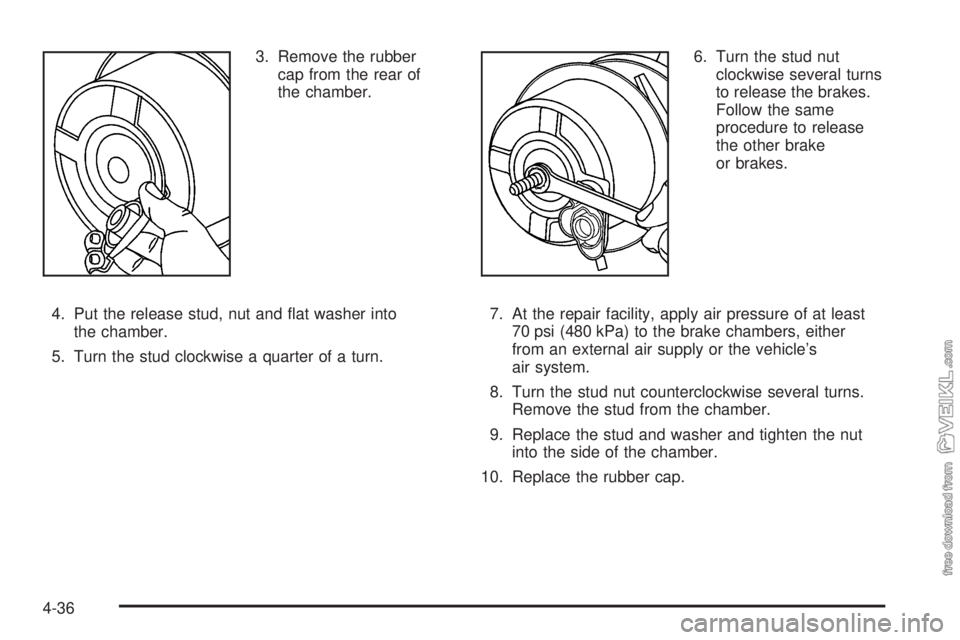
3. Remove the rubber
cap from the rear of
the chamber.
4. Put the release stud, nut and flat washer into
the chamber.
5. Turn the stud clockwise a quarter of a turn.6. Turn the stud nut
clockwise several turns
to release the brakes.
Follow the same
procedure to release
the other brake
or brakes.
7. At the repair facility, apply air pressure of at least
70 psi (480 kPa) to the brake chambers, either
from an external air supply or the vehicle’s
air system.
8. Turn the stud nut counterclockwise several turns.
Remove the stud from the chamber.
9. Replace the stud and washer and tighten the nut
into the side of the chamber.
10. Replace the rubber cap.
4-36
Page 213 of 374
Service............................................................5-3
Doing Your Own Service Work.........................5-4
Two Safety Cautions about Engine Fan
Breakage...................................................5-5
Fuel................................................................5-6
Gasoline Octane............................................5-6
Gasoline Specifications....................................5-6
Additives.......................................................5-6
Diesel Engine Fuel.........................................5-7
What Fuel to Use...........................................5-8
Very Cold Weather Operation.........................5-10
Water in Fuel...............................................5-10
Running Out of Fuel.....................................5-15
Fuel Filter Replacement.................................5-16
Fuels in Foreign Countries.............................5-17
Filling the Tank............................................5-18
Filling a Portable Fuel Container.....................5-19
Checking Things Under the Hood....................5-20
Hood Latches...............................................5-20
Engine Oil (Caterpillar
®Diesel Engine).............5-22
Engine Oil (DURAMAX®Diesel)......................5-22
Engine Oil (Gasoline Engine)..........................5-26
Engine Oil Life System (Gasoline Engine)........5-29
Engine Oil Life System (DURAMAX
®Diesel).....5-31
Engine Oil Life System (Caterpillar®
Diesel Engine)..........................................5-32Engine Air Cleaner/Filter................................5-33
Automatic Transmission Fluid.........................5-34
Manual Transmission Fluid.............................5-35
Engine Coolant (Gas and
DURAMAX
®Engines).................................5-36
Engine Coolant (Caterpillar®Diesel Engines).....5-38
Coolant Surge Tank Pressure Cap..................5-38
Engine Overheating.......................................5-38
Cooling System (Gas and
DURAMAX
®Engines).................................5-40
Engine Fan Noise.........................................5-45
Power Steering Fluid.....................................5-45
Windshield Washer Fluid................................5-46
Brakes........................................................5-47
Battery........................................................5-55
Jump Starting...............................................5-56
Rear Axle.......................................................5-60
Rear Axle Shift Motor....................................5-62
Four-Wheel Drive............................................5-62
Front Axle......................................................5-63
Noise Control System.....................................5-64
Tampering with Noise Control System
Prohibited.................................................5-64
Bulb Replacement..........................................5-65
Windshield Wiper Blade Replacement..............5-65
Section 5 Service and Appearance Care
5-1
Page 257 of 374
Engine Fan Noise
Your vehicle has a clutched engine cooling fan. When
the clutch is engaged, the fan spins faster to provide
more air to cool the engine. In most everyday driving
conditions, the clutch is not fully engaged. This improves
fuel economy and reduces fan noise. Under heavy
vehicle loading, trailer towing and/or high outside
temperatures, the fan speed increases when the clutch
engages. So you may hear an increase in fan noise.
This is normal and should not be mistaken as the
transmission slipping or making extra shifts. It is merely
the cooling system functioning properly. The fan will
slow down when additional cooling is not required and
the clutch disengages.
You may also hear this fan noise when you start the
engine. It will go away as the fan clutch disengages.
Power Steering Fluid
SeeScheduled Maintenance on page 6-5to determine
when to check your power steering fluid.
How To Check Power Steering Fluid
Check your power steering fluid only when the engine is
warm. If the engine is not warm, you probably will not
get an accurate reading.
If the fluid level is between the MIN (Minimum) and
MAX (Maximum) marks, you have enough. If you need
fluid, add only enough of the proper fluid to bring it
in between the MIN and MAX marks.
If your power steering fluid level is low, this can cause
the brake or service brakes soon warning lights to come
on. In addition, the steering effort and emergency
brake distance could increase.
If either light remains on after you have added power
steering fluid to the proper level, then shut off the engine
for 10 seconds. This should reset the brake warning
lights. If one or both lights stay on, see “Hydraulic Brake
System Warning Lights” underBrake System Warning
Light on page 3-31for more information.
What to Use
To determine what kind of fluid to use, seePart C:
Recommended Fluids and Lubricants on page 6-32.
Notice:When adding power steering uid or
making a complete uid change, always use the
proper uid. Failure to use the proper uid can
cause leaks and damage hoses and seals.
5-45
Page 259 of 374
Brakes
Brake Fluid
If your vehicle has
hydraulic brakes, there is a
brake master cylinder in
the engine compartment
on the driver side of
the vehicle. Refer to the
Maintenance Schedule to
determine when to
check your brake fluid.
{CAUTION:
Do not add brake uid before you check the
level. If you do, you could get too much brake
uid. Brake uid could spill on the hot engine
and it can catch re. You could be burned and
your vehicle could be damaged. See “Checking
Brake Fluid” in this section.
Checking Brake Fluid
Apply the brake pedal several times with the ignition off.
Then clean one of the reservoir caps and the area
around the cap, and remove it.
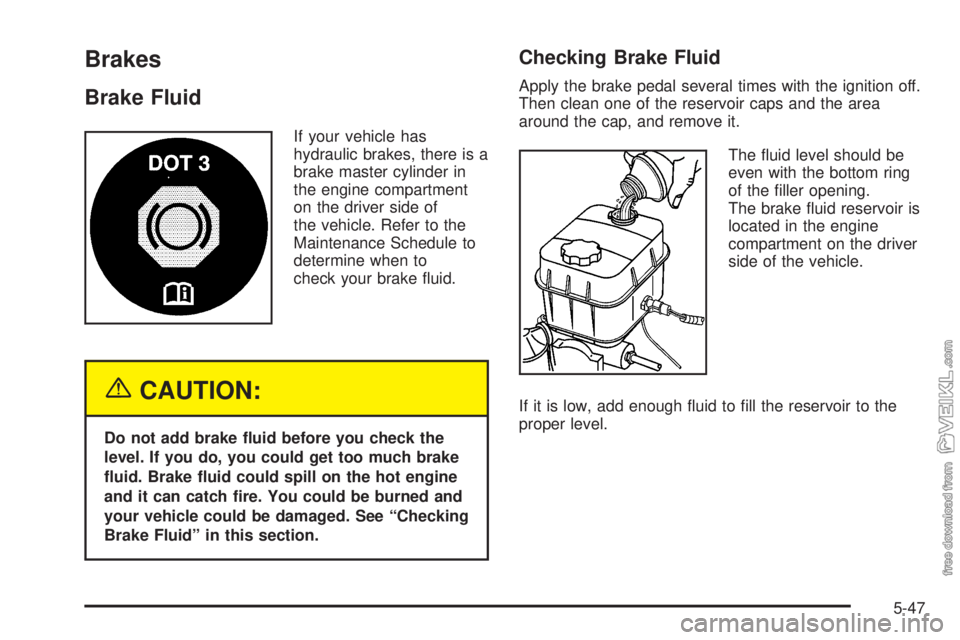
The fluid level should be
even with the bottom ring
of the filler opening.
The brake fluid reservoir is
located in the engine
compartment on the driver
side of the vehicle.
If it is low, add enough fluid to fill the reservoir to the
proper level.
5-47