heater CHEVROLET KODIAK 2005 Owners Manual
[x] Cancel search | Manufacturer: CHEVROLET, Model Year: 2005, Model line: KODIAK, Model: CHEVROLET KODIAK 2005Pages: 374, PDF Size: 5.46 MB
Page 67 of 374
Keys...............................................................2-2
Remote Keyless Entry System.........................2-3
Remote Keyless Entry System Operation...........2-4
Doors and Locks.............................................2-6
Door Locks....................................................2-6
Power Door Locks..........................................2-7
Windows.........................................................2-8
Manual Windows............................................2-8
Power Windows.............................................2-9
Sliding Rear Window.....................................2-10
Sun Visors...................................................2-10
Starting and Operating Your Vehicle................2-11
New Vehicle Break-In....................................2-11
Ignition Positions..........................................2-12
Engine Starter Over-Crank Protection..............2-12
Starting the Gasoline Engine..........................2-12
Starting the Diesel Engine..............................2-14
Engine Alarm and Automatic Shutdown............2-18
High Idle System (Caterpillar
®Diesel/
Gasoline Engine).......................................2-19
Exhaust Restrictor (DURAMAX
®Diesel)...........2-21
Engine Checks Before Operating....................2-22
Engine Coolant Heater..................................2-24Diesel Engine Exhaust Brake.........................2-25
Two-Speed Rear Axle Electric Shift Control......2-26
Air Shift Control (Automatic Transmission)........2-27
Automatic Transmission Operation...................2-28
Manual Transmission Operation......................2-29
Four-Wheel Drive..........................................2-33
Parking.......................................................2-38
Hydraulic Brakes (Parking Brake Operation)......2-38
Propshaft Brake Burnish Procedure.................2-39
Air Brake.....................................................2-40
Air Suspension.............................................2-42
Parking Over Things That Burn.......................2-43
Engine Exhaust............................................2-43
Running the Engine While Parked...................2-44
Mirrors...........................................................2-45
Manual Rearview Mirror.................................2-45
Outside Manual Mirrors..................................2-45
Outside Power Mirrors...................................2-45
Outside Convex Mirrors.................................2-46
Outside Heated Mirrors..................................2-46
Storage Areas................................................2-47
Center Console Storage Area.........................2-47
Section 2 Features and Controls
2-1
Page 82 of 374
If you are trying to start your engine after you have run
out of fuel, seeRunning Out of Fuel on page 5-15.
When your engine is cold, let it run for a few minutes
before you move your vehicle. This lets oil pressure
build up. Your engine will sound louder when it is cold.
Notice:If you are not in an idling vehicle and
the engine overheats, you would not be there to
see the overheated engine indication. This could
damage your vehicle. Do not let your engine
run when you are not in your vehicle.
Cold Weather Starting
If your vehicle has the DURAMAX®Diesel Engine,
the following notice applies:
Notice:Your diesel engine has an electric air intake
heater system which reduces white smoke and helps
start the engine in cold weather. Do not spray
starting �uid into the air intake where it can contact
the heater elements.If you do not have the GM Automatic Ether Injection
System, do not use starting �uid or you could
damage your engine. If you have the GM system,
use only GM approved starting �uid that has been
tested to establish compatibility with the air inlet
heater system.
The following tips will help you get good starting in
cold weather.
•Use the recommended engine oil when the outside
temperature drops below freezing. SeeEngine Oil
(Caterpillar
®Diesel Engine) on page 5-22or
Engine Oil (DURAMAX®Diesel) on page 5-22or
Engine Oil (Gasoline Engine) on page 5-26.
When the outside temperature drops below
0°F (−18°C), use of the optional engine coolant
block heater is recommended.
•If you experience longer cranking times, notice an
unusual amount of exhaust smoke or are at
higher altitudes (over 7,000 ft. or 2 135 m), you may
use your optional engine coolant block heater.
SeeEngine Coolant Heater on page 2-24.
•SeeWhat Fuel to Use on page 5-8for information
on what fuel to use in cold weather.
2-16
Page 83 of 374
Cold Weather Starting
(Caterpillar®Diesel)
Because the diesel engine uses compression ignition,
it is harder to start in cold weather than a gasoline
engine. The air intake heater and use of the proper
engine oil, optional engine coolant heaters and optional
ether injection systems help cold weather starting.
See the Caterpillar
®Diesel Engine Operation &
Maintenance Manual for more information.
Restarting the Diesel Engine While
Moving (Automatic Transmission)
If you have to restart the engine while the vehicle is
moving, you will first have to shift to NEUTRAL (N).
This safety feature prevents starting the engine when
the transmission is in a drive gear for more information.
Stopping the Diesel Engine
1. Set the parking brake and shift to NEUTRAL (N)
or PARK (P).
2. Turn the ignition key to OFF.
If your vehicle has a two-speed axle, see
Two-Speed Rear Axle Electric Shift Control on
page 2-26.
If you have a Caterpillar
®diesel engine, see your
Caterpillar®Diesel Engine Operation & Maintenance
Manual for additional information.
Diesel Engine Warm-Up
Several factors affect how quickly your diesel engine
warms up. These can include outside temperature,
engine load, idle time and your vehicle’s option content.
Your vehicle may be equipped with some features
that can help the engine reach operating temperature
sooner. Some of these features are discussed below.
Also, remember that an automatic transmission
adds heat to the cooling system through the heat
exchanger in the radiator. Because of this, vehicles
equipped with automatic transmissions are often able to
retain engine coolant heat better than manual
transmission vehicles.
See your Caterpillar
®Operation & Maintenance manual
for additional diesel engine warm-up information.
2-17
Page 87 of 374
Exhaust Restrictor
(DURAMAX
®Diesel)
If your vehicle is equipped with a DURAMAX®6600
engine, it has a cold temperature high idle feature which
elevates the engines idle speed from 660 to 1500 rpms,
and restricts the exhaust gas flow, when outside
temperatures are below 32°F (0°C), and the engine
coolant temperature is below 150°F (65°C). This feature
enhances heater performance by raising the engine
coolant temperature faster.
This feature is already turned on. This feature can be
turned off and on by doing the following brake stomp
procedure:
1. Turn the ignition to RUN, with the vehicle off.
2. Press the accelerator pedal to the floor and
hold while quickly pressing the brake pedal
three times in less than eight seconds.
3. Release the accelerator pedal and start
the engine.If this feature is turned on when the engine is started,
the green exhaust brake/restrictor light below the
radio controls will be lit for 10 seconds. If this feature is
turned on and the algorithm comes on, based upon
the temperature conditions and other conditions, then
the green exhaust brake/restrictor light will remain lit and
the engine will slowly ramp up to the high idle speed
after a delay of a few seconds up to approximately
two minutes.
When the engine is started, it will slowly ramp up to the
high idle speed after a delay of a few seconds up to
about two minutes. For this method to work properly
there must be no throttle or brake pedal faults, and the
throttle pedal must not fall below 75 percent of wide
open throttle while pressing the brake pedal.
The engine idle speed will return to normal once the
following conditions are met:
•Once engine coolant temperature reaches
150°F (65°C).
•Air intake temperature reaches 41°F (5°C).
2-21
Page 90 of 374
Engine Coolant Heater
Your vehicle may be equipped with this feature.
In very cold weather, 0°F (–18°C) or colder, the engine
coolant heater can help. You will get easier starting
and better fuel economy during engine warm-up.
Usually, the coolant heater should be plugged in a
minimum of four hours prior to starting your vehicle.
At temperatures above 32°F (0°C), use of the coolant
heater is not required.
To Use the Engine Coolant Heater
1. Turn off the engine.
2. Find the plug-in outlet located under the
driver’s door.
3. Plug it into a normal, grounded 110-volt AC outlet.
{CAUTION:
Plugging the cord into an ungrounded outlet
could cause an electrical shock. Also, the
wrong kind of extension cord could overheat
and cause a �re. You could be seriously
injured. Plug the cord into a properly grounded
three-prong 110-volt AC outlet. If the cord will
not reach, use a heavy-duty three-prong
extension cord rated for at least 15 amps.
4. Before starting the engine, be sure to unplug and
store the cord as it was before to keep it away
from moving engine parts. If you do not, it could
be damaged.
How long should you keep the coolant heater
plugged in? The answer depends on the outside
temperature, the kind of oil you have, and some other
things. Instead of trying to list everything here, we
ask that you contact your dealer in the area where you
will be parking your vehicle. The dealer can give
you the best advice for that particular area.
2-24
Page 137 of 374
The rear window defogger will turn off several minutes
after the button is pressed. The defogger can also
be turned off by pressing the button again or by turning
off the engine.
Notice:Do not use anything sharp on the inside of
the rear window. If you do, you could cut or
damage the warming grid, and the repairs would not
be covered by your warranty. Do not attach a
temporary vehicle license, tape, a decal or anything
similar to the defogger grid.
Outlet Adjustment
Your vehicle has air outlets on the instrument panel that
allow you to adjust the direction and amount of airflow
inside the vehicle.
Move the lever on the outlet up or down to direct the
airflow. Increase or reduce the amount of airflow
by opening and closing the louvers. The outlets can be
moved side-to-side to direct the airflow.
Operation Tips
•
Keep the hood and front air inlets free of ice, snow,
or any other obstruction (such as leaves). The
heater and defroster will work far better, reducing
the chance of fogging the inside of your windows.
•Keep the air path under the front seats clear
of objects. This helps air to circulate throughout your
vehicle.
•Adding outside equipment to the front of your
vehicle, such as hood-air deflectors, may affect the
performance of the heating and air conditioning
system. Check with your dealer before adding
equipment to the outside of your vehicle.
3-23
Page 138 of 374
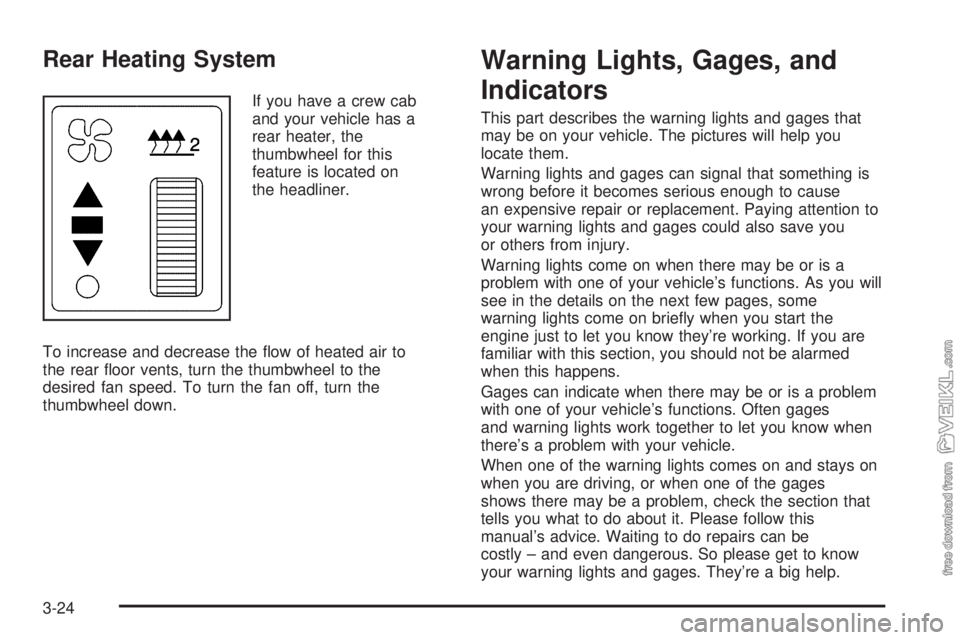
Rear Heating System
If you have a crew cab
and your vehicle has a
rear heater, the
thumbwheel for this
feature is located on
the headliner.
To increase and decrease the flow of heated air to
the rear floor vents, turn the thumbwheel to the
desired fan speed. To turn the fan off, turn the
thumbwheel down.
Warning Lights, Gages, and
Indicators
This part describes the warning lights and gages that
may be on your vehicle. The pictures will help you
locate them.
Warning lights and gages can signal that something is
wrong before it becomes serious enough to cause
an expensive repair or replacement. Paying attention to
your warning lights and gages could also save you
or others from injury.
Warning lights come on when there may be or is a
problem with one of your vehicle’s functions. As you will
see in the details on the next few pages, some
warning lights come on briefly when you start the
engine just to let you know they’re working. If you are
familiar with this section, you should not be alarmed
when this happens.
Gages can indicate when there may be or is a problem
with one of your vehicle’s functions. Often gages
and warning lights work together to let you know when
there’s a problem with your vehicle.
When one of the warning lights comes on and stays on
when you are driving, or when one of the gages
shows there may be a problem, check the section that
tells you what to do about it. Please follow this
manual’s advice. Waiting to do repairs can be
costly – and even dangerous. So please get to know
your warning lights and gages. They’re a big help.
3-24
Page 150 of 374
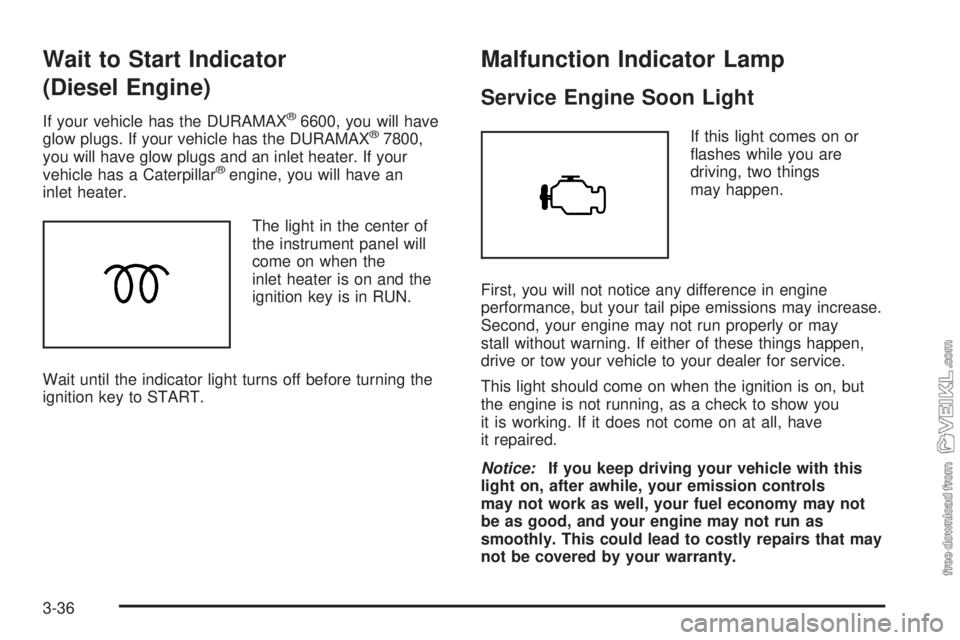
Wait to Start Indicator
(Diesel Engine)
If your vehicle has the DURAMAX®6600, you will have
glow plugs. If your vehicle has the DURAMAX®7800,
you will have glow plugs and an inlet heater. If your
vehicle has a Caterpillar
®engine, you will have an
inlet heater.
The light in the center of
the instrument panel will
come on when the
inlet heater is on and the
ignition key is in RUN.
Wait until the indicator light turns off before turning the
ignition key to START.
Malfunction Indicator Lamp
Service Engine Soon Light
If this light comes on or
flashes while you are
driving, two things
may happen.
First, you will not notice any difference in engine
performance, but your tail pipe emissions may increase.
Second, your engine may not run properly or may
stall without warning. If either of these things happen,
drive or tow your vehicle to your dealer for service.
This light should come on when the ignition is on, but
the engine is not running, as a check to show you
it is working. If it does not come on at all, have
it repaired.
Notice:If you keep driving your vehicle with this
light on, after awhile, your emission controls
may not work as well, your fuel economy may not
be as good, and your engine may not run as
smoothly. This could lead to costly repairs that may
not be covered by your warranty.
3-36
Page 203 of 374
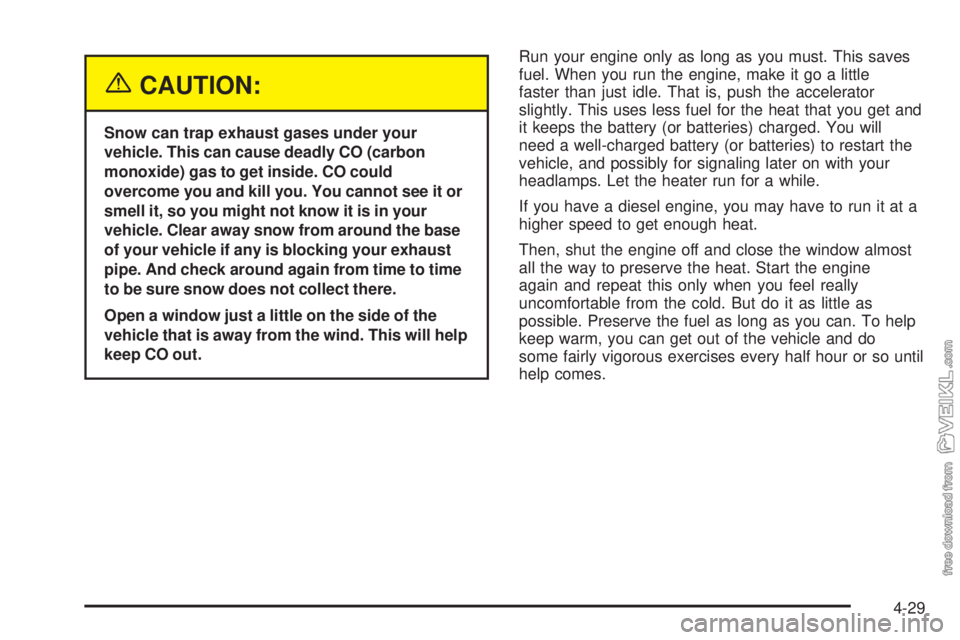
{CAUTION:
Snow can trap exhaust gases under your
vehicle. This can cause deadly CO (carbon
monoxide) gas to get inside. CO could
overcome you and kill you. You cannot see it or
smell it, so you might not know it is in your
vehicle. Clear away snow from around the base
of your vehicle if any is blocking your exhaust
pipe. And check around again from time to time
to be sure snow does not collect there.
Open a window just a little on the side of the
vehicle that is away from the wind. This will help
keep CO out.Run your engine only as long as you must. This saves
fuel. When you run the engine, make it go a little
faster than just idle. That is, push the accelerator
slightly. This uses less fuel for the heat that you get and
it keeps the battery (or batteries) charged. You will
need a well-charged battery (or batteries) to restart the
vehicle, and possibly for signaling later on with your
headlamps. Let the heater run for a while.
If you have a diesel engine, you may have to run it at a
higher speed to get enough heat.
Then, shut the engine off and close the window almost
all the way to preserve the heat. Start the engine
again and repeat this only when you feel really
uncomfortable from the cold. But do it as little as
possible. Preserve the fuel as long as you can. To help
keep warm, you can get out of the vehicle and do
some fairly vigorous exercises every half hour or so until
help comes.
4-29
Page 214 of 374
Other Service Items........................................5-66
Fuel Filter....................................................5-66
Primary Fuel Filter and Water Separator..........5-67
Secondary Fuel Filter and Water Separator/
Heater (Caterpillar
®Diesel)..........................5-68
Automatic Ether Injection System
(Caterpillar
®Diesel)....................................5-68
Front Wheel Bearings with Oil-Filled Hubs........5-69
Air Conditioning System.................................5-70
Tires..............................................................5-70
Inflation - Tire Pressure.................................5-71
Wheel Loading.............................................5-71
Dual Tire Operation.......................................5-72
When It Is Time for New Tires.......................5-72
Wheel Alignment and Tire Balance..................5-73
Tightening the Wheel Nuts.............................5-73
Wheel Replacement......................................5-77
If a Tire Goes Flat........................................5-78
Appearance Care............................................5-79
Cleaning the Inside of Your Vehicle.................5-80
Fabric/Carpet...............................................5-81
Instrument Panel, Vinyl, and Other
Plastic Surfaces........................................5-82
Care of Safety Belts......................................5-82
Weatherstrips...............................................5-82Washing Your Vehicle...................................5-83
Cleaning Exterior Lamps/Lenses.....................5-83
Finish Care..................................................5-83
Windshield and Wiper Blades.........................5-84
Aluminum or Chrome-Plated Wheels................5-84
Tires...........................................................5-85
Sheet Metal Damage.....................................5-85
Finish Damage.............................................5-85
Underbody Maintenance................................5-85
Chemical Paint Spotting.................................5-85
Vehicle Identi�cation......................................5-87
Vehicle Identification Number (VIN).................5-87
Service Statement.........................................5-87
Service Parts Identification Label.....................5-88
Electrical System............................................5-88
Add-On Electrical Equipment..........................5-88
Headlamp Wiring..........................................5-88
Windshield Wiper Fuses................................5-88
Fusible Links................................................5-89
Power Windows and Other Power Options.......5-89
Fuses and Circuit Breakers............................5-89
Instrument Panel Fuse Block..........................5-89
Underhood Fuse Block..................................5-92
Capacities and Speci�cations..........................5-95
Normal Maintenance Replacement Parts.........5-100
Section 5 Service and Appearance Care
5-2