ECO mode CHEVROLET KODIAK 2007 Owners Manual
[x] Cancel search | Manufacturer: CHEVROLET, Model Year: 2007, Model line: KODIAK, Model: CHEVROLET KODIAK 2007Pages: 430, PDF Size: 6.06 MB
Page 55 of 430
CAUTION: (Continued)
Even though the airbag off switch is
designed to turn off the passenger’s
frontal airbag, no system is fail-safe,
and no one can guarantee that an airbag
will not deploy under some unusual
circumstance, even though it is turned off.
We recommend that rear-facing child
restraints be transported in vehicles
with a rear seat that will accommodate
a rear-facing child restraint, whenever
possible.
If you need to secure a forward-facing child
restraint in the right front static seat or the
right front bench seat, always move the
passenger seat as far back as it will go.
Keep in mind that an unsecured child restraint
can move around in a collision or sudden stop
and injure people in the vehicle — even when
no child is in it.
Where to Put the Restraint
(Crew Cab Models)
Accident statistics show that children are safer if
they are restrained in the rear rather than the front
seat. We recommend that child restraints be
secured in a rear seat position, including an infant
riding in a rear-facing infant seat, a child riding
in a forward-facing child seat and an older
child riding in a booster seat.
If your vehicle has airbags and you need to
secure a child restraint in the right front
passenger’s seat, there is a switch on the
instrument panel that you can use to turn off the
passenger’s airbag. SeeAirbag Off Switch on
page 76andSecuring a Child Restraint in
the Right Front Seat Position on page 63for more
on this, including important safety information.
55
Page 99 of 430
Gasoline Engine Warm-Up
When you have started your engine, let it run for
20 or 30 seconds to warm up before you put a
load on the engine.
Drive at moderate speeds for the first 2 to 3 miles
(3.2 to 4.8 km), especially in cold weather. See
High Idle System on page 106.
Restarting the Gasoline Engine While
Moving (Automatic Transmission)
If you have to restart the engine while the
vehicle is moving, you will first have to shift to
NEUTRAL (N). This safety feature prevents
starting the engine when the transmission is in a
drive gear.
Stopping the Gasoline Engine
Let your engine idle for a few seconds before
turning it off after you have finished driving your
vehicle.
If you shift to NEUTRAL (N) or PARK (P), set the
parking brake.
If your vehicle has a two-speed axle, put the
range selector in low. To be sure the axle has
shifted into low, engage the clutch and
transmission; the vehicle may move slightly
when you do this.
While your engine is idling and before you turn it
off, you can make a list of any operational or
handling concerns to give to responsible
maintenance personnel so they can handle them
right away.
Moisture will condense in a fuel tank that is almost
empty if the engine has not run for a while,
even just overnight under some conditions. So, it
is always best to refuel your vehicle at the end
of each run.
99
Page 124 of 430
Shifting Out of NEUTRAL
To shift the transfer case out of NEUTRAL, do the
following:
1. Set the parking brake and apply the regular
brake pedal.
2. Turn the ignition to RUN with the engine off.
3. Put the transmission in NEUTRAL (N).
4. Turn the transfer case knob to the desired
shift position (Two-Wheel High, Four-Wheel
High, Four-Wheel Low).
5. After the transfer case has shifted out of
NEUTRAL, the indicator light goes out.Notice:Driving with the parking brake on can
overheat the brake system and cause
premature wear or damage to brake system
parts. Verify that the parking brake is fully
released and the brake warning light is
off before driving.
6. Release the parking brake.
7. Start the engine and shift the transmission
lever to the desired position.
Excessively shifting the transfer case into or out of
the different modes can cause the transfer case
to enter the shift protection mode. This protects the
transfer case from possible damage and only
allows the transfer case to respond to one shift per
10 seconds. The transfer case can stay in this
mode for up to three minutes.
124
Page 159 of 430
<(Maximum Air Conditioning):Turn the right
knob to this setting for maximum cooling. This
setting puts the system in recirculation mode and
helps to maximize your air conditioner’s
performance and your vehicle’s fuel economy.
This setting also cools the air the fastest.
Y(Air Conditioning):This setting is used for
normal cooling on hot days. It cools outside air and
directs it through the instrument panel vents.
)(Bi-Level Air Conditioning):This setting
divides airflow between the floor vents and
instrument panel vents. The air conditioning
compressor will cycle continuously in this setting
as long as the outside temperature is warm
enough to activate the compressor.
Defogging and Defrosting
Fog on the inside of windows is a result of high
humidity (moisture) condensing on the cool window
glass. This can be minimized if the climate
control is used properly. There are two modes to
clear fog or frost from your windshield and
side windows.Use the defog mode to clear the windows of fog or
moisture and warm the passengers. Use the defrost
mode to remove fog or frost from the windshield
more quickly. For best results, clear all snow and
ice from the windshield before defrosting.
Turn the mode knob on the right of the climate
control panel to select the defog or defrost mode.
-(Defog):With this setting, the outside air
comes out of both the floor and defroster outlets.
Adjust the temperature knob for warmer or
cooler air. The air conditioning compressor may
operate in this setting to dehumidify the air.
0(Defrost):This setting operates the defroster.
Most of the air comes out near the windshield,
with some going to the floor outlets and front side
windows. The air conditioning compressor may
operate in this setting to dehumidify the air.
The defog setting is useful for cold weather with a
large number of passengers or very humid
conditions to help keep the windshield clear. Use
defrost to remove fog or ice from the windshield
quickly in extremely cold conditions. The
temperature knob should be in the red area and
the fan control toward high. Do not drive the
vehicle until all the windows are clear.
159
Page 164 of 430
Engine Speed Limiter
All engines have electronic engine speed limiting.
The engine limited speeds range between
2,900 and 4,400 rpm depending on engine option
content.
Engine Road Speed Governor
This system controls maximum vehicle speed
automatically and reduces engine power
until vehicle speed gets down to maximum
governed speed.
The default setting for C4500 and C5500 models
up to 19,500 lbs GVWR is 80 to 85 mph
(128 to 136 km/h). Most other models have a
default setting of 75 mph (120 km/h), although
some tire sizes and tread patterns may limit
maximum speed to 55 to 65 mph (86 to 105 km/h).
You may have a label on the headliner of your
vehicle with more information on your engine
road speed governor. See your GM dealer
for assistance with programming your engine
limited speed.
Safety Belt Reminder Light
When the key is turned to RUN or START, a light
will come on for several seconds to remind
people to fasten their safety belts.
The safety belt light will
also come on and stay
on for several seconds.
Safety Belt Reminder Tone
If your vehicle has this feature, when you turn
your key to RUN or START, a tone will sound for
several seconds to remind people to fasten
their safety belts.
164
Page 175 of 430
Oil Pressure Gage
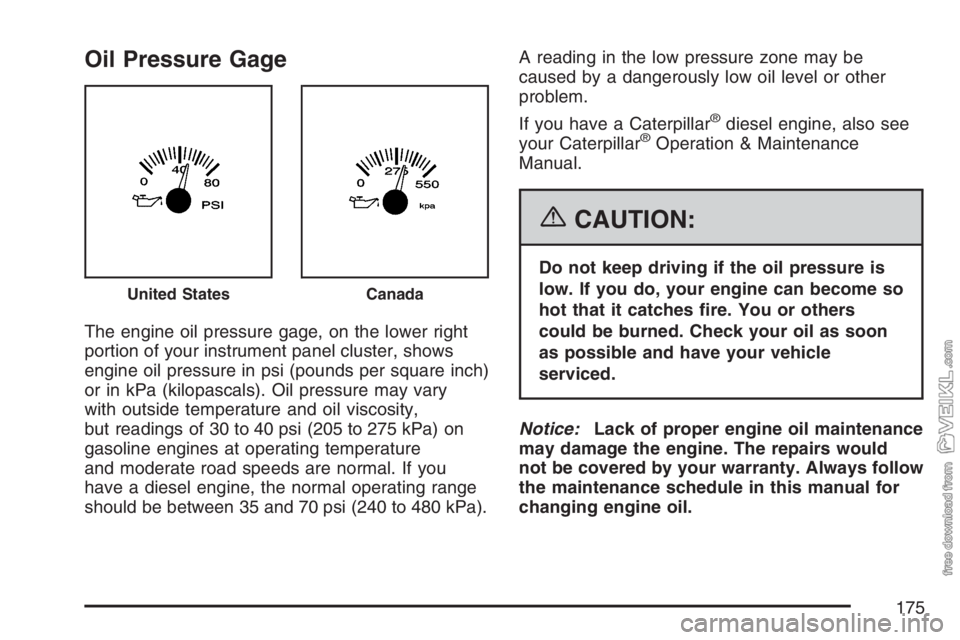
The engine oil pressure gage, on the lower right
portion of your instrument panel cluster, shows
engine oil pressure in psi (pounds per square inch)
or in kPa (kilopascals). Oil pressure may vary
with outside temperature and oil viscosity,
but readings of 30 to 40 psi (205 to 275 kPa) on
gasoline engines at operating temperature
and moderate road speeds are normal. If you
have a diesel engine, the normal operating range
should be between 35 and 70 psi (240 to 480 kPa).A reading in the low pressure zone may be
caused by a dangerously low oil level or other
problem.
If you have a Caterpillar
®diesel engine, also see
your Caterpillar®Operation & Maintenance
Manual.
{CAUTION:
Do not keep driving if the oil pressure is
low. If you do, your engine can become so
hot that it catches �re. You or others
could be burned. Check your oil as soon
as possible and have your vehicle
serviced.
Notice:Lack of proper engine oil maintenance
may damage the engine. The repairs would
not be covered by your warranty. Always follow
the maintenance schedule in this manual for
changing engine oil.
United StatesCanada
175
Page 187 of 430
Setting Preset Stations
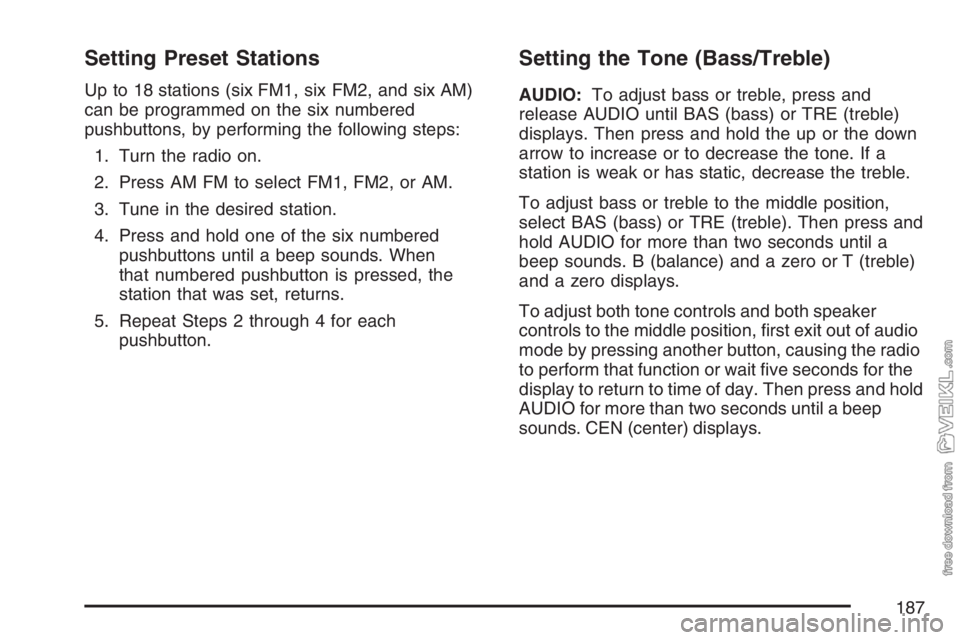
Up to 18 stations (six FM1, six FM2, and six AM)
can be programmed on the six numbered
pushbuttons, by performing the following steps:
1. Turn the radio on.
2. Press AM FM to select FM1, FM2, or AM.
3. Tune in the desired station.
4. Press and hold one of the six numbered
pushbuttons until a beep sounds. When
that numbered pushbutton is pressed, the
station that was set, returns.
5. Repeat Steps 2 through 4 for each
pushbutton.
Setting the Tone (Bass/Treble)
AUDIO:To adjust bass or treble, press and
release AUDIO until BAS (bass) or TRE (treble)
displays. Then press and hold the up or the down
arrow to increase or to decrease the tone. If a
station is weak or has static, decrease the treble.
To adjust bass or treble to the middle position,
select BAS (bass) or TRE (treble). Then press and
hold AUDIO for more than two seconds until a
beep sounds. B (balance) and a zero or T (treble)
and a zero displays.
To adjust both tone controls and both speaker
controls to the middle position, first exit out of audio
mode by pressing another button, causing the radio
to perform that function or wait five seconds for the
display to return to time of day. Then press and hold
AUDIO for more than two seconds until a beep
sounds. CEN (center) displays.
187
Page 188 of 430
Adjusting the Speakers (Balance/Fade)
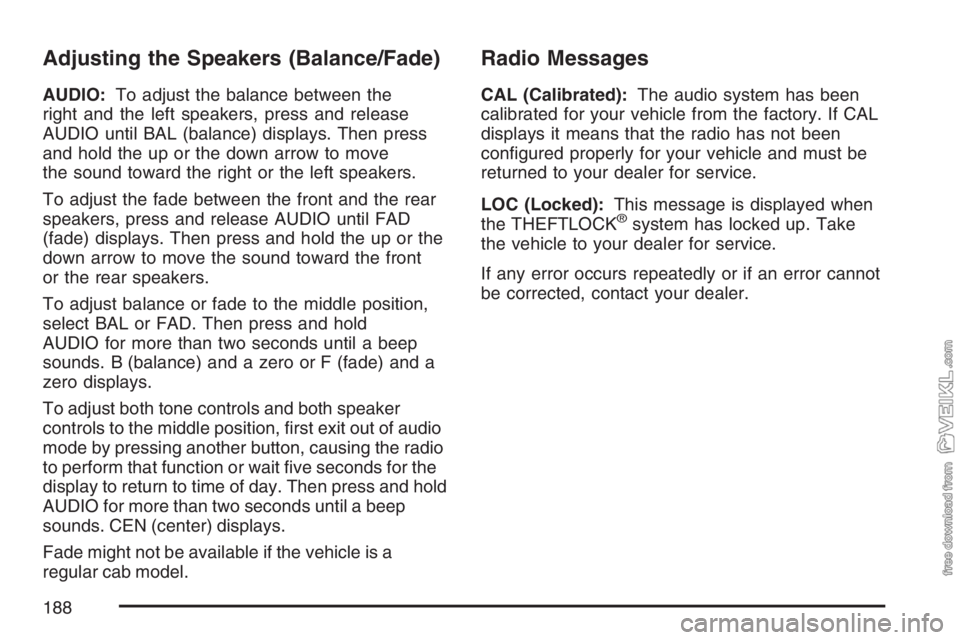
AUDIO:To adjust the balance between the
right and the left speakers, press and release
AUDIO until BAL (balance) displays. Then press
and hold the up or the down arrow to move
the sound toward the right or the left speakers.
To adjust the fade between the front and the rear
speakers, press and release AUDIO until FAD
(fade) displays. Then press and hold the up or the
down arrow to move the sound toward the front
or the rear speakers.
To adjust balance or fade to the middle position,
select BAL or FAD. Then press and hold
AUDIO for more than two seconds until a beep
sounds. B (balance) and a zero or F (fade) and a
zero displays.
To adjust both tone controls and both speaker
controls to the middle position, first exit out of audio
mode by pressing another button, causing the radio
to perform that function or wait five seconds for the
display to return to time of day. Then press and hold
AUDIO for more than two seconds until a beep
sounds. CEN (center) displays.
Fade might not be available if the vehicle is a
regular cab model.
Radio Messages
CAL (Calibrated):The audio system has been
calibrated for your vehicle from the factory. If CAL
displays it means that the radio has not been
configured properly for your vehicle and must be
returned to your dealer for service.
LOC (Locked):This message is displayed when
the THEFTLOCK
®system has locked up. Take
the vehicle to your dealer for service.
If any error occurs repeatedly or if an error cannot
be corrected, contact your dealer.
188
Page 191 of 430
Adjusting the Speakers (Balance/Fade)
AUDIO:To adjust the balance between the right
and the left speakers, press and release AUDIO
until BAL (balance) appears on the display. Then
press and hold the up or the down arrow to move
the sound toward the right or the left speakers.
To adjust the fade between the front and the rear
speakers, press and release AUDIO until FAD
(fade) appears on the display. Then press and hold
the up or the down arrow to move the sound toward
the front or the rear speakers.
To adjust balance or fade to the middle position,
select BAL or FAD. Then press and hold AUDIO for
more than two seconds until you hear a beep.
L (balance) and a zero or F and a zero appears on
the display.
To adjust both tone controls and both speaker
controls to the middle position, end out of audio by
waiting for the display to change to the time display.
Then press and hold AUDIO for more than
two seconds until you hear a beep. CEN (center)
appears on the display.
Fade may not be available if the vehicle is a regular
cab model.
Radio Messages
CAL (Calibration):The audio system has been
calibrated for your vehicle from the factory. If
CAL appears on the display it means that the radio
has not been configured properly for your vehicle
and must be returned to your dealer for service.
LOC (Locked):This message is displayed when
the THEFTLOCK
®system has locked up. Take
the vehicle to your dealer for service.
If any error occurs repeatedly or if an error cannot
be corrected, contact your dealer.
Playing a Cassette Tape
The tape player is built to work best with tapes
that are up to 30 to 45 minutes long on each side.
Tapes longer than that are so thin they may not
work well in this player. The longer side with
the tape visible should face to the right. If you hear
nothing or hear a garbled sound, the tape may
not be in squarely. Press the eject button to
remove the tape and start over.
191
Page 192 of 430
If the ignition and the radio are off, press the eject
button or the RCL knob to insert and to begin
play of a tape. If the ignition is on and the radio is
off, the tape can be inserted and begins playing.
CAS (cassette) appears on the display when
a tape is inserted.
While the tape is playing, use the VOL, AUDIO,
and SEEK controls just as you do for the
radio. The radio displays UP if the top side of the
tape is playing. DN (Down) appears if the
bottom side is playing. The tape player plays the
other side of the tape when it reaches the end.
Cassette tape adapter kits for portable CD players
works in the cassette tape player. See “CD
Adapter Kits” later for more information.
The tape bias is set automatically when a metal or
chrome tape is inserted.
If an error appears on the display, see “Cassette
Tape Messages” later in this section.1 PREV (Previous):The tape must have at least
three seconds of silence between each selection
for previous to work. Press this pushbutton to go
to the previous selection on the tape if the
current selection has been playing for less than
three seconds. If pressed when the current
selection has been playing from three to
13 seconds, it goes to the beginning of the
previous selection or the beginning of the current
selection, depending on the position on the
tape. If pressed when the current selection has
been playing for more than 13 seconds, it goes to
the beginning of the current selection. Pressing
this pushbutton multiple times increases the
number of selections to be searched back, up
to−9. Pressing the NEXT pushbutton cancels the
selections.
2 NEXT:The tape must have at least
three seconds of silence between each selection
for next to work. Press this pushbutton to go
to the next selection on the tape. Pressing this
pushbutton multiple times in the next mode
increases the number of selections to be searched
forward. Pressing the PREV pushbutton cancels
the selections.
192