turn signal CHEVROLET KODIAK 2007 Owners Manual
[x] Cancel search | Manufacturer: CHEVROLET, Model Year: 2007, Model line: KODIAK, Model: CHEVROLET KODIAK 2007Pages: 430, PDF Size: 6.06 MB
Page 88 of 430
At times you may notice a decrease in range. This
is normal for any RKE system. If the transmitter
does not work or if you have to stand closer
to your vehicle for the transmitter to work, try this:
â¢Check the distance. You may be too far
from your vehicle. You may need to stand
closer during rainy or snowy weather.
â¢Check the location. Other vehicles or objects
may be blocking the signal. Take a few steps
to the left or right, hold the transmitter
higher, and try again.
â¢Check to determine if battery replacement is
necessary. See âBattery Replacementâ
underRemote Keyless Entry (RKE) System
Operation on page 88.
â¢If you are still having trouble, see your dealer
or a qualiï¬ed technician for service.
Remote Keyless Entry (RKE)
System Operation
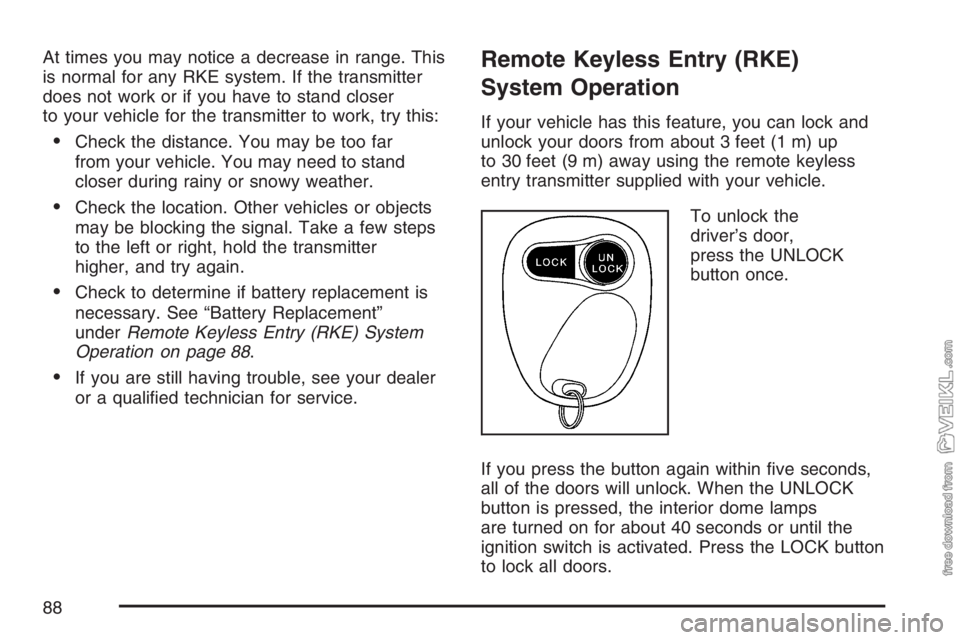
If your vehicle has this feature, you can lock and
unlock your doors from about 3 feet (1 m) up
to 30 feet (9 m) away using the remote keyless
entry transmitter supplied with your vehicle.
To unlock the
driverâs door,
press the UNLOCK
button once.
If you press the button again within ï¬ve seconds,
all of the doors will unlock. When the UNLOCK
button is pressed, the interior dome lamps
are turned on for about 40 seconds or until the
ignition switch is activated. Press the LOCK button
to lock all doors.
88
Page 98 of 430
Starter Motor Operation
â¢The starter motor will disengage if you release
the key or the engine reaches a predetermined
engine speed.
â¢To prevent overheating, the starter motor will
disengage after continuously operating for
15 seconds. You must release the key
from the start position to re-engage the starter.
â¢The starter motor will not engage if the engine
is already running.
â¢The starter motor will disengage if, after
two seconds, the starter pinion gear does not
engage the ï¬ywheel or there is no engine
rpm signal from the engine speed sensor.
Starting Your Engine
1. Without pushing the accelerator pedal, turn
your ignition key to START. When the
engine starts, let go of the key. The idle speed
will go down as your engine gets warm.2. If the engine does not start in 10 seconds,
push the accelerator pedal all the way down
and crank the engine for ï¬ve more seconds,
unless it starts sooner.
3. If your engine still will not start, or starts but
then stops, it could be ï¬ooded with too much
gasoline.
Wait 15 seconds to let the starter motor cool
down. Do Steps 1 through 3 again.
When the engine starts, let go of the key and
the accelerator pedal.
Notice:Your engine is designed to work with
the electronics in your vehicle. If you add
electrical parts or accessories, you could
change the way the engine operates. Before
adding electrical equipment, check with your
dealer. If you do not, your engine might not
perform properly. Any resulting damage would
not be covered by your vehicleâs warranty.
If you ever need to have your vehicle towed, see
Towing Your Vehicle on page 241.
98
Page 137 of 430
Instrument Panel Overview........................ 140
Hazard Warning Flashers.......................... 142
Other Warning Devices............................. 142
Horn.......................................................... 142
Tilt Wheel.................................................. 142
Turn Signal/Multifunction Lever.................. 143
Turn and Lane-Change Signals................. 144
Headlamp High/Low-Beam Changer.......... 144
Windshield Wipers..................................... 145
Windshield Washer.................................... 146
Cruise Control........................................... 146
Exterior Lamps.......................................... 150
Headlamps on Reminder........................... 150
Daytime Running Lamps (DRL)................. 151
Marker Lamps........................................... 152
Instrument Panel Brightness...................... 152
Dome Lamps............................................. 153
Entry Lighting............................................ 154
Reading Lamps......................................... 154
Instrument Panel Switchbank..................... 154
Accessory Power Outlet(s)........................ 156
Ashtray(s) and Cigarette Lighter................ 157Climate Controls......................................... 157
Climate Control System............................. 157
Outlet Adjustment...................................... 160
Rear Heating System................................ 161
Warning Lights, Gages, and Indicators..... 161
Instrument Panel Cluster........................... 162
Speedometer and Odometer...................... 163
Trip Odometer........................................... 163
Tachometer............................................... 163
Engine Speed Limiter................................ 164
Safety Belt Reminder Light........................ 164
Safety Belt Reminder Tone....................... 164
Airbag Readiness Light............................. 165
Airbag Off Light......................................... 166
Charging System Light.............................. 167
Voltmeter Gage......................................... 168
Service Transmission Warning Light.......... 168
Range Inhibit Warning Indicator................. 169
Brake System Warning Light..................... 169
Anti-Lock Brake System Warning Light...... 172
Trailer Anti-Lock Brake System
Warning Light........................................ 172
Section 3 Instrument Panel
137
Page 141 of 430
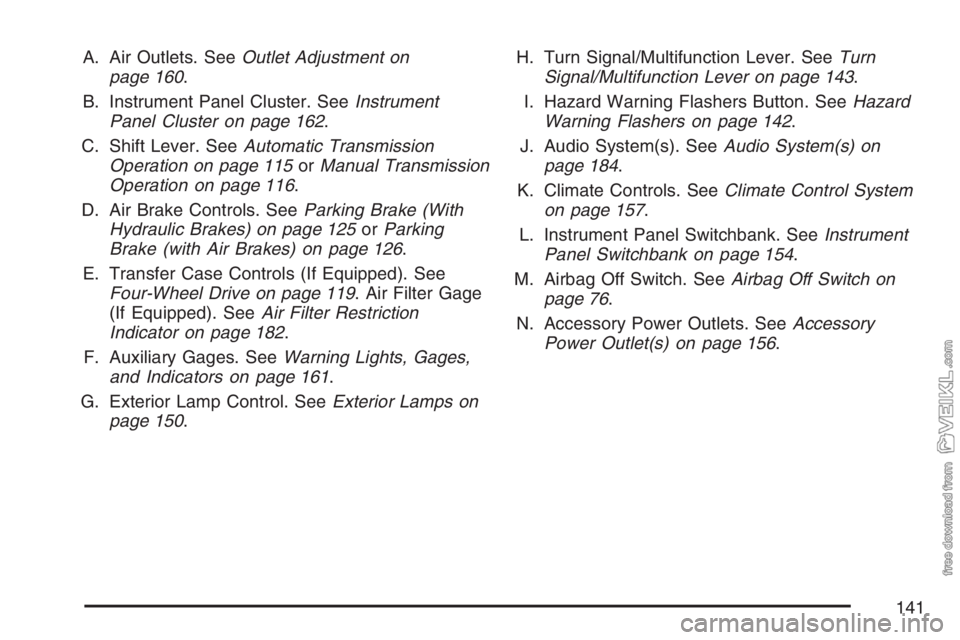
A. Air Outlets. SeeOutlet Adjustment on
page 160.
B. Instrument Panel Cluster. SeeInstrument
Panel Cluster on page 162.
C. Shift Lever. SeeAutomatic Transmission
Operation on page 115orManual Transmission
Operation on page 116.
D. Air Brake Controls. SeeParking Brake (With
Hydraulic Brakes) on page 125orParking
Brake (with Air Brakes) on page 126.
E. Transfer Case Controls (If Equipped). See
Four-Wheel Drive on page 119. Air Filter Gage
(If Equipped). SeeAir Filter Restriction
Indicator on page 182.
F. Auxiliary Gages. SeeWarning Lights, Gages,
and Indicators on page 161.
G. Exterior Lamp Control. SeeExterior Lamps on
page 150.H. Turn Signal/Multifunction Lever. SeeTurn
Signal/Multifunction Lever on page 143.
I. Hazard Warning Flashers Button. SeeHazard
Warning Flashers on page 142.
J. Audio System(s). SeeAudio System(s) on
page 184.
K. Climate Controls. SeeClimate Control System
on page 157.
L. Instrument Panel Switchbank. SeeInstrument
Panel Switchbank on page 154.
M. Airbag Off Switch. SeeAirbag Off Switch on
page 76.
N. Accessory Power Outlets. SeeAccessory
Power Outlet(s) on page 156.
141
Page 142 of 430
Hazard Warning Flashers
The hazard warning ï¬ashers warn others. They
also let police know you have a problem.
Your front and rear turn signal lamps will ï¬ash
on and off.
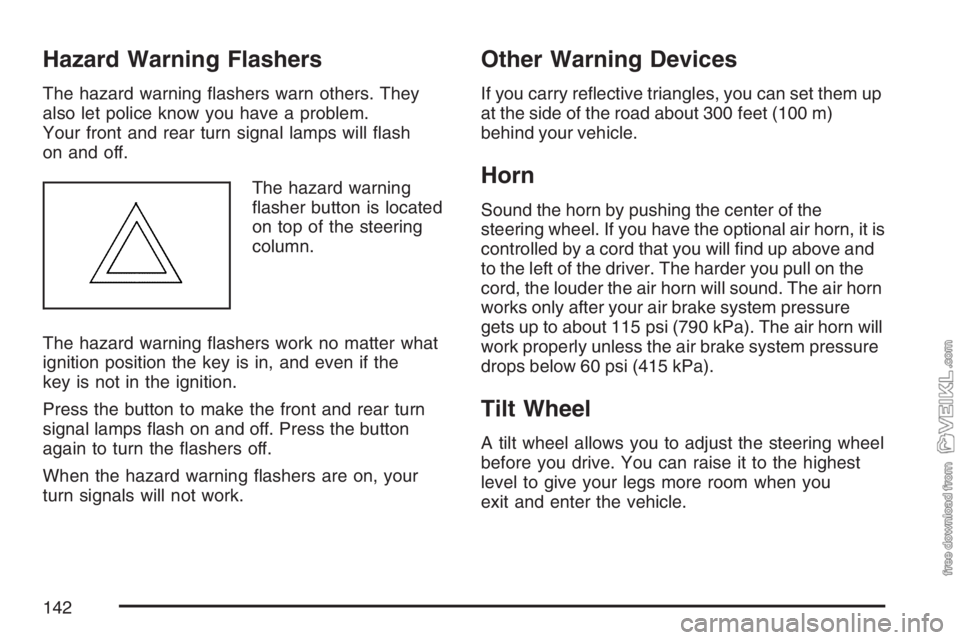
The hazard warning
ï¬asher button is located
on top of the steering
column.
The hazard warning ï¬ashers work no matter what
ignition position the key is in, and even if the
key is not in the ignition.
Press the button to make the front and rear turn
signal lamps ï¬ash on and off. Press the button
again to turn the ï¬ashers off.
When the hazard warning ï¬ashers are on, your
turn signals will not work.
Other Warning Devices
If you carry reï¬ective triangles, you can set them up
at the side of the road about 300 feet (100 m)
behind your vehicle.
Horn
Sound the horn by pushing the center of the
steering wheel. If you have the optional air horn, it is
controlled by a cord that you will ï¬nd up above and
to the left of the driver. The harder you pull on the
cord, the louder the air horn will sound. The air horn
works only after your air brake system pressure
gets up to about 115 psi (790 kPa). The air horn will
work properly unless the air brake system pressure
drops below 60 psi (415 kPa).
Tilt Wheel
A tilt wheel allows you to adjust the steering wheel
before you drive. You can raise it to the highest
level to give your legs more room when you
exit and enter the vehicle.
142
Page 143 of 430
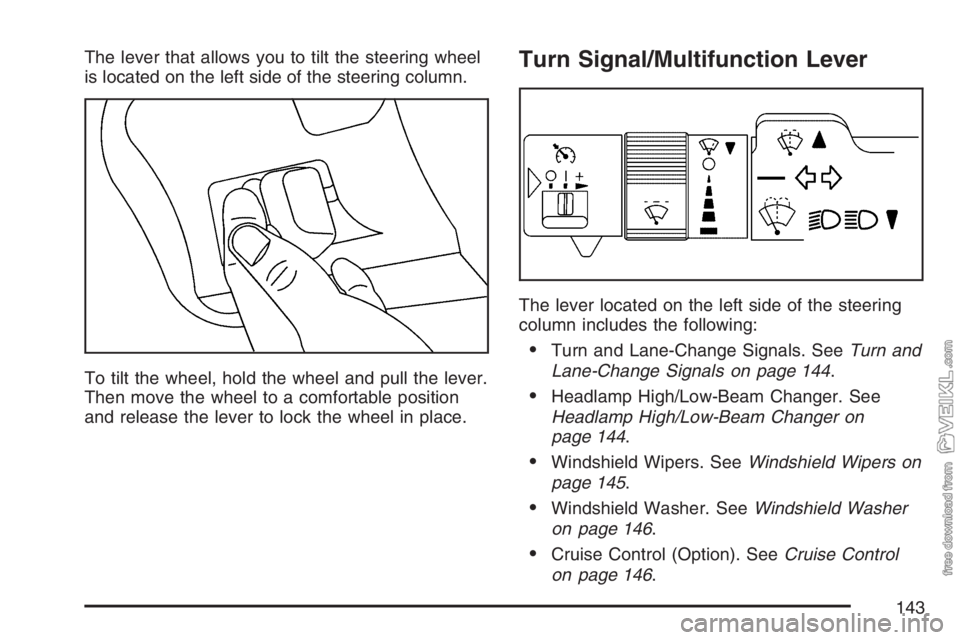
The lever that allows you to tilt the steering wheel
is located on the left side of the steering column.
To tilt the wheel, hold the wheel and pull the lever.
Then move the wheel to a comfortable position
and release the lever to lock the wheel in place.Turn Signal/Multifunction Lever
The lever located on the left side of the steering
column includes the following:
â¢Turn and Lane-Change Signals. SeeTurn and
Lane-Change Signals on page 144.
â¢Headlamp High/Low-Beam Changer. See
Headlamp High/Low-Beam Changer on
page 144.
â¢Windshield Wipers. SeeWindshield Wipers on
page 145.
â¢Windshield Washer. SeeWindshield Washer
on page 146.
â¢Cruise Control (Option). SeeCruise Control
on page 146.
143
Page 144 of 430
Turn and Lane-Change Signals
The turn signal has two upward (for right) and
two downward (for left) positions. These positions
allow you to signal a turn or a lane change.
To signal a turn, move the lever all the way up or
down. When the turn is ï¬nished, the lever will
return automatically.
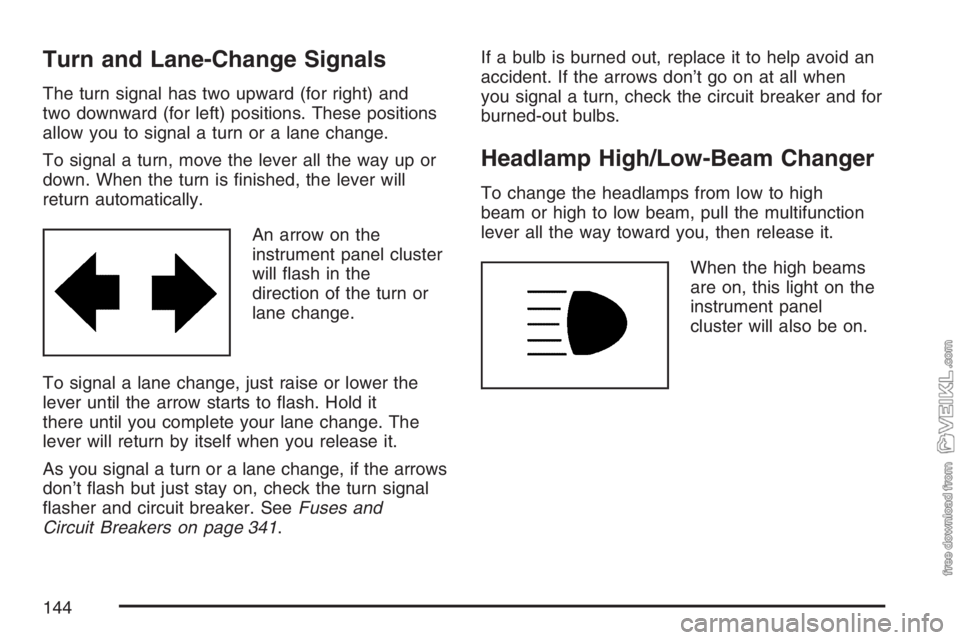
An arrow on the
instrument panel cluster
will ï¬ash in the
direction of the turn or
lane change.
To signal a lane change, just raise or lower the
lever until the arrow starts to ï¬ash. Hold it
there until you complete your lane change. The
lever will return by itself when you release it.
As you signal a turn or a lane change, if the arrows
donât ï¬ash but just stay on, check the turn signal
ï¬asher and circuit breaker. SeeFuses and
Circuit Breakers on page 341.If a bulb is burned out, replace it to help avoid an
accident. If the arrows donât go on at all when
you signal a turn, check the circuit breaker and for
burned-out bulbs.
Headlamp High/Low-Beam Changer
To change the headlamps from low to high
beam or high to low beam, pull the multifunction
lever all the way toward you, then release it.
When the high beams
are on, this light on the
instrument panel
cluster will also be on.
144
Page 150 of 430
Exterior Lamps
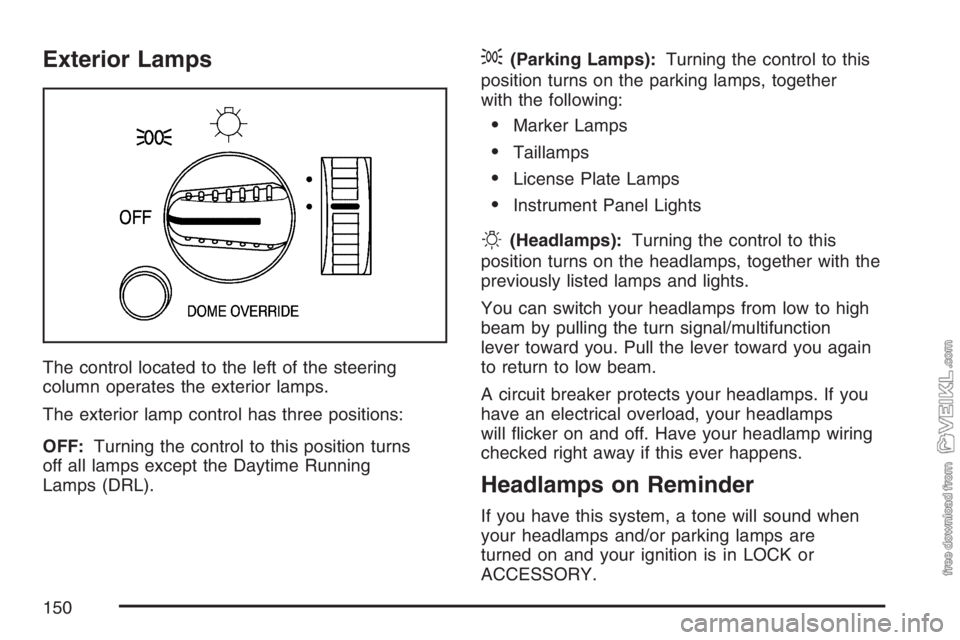
The control located to the left of the steering
column operates the exterior lamps.
The exterior lamp control has three positions:
OFF:Turning the control to this position turns
off all lamps except the Daytime Running
Lamps (DRL).
;(Parking Lamps):Turning the control to this
position turns on the parking lamps, together
with the following:
â¢Marker Lamps
â¢Taillamps
â¢License Plate Lamps
â¢Instrument Panel Lights
O(Headlamps):Turning the control to this
position turns on the headlamps, together with the
previously listed lamps and lights.
You can switch your headlamps from low to high
beam by pulling the turn signal/multifunction
lever toward you. Pull the lever toward you again
to return to low beam.
A circuit breaker protects your headlamps. If you
have an electrical overload, your headlamps
will ï¬icker on and off. Have your headlamp wiring
checked right away if this ever happens.
Headlamps on Reminder
If you have this system, a tone will sound when
your headlamps and/or parking lamps are
turned on and your ignition is in LOCK or
ACCESSORY.
150
Page 161 of 430
Rear Heating System
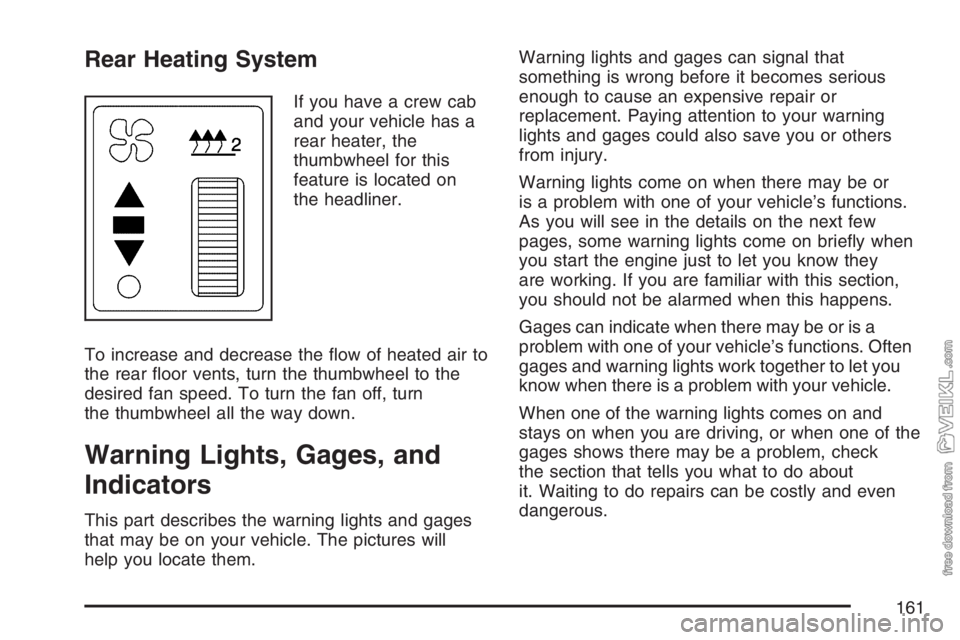
If you have a crew cab
and your vehicle has a
rear heater, the
thumbwheel for this
feature is located on
the headliner.
To increase and decrease the ï¬ow of heated air to
the rear ï¬oor vents, turn the thumbwheel to the
desired fan speed. To turn the fan off, turn
the thumbwheel all the way down.
Warning Lights, Gages, and
Indicators
This part describes the warning lights and gages
that may be on your vehicle. The pictures will
help you locate them.Warning lights and gages can signal that
something is wrong before it becomes serious
enough to cause an expensive repair or
replacement. Paying attention to your warning
lights and gages could also save you or others
from injury.
Warning lights come on when there may be or
is a problem with one of your vehicleâs functions.
As you will see in the details on the next few
pages, some warning lights come on brieï¬y when
you start the engine just to let you know they
are working. If you are familiar with this section,
you should not be alarmed when this happens.
Gages can indicate when there may be or is a
problem with one of your vehicleâs functions. Often
gages and warning lights work together to let you
know when there is a problem with your vehicle.
When one of the warning lights comes on and
stays on when you are driving, or when one of the
gages shows there may be a problem, check
the section that tells you what to do about
it. Waiting to do repairs can be costly and even
dangerous.
161
Page 186 of 430
AM-FM Radio
Playing the Radio
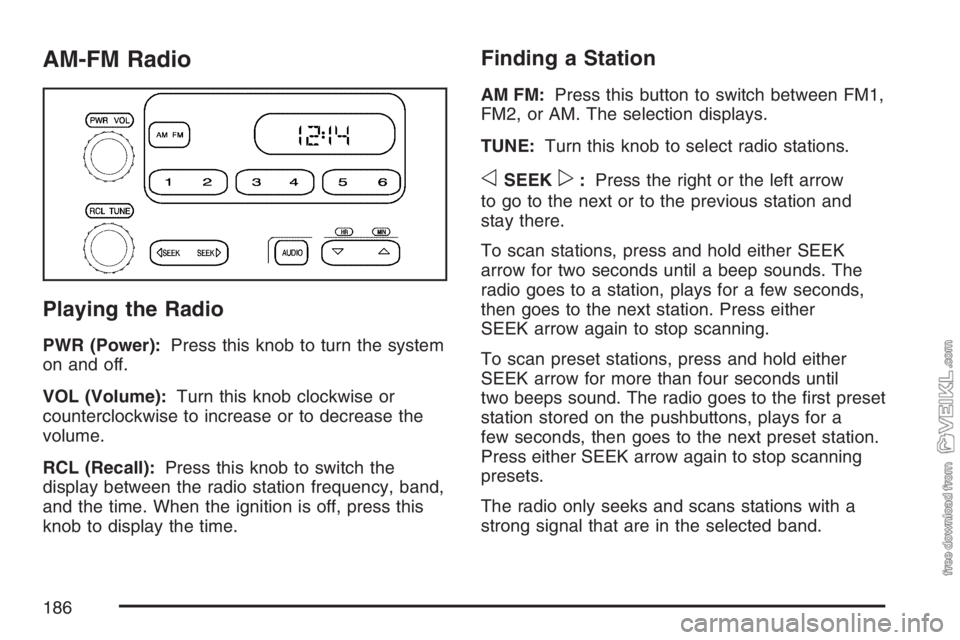
PWR (Power):Press this knob to turn the system
on and off.
VOL (Volume):Turn this knob clockwise or
counterclockwise to increase or to decrease the
volume.
RCL (Recall):Press this knob to switch the
display between the radio station frequency, band,
and the time. When the ignition is off, press this
knob to display the time.
Finding a Station
AM FM:Press this button to switch between FM1,
FM2, or AM. The selection displays.
TUNE:Turn this knob to select radio stations.
oSEEKp:Press the right or the left arrow
to go to the next or to the previous station and
stay there.
To scan stations, press and hold either SEEK
arrow for two seconds until a beep sounds. The
radio goes to a station, plays for a few seconds,
then goes to the next station. Press either
SEEK arrow again to stop scanning.
To scan preset stations, press and hold either
SEEK arrow for more than four seconds until
two beeps sound. The radio goes to the ï¬rst preset
station stored on the pushbuttons, plays for a
few seconds, then goes to the next preset station.
Press either SEEK arrow again to stop scanning
presets.
The radio only seeks and scans stations with a
strong signal that are in the selected band.
186