stop start CHEVROLET KODIAK 2008 User Guide
[x] Cancel search | Manufacturer: CHEVROLET, Model Year: 2008, Model line: KODIAK, Model: CHEVROLET KODIAK 2008Pages: 384, PDF Size: 5.4 MB
Page 102 of 384
Shifting Out of Four-Wheel Low
To shift from Four-Wheel Low to Four-Wheel High or
Two-Wheel High, your vehicle must be stopped or
moving less than 3 mph (5 km/h) with the transmission in
NEUTRAL (N) and the engine running. The preferred
method for shifting out of Four-Wheel Low is to have your
vehicle moving 1 or 2 mph (1.6 to 3.2 km/h). Turn the
knob to Four-Wheel High or Two-Wheel High. You must
wait for the Four-Wheel High or Two-Wheel High
indicator light to stop flashing and remain on before
shifting the transmission into gear.
Notice:Shifting the transmission into gear before
the Four-Wheel High or Two-Wheel High indicator
light has stopped �ashing could damage the transfer
case. To help avoid damaging your vehicle, always
wait for the Four-Wheel High or Two-Wheel High
indicator light to stop �ashing before shifting
the transmission into gear.
If the knob is turned to Four-Wheel High or Two-Wheel
High while your vehicle is in gear and/or moving, the
Four-Wheel High or Two-Wheel high indicator light
flashes for 30 seconds. It will not complete the shift
unless your vehicle is moving less than 3 mph (5 km/h)
with the transmission in NEUTRAL (N).
Shifting Into NEUTRAL
Before shifting the transfer case to NEUTRAL, first
make sure the vehicle is parked so that it will not roll.
1. Set the parking brake. SeeParking Brake (With
Hydraulic Brakes) on page 2-38orParking Brake
(With Air Brakes) on page 2-41for parking
brake apply procedure.
2. Start the vehicle.
3. Put the transmission in NEUTRAL (N).
4. Shift the transfer case to Two-Wheel High.
5. Turn the transfer case knob all of the way past
Four-Wheel Low and hold it there for a minimum of
10 seconds. The NEUTRAL indicator light comes on.
6. Shift the transmission to REVERSE (R) for
one second, then shift the transmission to
DRIVE (D) for one second.
7. Turn the ignition to OFF.
8. Place the transmission shift lever in PARK (P).
9. Turn the ignition to LOCK.
2-36
Page 105 of 384
To set the foot pedal parking brake, hold the regular
brake pedal down with your right foot. Push down
the parking brake pedal with your left foot.
{CAUTION:
It can be dangerous to get out of your vehicle
without the parking brake �rmly set. Your
vehicle can roll. If you have left the engine
running, the vehicle can move suddenly. You or
others could be injured. To be sure your vehicle
will not move, even when you are on fairly level
ground, always set the parking brake.
To set the hand lever parking brake, hold the regular
brake pedal down with your right foot. Pull up on
the handle with your right hand, until it stops.If the ignition is on when the parking brake is set, the
brake system warning light will come on.
Once the parking brake is applied, slowly remove your
foot from the regular brake pedal, while checking to
see if the vehicle moves. If the vehicle does start
to move, press the regular brake pedal and adjust the
parking brake holding force. See “Parking Brake
Adjustment” later in this section.
If the parking brake still does not set, take the vehicle to
your dealer/retailer for service.
To release the foot pedal parking brake, hold the
regular brake pedal down. Pull the brake release handle,
located just above the parking brake pedal.
To release the hand lever parking brake, hold the
regular brake pedal down and push down on the handle
until it stops.
If the ignition is on when the parking brake is released,
the brake system warning light will go off.
2-39
Page 113 of 384
{CAUTION:
During DPF regeneration, the exhaust system
and exhaust gases are very hot. Things that
burn could touch hot exhaust parts under your
vehicle and ignite. You or others could be
burned. Do not park near or over papers, leaves,
dry grass, or other things that can burn.
When the yellow DPF indicator comes on, the filter is
dirty and DPF regeneration is necessary. When
driving continues without regeneration, the DPF indicator
will change from yellow to red. Continuing to drive the
vehicle with the red indicator can cause filter damage.
To clean the filter, either drive the vehicle above
30 mph (50 km/h) to activate the automatic regeneration
or stop the vehicle and perform the manual regeneration
procedure. For the automatic regeneration, drive until
the green DPF indicator light goes off. This will take
approximately 20 minutes. Once automatic regeneration
has started, drive until the green indicator light goes
off to complete the regeneration in a single operation if
possible.During regeneration, the
green DPF indicator light
will come on. See
Diesel Particulate Filter
Warning Light on
page 3-45.
Notice:Extended idle should be avoided because
the DPF system is not capable of automatically
regenerating at idle. During extended idle, be sure
to watch for the DPF indicator lights which could
come on to indicate that the DPF is becoming
full and needs regeneration. If the yellow or red
indicator light comes on, perform manual
regeneration or drive the vehicle as described
previously for automatic regeneration to clean the
�lter. Continued engine operation with the yellow or
red DPF indicator light on, without performing
manual or automatic regeneration, could cause
irreversible damage to the DPF requiring repair and
possible replacement that might not be covered
by your warranty.
Extended idling can cause exhaust parts and gases to
become very hot. Keep the exhaust area clear of
material that could ignite or burn. SeeParking Over
Things That Burn on page 2-44for more information.
2-47
Page 114 of 384
For vehicles with Power Take-Off (PTO), monitor the
instrument panel cluster for lights related to the DPF.
All engines consume some amount of engine oil. This is
normal. The by-product of combustion of engine oil is
ash. The ash will become trapped in the DPF over
the life of the vehicle. Eventually, the buildup of ash will
restrict the exhaust gases and the DPF will need to
be cleaned or replaced.
SeeAccessories and Modifications on page 5-4for
important information.
Manual Regeneration Procedure
{CAUTION:
During DPF regeneration, the exhaust system
and exhaust gases are very hot. Stay clear of
the tailpipe area and do not park over things
that burn. You or others could be burned or
your vehicle could catch �re. SeeParking Over
Things That Burn on page 2-44.If the yellow or red DPF indicator is on, you can clean
the DPF by performing a manual regeneration.
When it is safe to do so, stop the vehicle. Perform
manual DPF regeneration in a well ventilated area.
Manual DPF regeneration must be performed outdoors,
as follows. Once manual regeneration is started,
complete the regeneration in a single operation if
possible. If manual regeneration is not completed, as
indicated by the green DPF indicator going off, and the
yellow or red indicator light remains on, automatic
regeneration might not be allowed until the vehicle is
stopped and manual regeneration is performed
until completed.
1. Check engine oil and engine coolant levels to be
sure they are at proper operating levels.
2. To prevent running out of fuel during regeneration,
make sure there is at least a quarter of a tank
of fuel.
3. Check to make sure the area near the exhaust
tailpipe and under the exhaust system are clear
of any materials that could catch fire. Keep people
away from the area of the exhaust system and
exhaust gases.
2-48
Page 129 of 384
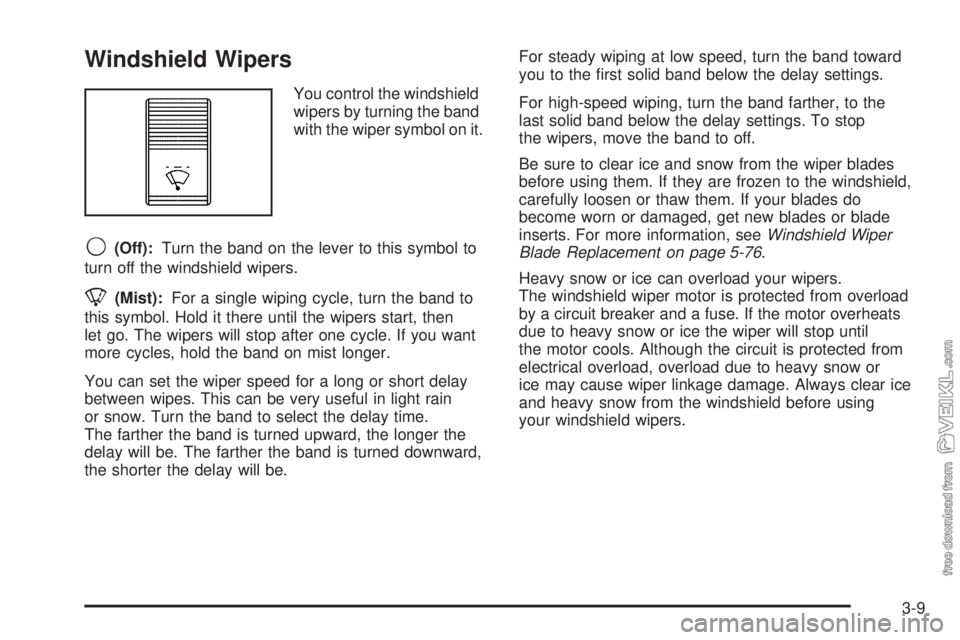
Windshield Wipers
You control the windshield
wipers by turning the band
with the wiper symbol on it.
9(Off):Turn the band on the lever to this symbol to
turn off the windshield wipers.
8(Mist):For a single wiping cycle, turn the band to
this symbol. Hold it there until the wipers start, then
let go. The wipers will stop after one cycle. If you want
more cycles, hold the band on mist longer.
You can set the wiper speed for a long or short delay
between wipes. This can be very useful in light rain
or snow. Turn the band to select the delay time.
The farther the band is turned upward, the longer the
delay will be. The farther the band is turned downward,
the shorter the delay will be.For steady wiping at low speed, turn the band toward
you to the first solid band below the delay settings.
For high-speed wiping, turn the band farther, to the
last solid band below the delay settings. To stop
the wipers, move the band to off.
Be sure to clear ice and snow from the wiper blades
before using them. If they are frozen to the windshield,
carefully loosen or thaw them. If your blades do
become worn or damaged, get new blades or blade
inserts. For more information, seeWindshield Wiper
Blade Replacement on page 5-76.
Heavy snow or ice can overload your wipers.
The windshield wiper motor is protected from overload
by a circuit breaker and a fuse. If the motor overheats
due to heavy snow or ice the wiper will stop until
the motor cools. Although the circuit is protected from
electrical overload, overload due to heavy snow or
ice may cause wiper linkage damage. Always clear ice
and heavy snow from the windshield before using
your windshield wipers.
3-9
Page 153 of 384
Parking Brake Warning Light
Your vehicle has a brake warning light. When the
ignition is on, this light will come on when you set your
parking brake. The light will stay on if your parking
brake does not release fully.
This light should also come on when you turn the
ignition key to START. If it does not come on then, have
it fixed so it will be ready to remind you if the parking
brake is applied or has not released fully.
Air Brake System Warning Light
Vehicles with air brake systems have a brake system
warning light on the instrument panel.
The low air warning light
should come on, as a
check, whenever you start
the engine.
However, it is designed to come on, and stay on, when
brake reservoir pressure has dropped below 60 psi
(410 kPa).When the warning light comes on while you are driving,
you should drive only as far as the nearest point of
safety and then stop the vehicle. Here is a very
important thing for you to know:
{CAUTION:
If the air brake system warning light comes on
and the warning tone sounds, the vehicle can
stop suddenly and without further warning.
This is because the parking brake will come on
if the pressure falls below 35 to 45 psi (240 to
310 kPa). You or others could be injured. If the
air brake system warning light comes on and
the warning tone sounds, stop as soon as you
can. You will not know how quickly the system
is losing pressure, so be aware that the
parking brake may come on suddenly.
3-33
Page 159 of 384
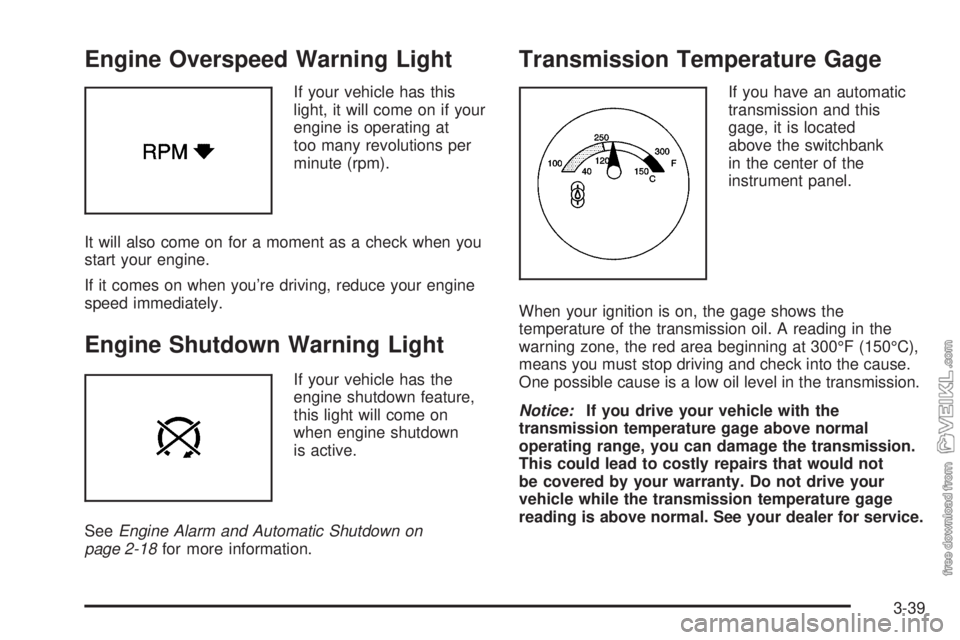
Engine Overspeed Warning Light
If your vehicle has this
light, it will come on if your
engine is operating at
too many revolutions per
minute (rpm).
It will also come on for a moment as a check when you
start your engine.
If it comes on when you’re driving, reduce your engine
speed immediately.
Engine Shutdown Warning Light
If your vehicle has the
engine shutdown feature,
this light will come on
when engine shutdown
is active.
SeeEngine Alarm and Automatic Shutdown on
page 2-18for more information.
Transmission Temperature Gage
If you have an automatic
transmission and this
gage, it is located
above the switchbank
in the center of the
instrument panel.
When your ignition is on, the gage shows the
temperature of the transmission oil. A reading in the
warning zone, the red area beginning at 300°F (150°C),
means you must stop driving and check into the cause.
One possible cause is a low oil level in the transmission.
Notice:If you drive your vehicle with the
transmission temperature gage above normal
operating range, you can damage the transmission.
This could lead to costly repairs that would not
be covered by your warranty. Do not drive your
vehicle while the transmission temperature gage
reading is above normal. See your dealer for service.
3-39
Page 171 of 384
Radio Messages
CAL (Calibration):The audio system has been
calibrated for your vehicle from the factory. If CAL
displays it means that the radio has not been configured
properly for your vehicle and must be returned to your
dealer/retailer for service.
LOC (Locked):This message displays when the
THEFTLOCK
®system has locked up. Take the vehicle
to your dealer/retailer for service.
If any error occurs repeatedly or cannot be corrected,
contact your dealer/retailer.
Playing a CD
Insert a CD partway into the slot, label side up.
The player pulls it in and the CD should begin playing.
CD displays. If you want to insert a CD with the
ignition off, first press the eject button or the RCL knob.
If you insert a CD with the radio off and the ignition
on, it starts to play.
If the ignition or radio is turned off, with a CD in the
player, it stays in the player. When the ignition or radio
is turned on, the CD starts playing where it stopped,
if it was the last selected audio source.As each new track starts to play, the track number
displays.
The CD player can play the smaller 3 inch (8 cm)
single CDs with an adapter ring. Full-size CDs and the
smaller CDs are loaded in the same manner.
Care of Your CDs
If playing a CD-R, the sound quality can be reduced
due to CD-R quality, the method of recording, the quality
of the music that has been recorded, and the way the
CD-R has been handled. Handle them carefully.
Store CD-R(s) in their original cases or other protective
cases and away from direct sunlight and dust.
The CD player scans the bottom surface of the disc.
If the surface of a CD is damaged, such as cracked,
broken, or scratched, the CD does not play properly
or not at all. Do not touch the bottom side of a CD while
handling it; this could damage the surface. Pick up
CDs by grasping the outer edges or the edge of the hole
and the outer edge.
If the surface of a CD is soiled, take a soft, lint free
cloth or dampen a clean, soft cloth in a mild, neutral
detergent solution mixed with water, and clean it.
Make sure the wiping process starts from the center
to the edge.
3-51
Page 183 of 384
Antilock Brake System (ABS)
Your vehicle has the Antilock Brake System (ABS), an
advanced electronic braking system that will help
prevent a braking skid.
When you start the engine and begin to drive away,
ABS will check itself. You might hear a momentary
motor or clicking noise while this test is going on. This
is normal.
If there is a problem with
ABS, this warning light will
stay on. SeeAnti-lock
Brake System (ABS)
Warning Light on
page 3-34.
Let us say the road is wet and you are driving safely.
Suddenly, an animal jumps out in front of you. You slam
on the brakes and continue braking. Here is what
happens with ABS:
A computer senses that wheels are slowing down. If
one of the wheels is about to stop rolling, the computer
will separately work the brakes at each wheel.ABS can change the brake pressure faster than any
driver could. The computer is programmed to make the
most of available tire and road conditions. This can
help you steer around the obstacle while braking hard.
As you brake, the computer keeps receiving updates
on wheel speed and controls braking pressure
accordingly.
Remember: ABS does not change the time you need
to get your foot up to the brake pedal or always
decrease stopping distance. If you get too close to
the vehicle in front of you, you will not have time to
apply the brakes if that vehicle suddenly slows or
stops. Always leave enough room up ahead to stop,
even though you have ABS.
Using ABS
Do not pump the brakes. Just hold the brake pedal
down firmly and let antilock work for you. You might feel
the brakes pulsate, or you might hear air exhausting
if your vehicle has air brakes, but this is normal.
Braking in Emergencies
With ABS, you can steer and brake at the same time.
In many emergencies, steering can help you more than
even the very best braking.
4-5
Page 214 of 384
In the United States, for best results use No. 2-D diesel
fuel year-round (above and below freezing conditions)
as oil companies blend No. 2-D fuel to address climate
differences. No. 1-D diesel fuel can be used in very
cold temperatures (when it stays below 0°F or−18°C);
however, it will produce a power and fuel economy loss.
Avoid the use of No. 1-D diesel fuel in warm or hot
climates. It can result in stalling, poor starting when the
engine is hot, and could damage the fuel injection
system.
It is acceptable to use diesel fuel containing up to
5% biodiesel (B5), but the final blended fuel must meet
the same specification, ASTM D 975 (Grades No. 2-D or
No. 1-D S15 commonly known as Ultra Low Sulfur
diesel), as other fuels used in your vehicle, and the
biodiesel used for making this fuel must meet the latest
version of ASTM specification D 6751. Biodiesel is
produced from vegetable oils or animal fat that have been
chemically modified to reduce the possibility of damage to
the fuel system and engine. Higher concentration (i.e.,
greater than B5) biodiesel-containing fuels or the use of
unmodified bio-oils blended into diesel fuel at any
concentration is not recommended and could damage the
fuel system and engine. Such damage would not be
covered by your warranty. If there are questions about
the biodiesel-containing fuels you are using, contact your
fuel supplier.Because of the cleansing properties of biodiesel,
switching from straight diesel to a biodiesel blend can
prematurely restrict the fuel filter with normal deposits in
the fuel system. A fuel filter replacement might be
required sooner than the recommended interval.
Diesel fuel can foam when you fill the tank. This can
cause the automatic pump nozzle to shut off, even
though the tank is not full. If this happens, just wait for
the foaming to stop and then try filling the tank more
slowly. SeeFilling the Tank on page 5-20.
{CAUTION:
Heat coming from the engine can cause the
fuel to expand and force the fuel out of the
tank. If something ignites the fuel, a �re could
start and people could be burned. To help
avoid this, try �lling the tank more slowly and
�ll the fuel tank only until the automatic nozzle
shuts off. Do not try to top it off.
5-10