lock CHEVROLET KODIAK 2008 Owners Manual
[x] Cancel search | Manufacturer: CHEVROLET, Model Year: 2008, Model line: KODIAK, Model: CHEVROLET KODIAK 2008Pages: 384, PDF Size: 5.4 MB
Page 1 of 384
Seats and Restraint Systems........................... 1-1
Front Seats
............................................... 1-2
Rear Seats
..............................................1-10
Safety Belts
.............................................1-11
Child Restraints
.......................................1-28
Airbag System
.........................................1-48
Restraint System Check
............................1-60
Features and Controls..................................... 2-1
Keys
........................................................ 2-2
Doors and Locks
....................................... 2-6
Windows
.................................................. 2-8
Starting and Operating Your Vehicle
...........2-10
Mirrors
....................................................2-51
Storage Areas
.........................................2-53
Instrument Panel............................................. 3-1
Instrument Panel Overview
.......................... 3-4
Climate Controls
......................................3-20
Warning Lights, Gages, and Indicators
........3-24
Audio System(s)
.......................................3-47
Driving Your Vehicle....................................... 4-1
Your Driving, the Road, and Your Vehicle
..... 4-2
Towing
...................................................4-24Service and Appearance Care.......................... 5-1
Service
..................................................... 5-4
Fuel
......................................................... 5-7
Checking Things Under the Hood
...............5-22
Rear Axle
...............................................5-72
Four-Wheel Drive
.....................................5-73
Front Axle
...............................................5-74
Noise Control System
...............................5-75
Bulb Replacement
....................................5-76
Windshield Wiper Blade Replacement
.........5-76
Other Service Items
..................................5-78
Tires
......................................................5-82
Appearance Care
.....................................5-94
Vehicle Identification
...............................5-101
Electrical System
....................................5-102
Capacities and Specifications
...................5-109
Maintenance Replacement Parts
...............5-115
Maintenance Schedule..................................... 6-1
Maintenance Schedule
................................ 6-2
Customer Assistance Information.................... 7-1
Customer Assistance and Information
........... 7-2
Reporting Safety Defects
............................ 7-9
Vehicle Data Recording and Privacy
...........7-11
Index................................................................ 1
2008 Chevrolet Kodiak Owner ManualM
Page 6 of 384
Front Seats
Bucket Seats
If your vehicle has bucket seats, you can adjust the
seats several different ways.
Fore-and-Aft Adjustment
{CAUTION:
You can lose control of the vehicle if you try to
adjust the seat while the vehicle is moving.
The sudden movement could startle and
confuse you, or make you push a pedal when
you do not want to. Adjust the driver’s seat
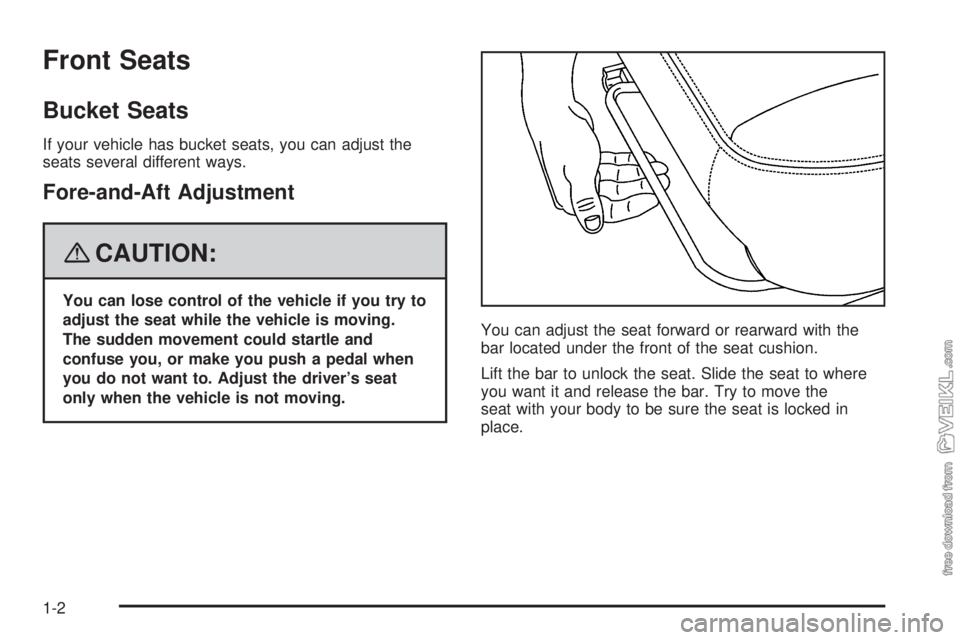
only when the vehicle is not moving.You can adjust the seat forward or rearward with the
bar located under the front of the seat cushion.
Lift the bar to unlock the seat. Slide the seat to where
you want it and release the bar. Try to move the
seat with your body to be sure the seat is locked in
place.
1-2
Page 7 of 384
Lumbar Adjustment
Your seats may have this feature.
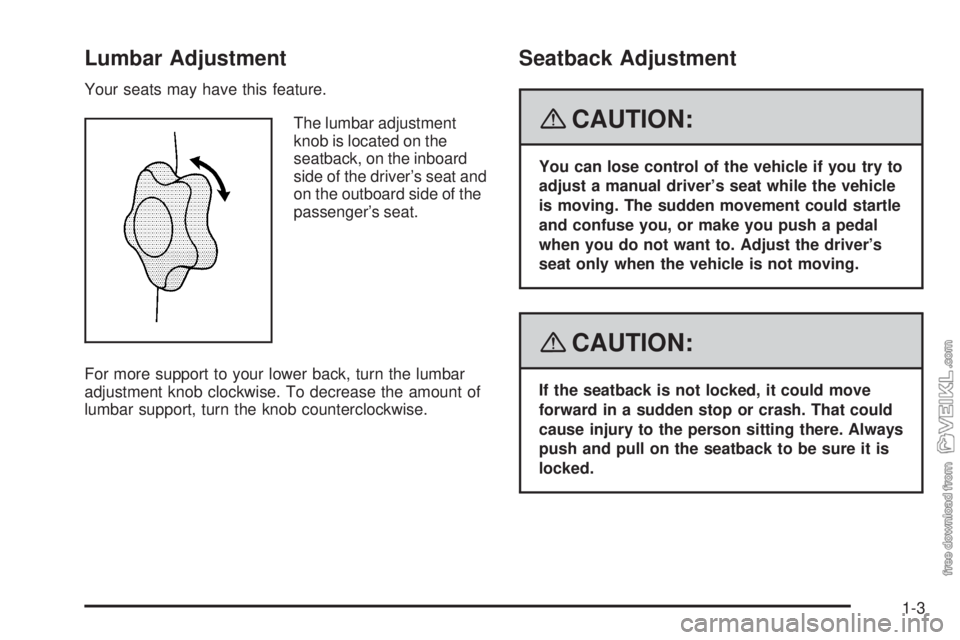
The lumbar adjustment
knob is located on the
seatback, on the inboard
side of the driver’s seat and
on the outboard side of the
passenger’s seat.
For more support to your lower back, turn the lumbar
adjustment knob clockwise. To decrease the amount of
lumbar support, turn the knob counterclockwise.
Seatback Adjustment
{CAUTION:
You can lose control of the vehicle if you try to
adjust a manual driver’s seat while the vehicle
is moving. The sudden movement could startle
and confuse you, or make you push a pedal
when you do not want to. Adjust the driver’s
seat only when the vehicle is not moving.
{CAUTION:
If the seatback is not locked, it could move
forward in a sudden stop or crash. That could
cause injury to the person sitting there. Always
push and pull on the seatback to be sure it is
locked.
1-3
Page 8 of 384
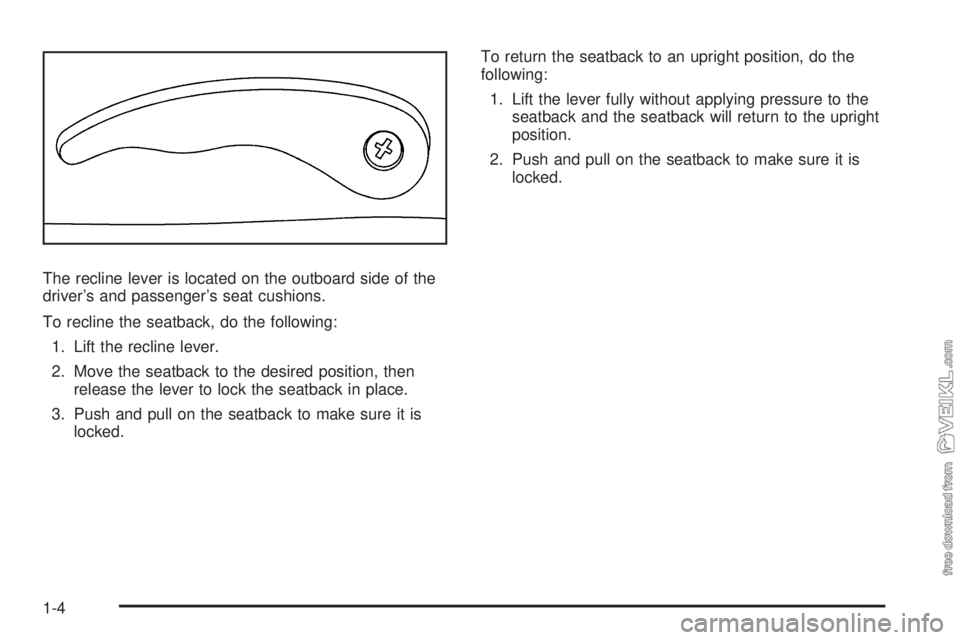
The recline lever is located on the outboard side of the
driver’s and passenger’s seat cushions.
To recline the seatback, do the following:
1. Lift the recline lever.
2. Move the seatback to the desired position, then
release the lever to lock the seatback in place.
3. Push and pull on the seatback to make sure it is
locked.To return the seatback to an upright position, do the
following:
1. Lift the lever fully without applying pressure to the
seatback and the seatback will return to the upright
position.
2. Push and pull on the seatback to make sure it is
locked.
1-4
Page 10 of 384
Split Bench Seat (80/20 Split)
If your vehicle has a split bench seat, the passenger
seat is not adjustable.
There is a storage area underneath the seat cushion.
SeeStorage Areas on page 2-53.
Air Suspension Seats
Your vehicle may have a low-back or high-back air
suspension seat. There are several ways to adjust
the seat.
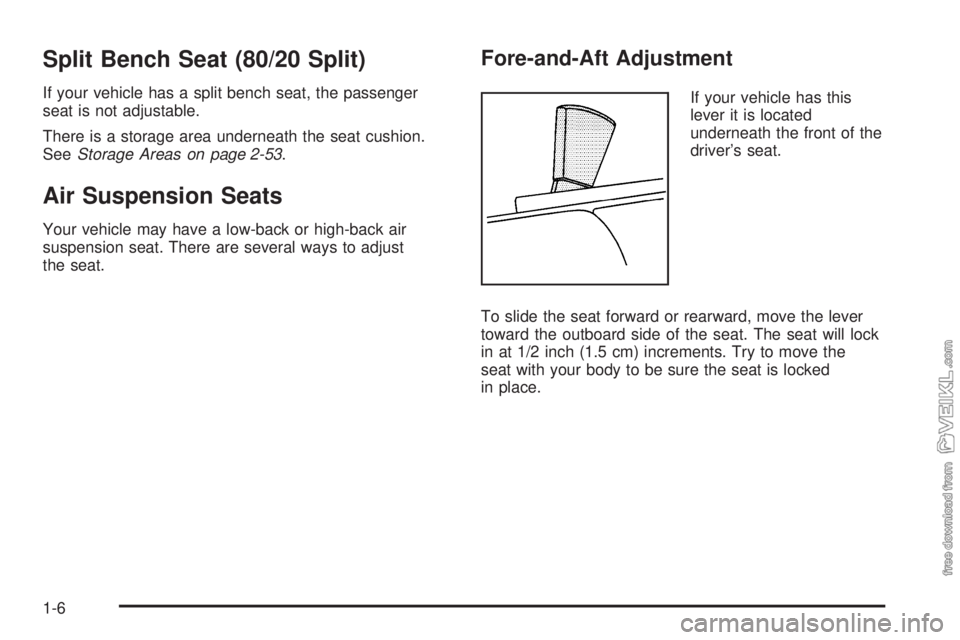
Fore-and-Aft Adjustment
If your vehicle has this
lever it is located
underneath the front of the
driver’s seat.
To slide the seat forward or rearward, move the lever
toward the outboard side of the seat. The seat will lock
in at 1/2 inch (1.5 cm) increments. Try to move the
seat with your body to be sure the seat is locked
in place.
1-6
Page 12 of 384
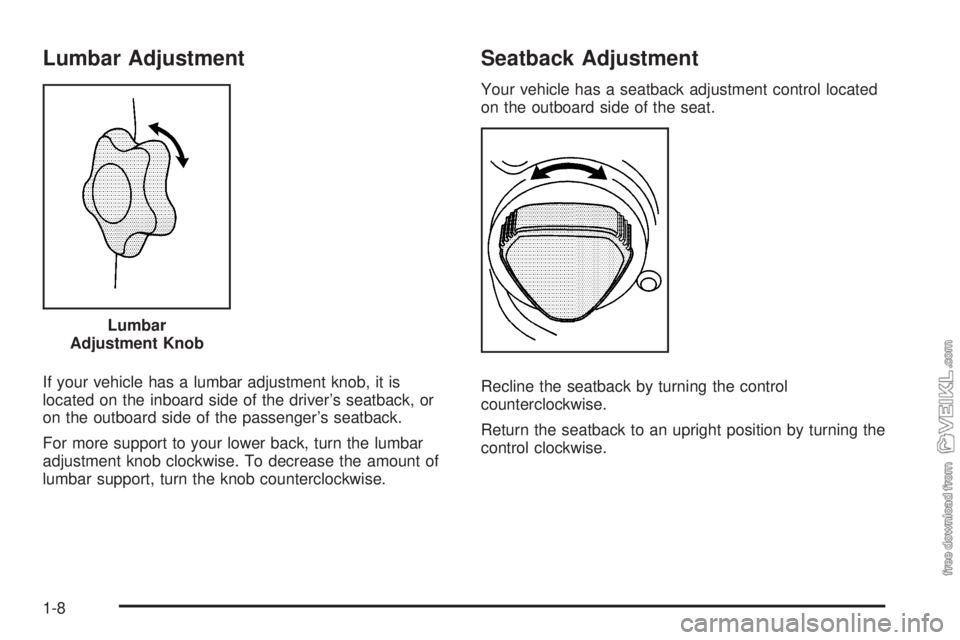
Lumbar Adjustment
If your vehicle has a lumbar adjustment knob, it is
located on the inboard side of the driver’s seatback, or
on the outboard side of the passenger’s seatback.
For more support to your lower back, turn the lumbar
adjustment knob clockwise. To decrease the amount of
lumbar support, turn the knob counterclockwise.
Seatback Adjustment
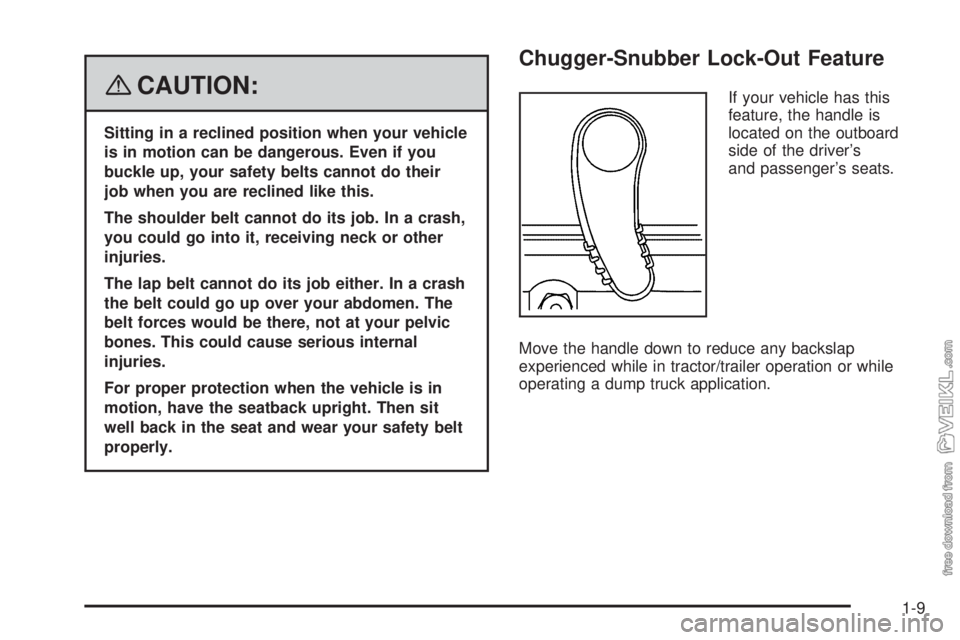
Your vehicle has a seatback adjustment control located
on the outboard side of the seat.
Recline the seatback by turning the control
counterclockwise.
Return the seatback to an upright position by turning the
control clockwise. Lumbar
Adjustment Knob
1-8
Page 13 of 384
{CAUTION:
Sitting in a reclined position when your vehicle
is in motion can be dangerous. Even if you
buckle up, your safety belts cannot do their
job when you are reclined like this.
The shoulder belt cannot do its job. In a crash,
you could go into it, receiving neck or other
injuries.
The lap belt cannot do its job either. In a crash
the belt could go up over your abdomen. The
belt forces would be there, not at your pelvic
bones. This could cause serious internal
injuries.
For proper protection when the vehicle is in
motion, have the seatback upright. Then sit
well back in the seat and wear your safety belt
properly.
Chugger-Snubber Lock-Out Feature
If your vehicle has this
feature, the handle is
located on the outboard
side of the driver’s
and passenger’s seats.
Move the handle down to reduce any backslap
experienced while in tractor/trailer operation or while
operating a dump truck application.
1-9
Page 14 of 384
Rear Seats
Rear Seat Operation
Folding the Rear Seat (Crew Cab)
{CAUTION:
A safety belt that is improperly routed, not
properly attached, or twisted will not provide
the protection needed in a crash. The person
wearing the belt could be seriously injured.
After raising the rear seatback, always check
to be sure that the safety belts are properly
routed and attached, and are not twisted.
Notice:Folding a rear seat with the safety belts
still fastened may cause damage to the seat or the
safety belts. Always unbuckle the safety belts
and return them to their normal stowed position
before folding a rear seat.
The rear bench seat on the crew cab can be folded
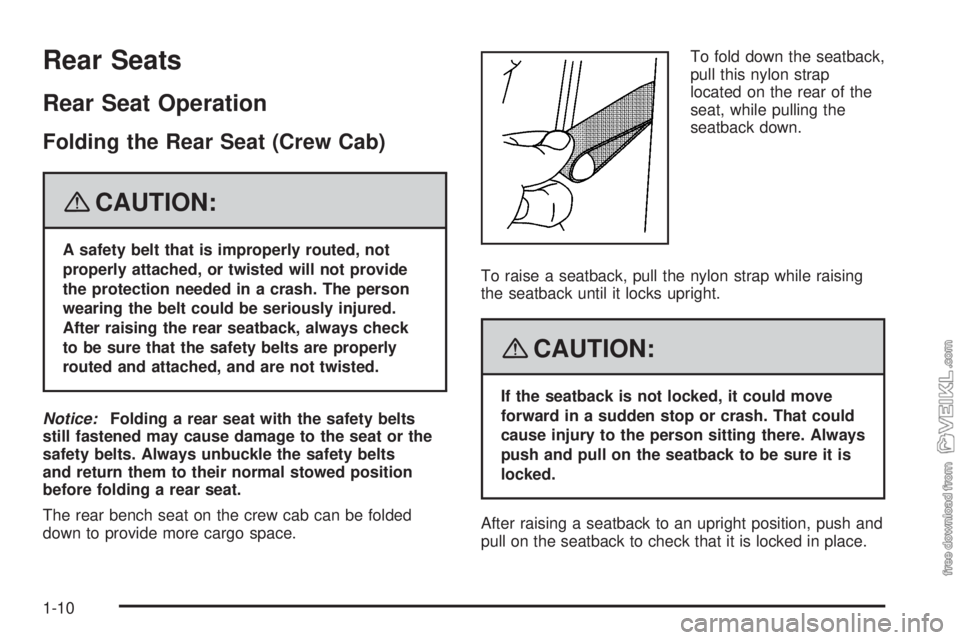
down to provide more cargo space.To fold down the seatback,
pull this nylon strap
located on the rear of the
seat, while pulling the
seatback down.
To raise a seatback, pull the nylon strap while raising
the seatback until it locks upright.
{CAUTION:
If the seatback is not locked, it could move
forward in a sudden stop or crash. That could
cause injury to the person sitting there. Always
push and pull on the seatback to be sure it is
locked.
After raising a seatback to an upright position, push and
pull on the seatback to check that it is locked in place.
1-10
Page 20 of 384
How to Wear Safety Belts Properly
This section is only for people of adult size.
Be aware that there are special things to know about
safety belts and children. And there are different
rules for smaller children and babies. If a child will be
riding in your vehicle, seeOlder Children on page 1-28
orInfants and Young Children on page 1-31. Follow
those rules for everyone’s protection.
It is very important for all occupants to buckle up.
Statistics show that unbelted people are hurt more often
in crashes than those who are wearing safety belts.
Occupants who are not buckled up can be thrown out of
the vehicle in a crash. And they can strike others in
the vehicle who are wearing safety belts.
First, before you or your passenger(s) wear a safety
belt, there is important information you should know.
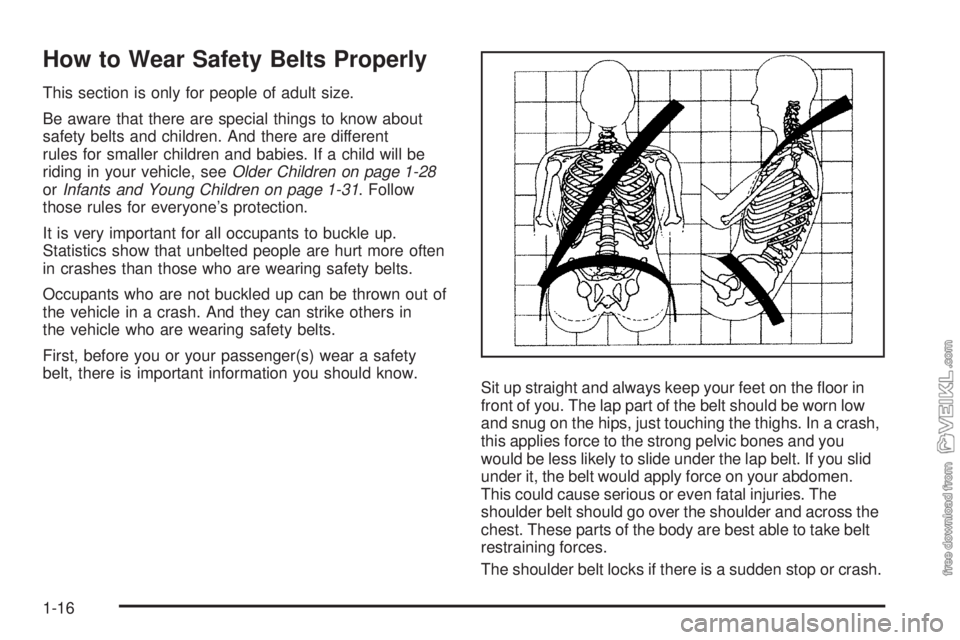
Sit up straight and always keep your feet on the floor in
front of you. The lap part of the belt should be worn low
and snug on the hips, just touching the thighs. In a crash,
this applies force to the strong pelvic bones and you
would be less likely to slide under the lap belt. If you slid
under it, the belt would apply force on your abdomen.
This could cause serious or even fatal injuries. The
shoulder belt should go over the shoulder and across the
chest. These parts of the body are best able to take belt
restraining forces.
The shoulder belt locks if there is a sudden stop or crash.
1-16
Page 28 of 384
Lap-Shoulder Belt
All seating positions in your vehicle have a lap-shoulder
belt except for the center front or rear passenger
positions, which may have a lap belt. SeeLap Belt on
page 1-27for more information.
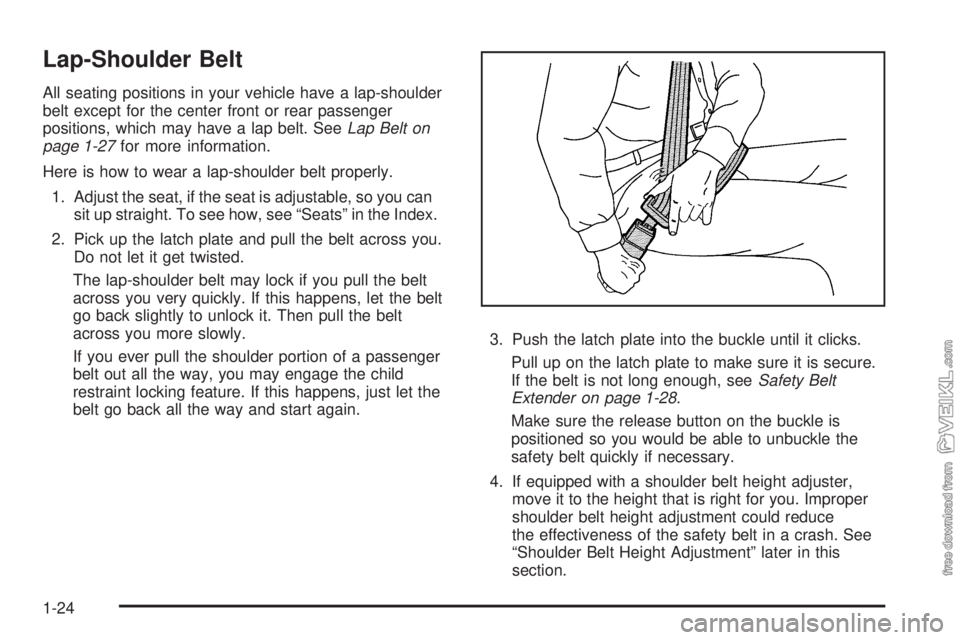
Here is how to wear a lap-shoulder belt properly.
1. Adjust the seat, if the seat is adjustable, so you can
sit up straight. To see how, see “Seats” in the Index.
2. Pick up the latch plate and pull the belt across you.
Do not let it get twisted.
The lap-shoulder belt may lock if you pull the belt
across you very quickly. If this happens, let the belt
go back slightly to unlock it. Then pull the belt
across you more slowly.
If you ever pull the shoulder portion of a passenger
belt out all the way, you may engage the child
restraint locking feature. If this happens, just let the
belt go back all the way and start again.3. Push the latch plate into the buckle until it clicks.
Pull up on the latch plate to make sure it is secure.
If the belt is not long enough, seeSafety Belt
Extender on page 1-28.
Make sure the release button on the buckle is
positioned so you would be able to unbuckle the
safety belt quickly if necessary.
4. If equipped with a shoulder belt height adjuster,
move it to the height that is right for you. Improper
shoulder belt height adjustment could reduce
the effectiveness of the safety belt in a crash. See
“Shoulder Belt Height Adjustment” later in this
section.
1-24