cluster CHEVROLET KODIAK 2009 Owners Manual
[x] Cancel search | Manufacturer: CHEVROLET, Model Year: 2009, Model line: KODIAK, Model: CHEVROLET KODIAK 2009Pages: 376, PDF Size: 5.39 MB
Page 54 of 376
{CAUTION:
Children who are up against, or very close to, any
airbag when it inflates can be seriously injured or
killed. Airbags plus lap-shoulder belts offer
protection for adults and older children, but not for
young children and infants. Neither the vehicle’s
safety belt system nor its airbag system is
designed for them. Young children and infants
need the protection that a child restraint system
can provide. Always secure children properly in
your vehicle. To read how, seeOlder Children on
page 1-28orInfants and Young Children on
page 1-32.
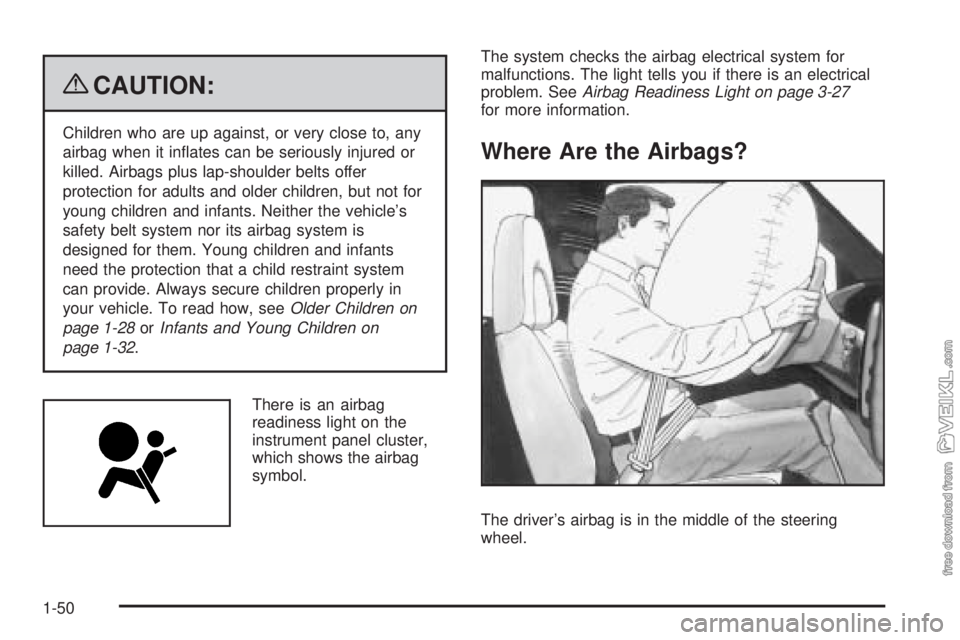
There is an airbag
readiness light on the
instrument panel cluster,
which shows the airbag
symbol.The system checks the airbag electrical system for
malfunctions. The light tells you if there is an electrical
problem. SeeAirbag Readiness Light on page 3-27
for more information.
Where Are the Airbags?
The driver’s airbag is in the middle of the steering
wheel.
1-50
Page 75 of 376
Ignition Positions
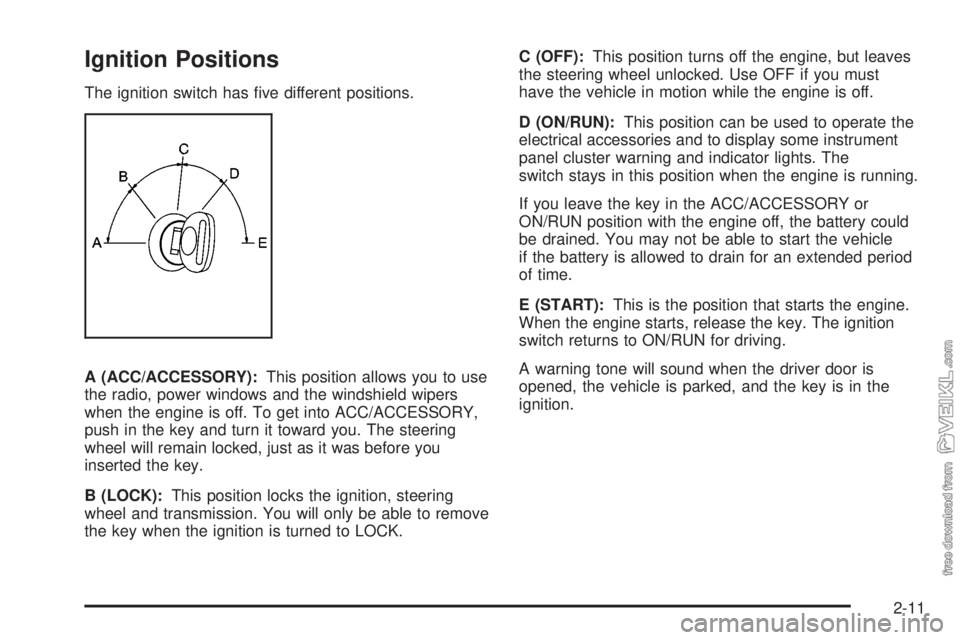
The ignition switch has five different positions.
A (ACC/ACCESSORY):This position allows you to use
the radio, power windows and the windshield wipers
when the engine is off. To get into ACC/ACCESSORY,
push in the key and turn it toward you. The steering
wheel will remain locked, just as it was before you
inserted the key.
B (LOCK):This position locks the ignition, steering
wheel and transmission. You will only be able to remove
the key when the ignition is turned to LOCK.C (OFF):This position turns off the engine, but leaves
the steering wheel unlocked. Use OFF if you must
have the vehicle in motion while the engine is off.
D (ON/RUN):This position can be used to operate the
electrical accessories and to display some instrument
panel cluster warning and indicator lights. The
switch stays in this position when the engine is running.
If you leave the key in the ACC/ACCESSORY or
ON/RUN position with the engine off, the battery could
be drained. You may not be able to start the vehicle
if the battery is allowed to drain for an extended period
of time.
E (START):This is the position that starts the engine.
When the engine starts, release the key. The ignition
switch returns to ON/RUN for driving.
A warning tone will sound when the driver door is
opened, the vehicle is parked, and the key is in the
ignition.
2-11
Page 111 of 376
Notice:Extended idle should be avoided because
the DPF system is not capable of self cleaning at
idle. During extended idle operation, monitor the
instrument panel telltale lights and Driver Information
Center for messages and take appropriate indicated
action. Continued idling with the warning light/
message on could cause irreversible damage to the
DPF requiring repair and possible replacement that
might not be covered by the vehicle warranty.
When the yellow DPF indicator comes on, the filter is
dirty and needs cleaning. You will also notice a change
in the exhaust sound and engine idle speed. This is
normal. If you continue to drive and the exhaust filter is
not cleaned as required, the DPF indicator will change
from yellow to red. Continuing to drive the vehicle
with the red indicator can cause filter damage.
Vehicles with DPF have specific fuel and engine oil
requirements. SeeWhat Fuel to Use on page 5-8and
Engine Oil (DURAMAX Diesel Engine) on page 5-24
orEngine Oil (Caterpillar Diesel Engine) on page 5-27or
Engine Oil (Isuzu Diesel Engine) on page 5-28or
Engine Oil (Gasoline Engine) on page 5-32for more
information on those requirements.Notice:Permanent damage can occur to the DPF
or related components if the required Ultra Low
Sulfur Diesel (15 ppm sulfur maximum) or low ash
CJ-4 engine oil is not used. This damage would
not be covered by the vehicle warranty.
For vehicles with Power Take-Off (PTO), monitor the
instrument panel cluster for lights related to the DPF.
All engines consume some amount of engine oil. Ash
is the by-product of engine oil consumption. The ash will
become trapped in the DPF over the life of the vehicle.
Eventually, the buildup of ash will restrict the exhaust
gases and the DPF will need to be cleaned or replaced.
SeeAccessories and Modifications on page 5-3for
important information if you are considering adding
accessories or modifying the vehicle.
2-47
Page 119 of 376
Instrument Panel Overview...............................3-4
Hazard Warning Flashers................................3-6
Horn .............................................................3-6
Tilt Wheel.....................................................3-6
Turn Signal/Multifunction Lever.........................3-7
Turn and Lane-Change Signals........................3-7
Headlamp High/Low-Beam Changer..................3-8
Windshield Wipers..........................................3-8
Windshield Washer.........................................3-9
Cruise Control..............................................3-10
Exterior Lamps.............................................3-14
Headlamps on Reminder................................3-14
Daytime Running Lamps (DRL).......................3-15
Marker Lamps..............................................3-16
Instrument Panel Brightness...........................3-16
Dome Lamps ...............................................3-16
Entry Lighting...............................................3-17
Reading Lamps............................................3-17
Instrument Panel Switchbank..........................3-18
Accessory Power Outlet(s).............................3-19
Ashtray(s) and Cigarette Lighter......................3-19Climate Controls............................................3-20
Climate Control System.................................3-20
Outlet Adjustment.........................................3-22
Rear Heating System....................................3-23
Warning Lights, Gages, and Indicators............3-23
Instrument Panel Cluster................................3-24
Speedometer and Odometer...........................3-25
Trip Odometer..............................................3-25
Tachometer.................................................3-25
Engine Speed Limiter....................................3-25
Safety Belt Reminders...................................3-26
Airbag Readiness Light..................................3-27
Airbag Off Light............................................3-28
Charging System Light
..................................3-29
Voltmeter Gage............................................3-30
Service Transmission Warning Light................3-30
Range Inhibit Warning Indicator......................3-31
Brake System Warning Light..........................3-31
Antilock Brake System (ABS) Warning Light........3-33
Trailer Antilock Brake System Warning Light.......3-34
Engine Coolant Temperature Gage..................3-34
Section 3 Instrument Panel
3-1
Page 123 of 376
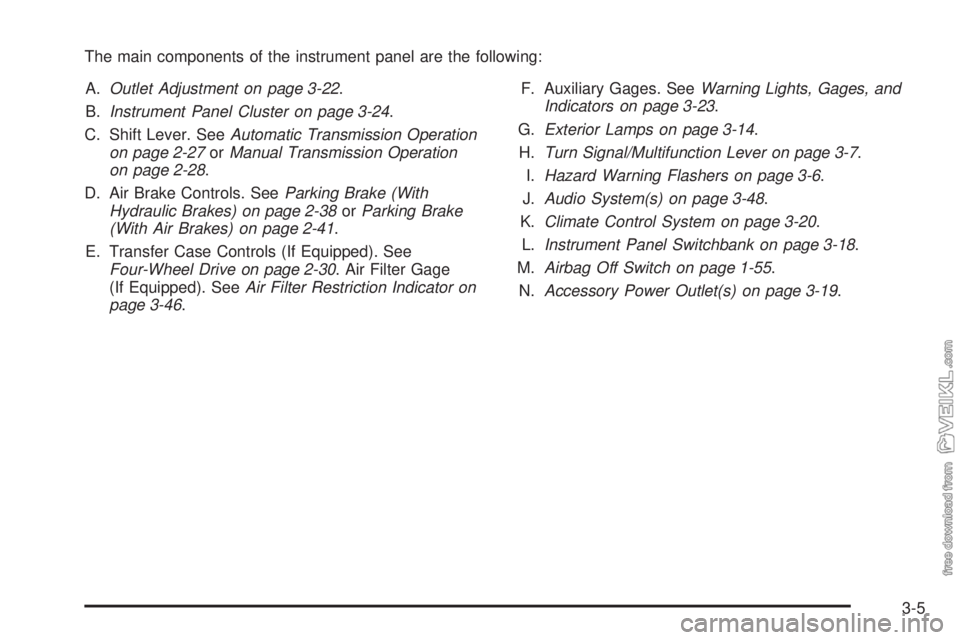
The main components of the instrument panel are the following:
A.Outlet Adjustment on page 3-22.
B.Instrument Panel Cluster on page 3-24.
C. Shift Lever. SeeAutomatic Transmission Operation
on page 2-27orManual Transmission Operation
on page 2-28.
D. Air Brake Controls. SeeParking Brake (With
Hydraulic Brakes) on page 2-38orParking Brake
(With Air Brakes) on page 2-41.
E. Transfer Case Controls (If Equipped). See
Four-Wheel Drive on page 2-30. Air Filter Gage
(If Equipped). SeeAir Filter Restriction Indicator on
page 3-46.F. Auxiliary Gages. SeeWarning Lights, Gages, and
Indicators on page 3-23.
G.Exterior Lamps on page 3-14.
H.Turn Signal/Multifunction Lever on page 3-7.
I.Hazard Warning Flashers on page 3-6.
J.Audio System(s) on page 3-48.
K.Climate Control System on page 3-20.
L.Instrument Panel Switchbank on page 3-18.
M.Airbag Off Switch on page 1-55.
N.Accessory Power Outlet(s) on page 3-19.
3-5
Page 125 of 376
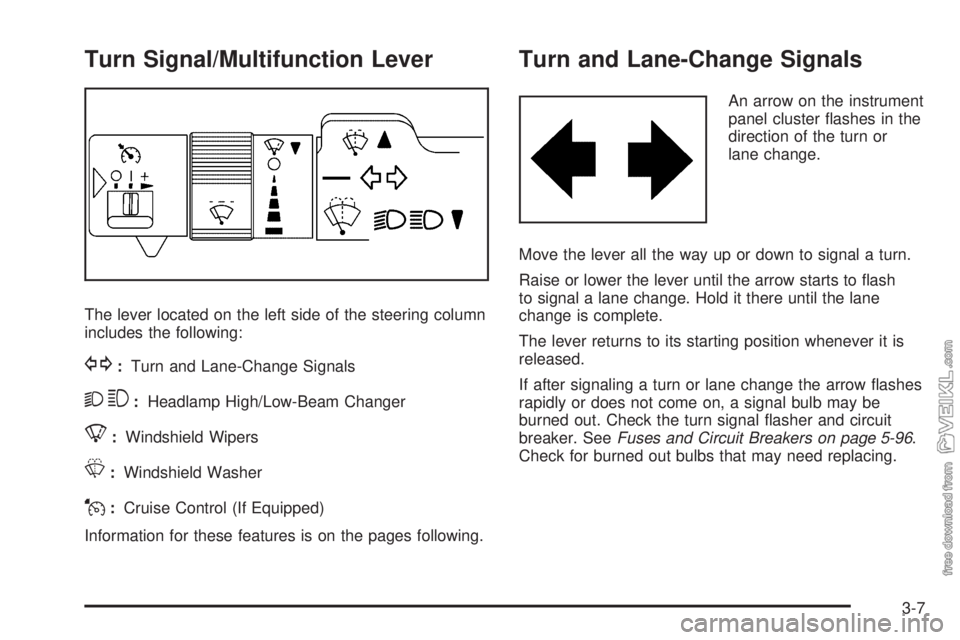
Turn Signal/Multifunction Lever
The lever located on the left side of the steering column
includes the following:
G:Turn and Lane-Change Signals
23:Headlamp High/Low-Beam Changer
8:Windshield Wipers
L:Windshield Washer
J:Cruise Control (If Equipped)
Information for these features is on the pages following.
Turn and Lane-Change Signals
An arrow on the instrument
panel cluster flashes in the
direction of the turn or
lane change.
Move the lever all the way up or down to signal a turn.
Raise or lower the lever until the arrow starts to flash
to signal a lane change. Hold it there until the lane
change is complete.
The lever returns to its starting position whenever it is
released.
If after signaling a turn or lane change the arrow flashes
rapidly or does not come on, a signal bulb may be
burned out. Check the turn signal flasher and circuit
breaker. SeeFuses and Circuit Breakers on page 5-96.
Check for burned out bulbs that may need replacing.
3-7
Page 126 of 376
Headlamp High/Low-Beam Changer
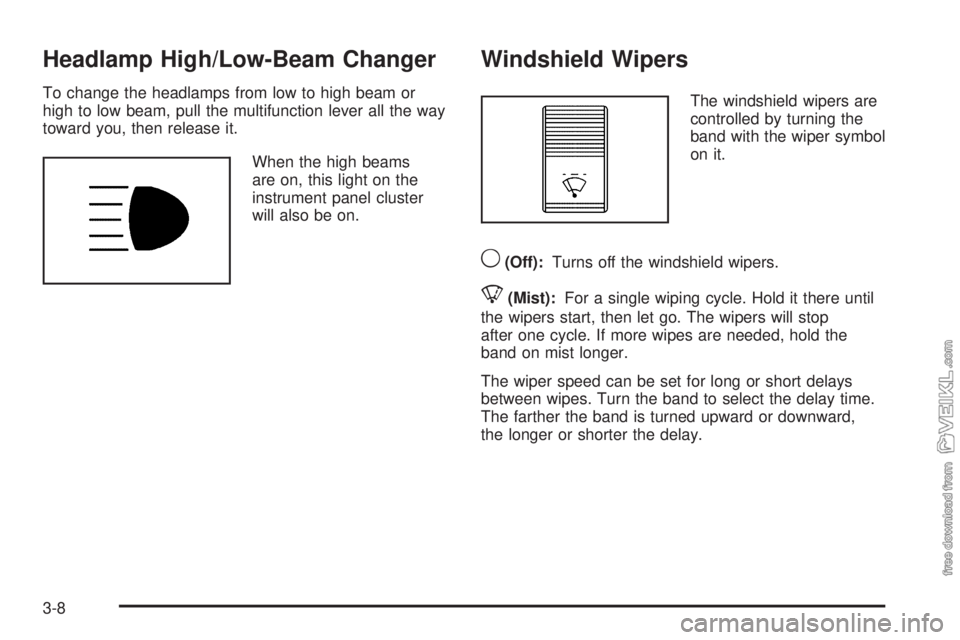
To change the headlamps from low to high beam or
high to low beam, pull the multifunction lever all the way
toward you, then release it.
When the high beams
are on, this light on the
instrument panel cluster
will also be on.
Windshield Wipers
The windshield wipers are
controlled by turning the
band with the wiper symbol
on it.
9(Off):Turns off the windshield wipers.
8(Mist):For a single wiping cycle. Hold it there until
the wipers start, then let go. The wipers will stop
after one cycle. If more wipes are needed, hold the
band on mist longer.
The wiper speed can be set for long or short delays
between wipes. Turn the band to select the delay time.
The farther the band is turned upward or downward,
the longer or shorter the delay.
3-8
Page 134 of 376
Marker Lamps
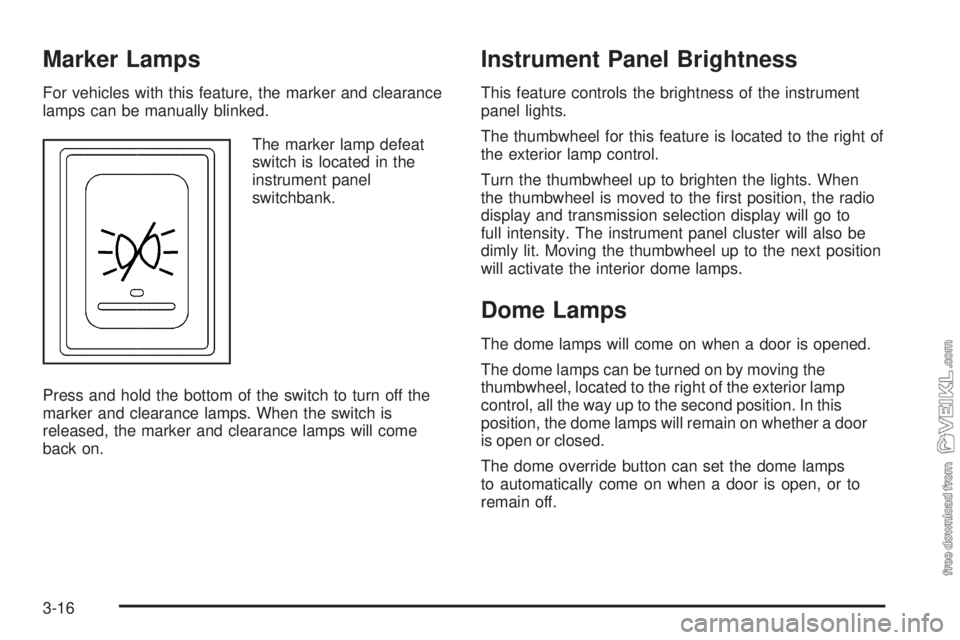
For vehicles with this feature, the marker and clearance
lamps can be manually blinked.
The marker lamp defeat
switch is located in the
instrument panel
switchbank.
Press and hold the bottom of the switch to turn off the
marker and clearance lamps. When the switch is
released, the marker and clearance lamps will come
back on.
Instrument Panel Brightness
This feature controls the brightness of the instrument
panel lights.
The thumbwheel for this feature is located to the right of
the exterior lamp control.
Turn the thumbwheel up to brighten the lights. When
the thumbwheel is moved to the first position, the radio
display and transmission selection display will go to
full intensity. The instrument panel cluster will also be
dimly lit. Moving the thumbwheel up to the next position
will activate the interior dome lamps.
Dome Lamps
The dome lamps will come on when a door is opened.
The dome lamps can be turned on by moving the
thumbwheel, located to the right of the exterior lamp
control, all the way up to the second position. In this
position, the dome lamps will remain on whether a door
is open or closed.
The dome override button can set the dome lamps
to automatically come on when a door is open, or to
remain off.
3-16
Page 142 of 376
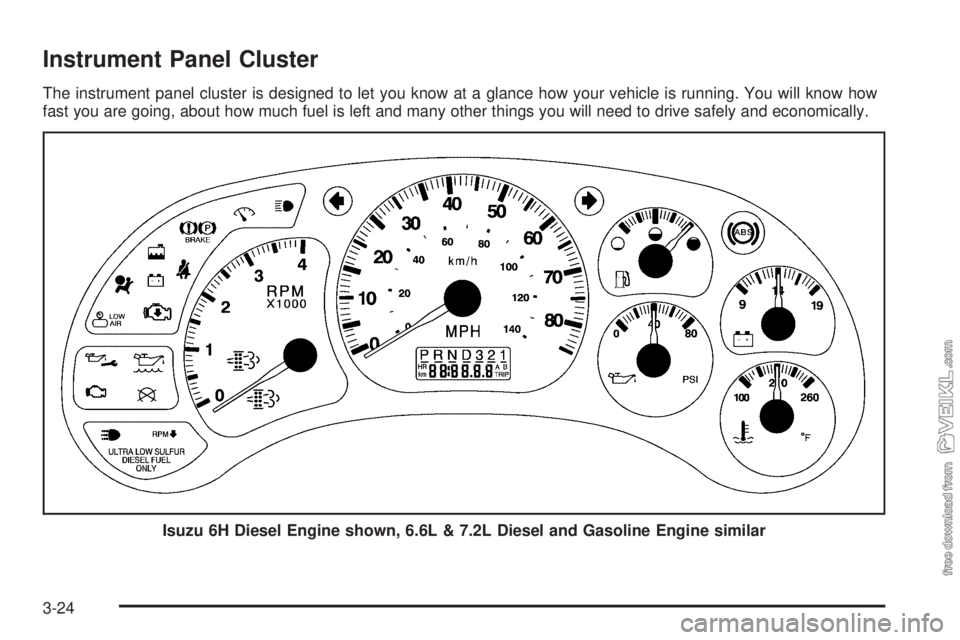
Instrument Panel Cluster
The instrument panel cluster is designed to let you know at a glance how your vehicle is running. You will know how
fast you are going, about how much fuel is left and many other things you will need to drive safely and economically.
Isuzu 6H Diesel Engine shown, 6.6L & 7.2L Diesel and Gasoline Engine similar
3-24
Page 147 of 376
{CAUTION:
If the airbag readiness light ever comes on and
stays on, it means that something may be wrong
with the airbag system. For example, the right
front passenger airbag could inflate even though
the airbag on-off switch is turned off.
To help avoid injury to yourself or others, have the
vehicle serviced right away. SeeAirbag Readiness
Light on page 3-27for more information, including
important safety information.
If the word ON is lit, it means that the right front
passenger frontal airbag is enabled (may inflate). See
Airbag Off Switch on page 1-55for more on this,
including important safety information.
Charging System Light
The charging system light
may be located in the
instrument panel cluster, or
with the auxiliary warning
lights in the center of
the instrument panel.
It should come on briefly when you turn on the ignition,
before the engine is running, as a check to show
that it is working.
If it stays on, or comes on while you are driving, have
your vehicle checked right away. You could have a loose
generator drive belt or some other problem.
Driving while this light is on will drain your battery. If you
must drive a short distance with the light on, turn off
your radio and other accessories. Sustained driving with
a generator failure could result in a lack of back-up
braking if the engine quits or the power steering pump
should fail.
3-29