key CHEVROLET KODIAK 2009 Owners Manual
[x] Cancel search | Manufacturer: CHEVROLET, Model Year: 2009, Model line: KODIAK, Model: CHEVROLET KODIAK 2009Pages: 376, PDF Size: 5.39 MB
Page 1 of 376
Seats and Restraint System............................. 1-1
Front Seats
............................................... 1-2
Rear Seats
..............................................1-10
Safety Belts
.............................................1-11
Child Restraints
.......................................1-28
Airbag System
.........................................1-48
Restraint System Check
............................1-59
Features and Controls..................................... 2-1
Keys
........................................................ 2-2
Doors and Locks
....................................... 2-6
Windows
.................................................. 2-8
Starting and Operating Your Vehicle
...........2-10
Mirrors
....................................................2-51
Storage Areas
.........................................2-53
Instrument Panel............................................. 3-1
Instrument Panel Overview
.......................... 3-4
Climate Controls
......................................3-20
Warning Lights, Gages, and Indicators
........3-23
Audio System(s)
.......................................3-48
Driving Your Vehicle....................................... 4-1
Your Driving, the Road, and the Vehicle
....... 4-2
Towing
...................................................4-23Service and Appearance Care.......................... 5-1
Service
..................................................... 5-3
Fuel
......................................................... 5-6
Checking Things Under the Hood
...............5-22
Rear Axle
...............................................5-67
Four-Wheel Drive
.....................................5-68
Front Axle
...............................................5-69
Noise Control System
...............................5-70
Bulb Replacement
....................................5-71
Windshield Wiper Blade Replacement
.........5-71
Other Service Items
..................................5-72
Tires
......................................................5-76
Appearance Care
.....................................5-87
Vehicle Identification
.................................5-94
Electrical System
......................................5-95
Capacities and Specifications
...................5-102
Normal Maintenance Replacement Parts
....5-108
Maintenance Schedule..................................... 6-1
Maintenance Schedule
................................ 6-2
Customer Assistance Information.................... 7-1
Customer Assistance and Information
........... 7-2
Reporting Safety Defects
............................ 7-9
Vehicle Data Recording and Privacy
...........7-11
Index................................................................ 1
2009 Chevrolet Kodiak Owner ManualM
Page 30 of 376
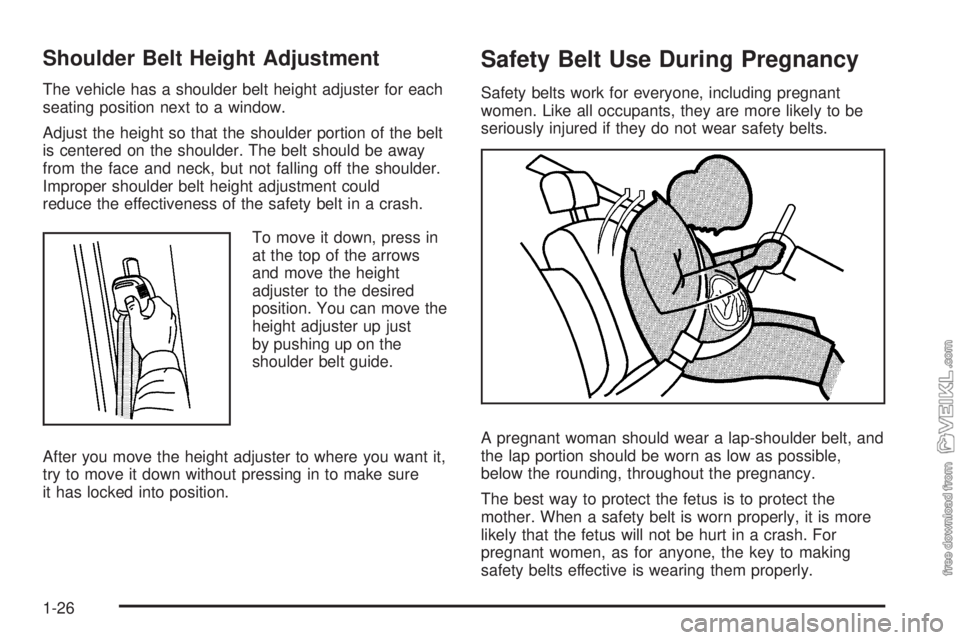
Shoulder Belt Height Adjustment
The vehicle has a shoulder belt height adjuster for each
seating position next to a window.
Adjust the height so that the shoulder portion of the belt
is centered on the shoulder. The belt should be away
from the face and neck, but not falling off the shoulder.
Improper shoulder belt height adjustment could
reduce the effectiveness of the safety belt in a crash.
To move it down, press in
at the top of the arrows
and move the height
adjuster to the desired
position. You can move the
height adjuster up just
by pushing up on the
shoulder belt guide.
After you move the height adjuster to where you want it,
try to move it down without pressing in to make sure
it has locked into position.
Safety Belt Use During Pregnancy
Safety belts work for everyone, including pregnant
women. Like all occupants, they are more likely to be
seriously injured if they do not wear safety belts.
A pregnant woman should wear a lap-shoulder belt, and
the lap portion should be worn as low as possible,
below the rounding, throughout the pregnancy.
The best way to protect the fetus is to protect the
mother. When a safety belt is worn properly, it is more
likely that the fetus will not be hurt in a crash. For
pregnant women, as for anyone, the key to making
safety belts effective is wearing them properly.
1-26
Page 60 of 376
Medical Condition.A passenger has a
medical condition which, according to his or
her physician:
•
Causes the passenger airbag to pose a special risk
for the passenger; and
•Makes the potential harm from the passenger
airbag in a crash greater than the potential
harm from turning off the airbag and allowing the
passenger, even if belted, to hit the dashboard
or windshield in a crash.
{CAUTION:
If the right front passenger’s airbag is turned off
for a person who is not in a risk group identified
by the national government, that person will not
have the extra protection of an airbag. In a crash,
the airbag will not be able to inflate and help
protect the person sitting there. Do not turn off the
passenger’s airbag unless the person sitting there
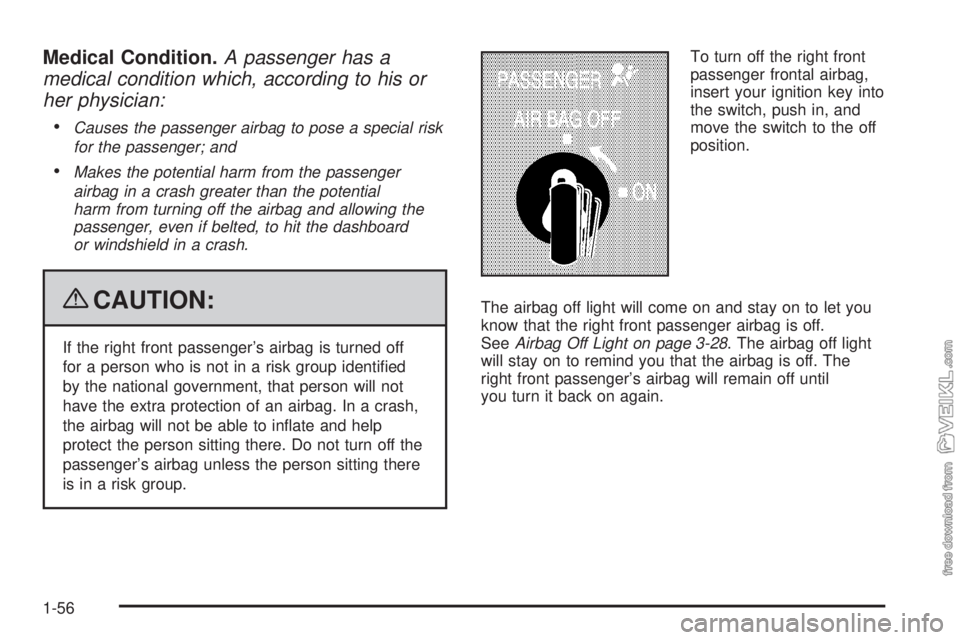
is in a risk group.To turn off the right front
passenger frontal airbag,
insert your ignition key into
the switch, push in, and
move the switch to the off
position.
The airbag off light will come on and stay on to let you
know that the right front passenger airbag is off.
SeeAirbag Off Light on page 3-28. The airbag off light
will stay on to remind you that the airbag is off. The
right front passenger’s airbag will remain off until
you turn it back on again.
1-56
Page 61 of 376
{CAUTION:
If the airbag readiness light ever comes on and
stays on, it means that something may be wrong
with the airbag system. For example, the right
front passenger airbag could inflate even though
the airbag on-off switch is turned off.
To help avoid injury to yourself or others, have the
vehicle serviced right away. SeeAirbag Readiness
Light on page 3-27for more information, including
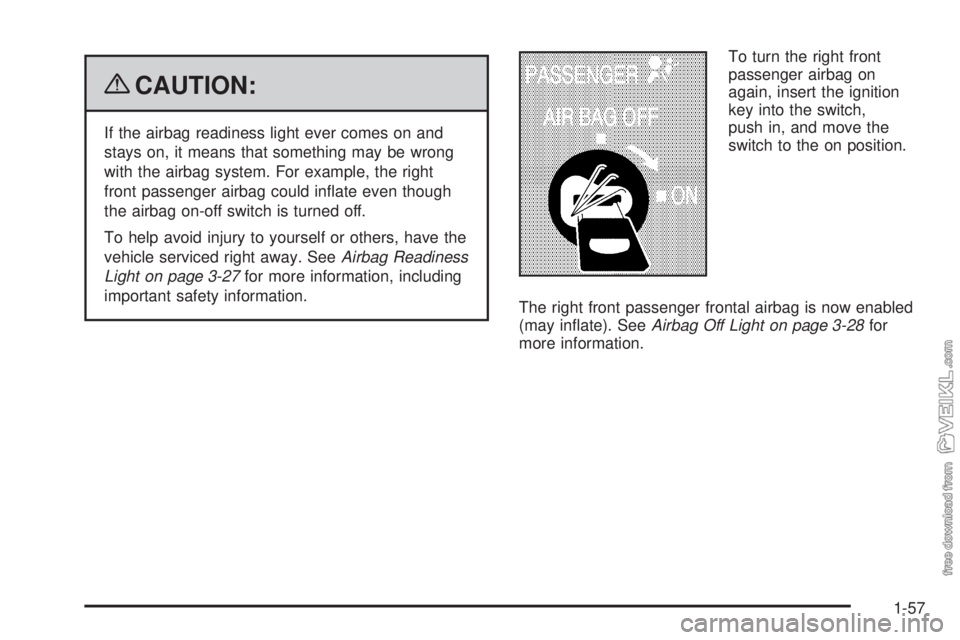
important safety information.To turn the right front
passenger airbag on
again, insert the ignition
key into the switch,
push in, and move the
switch to the on position.
The right front passenger frontal airbag is now enabled
(may inflate). SeeAirbag Off Light on page 3-28for
more information.
1-57
Page 65 of 376
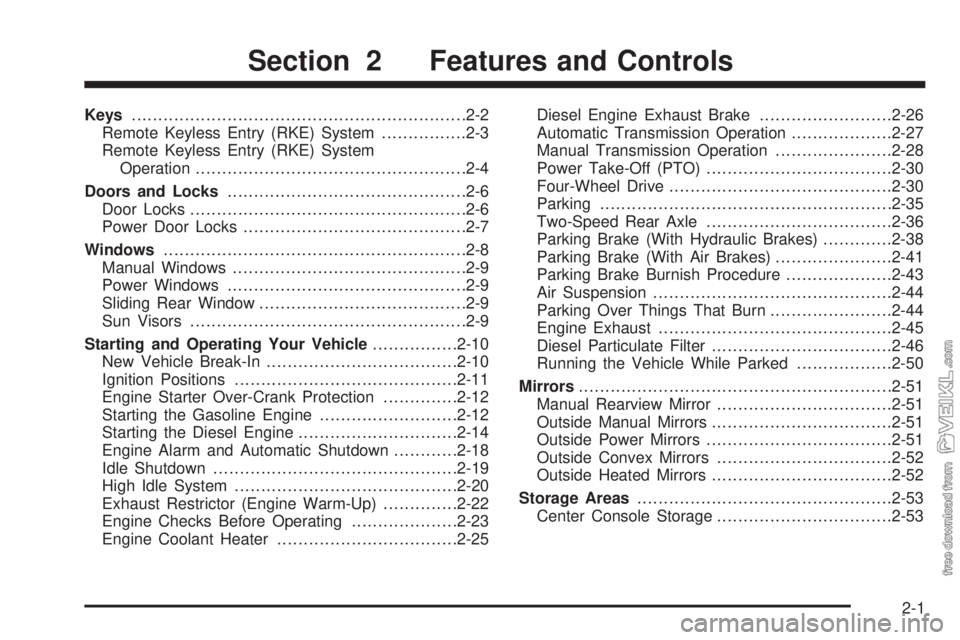
Keys...............................................................2-2
Remote Keyless Entry (RKE) System................2-3
Remote Keyless Entry (RKE) System
Operation...................................................2-4
Doors and Locks.............................................2-6
Door Locks....................................................2-6
Power Door Locks..........................................2-7
Windows.........................................................2-8
Manual Windows............................................2-9
Power Windows.............................................2-9
Sliding Rear Window.......................................2-9
Sun Visors....................................................2-9
Starting and Operating Your Vehicle................2-10
New Vehicle Break-In....................................2-10
Ignition Positions..........................................2-11
Engine Starter Over-Crank Protection..............2-12
Starting the Gasoline Engine..........................2-12
Starting the Diesel Engine..............................2-14
Engine Alarm and Automatic Shutdown............2-18
Idle Shutdown..............................................2-19
High Idle System..........................................2-20
Exhaust Restrictor (Engine Warm-Up)..............2-22
Engine Checks Before Operating....................2-23
Engine Coolant Heater..................................2-25Diesel Engine Exhaust Brake.........................2-26
Automatic Transmission Operation...................2-27
Manual Transmission Operation......................2-28
Power Take-Off (PTO)...................................2-30
Four-Wheel Drive..........................................2-30
Parking.......................................................2-35
Two-Speed Rear Axle...................................2-36
Parking Brake (With Hydraulic Brakes).............2-38
Parking Brake (With Air Brakes)......................2-41
Parking Brake Burnish Procedure....................2-43
Air Suspension
.............................................2-44
Parking Over Things That Burn.......................2-44
Engine Exhaust............................................2-45
Diesel Particulate Filter..................................2-46
Running the Vehicle While Parked..................2-50
Mirrors...........................................................2-51
Manual Rearview Mirror.................................2-51
Outside Manual Mirrors..................................2-51
Outside Power Mirrors...................................2-51
Outside Convex Mirrors.................................2-52
Outside Heated Mirrors..................................2-52
Storage Areas................................................2-53
Center Console Storage.................................2-53
Section 2 Features and Controls
2-1
Page 66 of 376
Keys
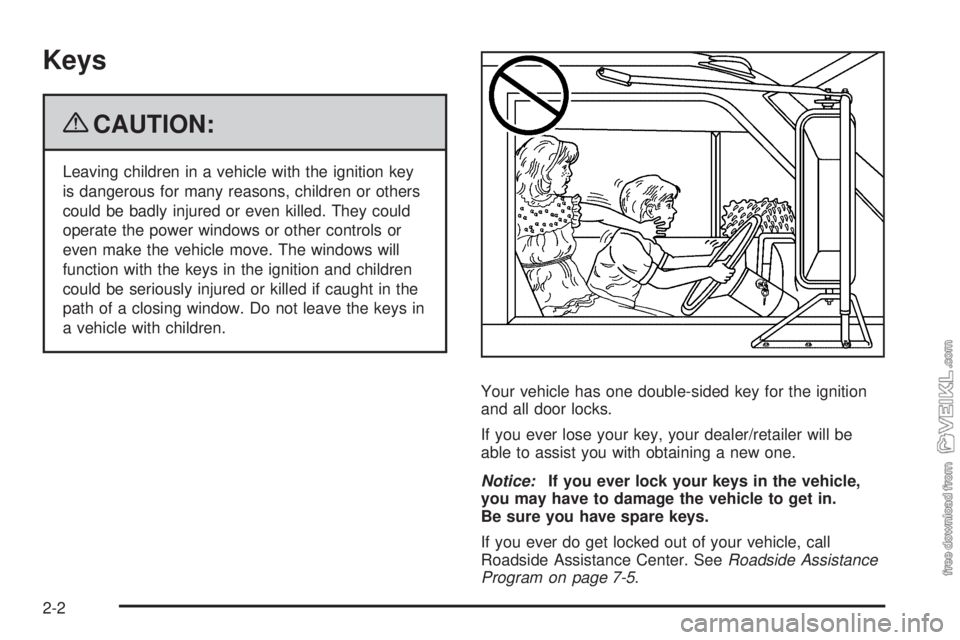
{CAUTION:
Leaving children in a vehicle with the ignition key
is dangerous for many reasons, children or others
could be badly injured or even killed. They could
operate the power windows or other controls or
even make the vehicle move. The windows will
function with the keys in the ignition and children
could be seriously injured or killed if caught in the
path of a closing window. Do not leave the keys in
a vehicle with children.
Your vehicle has one double-sided key for the ignition
and all door locks.
If you ever lose your key, your dealer/retailer will be
able to assist you with obtaining a new one.
Notice:If you ever lock your keys in the vehicle,
you may have to damage the vehicle to get in.
Be sure you have spare keys.
If you ever do get locked out of your vehicle, call
Roadside Assistance Center. SeeRoadside Assistance
Program on page 7-5.
2-2
Page 67 of 376
Remote Keyless Entry (RKE)
System
If this vehicle has the Remote Keyless Entry (RKE)
system, it operates on a radio frequency subject
to Federal Communications Commission (FCC) Rules
and with Industry Canada.
This device complies with Part 15 of the FCC Rules.
Operation is subject to the following two conditions:
1. This device may not cause interference.
2. This device must accept any interference received,
including interference that may cause undesired
operation of the device.
This device complies with RSS-210 of Industry Canada.
Operation is subject to the following two conditions:
1. This device may not cause interference.
2. This device must accept any interference received,
including interference that may cause undesired
operation of the device.
Changes or modifications to this system by other than
an authorized service facility could void authorization to
use this equipment.If there is a decrease in the RKE operating range,
try this:
•Check the distance. The transmitter may be too far
from the vehicle. Stand closer during rainy or
snowy weather.
•Check the location. Other vehicles or objects may
be blocking the signal. Take a few steps to the
left or right, hold the transmitter higher, and
try again.
•Check the transmitter’s battery. See “Battery
Replacement” later in this section.
•If the transmitter is still not working correctly, see
your dealer/retailer or a qualified technician for
service.
2-3
Page 68 of 376
Remote Keyless Entry (RKE)
System Operation
For vehicles with the Remote Keyless Entry (RKE)
System, transmitter functions work up to 30 feet (9 m)
away from the vehicle.
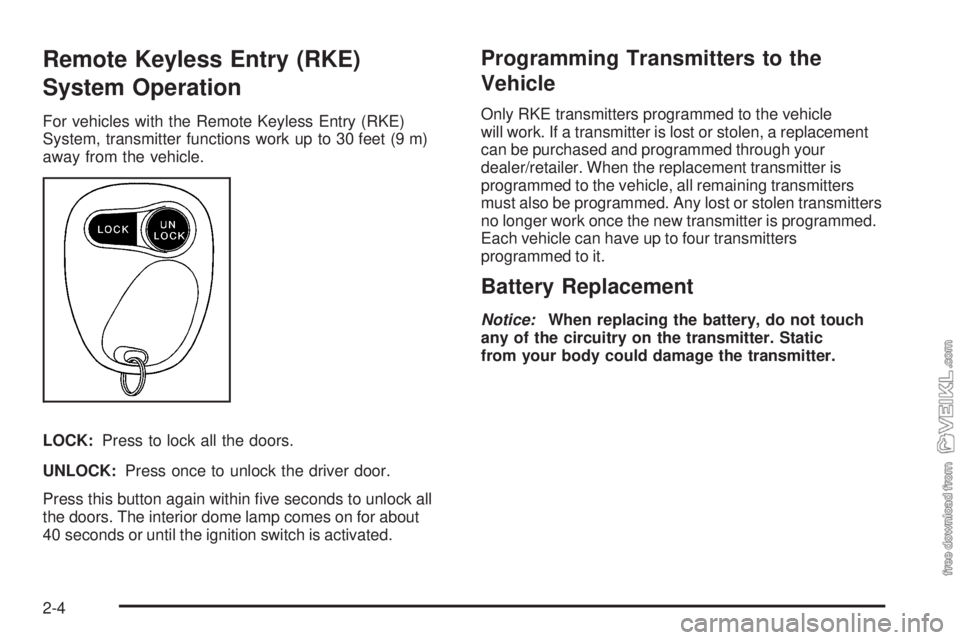
LOCK:Press to lock all the doors.
UNLOCK:Press once to unlock the driver door.
Press this button again within five seconds to unlock all
the doors. The interior dome lamp comes on for about
40 seconds or until the ignition switch is activated.
Programming Transmitters to the
Vehicle
Only RKE transmitters programmed to the vehicle
will work. If a transmitter is lost or stolen, a replacement
can be purchased and programmed through your
dealer/retailer. When the replacement transmitter is
programmed to the vehicle, all remaining transmitters
must also be programmed. Any lost or stolen transmitters
no longer work once the new transmitter is programmed.
Each vehicle can have up to four transmitters
programmed to it.
Battery Replacement
Notice:When replacing the battery, do not touch
any of the circuitry on the transmitter. Static
from your body could damage the transmitter.
2-4
Page 69 of 376
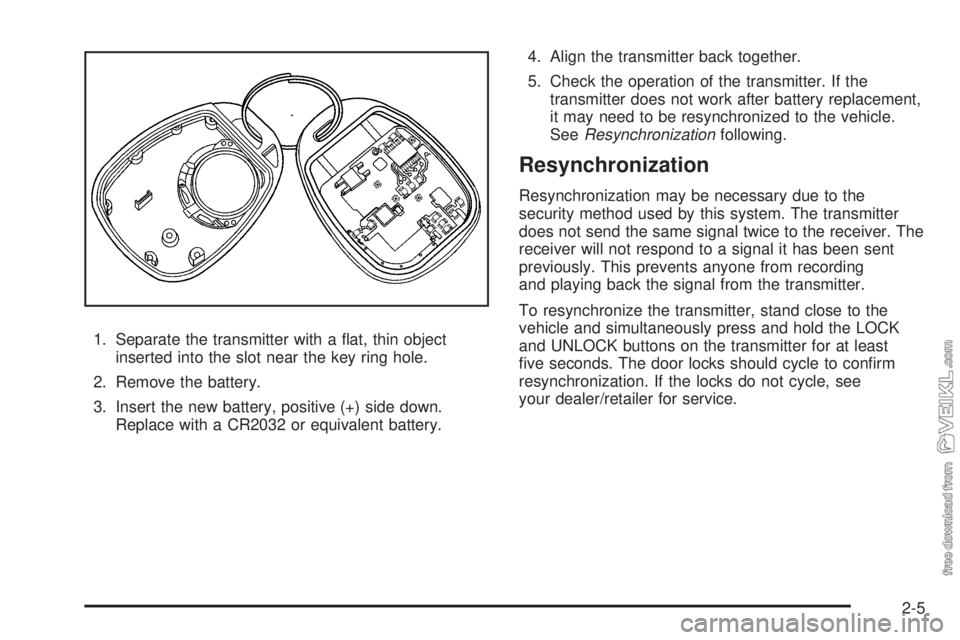
1. Separate the transmitter with a flat, thin object
inserted into the slot near the key ring hole.
2. Remove the battery.
3. Insert the new battery, positive (+) side down.
Replace with a CR2032 or equivalent battery.4. Align the transmitter back together.
5. Check the operation of the transmitter. If the
transmitter does not work after battery replacement,
it may need to be resynchronized to the vehicle.
SeeResynchronizationfollowing.
Resynchronization
Resynchronization may be necessary due to the
security method used by this system. The transmitter
does not send the same signal twice to the receiver. The
receiver will not respond to a signal it has been sent
previously. This prevents anyone from recording
and playing back the signal from the transmitter.
To resynchronize the transmitter, stand close to the
vehicle and simultaneously press and hold the LOCK
and UNLOCK buttons on the transmitter for at least
five seconds. The door locks should cycle to confirm
resynchronization. If the locks do not cycle, see
your dealer/retailer for service.
2-5
Page 70 of 376
Doors and Locks
Door Locks
{CAUTION:
Unlocked doors can be dangerous.
•Passengers, especially children, can easily
open the doors and fall out of a moving
vehicle. When a door is locked, the handle
will not open it. You increase the chance of
being thrown out of the vehicle in a crash if
the doors are not locked. So, wear safety
belts properly and lock the doors whenever
you drive.
CAUTION: (Continued)
CAUTION: (Continued)
•
Young children who get into unlocked vehicles
may be unable to get out. A child can be
overcome by extreme heat and can suffer
permanent injuries or even death from heat
stroke. Always lock your vehicle whenever
you leave it.
•Outsiders can easily enter through an
unlocked door when you slow down or stop
your vehicle. Locking your doors can help
prevent this from happening.
There are several ways to lock and unlock your vehicle.
On a vehicle equipped with keyless entry, you can
use your transmitter to lock or unlock your vehicle. See
Remote Keyless Entry (RKE) System Operation on
page 2-4.
To lock or unlock the door from the outside, use the key.
2-6