turn signal bulb CHEVROLET MALIBU 1998 Owners Manual
[x] Cancel search | Manufacturer: CHEVROLET, Model Year: 1998, Model line: MALIBU, Model: CHEVROLET MALIBU 1998Pages: 362, PDF Size: 19.35 MB
Page 94 of 362
Downloaded from www.Manualslib.com manuals search engine Turn SignaVMultifunction Lever
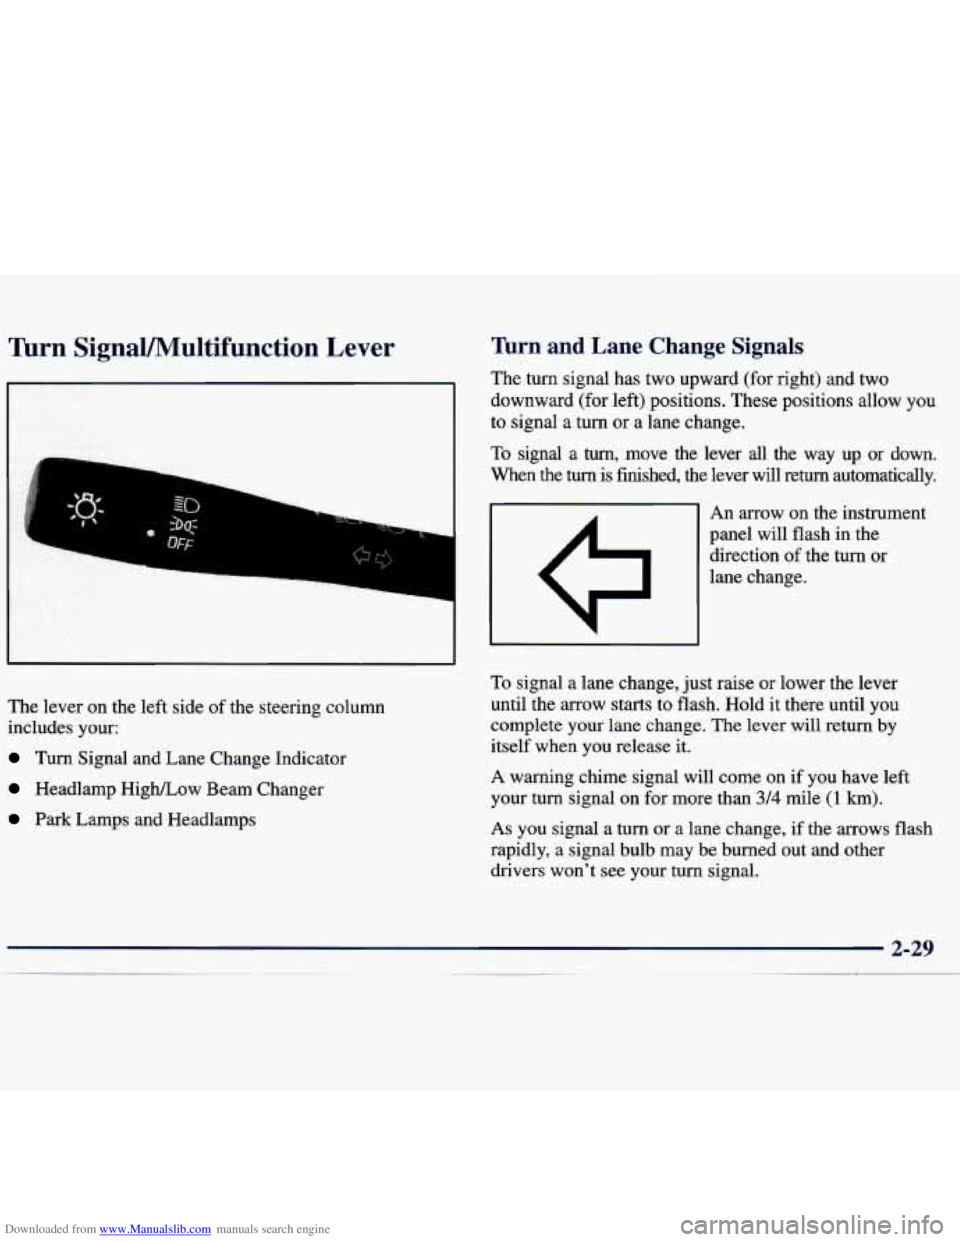
The lever on the left side of the steering column
includes your:
Turn Signal and Lane Change Indicator
Headlamp HigWLow Beam Changer
Park Lamps and Headlamps
firn and Lane Change Signals
The turn signal has two upward (for right) and two
downward (for left) positions. These positions allow you
to signal a turn or a lane change.
To signal a turn, move the lever all the way up or down.
When the
turn is finished, the lever will return automatically.
An arrow on the instrument
panel will flash in the
direction of the turn or
lane change.
To signal a lane change, just raise or lower the lever
until the arrow starts to flash.
Hold it there until you
complete your lane change.
The lever will return by
itself when you release it.
A warning chime signal will come on if you have left
your turn signal on for more than
3/4 mile (1 km).
As you signal a turn or a lane change, if the arrows flash
rapidly, a signal bulb may be burned out and other
drivers won't see your turn signal.
Page 95 of 362
Downloaded from www.Manualslib.com manuals search engine If a bulb is burned out, replace it to help avoid an
accident. If the arrows don’t
go on at all when you
signal a turn, check for burned-out bulbs and then check
the fuse (see “Fuses and Circuit Breakers” in the Index).
Windshield Wipers
Headlamp High/Low Beam
To change the headlamps
from low-beam to
high-beam, push forward on the turn signaUmultifunction lever.
To change the headlamps from high-beam to low-beam,
pull the turn signal lever backward. When the high-beams
are on, a light on the instrument panel also
will be on.
Flash to Pass
This feature lets you use your high-beam headlamps to
signal a driver in front of you that you want to pass.
To use it, pull the turn signaVmultifunction lever toward
you until the high-beam headlamps come on, then
release the lever to turn them off. You
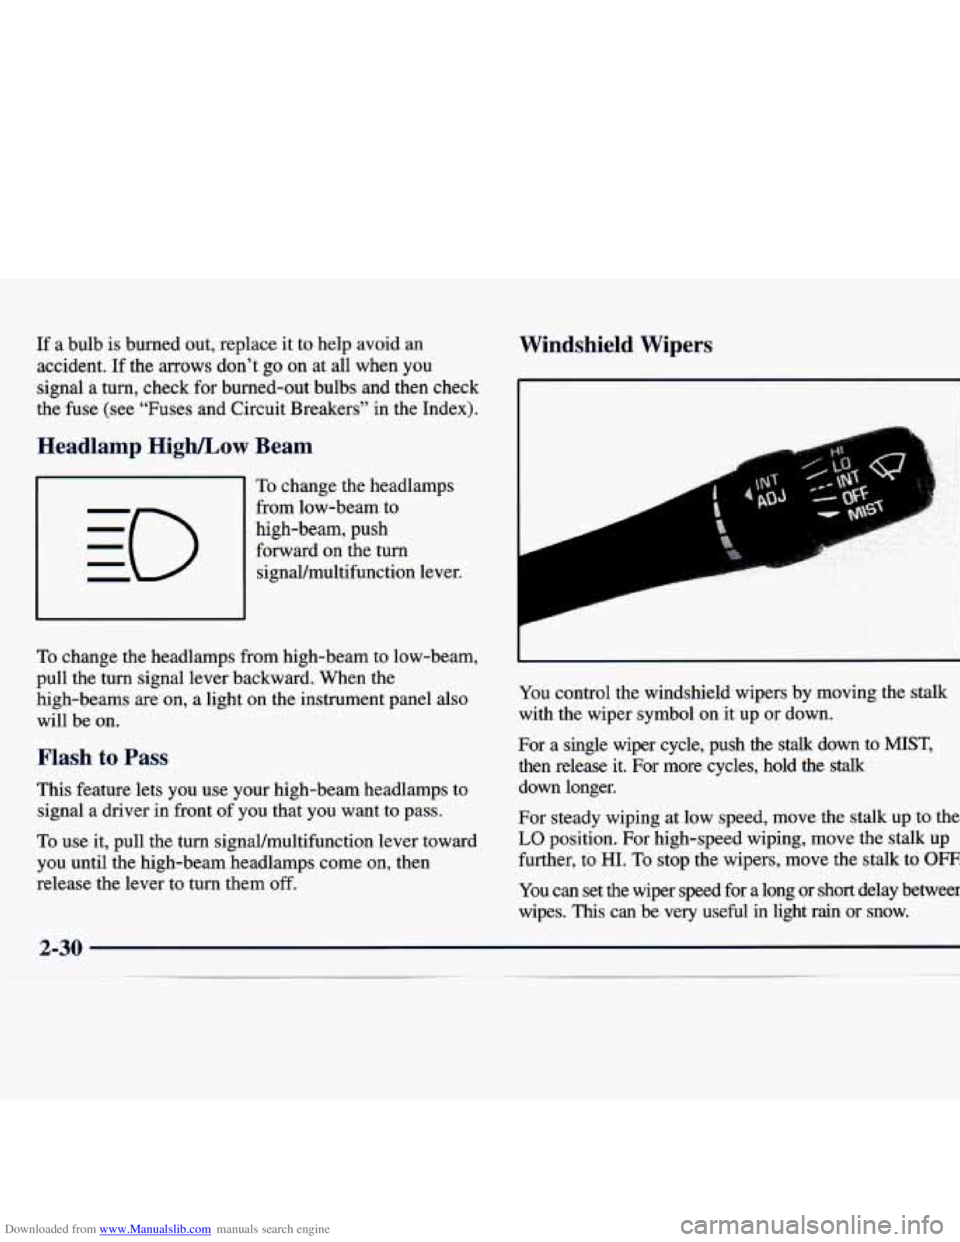
control the windshield wipers by moving the stalk
with the wiper symbol on it up or down.
For a single wiper cycle, push the
stalk down to MIST,
then release it. For more cycles, hold the stalk
down longer.
For steady wiping at low speed, move the stalk up to the
LO position. For high-speed wiping, move the stalk up
further, to
HI. To stop the wipers, move the stalk to OFF.
You can set the wiper speed for a long or short delay between
wipes.
This can be very useful in light rain or snow.
Page 189 of 362
Downloaded from www.Manualslib.com manuals search engine Turn Signals When Towing a Trailer
When you tow a trailer, your vehicle may need
additional wiring. Check with your dealer. The green
arrows on
your instrument panel will flash whenever
you signal a turn or lane change. Properly hooked up,
the trailer lamps will also flash, telling other drivers
you’re about to turn, change lanes
or stop.
When towing a trailer, the green arrows on your
instrument panel will flash for turns even
if the bulbs on
the trailer are burned out. Thus, you may think drivers
behind you are seeing your signal when they are not. It’s
important to check occasionally to be sure the trailer
bulbs are still working.
Driving On Grades
NOTICE:
Do not tow on steep continuous grades exceeding
6 miles (9.6 km). Extended, higher than normal
engine and transaxle temperatures may result and damage your vehicle. Frequent stops are
very important
to allow the engine and transaxle
to
cool.
Reduce speed and shift to a lower gear before you start
down a long
or steep downgrade. If you don’t shift
down, you might have to
use your brakes so much that
they would get hot and no longer work well.
On a long uphill grade, shift down and reduce your
speed to around
45 mph (70 km/h) to reduce the
possibility
of engine and transaxle overheating.
Pay attention to the engine coolant gage.
If the indicator
is in the red area, turn
off the air conditioning to reduce
engine load (see “Engine Overheating” in the Index).
Page 256 of 362
Downloaded from www.Manualslib.com manuals search engine Bulb Replacement
This section describes bulb changing procedures for
some of your interior and exterior lamps. For bulb sizes,
see “Replacement Bulbs” in the Index. For any bulbs not
listed in this section, contact your Chevrolet dealer
service department.
Halogen Bulbs
A CAUTION
-- I
Halogen bulbs have pressurized gas inside and
can burst
if you drop or scratch the bulb. You or
others could be injured. Be sure to read and
follow the instructions on the bulb package.
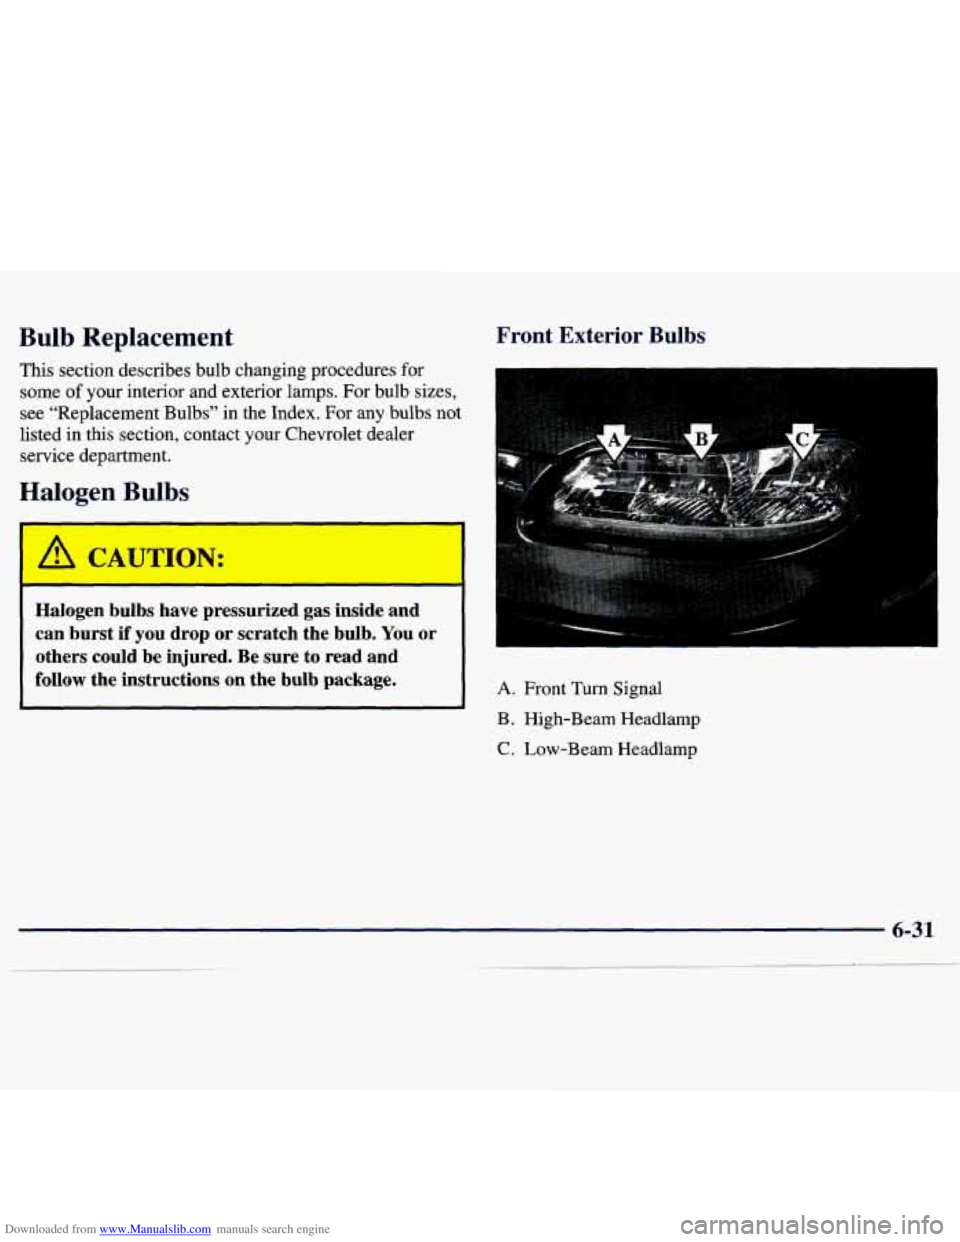
Front Exterior Bulbs
A. Front Turn Signal
B. High-Beam Headlamp
C. Low-Beam Headlamp
Page 257 of 362
Downloaded from www.Manualslib.com manuals search engine Headlamp and Front nrn Signal Lamp
Bulb Replacement
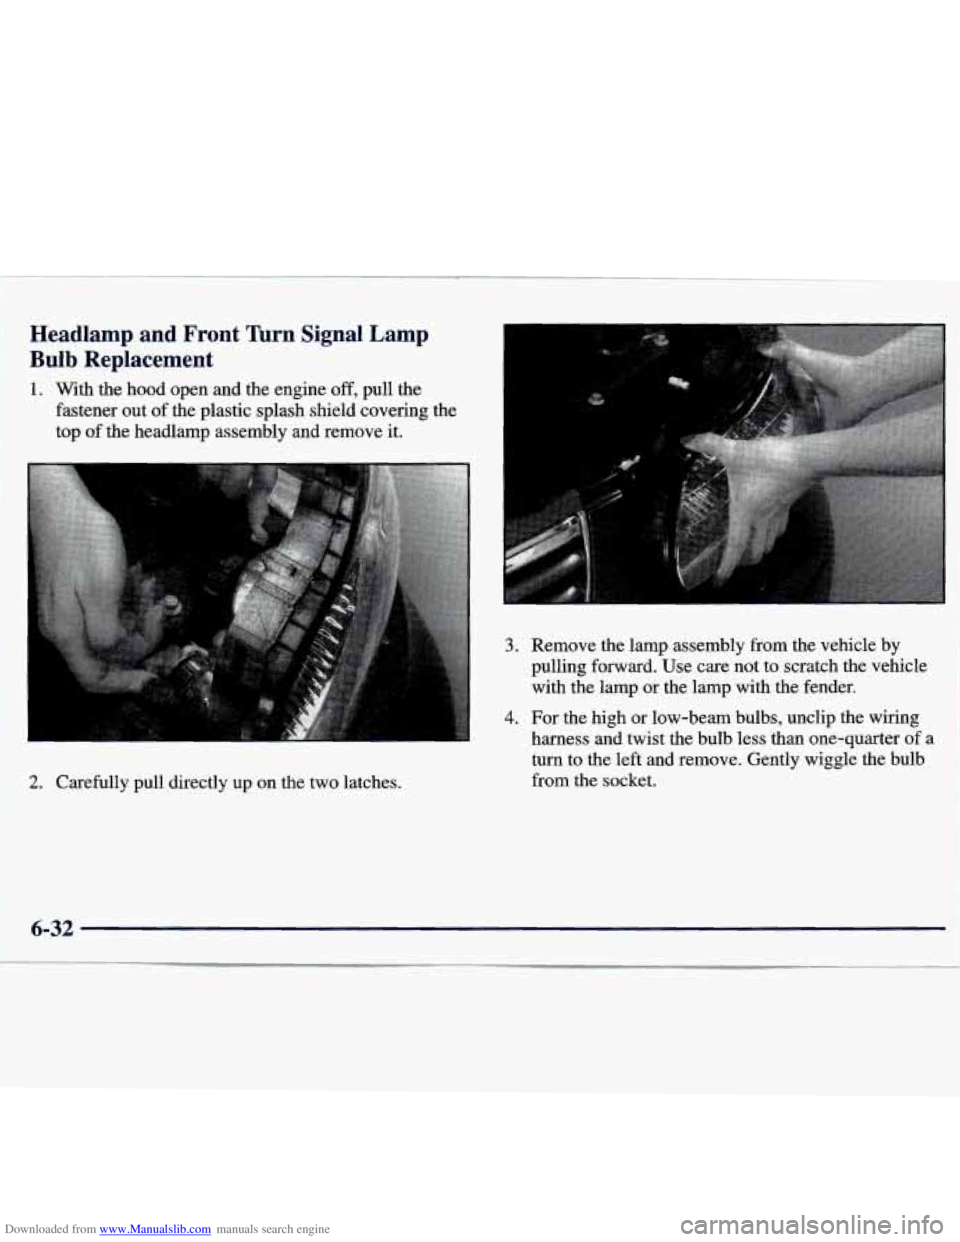
1. With the hood open and the engine off, pull the
fastener out of the plastic splash shield covering the
top of the headlamp assembly and remove it.
2. Carefully pull directly up on the two latches.
3. Remove the lamp assembly from the vehicle by
pulling forward. Use care not to scratch the vehicle
with the lamp or the lamp with the fender.
4. For the high or low-beam bulbs, unclip the wiring
harness
and twist the bulb less than one-quarter of a
turn to the left and remove. Gently wiggle the bulb
from the socket.
6-32
Page 258 of 362
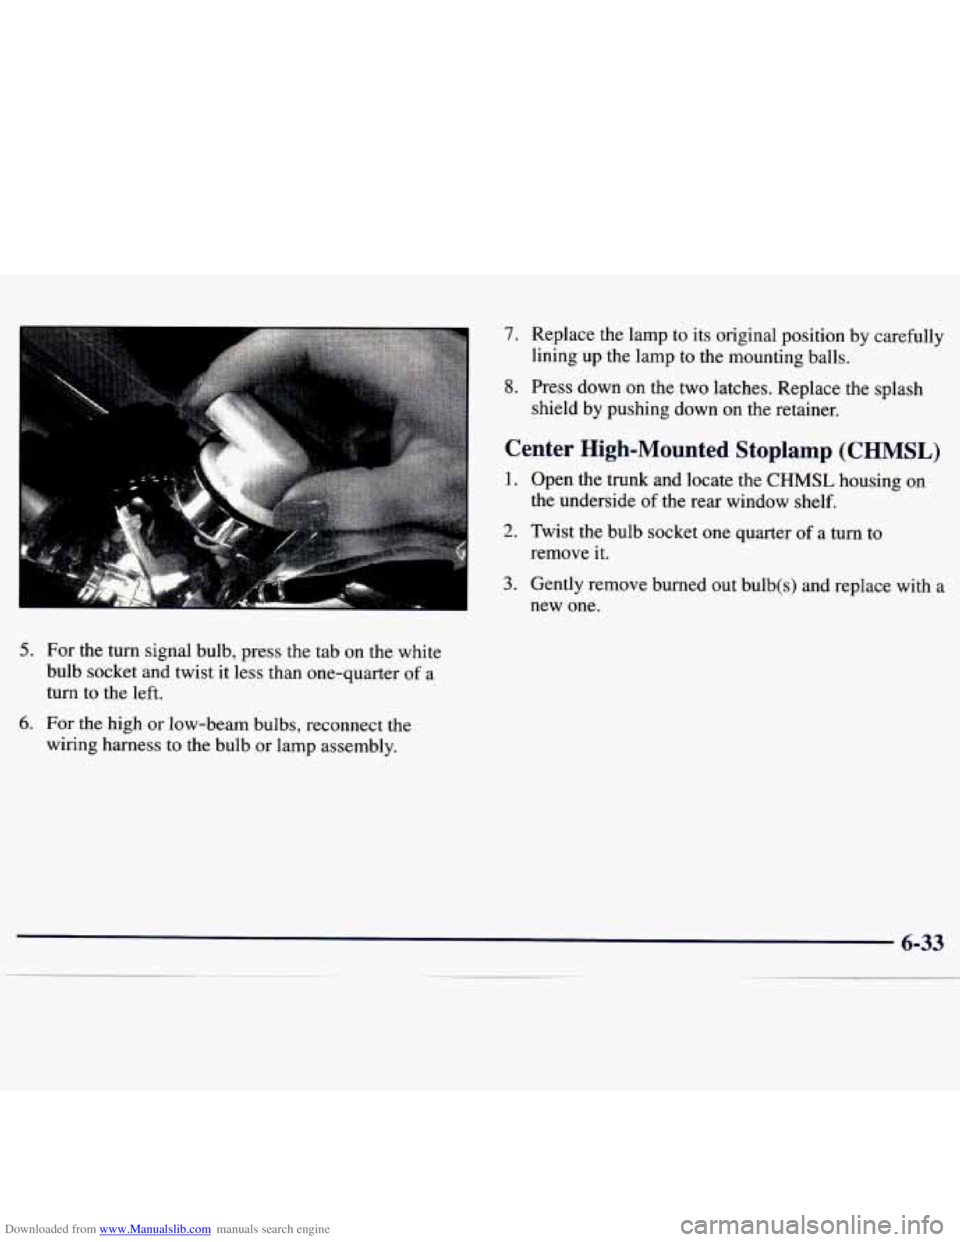
Downloaded from www.Manualslib.com manuals search engine 5. For the turn signal bulb, press the tab on the white
bulb socket and twist it less than one-quarter
of a
turn to the left.
6. For the high or low-beam bulbs, reconnect the
wiring harness to the bulb or lamp assembly.
7. Replace the lamp to its original position by carefully
lining up the lamp to the mounting balls.
8. Press down on the two latches. Replace the splash
shield by pushing down on the retainer.
Center High-Mounted Stoplamp (CHMSL)
1. Open the trunk and locate the CHMSL housing on
the underside of the rear window shelf.
2. Twist the bulb socket one quarter of a turn to
remove it.
3. Gently remove burned out bulb(s) and replace with a
new one.