buttons CHEVROLET MALIBU 2004 5.G Owners Manual
[x] Cancel search | Manufacturer: CHEVROLET, Model Year: 2004, Model line: MALIBU, Model: CHEVROLET MALIBU 2004 5.GPages: 426, PDF Size: 3.98 MB
Page 10 of 426
Heated Seats
Your vehicle may have heated front seats.
The buttons are located on the outboard corner of the
driver and front passenger seat.
Press position 1 on the switch to turn the feature on.
Pressing 1 again will move between the high heat
setting and the low heat setting. Pressing the 0 on the
switch will turn off the feature.
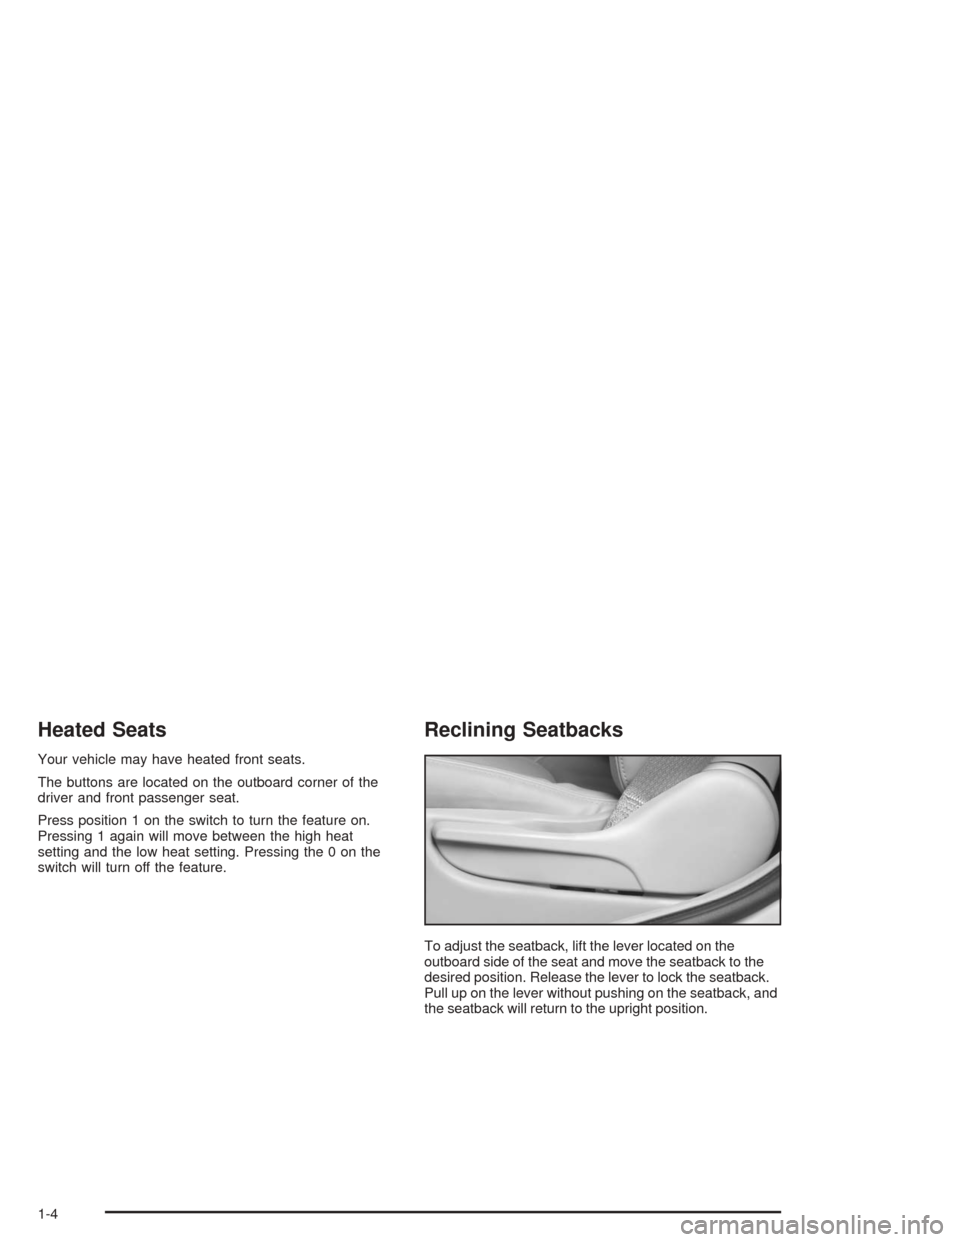
Reclining Seatbacks
To adjust the seatback, lift the lever located on the
outboard side of the seat and move the seatback to the
desired position. Release the lever to lock the seatback.
Pull up on the lever without pushing on the seatback, and
the seatback will return to the upright position.
1-4
Page 77 of 426

Remote Vehicle Start
Your vehicle may have a remote starting feature. This
feature allows you to start the engine from outside of the
vehicle. It also starts up the vehicle’s heating or air
conditioning systems and rear window defogger. When
the remote start system is active and the vehicle
has an automatic climate control system, it will
automatically regulate the inside temperature. Normal
operation of the system will return after the key is turned
to the on position. A remote start occurs when buttons
on the remote keyless entry transmitter are pressed.
Laws in some local communities require that a person
using remote start have the vehicle in view when
doing so and may prohibit the execution of remote start
if not in view of the vehicle. Check local regulations
for any requirements on remote starting of vehicles.
Do not use the remote start feature if your vehicle is low
on fuel. Your vehicle may run out of fuel.
The remote start feature provides two separate starts,
each with 10 minutes of engine running. Or it provides
one start with 10 minutes of engine running, which can be
extended by 10 more minutes, for 20 minutes of total
running time. Once two starts or 20 minutes running time
has been provided, the vehicle must be started normally
with the ignition key to get more remote starts.The remote start feature will not operate if the key is in
the ignition or the hood is not closed.
Your remote keyless entry transmitter, with the remote
start button, provides an increased range of operation.
However, the range may be less while the vehicle
is running. As a result, you may need to be closer to
your vehicle to turn it off, than you were to turn it on.
There are other conditions which can affect the
performance of the transmitter, see “Remote Keyless
Entry System Operation” previously in this section.
/(Remote Start):Press the lock button and then
press this button to use the remote start feature.
To start the vehicle using the remote start feature, do
the following:
1. Aim the transmitter at the vehicle.
2. Press the transmitter’s lock button, release it and
then immediately press and hold the transmitter’s
remote start button until the vehicle’s turn signal
lights �ash or for at least four seconds. The
vehicle’s doors will be locked.
3. When the vehicle starts, the parking lamps will turn
on and remain on while the vehicle is running.
4. If it is your �rst remote start since last driving,
repeat these steps while the engine is still
running for a 10 minute time extension.
2-9
Page 79 of 426
CAUTION: (Continued)
Outsiders can easily enter through an
unlocked door when you slow down or
stop your vehicle. Locking your doors can
help prevent this from happening.
There are several ways to lock and unlock your vehicle.
From the outside, use your key or remote keyless
entry system, if your vehicle is equipped with this
feature. Use the key to unlock the driver’s door by
turning the key in the lock toward the rear of the vehicle.
Turning the key back to center and then toward the
rear a second time will unlock all of the doors and the
liftgate. Turning the key back to center and then toward
the rear of the vehicle a third time will open the trunk
or liftgate.
From the inside, you can lock and unlock the door by
moving the manual lock knob down and up, or by using
the power door lock buttons.
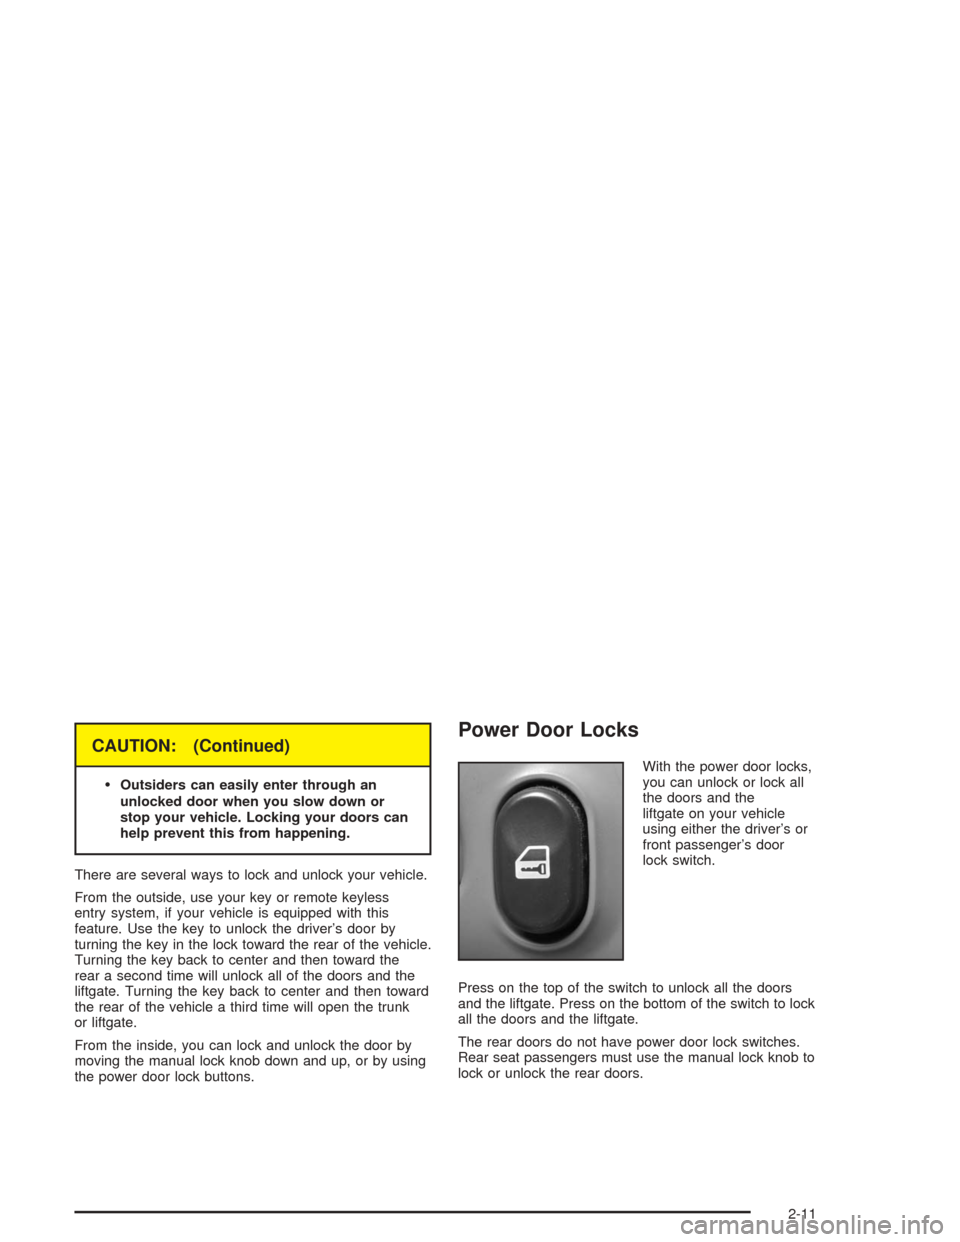
Power Door Locks
With the power door locks,
you can unlock or lock all
the doors and the
liftgate on your vehicle
using either the driver’s or
front passenger’s door
lock switch.
Press on the top of the switch to unlock all the doors
and the liftgate. Press on the bottom of the switch to lock
all the doors and the liftgate.
The rear doors do not have power door lock switches.
Rear seat passengers must use the manual lock knob to
lock or unlock the rear doors.
2-11
Page 87 of 426
Disarming the System
If the system is armed, you can disarm the system by:
Pressing the unlock button on the transmitter
Turning the ignition to ON or
Turning the driver’s door key lock cylinder once
toward the rear of the vehicle.
Once the system is disarmed, the security light will stop
�ashing.
How the System Alarm is Activated
If the system is armed,
Opening the driver’s door will cause a ten second
pre-alarm chirp followed by a thirty second full
alarm of horn and lights.
Opening any other door or the liftgate will
immediately cause a full alarm for thirty seconds of
horn and lights.
If an alarm event has �nished and all the doors and the
liftgate are closed, the system will re-arm itself.
How to Turn Off the System Alarm
If the system alarm is active, it can be deactivated by:
Pressing the lock button on the transmitter to
turn off the alarm. The system will also re-arm itself.
Pressing the unlock button on the transmitter to turn
off the alarm and disarm the system
Putting the key in the driver’s door key lock cylinder
and turning it to the rear of the vehicle to turn off
the alarm and disarm the system or
Putting the key in the ignition and turning it to ON
to turn off the alarm and disarm the system.
How to Detect a Tamper Condition
If you hear three chirps when you press the unlock and
lock buttons on the transmitter, that means the
content theft security system alarm was triggered while
you were away.
2-19
Page 103 of 426
Mirrors
Manual Rearview Mirror
This mirror can be adjusted two ways. First, to adjust
the angle of the mirror, move the mirror to a position that
allows you to see out of the back window. To adjust
the height of the mirror, adjust the arm that connects the
mirror to the windshield.
To reduce glare from lights behind you, move the lever
toward you to the night position.
Manual Rearview Mirror with
OnStar
®
If your vehicle has this feature, this mirror has a knob
located at the bottom of the mirror. It is used to change
the mirror from day to night position. To reduce glare
from headlamps behind you while driving at night, rotate
the knob clockwise. For daytime driving rotate the
knob counterclockwise.
There are also three OnStar
®buttons located at the
bottom of the mirror face. See your dealer for more
information on the system and how to subscribe
to OnStar
®. SeeOnStar®System on page 2-38for
more information about the services OnStar®provides.
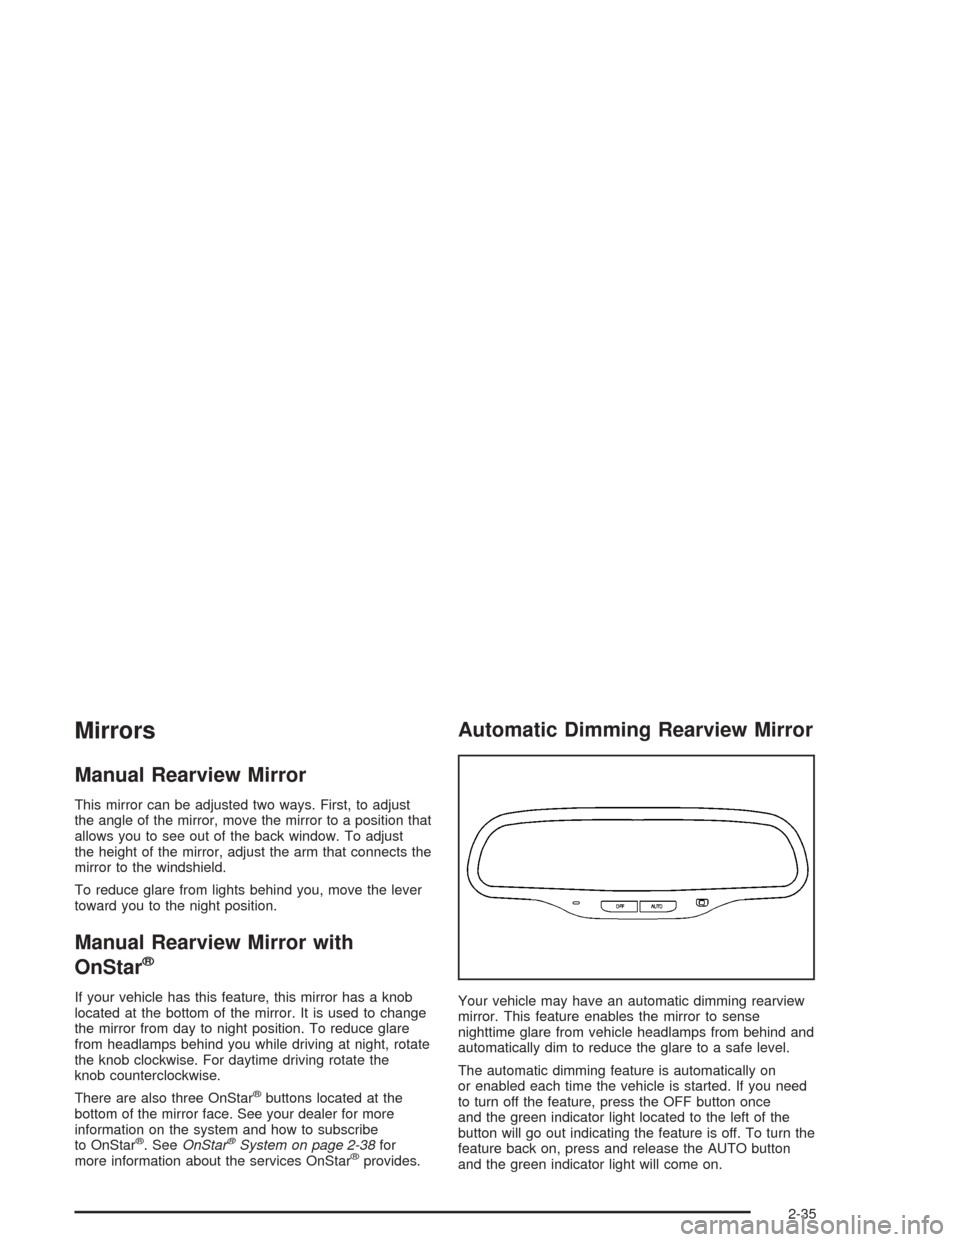
Automatic Dimming Rearview Mirror
Your vehicle may have an automatic dimming rearview
mirror. This feature enables the mirror to sense
nighttime glare from vehicle headlamps from behind and
automatically dim to reduce the glare to a safe level.
The automatic dimming feature is automatically on
or enabled each time the vehicle is started. If you need
to turn off the feature, press the OFF button once
and the green indicator light located to the left of the
button will go out indicating the feature is off. To turn the
feature back on, press and release the AUTO button
and the green indicator light will come on.
2-35
Page 104 of 426

Automatic Dimming Rearview Mirror
with OnStar
®
Your vehicle may have an automatic dimming rearview
mirror with the OnStar®System.
The automatic dimming feature is automatically on or
enabled each time the vehicle is started. If you need to
turn off the feature, press the button located below
the mirror, on the far left, once and the green indicator
light will go out indicating the feature is off. To turn
the feature back on, press and release the button again
and the green indicator light will come on.
While turned on, this mirror functions exactly like the
automatic dimming mirror described previously.
There are also three OnStar
®buttons located at the
bottom of the mirror. See your dealer for more
information on the system and how to subscribe to
OnStar
®. SeeOnStar®System on page 2-38for more
information about the service OnStar®provides.
2-36
Page 109 of 426

Programming the HomeLink®
Transmitter
Do not use the HomeLink®Transmitter with any garage
door opener that does not have the “stop and reverse”
feature. This includes any garage door opener model
manufactured before April 1, 1982. If you have a newer
garage door opener with rolling codes, please be
sure to follow steps 6 through 8 to complete the
programming of your HomeLink
®Transmitter.
Read the instructions completely before attempting to
program the HomeLink
®Transmitter. Because of
the steps involved, it may be helpful to have another
person available to assist you in programming the
transmitter.
Keep the original transmitter for use in other vehicles as
well as for future HomeLink
®programming. It is also
recommended that upon the sale of the vehicle,
the programmed HomeLink
®buttons should be erased
for security purposes. Refer to “Erasing HomeLink®
Buttons” or, for assistance, contact HomeLink®on the
internet at: www.homelink.com or by calling
1-800-355-3515.Be sure that people and objects are clear of the garage
door or gate operator you are programming. When
programming a garage door, it is advised to park outside
of the garage.
It is recommended that a new battery be installed in
your hand-held transmitter for quicker and more
accurate transmission of the radio frequency.
Your vehicle’s engine should be turned off while
programming the transmitter. Follow these steps to
program up to three channels:
1. Press and hold down the two outside buttons,
releasing only when the indicator light begins to
�ash, after 20 seconds. Do not hold down the
buttons for longer than 30 seconds and do not
repeat this step to program a second and/or third
transmitter to the remaining two HomeLink
®buttons.
2. Position the end of your hand-held transmitter about
1 to 3 inches (3 to 8 cm) away from the HomeLink
®
buttons while keeping the indicator light in view.
3. Simultaneously press and hold both the desired
button on HomeLink
®and the hand-held transmitter
button. Do not release the buttons until Step 4
has been completed.
Some entry gates and garage door openers may
require you to substitute Step 3 with the procedure
noted in “Gate Operator and Canadian
Programming” later in this section.
2-41
Page 110 of 426

4. The indicator light will �ash slowly at �rst and then
rapidly after HomeLink®successfully receives the
frequency signal from the hand-held transmitter.
Release both buttons.
5. Press and hold the newly-trained HomeLink
®button
and observe the indicator light.
If the indicator light stays on constantly,
programming is complete and your device should
activate when the HomeLink
®button is pressed and
released.
To program the remaining two HomeLink
®buttons,
begin with Step 2 under “Programming HomeLink®.”
Do not repeat Step 1 as this will erase all of the
programmed channels.
If the indicator light blinks rapidly for two seconds
and then turns to a constant light, continue with
Steps 6 through 8 following to complete the
programming of a rolling-code equipped device
(most commonly, a garage door opener).
6. Locate in the garage, the garage door opener
receiver (motor-head unit). Locate the “Learn”
or “Smart” button. This can usually be found where
the hanging antenna wire is attached to the
motor-head unit.7. Firmly press and release the “Learn” or “Smart”
button. The name and color of the button may
vary by manufacturer.
You will have 30 seconds to start Step 8.
8. Return to the vehicle. Firmly press and hold the
programmed HomeLink
®button for two seconds,
then release. Repeat the press/hold/release
sequence a second time, and depending on the
brand of the garage door opener (or other rolling
code device), repeat this sequence a third time
to complete the programming.
HomeLink
®should now activate your rolling-code
equipped device.
To program the remaining two HomeLink
®buttons,
begin with Step 2 of “Programming HomeLink®.” Do not
repeat Step 1.
2-42
Page 111 of 426

Gate Operator and Canadian
Programming
Canadian radio-frequency laws require transmitter
signals to “time out” or quit after several seconds of
transmission. This may not be long enough for
HomeLink
®to pick up the signal during programming.
Similarly, some U.S. gate operators are manufactured to
“time out” in the same manner.
If you live in Canada, or you are having difficulty
programming a gate operator by using the
“Programming HomeLink
®” procedures (regardless of
where you live), replace Step 3 under “Programming
HomeLink
®” with the following:
Continue to press and hold the HomeLink
®button while
you press and release every two seconds (cycle)
your hand-held transmitter until the frequency signal has
been successfully accepted by HomeLink
®. The
indicator light will �ash slowly at �rst and then rapidly.
Proceed with Step 4 under “Programming HomeLink
®”
to complete.
Using HomeLink®
Press and hold the appropriate HomeLink®button for at
least half of a second. The indicator light will come
on while the signal is being transmitted.
Erasing HomeLink®Buttons
To erase programming from the three buttons do the
following:
1. Press and hold down the two outside buttons until
the indicator light begins to �ash, after 20 seconds.
2. Release both buttons. Do not hold for longer than
30 seconds.
HomeLink
®is now in the train (learning) mode and can
be programmed at any time beginning with Step 2
under “Programming HomeLink
®.”
Individual buttons can not be erased, but they can be
reprogrammed. See “Reprogramming a Single
HomeLink
®Button” next.
2-43
Page 112 of 426
Reprogramming a Single HomeLink®
Button
To program a device to HomeLink®using a HomeLink®
button previously trained, follow these steps:
1. Press and hold the desired HomeLink
®button. Do
not release the button.
2. The indicator light will begin to �ash after
20 seconds. While still holding the HomeLink
®
button, proceed with Step 2 under “Programming
HomeLink®.”
Resetting Defaults
To reset HomeLink®to default settings do the following:
1. Hold down the two outside buttons for about
20 seconds until the indicator light begins to �ash.
2. Continue to hold both buttons until the HomeLink
®
indicator light turns off.
3. Release both buttons.
For questions or comments, contact HomeLink
®at
1-800-355-3515, or on the internet at
www.homelink.com.
Storage Areas
Glove Box
To open, pull the handle down and pull the glove box
door down until it stops and is fully open.
Cupholder(s)
The center console provides space for holding a cup or
soft drink container. One cupholder is located at the
rear of the shift lever and one is to the side of the shift
lever.
Pull down the door on the rear of the center console to
use the rear seat cupholders.
2-44