clock CHEVROLET MALIBU 2008 6.G User Guide
[x] Cancel search | Manufacturer: CHEVROLET, Model Year: 2008, Model line: MALIBU, Model: CHEVROLET MALIBU 2008 6.GPages: 412, PDF Size: 2.22 MB
Page 259 of 412
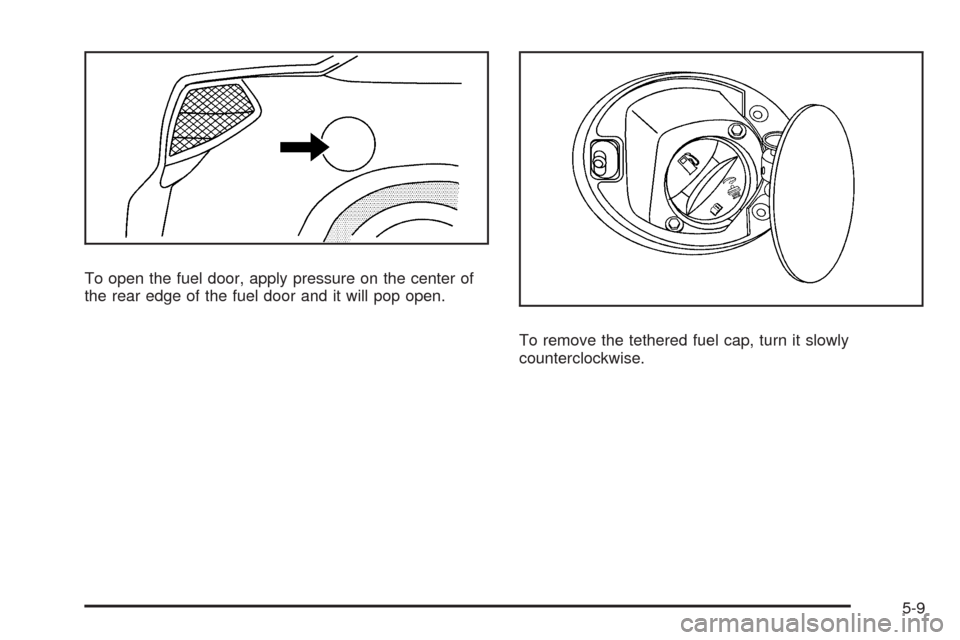
To open the fuel door, apply pressure on the center of
the rear edge of the fuel door and it will pop open.
To remove the tethered fuel cap, turn it slowly
counterclockwise.
5-9
Page 260 of 412
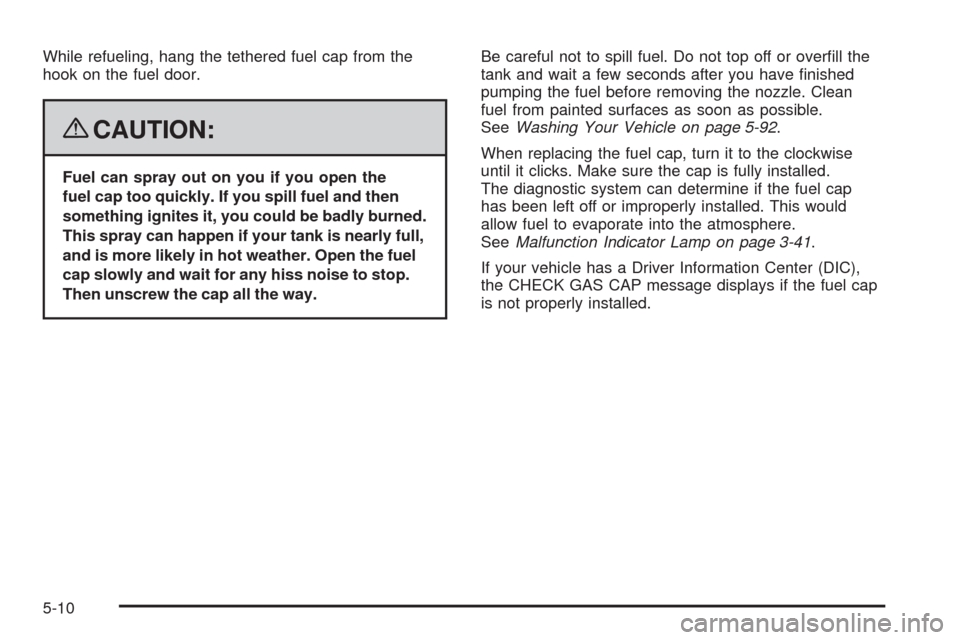
While refueling, hang the tethered fuel cap from the
hook on the fuel door.
{CAUTION:
Fuel can spray out on you if you open the
fuel cap too quickly. If you spill fuel and then
something ignites it, you could be badly burned.
This spray can happen if your tank is nearly full,
and is more likely in hot weather. Open the fuel
cap slowly and wait for any hiss noise to stop.
Then unscrew the cap all the way.Be careful not to spill fuel. Do not top off or over�ll the
tank and wait a few seconds after you have �nished
pumping the fuel before removing the nozzle. Clean
fuel from painted surfaces as soon as possible.
SeeWashing Your Vehicle on page 5-92.
When replacing the fuel cap, turn it to the clockwise
until it clicks. Make sure the cap is fully installed.
The diagnostic system can determine if the fuel cap
has been left off or improperly installed. This would
allow fuel to evaporate into the atmosphere.
SeeMalfunction Indicator Lamp on page 3-41.
If your vehicle has a Driver Information Center (DIC),
the CHECK GAS CAP message displays if the fuel cap
is not properly installed.
5-10
Page 285 of 412
{CAUTION:
Adding only plain water to the cooling system
can be dangerous. Plain water, or some other
liquid such as alcohol, can boil before the
proper coolant mixture will. The vehicle’s
coolant warning system is set for the proper
coolant mixture. With plain water or the wrong
mixture, the engine could get too hot but you
would not get the overheat warning. The engine
could catch �re and you or others could be
burned. Use a 50/50 mixture of clean, drinkable
water and DEX-COOL
®coolant.
Notice:In cold weather, water can freeze and crack
the engine, radiator, heater core and other parts.
Use the recommended coolant and the proper
coolant mixture.
{CAUTION:
You can be burned if you spill coolant on hot
engine parts. Coolant contains ethylene glycol
and it will burn if the engine parts are hot
enough. Do not spill coolant on a hot engine.
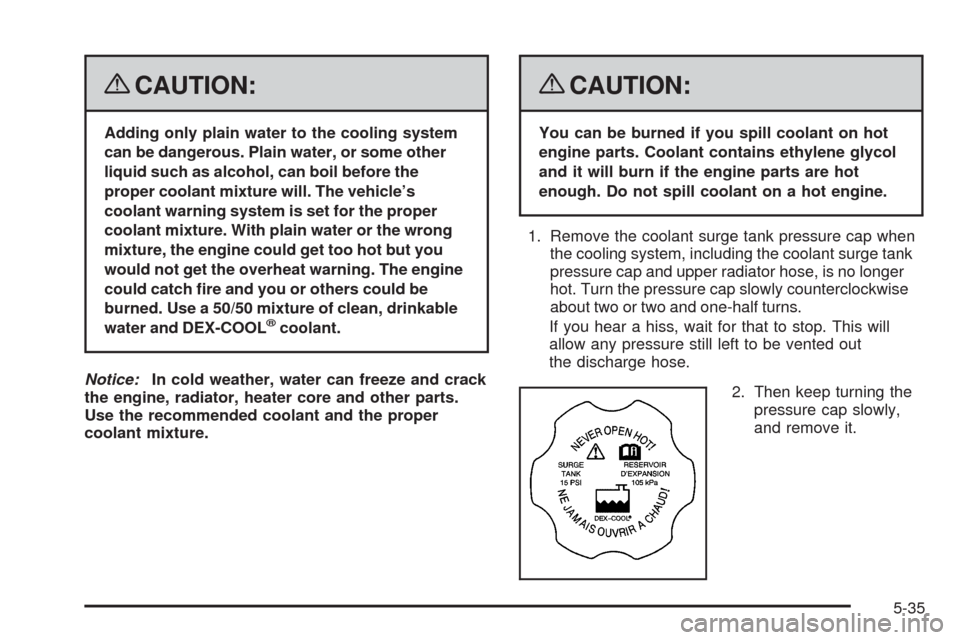
1. Remove the coolant surge tank pressure cap when
the cooling system, including the coolant surge tank
pressure cap and upper radiator hose, is no longer
hot. Turn the pressure cap slowly counterclockwise
about two or two and one-half turns.
If you hear a hiss, wait for that to stop. This will
allow any pressure still left to be vented out
the discharge hose.
2. Then keep turning the
pressure cap slowly,
and remove it.
5-35
Page 299 of 412
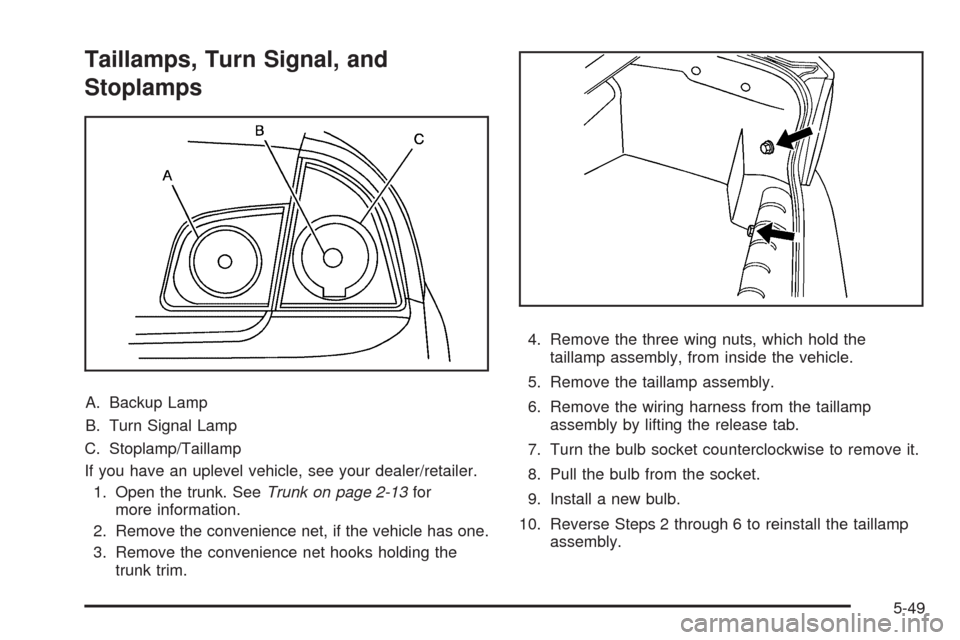
Taillamps, Turn Signal, and
Stoplamps
A. Backup Lamp
B. Turn Signal Lamp
C. Stoplamp/Taillamp
If you have an uplevel vehicle, see your dealer/retailer.
1. Open the trunk. SeeTrunk on page 2-13for
more information.
2. Remove the convenience net, if the vehicle has one.
3. Remove the convenience net hooks holding the
trunk trim.4. Remove the three wing nuts, which hold the
taillamp assembly, from inside the vehicle.
5. Remove the taillamp assembly.
6. Remove the wiring harness from the taillamp
assembly by lifting the release tab.
7. Turn the bulb socket counterclockwise to remove it.
8. Pull the bulb from the socket.
9. Install a new bulb.
10. Reverse Steps 2 through 6 to reinstall the taillamp
assembly.
5-49
Page 300 of 412
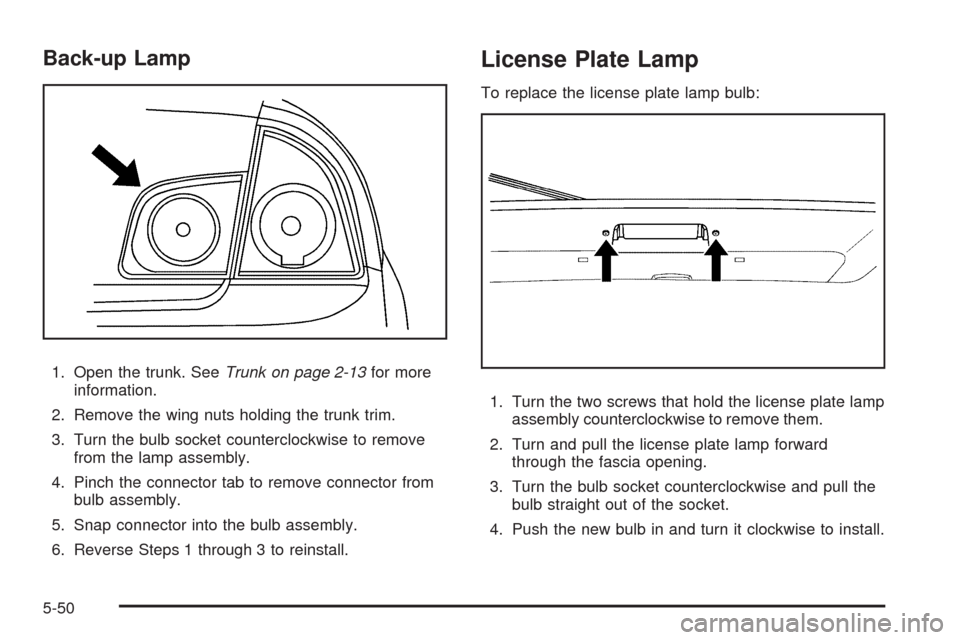
Back-up Lamp
1. Open the trunk. SeeTrunk on page 2-13for more
information.
2. Remove the wing nuts holding the trunk trim.
3. Turn the bulb socket counterclockwise to remove
from the lamp assembly.
4. Pinch the connector tab to remove connector from
bulb assembly.
5. Snap connector into the bulb assembly.
6. Reverse Steps 1 through 3 to reinstall.
License Plate Lamp
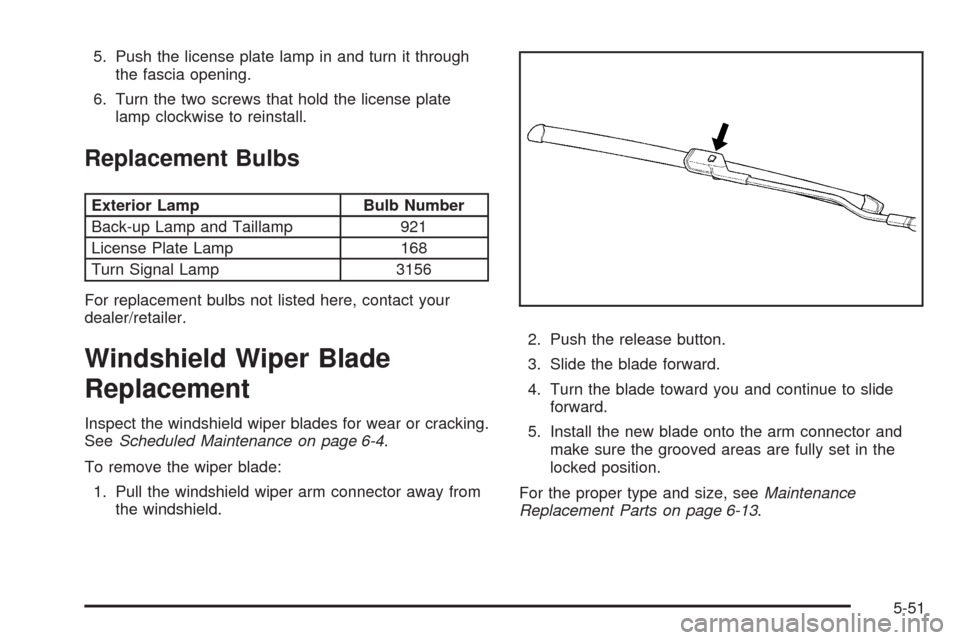
To replace the license plate lamp bulb:
1. Turn the two screws that hold the license plate lamp
assembly counterclockwise to remove them.
2. Turn and pull the license plate lamp forward
through the fascia opening.
3. Turn the bulb socket counterclockwise and pull the
bulb straight out of the socket.
4. Push the new bulb in and turn it clockwise to install.
5-50
Page 301 of 412
5. Push the license plate lamp in and turn it through
the fascia opening.
6. Turn the two screws that hold the license plate
lamp clockwise to reinstall.
Replacement Bulbs
Exterior Lamp Bulb Number
Back-up Lamp and Taillamp 921
License Plate Lamp 168
Turn Signal Lamp 3156
For replacement bulbs not listed here, contact your
dealer/retailer.
Windshield Wiper Blade
Replacement
Inspect the windshield wiper blades for wear or cracking.
SeeScheduled Maintenance on page 6-4.
To remove the wiper blade:
1. Pull the windshield wiper arm connector away from
the windshield.2. Push the release button.
3. Slide the blade forward.
4. Turn the blade toward you and continue to slide
forward.
5. Install the new blade onto the arm connector and
make sure the grooved areas are fully set in the
locked position.
For the proper type and size, seeMaintenance
Replacement Parts on page 6-13.
5-51
Page 329 of 412
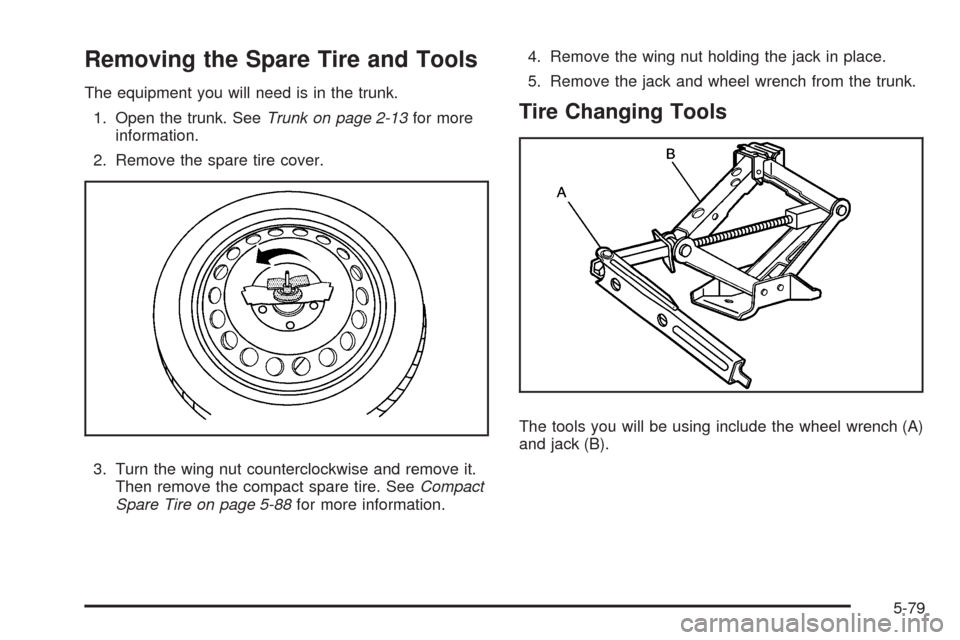
Removing the Spare Tire and Tools
The equipment you will need is in the trunk.
1. Open the trunk. SeeTrunk on page 2-13for more
information.
2. Remove the spare tire cover.
3. Turn the wing nut counterclockwise and remove it.
Then remove the compact spare tire. SeeCompact
Spare Tire on page 5-88for more information.4. Remove the wing nut holding the jack in place.
5. Remove the jack and wheel wrench from the trunk.
Tire Changing Tools
The tools you will be using include the wheel wrench (A)
and jack (B).
5-79
Page 330 of 412
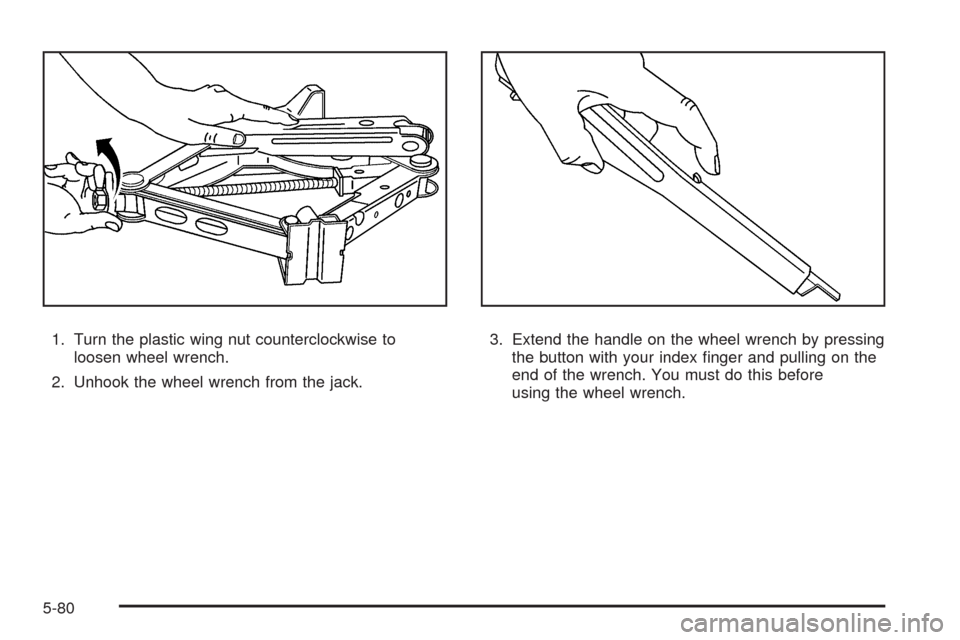
1. Turn the plastic wing nut counterclockwise to
loosen wheel wrench.
2. Unhook the wheel wrench from the jack.3. Extend the handle on the wheel wrench by pressing
the button with your index �nger and pulling on the
end of the wrench. You must do this before
using the wheel wrench.
5-80
Page 333 of 412
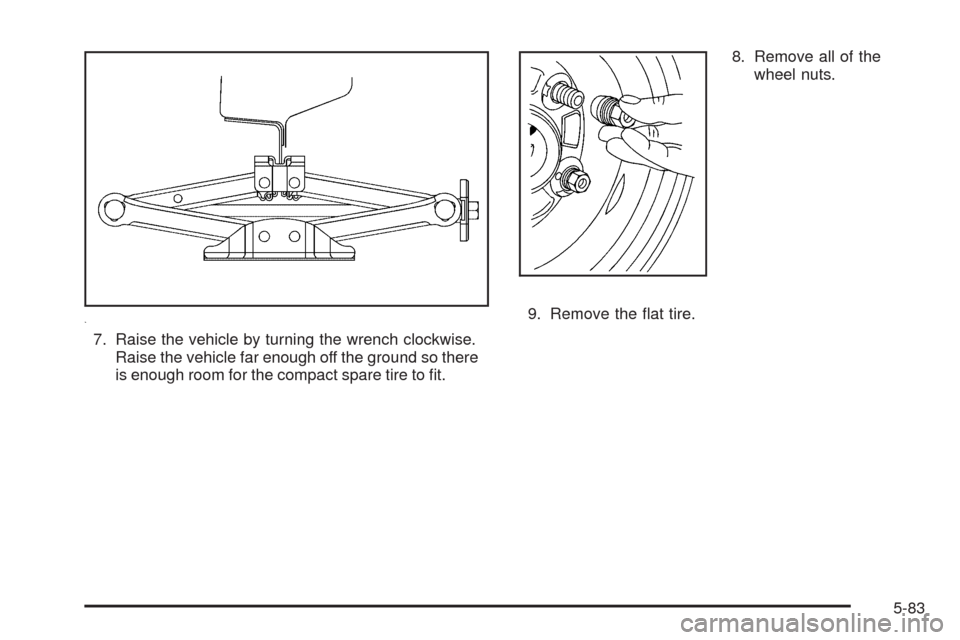
7. Raise the vehicle by turning the wrench clockwise.
Raise the vehicle far enough off the ground so there
is enough room for the compact spare tire to �t.8. Remove all of the
wheel nuts.
9. Remove the �at tire.
5-83
Page 335 of 412
{CAUTION:
Never use oil or grease on bolts or nuts.
Because the nuts might come loose. The
vehicle’s wheel could fall off, causing a crash.
12. Put the wheel nuts back on with the rounded end
toward the wheel. Tighten each nut by hand or
with the wrench until the wheel is held against
the hub.
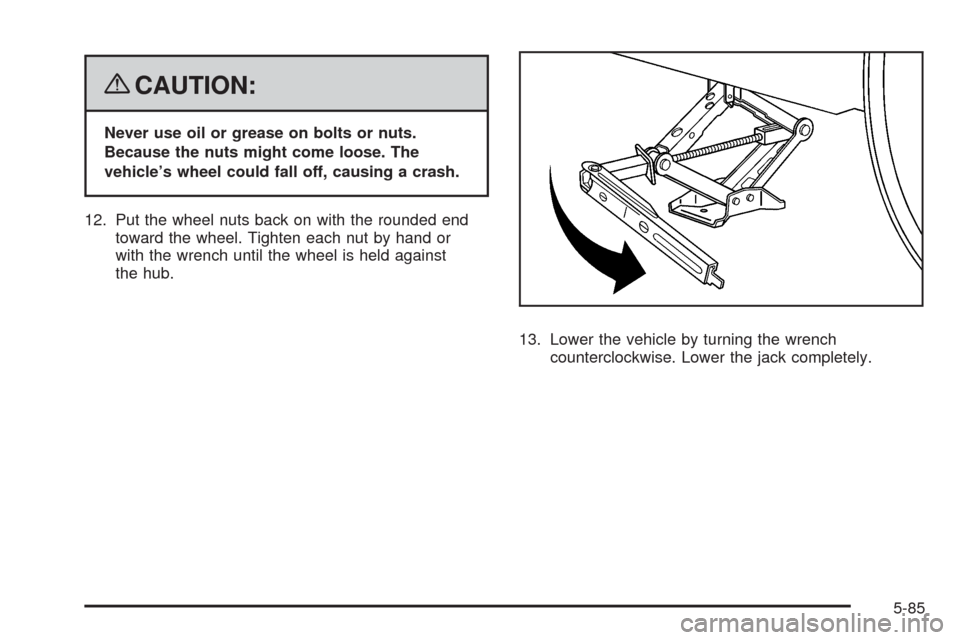
13. Lower the vehicle by turning the wrench
counterclockwise. Lower the jack completely.
5-85