service indicator CHEVROLET MONTE CARLO 1973 2.G Owners Manual
[x] Cancel search | Manufacturer: CHEVROLET, Model Year: 1973, Model line: MONTE CARLO, Model: CHEVROLET MONTE CARLO 1973 2.GPages: 86, PDF Size: 33.46 MB
Page 29 of 86
Downloaded from www.Manualslib.com manuals search engine Generator Indicator Light
This light provides a quick
check on the generating system
of your car. The red light will
go on when the ignition key
is
in the "on" position, but before
the engine
is started. After the
engine starts, the light should go
out and remain out.
If the light
remains on when engine
is run
ning , have your Authorized Chev
rolet Dealer locate and correct
the trouble
as soon as possible.
Engine Temperature
Indicator Light
This indicator light is provided
in the
instrument cluster to
quickly warn of an overheated
engine. With the ignition switch
in the
START position, the red
TEMP indicator will light to let
you know that it
is operating
properly. When the engine
is started, the red
light will go out immediately.
It will light up at no other time
unless for some reason the engine
reaches a dangerously high oper
ating temperature.
If the red light
should come on, the engine must
be stopped until the cause of the
overheating
is corrected. Glance
at instrument cluster frequently
as
you drive to see if this light is on.
Brake System Warning Light
The service brake system is
designed so that half of the brake
system will provide some braking
action in the event of a hydraulic
leak in the other half of the
sys
tem. If the warning light located
below the fuel gauge glows con
tinuously when the ignition
is on
and after the brakes have been
firmly applied, it may indicate that
there
is a malfunction in one half
of the brake hydraulic system.
27
• As a check on bulb condition
the light should glow with the
parking brake applied and the
ignition on. (Light
is also a
reminder to release parking
brake) .
• Have system repaired if light
does not come on during check.
• This warning light is not a sub
stitute for the visual check of
brake fluid level required
as
part of normal maintenance.
If the light glows red:
• The parking brake control is not
fully released or,
• The service brake system is
partially inoperative
What to do:
1. Check that the parking brake
is released. If it is ...
2. Pull off the road and stop,
carefully- remembering that:
Page 65 of 86
Downloaded from www.Manualslib.com manuals search engine Underinftation, incorrect toe or
camber and fast cornering produce
different types of abnormal wear
which
can be diagnosed by your
dealer.
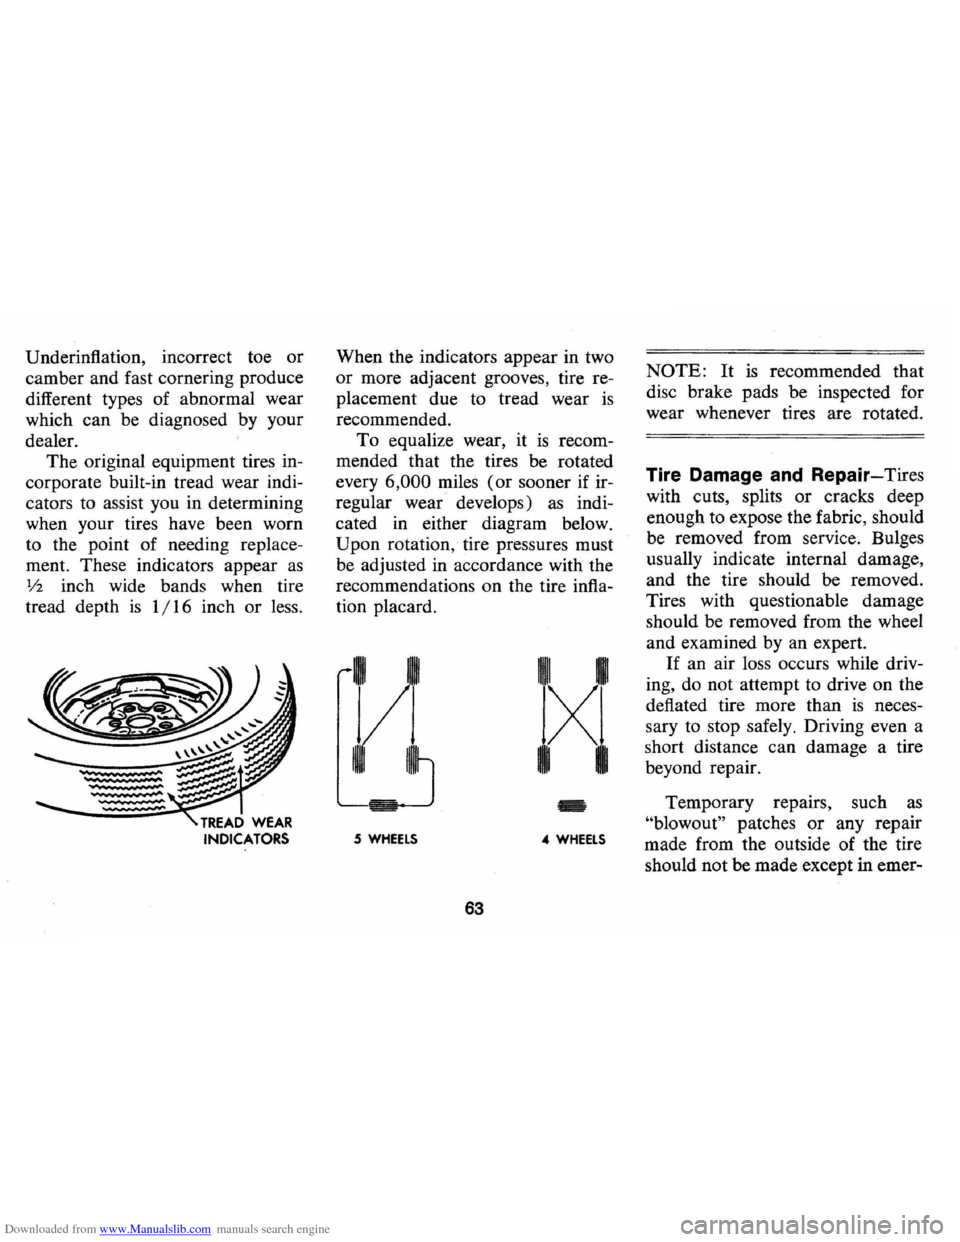
The original equipment tires in
corporate built-in tread wear indi
cators to assist you in determining
when your tires have been worn
to the point of needing replace
ment. These indicators appear
as
V2 inch wide bands when tire
tread depth
is 1/16 inch or less. When
the indicators appear in two
or more adjacent grooves, tire re
placement due to tread wear
is
recommended.
To equalize wear, it is recom
mended that the tires be rotated
every
6,000 miles (or sooner if ir
regular wear develops)
as indi
cated in either diagram below.
Upon rotation, tire pressures must
be adjusted in accordance with the
recommendations
on the tire infla
tion placard.
II I
Vi
..
5 WHEELS 4 WHEELS
63
NOTE: It is recommended that
disc brake pads be inspected for
wear whenever tires are rotated.
Tire Damage and Repair-Tires
with cuts, splits or cracks deep
enough to expose the fabric, should
be removed from service. Bulges
usually indicate internal damage,
and the tire should be removed.
Tires with questionable damage
should be removed from the wheel
and examined by an expert.
If an air loss occurs while driv
ing, do not attempt to drive on the
deflated tire more than
is neces
sary to stop safely. Driving even a
short distance
can damage a tire
beyond repair.
Temporary repairs, such as
"blowout" patches or any repair
made from the outside of the tire
should not be made except in emer-
Page 67 of 86
Downloaded from www.Manualslib.com manuals search engine sure that the wheels are equivalent
to those removed in diameter, rim
width and off-set.
Warranty
Tires are warranted by the tire
manufacturers
as covered in · the
New Vehicle Warranty and
Policy
on Owner Service folder furnished
with your vehicle. However, for
the added convenience of own
ers, many Chevrolet dealers are
equipped to handle tire warranty
adjustments on certain makes of
tires provided on 1973 Chevrolet
cars.
Tire Traction
A decrease in driving, corner
ing, and braking traction occurs
when water, snow, ice, gravel,
or
other material is on the road sur- face.
Driving practices and
car
speed should be adjusted to the
road conditions.
When driving on wet
or slushy
roads, it
is possible for a wedge of
water to build up between the tire
and road surface. This phenome
non, known as hydroplaning, may
cause partial
or complete loss of
traction, which adversely affects
vehicle control and stopping abil
ity.
To reduce the possibility of
traction loss, the following precau
tions should be observed:
1. Slow down during rainstorms
or when roads are slushy.
2. Slow down if road has standing
water
or puddles.
3. Replace tires when tread wear
indicators are visible.
65
4. Keep tires properly inflated.
For temporary assistance when
traction
is lost on ice or snow, the
use of
AC Liquid Tire Chain is
recommended.
Underbody Maintenance
The effects of salt and other
corrosive materials used for ice
and snow removal and dust con
trol can result in accelerated rust
ing and deterioration of under
body components such
as brake
and fuel lines, frame, underbody
floor pan, exhaust system, brack
ets, parking brake cables. These
corrosive effects, however,
can be
reduced by periodic flushing of the
underbody with plain water.
In
geographic areas having a heavy
concentration of such corrosive
materials, it
is recommended that
Page 68 of 86
Downloaded from www.Manualslib.com manuals search engine the complete underbody be in
spected and flushed at least once
each year, preferably after a win
ter's exposure. Particular attention
should be given to cleaning out
underbody members where dirt
and other foreign materials may
have collected.
If desired, your Chevrolet deal
er can perform this service for you.
In addition, he can provide recom
mendations on undercoating ma-terials
which will help protect
your
vehicle from corrosion.
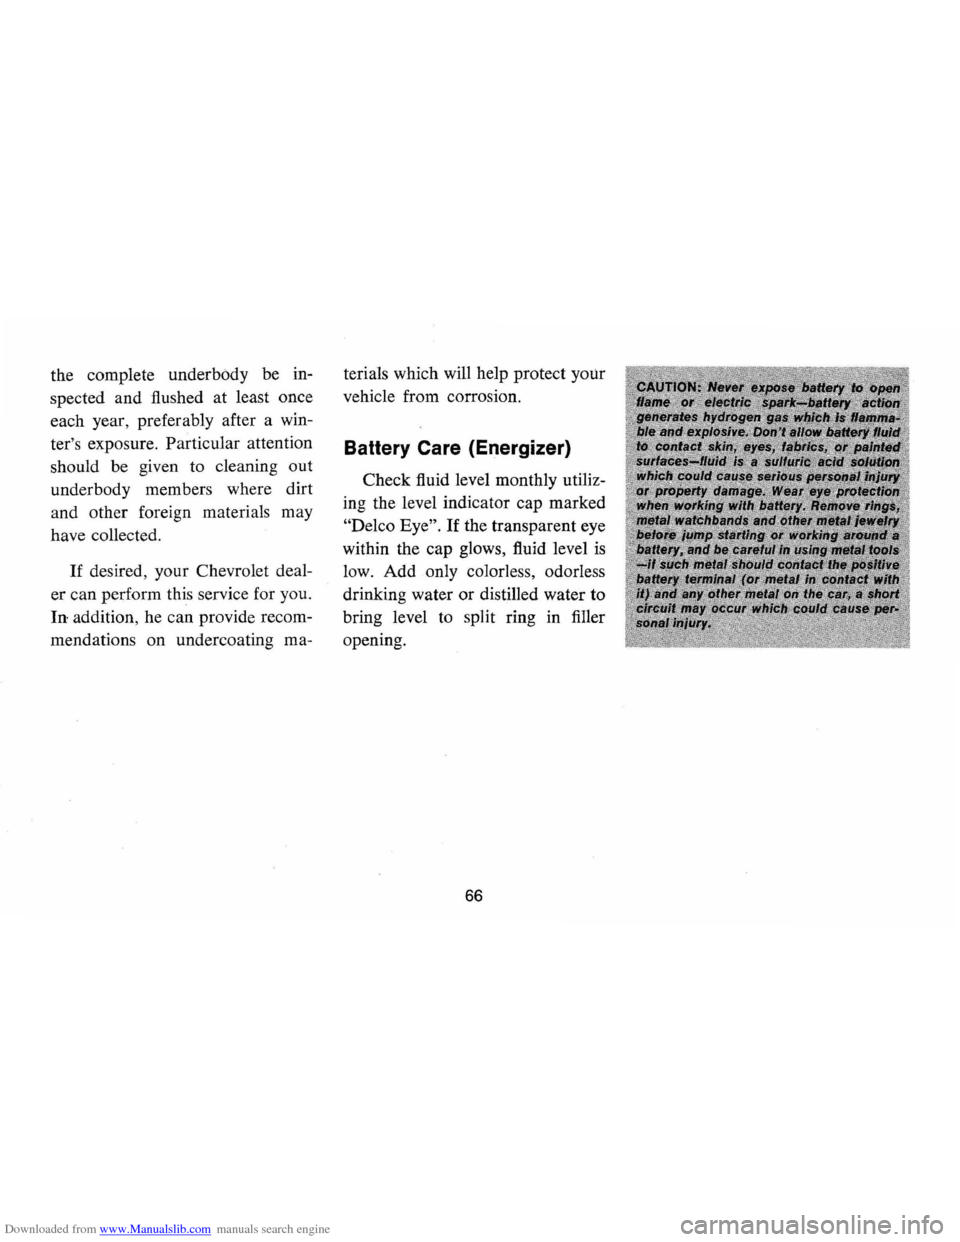
Battery Care (Energizer)
Check fluid level monthly utiliz
ing the level indicator cap marked
"Delco Eye". If the transparent eye
within the cap glows, fluid level
is
low. Add only colorless, odorless
drinking water or distilled water to
bring level to split ring in filler
opening.
66
Page 69 of 86
Downloaded from www.Manualslib.com manuals search engine the complete underbody be in
spected and flushed at least once
each year, preferably after a win
ter's exposure. Particular attention
should be given to cleaning out
underbody members where dirt
and other foreign materials may
have collected.
If desired, your Chevrolet deal
er can perform this service for you.
In addition, he can provide recom
mendations on undercoating ma-terials
which will help protect
your
vehicle from corrosion.
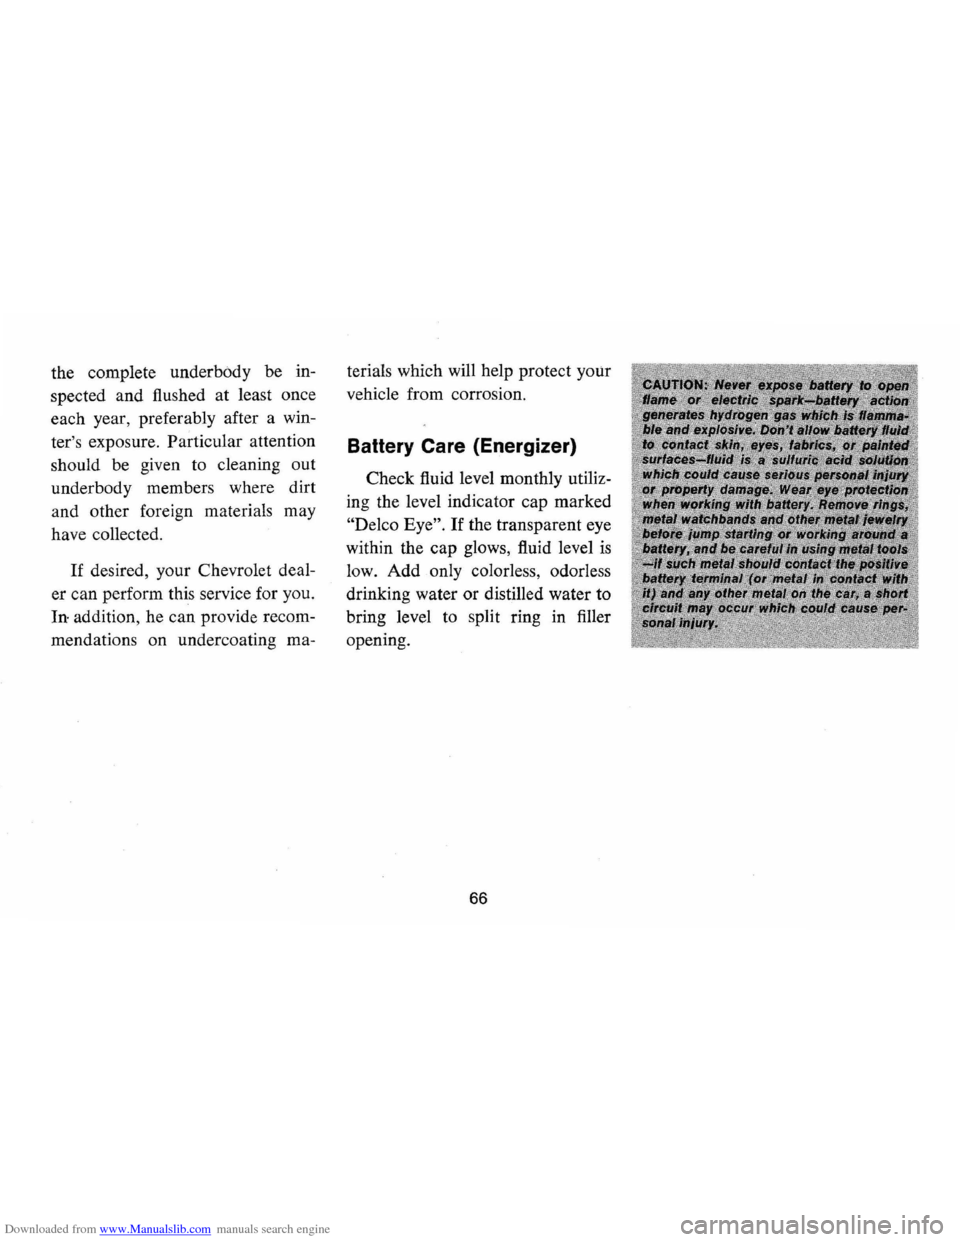
Battery Care (Energizer)
Check fluid level monthly utiliz
ing the level indicator cap marked
"Delco Eye". If the transparent eye
within the cap glows, fluid level
is
low. Add only colorless, odorless
drinking water or distilled water to
bring level to split ring in filler
opening.
66
Page 72 of 86
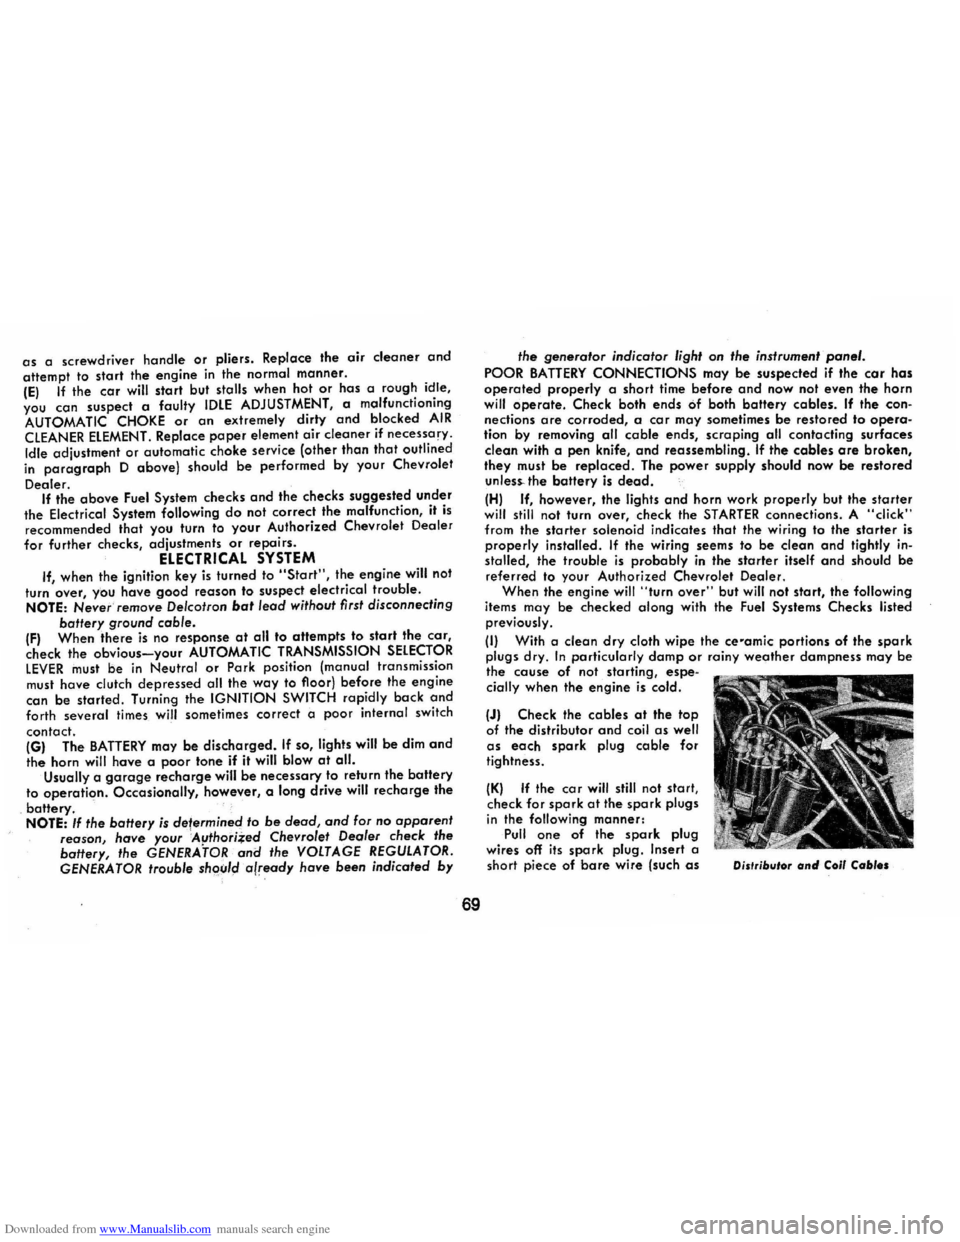
Downloaded from www.Manualslib.com manuals search engine as a screwdriver handle or pliers. Replace the oir cleaner and attempt to start the engine in the normal manner. (E) If the car will start but stalls when hot or has a rough idle, you can suspect a faulty IDLE ADJUSTMENT, a malfunctioning AUTOMATIC CHOKE or an extremely dirty and blocked AIR CLEANER ELEMENT. Replace paper element air cleaner if necessary. Idle adjustment or automatic choke service (other than that outlined in paragraph 0 above) should be performed by your Chevrolet
Dealer. If the above Fuel System checks and the checks suggested under
the Electrical System following do not correct the malfunction, it is recommended that you turn to your Authorized Chevrolet Dealer
for further checks, adjustments or repairs. ELECTRICAL SYSTEM If when the ignition key is turned to "Start", the engine will not turn' over, yOu have good reason to suspect electrical trouble. NOTE: Never'remove Delcotron bat lead without first disconnecting battery ground cable. IF) When there is no response at all to attempts to start the car,
check the obvious-your AUTOMATIC TRANSMISSION SELECTOR LEVER must be in Neutral or Park position (manual transmission
must have clutch depressed all the way to floor) before the engine
can be starfed. Turning the IGNITION SWITCH rapidly back and forth several times will sometimes correct a poor internal switch
contact.
(GI The BATTERY may be discharged. If so, lights will be dim and the horn will have a poor tone if it will blow at all.
Usually a garage recharge will be necessary to return the battery to operation. Occasionally, however, a long drive will recharge the battery. . , •
NOTE: If the baHery is determined to be dead, and for no apparent reason, have your :Aflthori~ed Chevrolet Dealer check the baHery, the GENERATOR and the VOLTAGE REGULATOR.
GENERATOR trouble shqiJld already have been indicated by
69
the generator indicator light on the instrument panel.
POOR BATTERY CONNECTIONS may be suspected if the car has operated properly a short time before and now not even the horn will operate. Check both ends of both battery cables. If the connections are corroded, a car may sometimes be restored to operation by removing all cable ends, scraping all contacting surfaces
clean with a pen knife, and reassembling. If the cables are broken,
they must be replaced. The power supply should now be restored unless-the battery is dead.
(HI If, however, the lights and horn work properly but the starter will still not turn over, check the STARTER connections. A "click" from the starter solenoid indicates that the wiring to the starter is properly installed. If the wiring seems to be clean and tightly installed, the trouble is probably in the starter itself and should be referred to your Authorized Chevrolet Dealer.
When the engine will "turn over" but will not start, the following
items may be checked along with the Fuel Systems Checks listed previously.
(II With a clean dry cloth wipe the ce-amic portions of the spark plugs dry. In particularly damp or rainy weather dampness may be the cause of not starting, espe
cially when the engine is cold.
(JI Check the cables at the top
of the distributor and coil as well as each spark plug cable for
tightness.
(KI If the car will still not start,
check for spark at the spark plugs in the following manner: Pull one of the spark plug
wires off its spark plug. Insert a
short piece of bare wire (such as Distributor and Coli Cables
Page 84 of 86
Downloaded from www.Manualslib.com manuals search engine Mirrors, Rear View Inside, Adjustment Up or Down.. .. .. 6 Inside, Day/Night. . :. . . . . . . . . . . . . . . . 6 Mountainous Terrain
Driving Down Grades ....... ........ 19 Transmission Fluid Change Interval. .. 54 "Neutral" (N) Transmission Range ..... 18 New Car Break-In. . . . . . . . . . . . . . . . . . . . 2 Oil Additives ........................ .'. 51 Change Interval, Engine ............. 51 Checking Engine Oil Level. .... .. , . .. 52 Engine ............................ 51 Filter .............................. 51 Pressure Indicator Light/Gauge. . . . . .. 29 Recommendations . . . . . . . . . . . . . . . . .. 51 Transmissions . . . . . . . . . . . . . . . . . . . . .. 54 Viscosity ........................... 51 Operation in Foreign Countries ......... 13 Other Controls and Features. . . . . . . . . .. 40 Outside
Air Vents ....................... ... 32 Overheated Engine
Indicator Light. . . . . . . . . . . . . . . . . . . .. 27 What To Do. . . . . . . . . . . . . . . . . . . . . .. 27 Overseas Operation. . . . . . . . . . . . . . . . . .. 13 Owner Assistance. . . . . . . . . . . . . . . . . . . .. 73 Paint Care .............................. 49 Touch Up ......................... 49 Parking Brake ............................. 23 Lights ............................. 28 "Park" (P) Transmission Position ..... 18 Precautions ...................... " 18 Polishing And Waxing ................. 48 Positive Traction Differential. .......... 40
Power Brakes ............. , .............. 23 Seats.. . . . . . . . . . . . . . . . . . . . . . . .. . . .. 5 Steering .. . . . . . . . . . . . . . . . . . . . . . . . .. 21 Windows........................ .. 5 Pressure, Tire Inflation. . . . • . . . . . . . . . .. 60 Preventive Maintenance ............. " 60 Pushing To Start. .......... .... ...... 41 Radiator Coolant ........................... 57 Coolant Level Inspection. . . . . . . . . . .. 57 Overheating ........................ 42 Pressure Cap. . . . . . . . . . . . . . . . . ... 42, 60 Radio AM/FM ...................... ..... 38 Antenna ........................... 38 Stereo ............................. 38 Tape System. . . . . . . . . . . . . . . . . . . . . .. 39 Raising Car With Jack.. . . . . . . . . . . . . .. 44
Rear Axle
.............................. 53 Speaker ........................... 38 Window Defogger. . . . . . . . . . . . . . . . .. 34 Rearview Mirrors, Inside. . . . . . . . . . . . . . 6 Registration, Vehicle Engine Number ............... , .... 71 . Vehicle Identification Number. ....... 71 Replacement Tires. . . . . . . . . . . . . . . . . . .. 64 Replacement Wheels. . . . . . . . . . . . . . . . .. 64 Release , Hood .......... Inside Back Cover
Restarting. . . . . . . . . . . . . . . . . . . . . . . . . .. 16 Restraints
Child .............................. 10 Head.............................. 6 Lap Belts.......................... 6
Methods Of Restraining Children .. • .. 10 Shoulder Belts. .. . . . . . . . . . . . . . . . . . . . 8
Rests, Head (See Head Restraints)
81
Retractors, Lap Belt. . . . . . . . . . . . . . . . .. 7 "Reverse" (R) Transmission Range 18 Roof Care, Vinyl. . . . . . . . . . . . . . . . . . . .. 49
Rotation, Tire.. . . . . . . . . . . . . . . . . . . . . .. 62 Safety Belts (Seat Belts). . . . . . . . . . . . . . . . . . . . 6 Carrier, Infant. .. . . . . . . . . . . . . . . . . . .. 10 Seat, Child.. . . . . . . . . . . . . . . . . . . . . . .. 10 Schedule Break-In... ...... .. ...... .... .. .... 2 Maintenance. . . . . . . . . . . . . . . . . . . . . .. 50 Seat Adjustment, Manual. . . . . . . . . . . . . . .. 4
Adjustment, Power.... .. .... .. .... .. 5 Back Latch, Folding Front. . . . . . . . . .. 4 Child Safety.. .. .. . .. . . . . . . . .. .. . ... 10 Head Restraints. . . . . . . . . . . . . . . . . . . . 6 Seat Belts
Child Restraint. . . . . . . . . . . . . . . . . . . .. 10 Inspection and Care ......... ....... , 9
Lap ... , .................... ....... 6 Retractors. . . . . . . . . . . . . . . . . . . . . . . .. 7 Shoulder........................... 8
Self-Adjusting Brakes. . . . . . . . . . . . . . . .. 24 Service and Maintenance . . . . . . . . . . . . .. 50 Shift Linkage Maintenance ............... 55 Operation (See Transmission)
Shoulder Belts Adjustment. . . . . . . . . . . . . 8 Side Marker Lights .................. . Signals, Turn ......................... 20 Solvents, Recommended Cleaning. . • . . .. 46 Sound Systems (See Radio) Spare Tire
Jacking Instructions ... , ............. 46 Spark Knock (See Fuel
Recommendations)
Speaker, Rear ........................ 38