CHEVROLET MONTE CARLO 1995 5.G Owners Manual
Manufacturer: CHEVROLET, Model Year: 1995, Model line: MONTE CARLO, Model: CHEVROLET MONTE CARLO 1995 5.GPages: 324, PDF Size: 16.74 MB
Page 91 of 324
Downloaded from www.Manualslib.com manuals search engine Manual Outside Mirrors Convex Outside Mirror
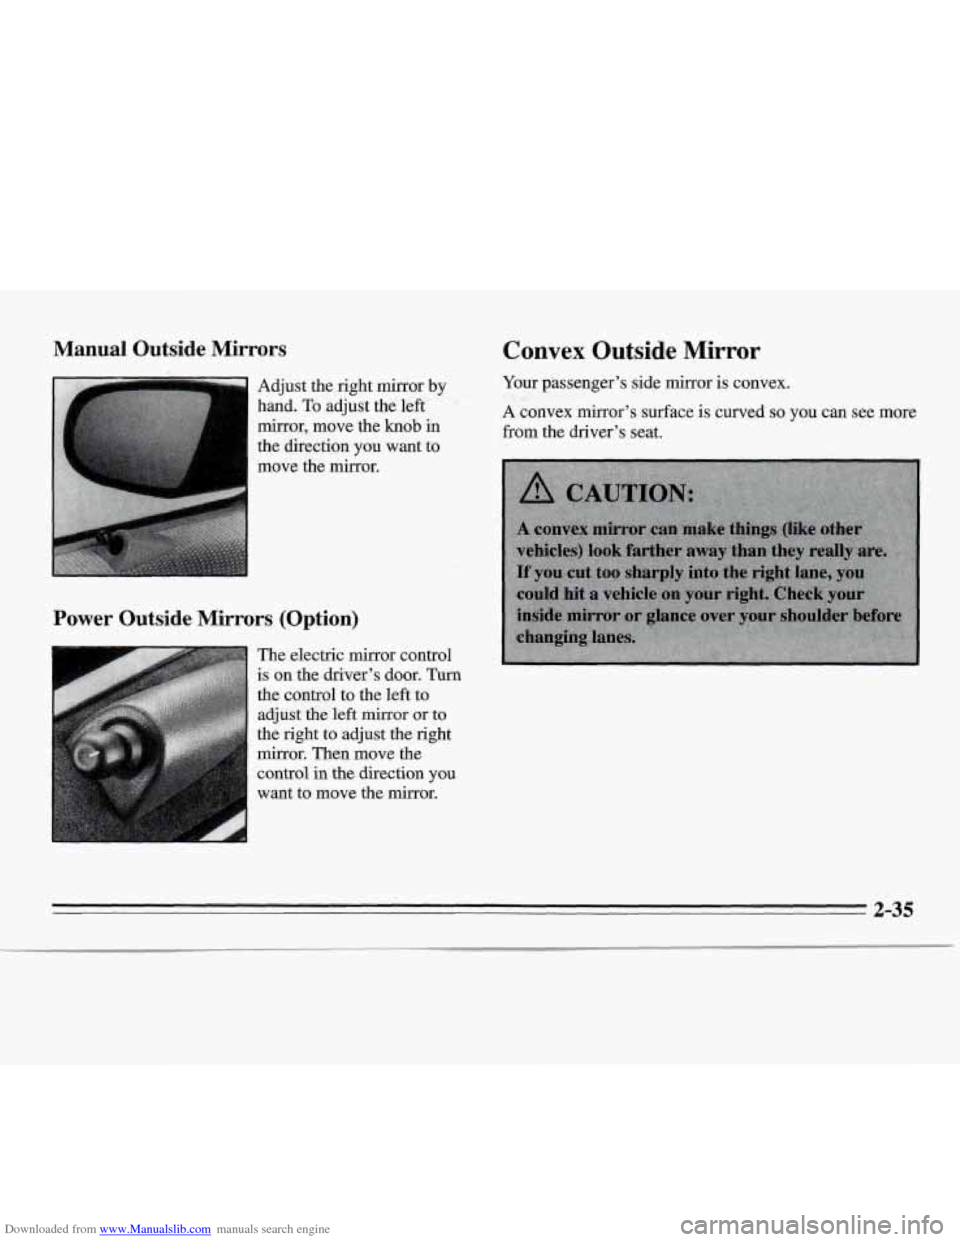
Adjust the right mirror by
hand. To adjust the left
mirror, move the knob in
the direction you want to
Power Outside Mirrors (Option)
The electric mirror control
is on the driver’s door. Turn
the. control to the left to
adjust the left mirror or to
the right to adjust the right
mirror. Then move the
control in
the direction you
want to move the mirror.
Your passenger’s side mirror is convex.
A convex mirror’s surface is curved so you can see more
from the driver’s seat.
2-35
Page 92 of 324
Downloaded from www.Manualslib.com manuals search engine Convenience Net (Option)
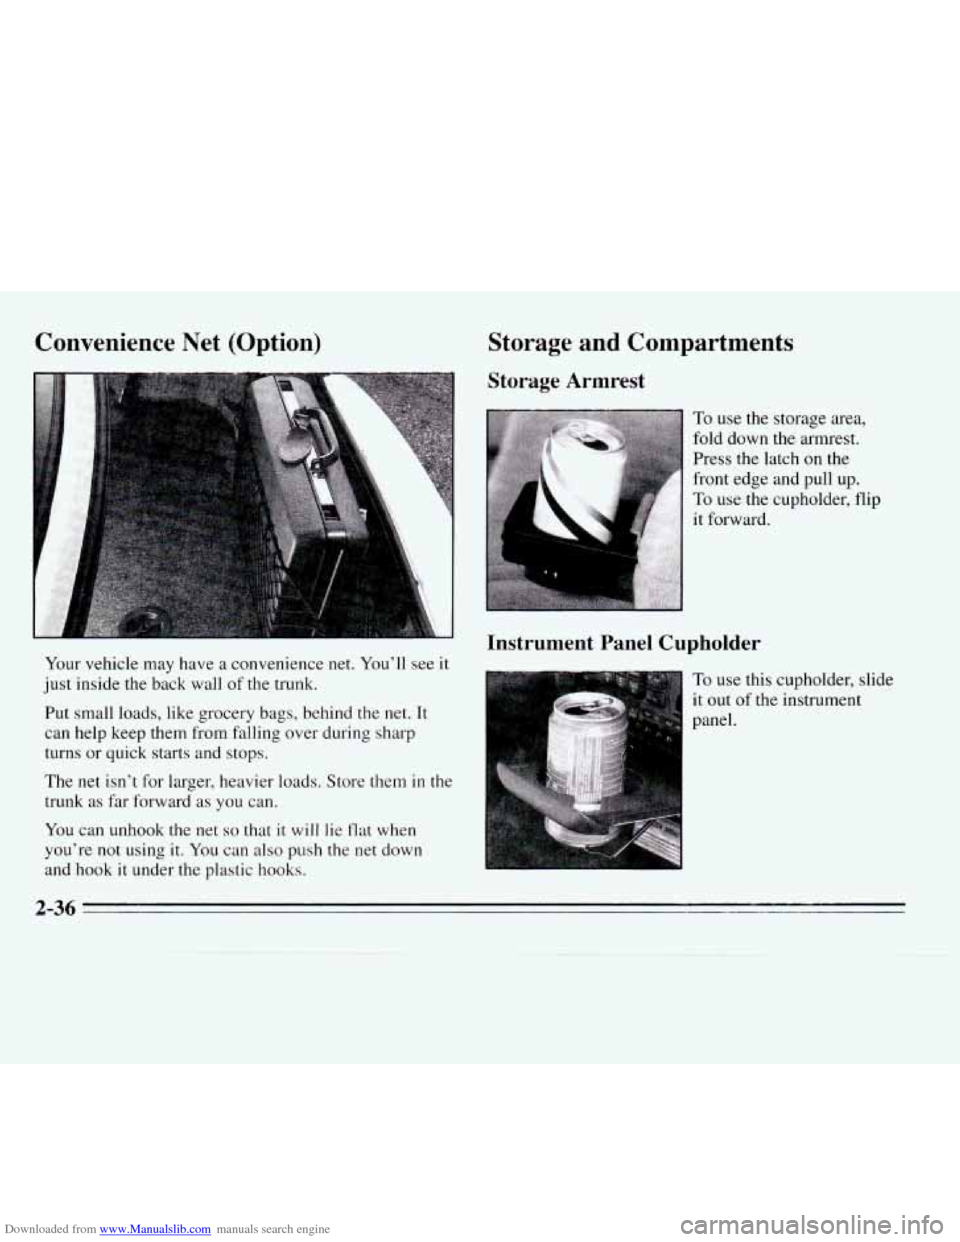
Your vehicle may have a convenience net. You’ll see it
just inside the back wall
of the trunk.
Put small loads, like grocery bags, behind the net. It
can help keep them from falling over during sharp
turns or quick starts and stops.
The net isn’t for larger, heavier loads. Store them
in the
trunk
as far forward as you can.
You can unhook the net so that it will lie flat when
you’re not using it. You can also
push the net down
and
hook it under the plastic hooks.
Storage and Compartments
Storage Armrest
To use the storage area,
fold down the armrest.
Press the latch
on the
front edge and pull up.
To use the cupholder, flip
it forward.
Instrument Panel Cupholder
To use this cupholder, slide
it out of the instrument
panel.
2-36 .-
Page 93 of 324
Downloaded from www.Manualslib.com manuals search engine Door Storage Compartments
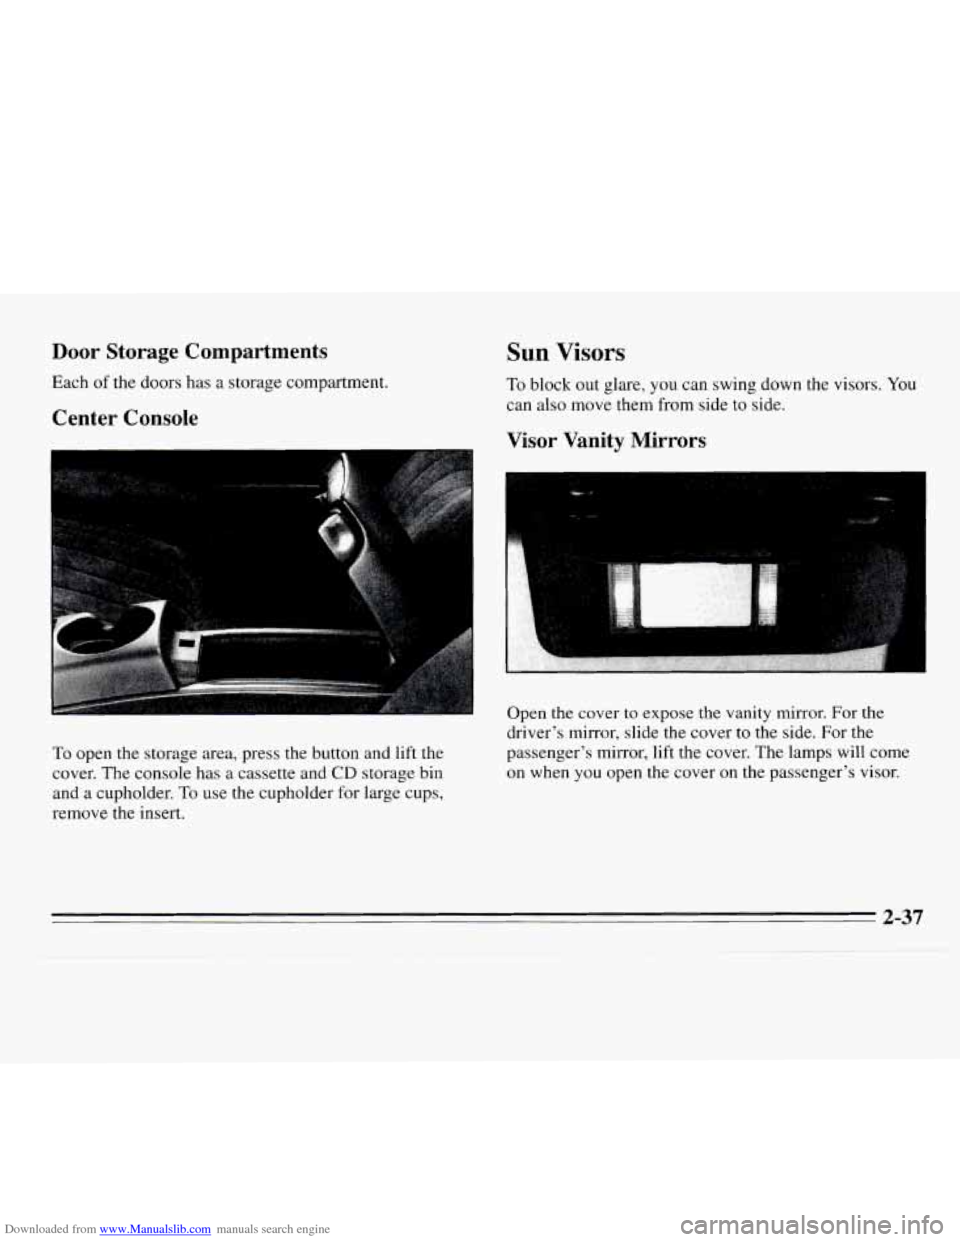
Each of the doors has a storage compartment.
Center Console
To open the storage area, press the button and lift the
cover. The console has a cassette and
CD storage bin
and a cupholder. To use the cupholder for large cups,
remove the insert.
Sun Visors
To block out glare, you can swing down the visors. You
can also move them from side to side.
Visor Vanity Mirrors
Open the cover to expose the vanity mirror. For the
driver's mirror, slide the cover to the side. For the
passenger's mirror, lift the cover. The lamps will come
on when you open the cover on the passenger's visor.
2-37
Page 94 of 324
Downloaded from www.Manualslib.com manuals search engine Ashtrays and Lighter
Center Front Ashtray
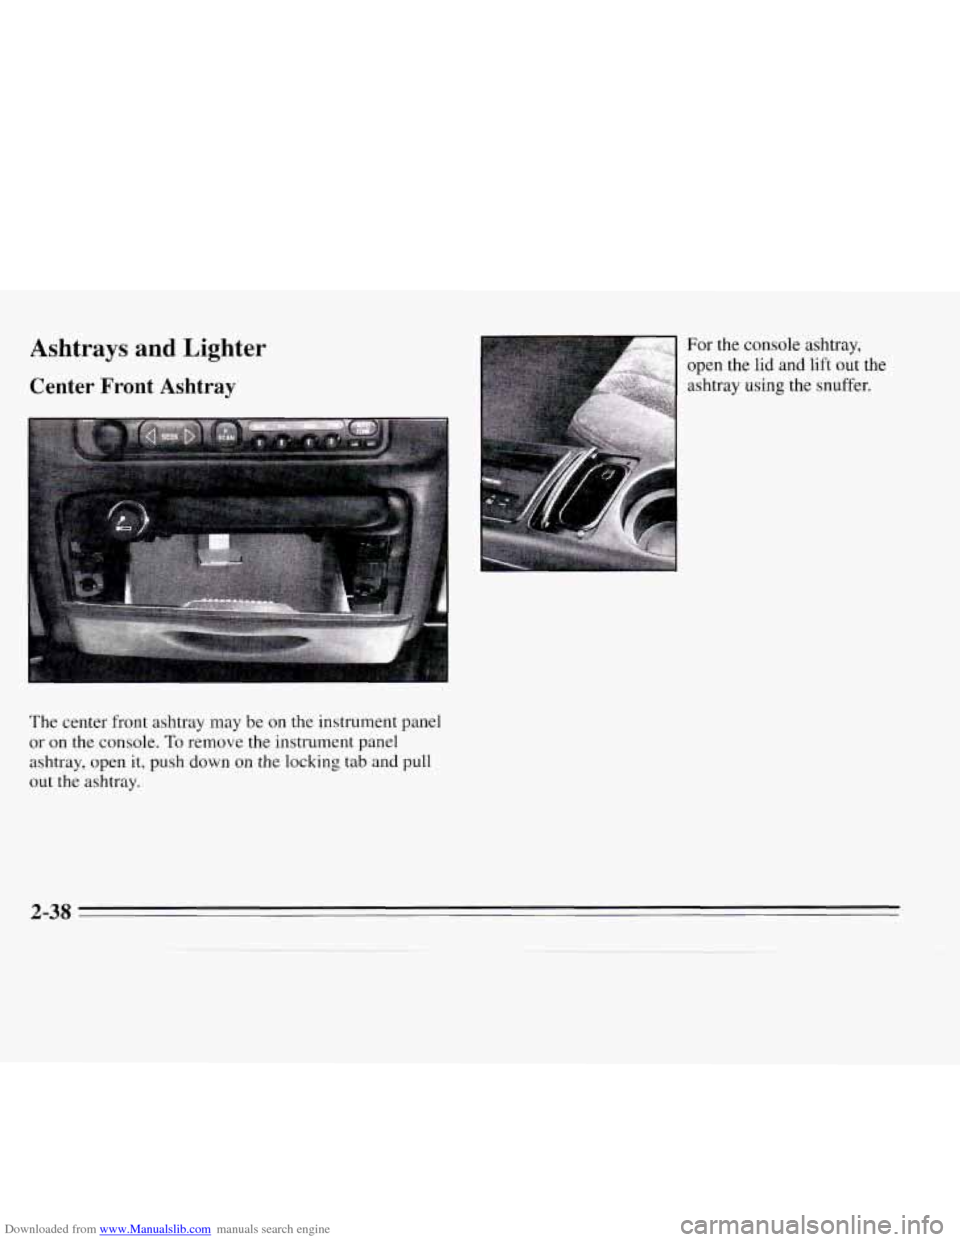
The center front ashtray may be on the instrument panel
or on
the console. To remove the instrument panel
ashtray, open it, push down on the locking tab
and pull
out the ashtray. For the
console ashtray,
open the
lid and lift out the
ashtray
using the snuffer.
2-38
Page 95 of 324
Downloaded from www.Manualslib.com manuals search engine Rear Ashtray
Your vehicle may have a rear ashtray. To remove the
rear ashtray, open it, push down
on the snuffer and pull
the ashtray out.
I NOTICE:
Don’t put papers and other things that burn into
your ashtrays. If you do, cigarettes or other
smoking materials could set them on fire, causing
damage.
Cigarette Lighter
To use the lighter, just push it in all the way and let go.
When it’s ready, it will pop back by itself.
t
NOTICE:
Don’t hold a cigarette lighter in with your hand
while
it is heating. If you do, it won’t be able to
back away from the heating element when
it’s
ready. That can make it overheat, damaging the
lighter and the heating element.
2-39
Page 96 of 324
Downloaded from www.Manualslib.com manuals search engine Instrument Panel -- Your Information System
1 I
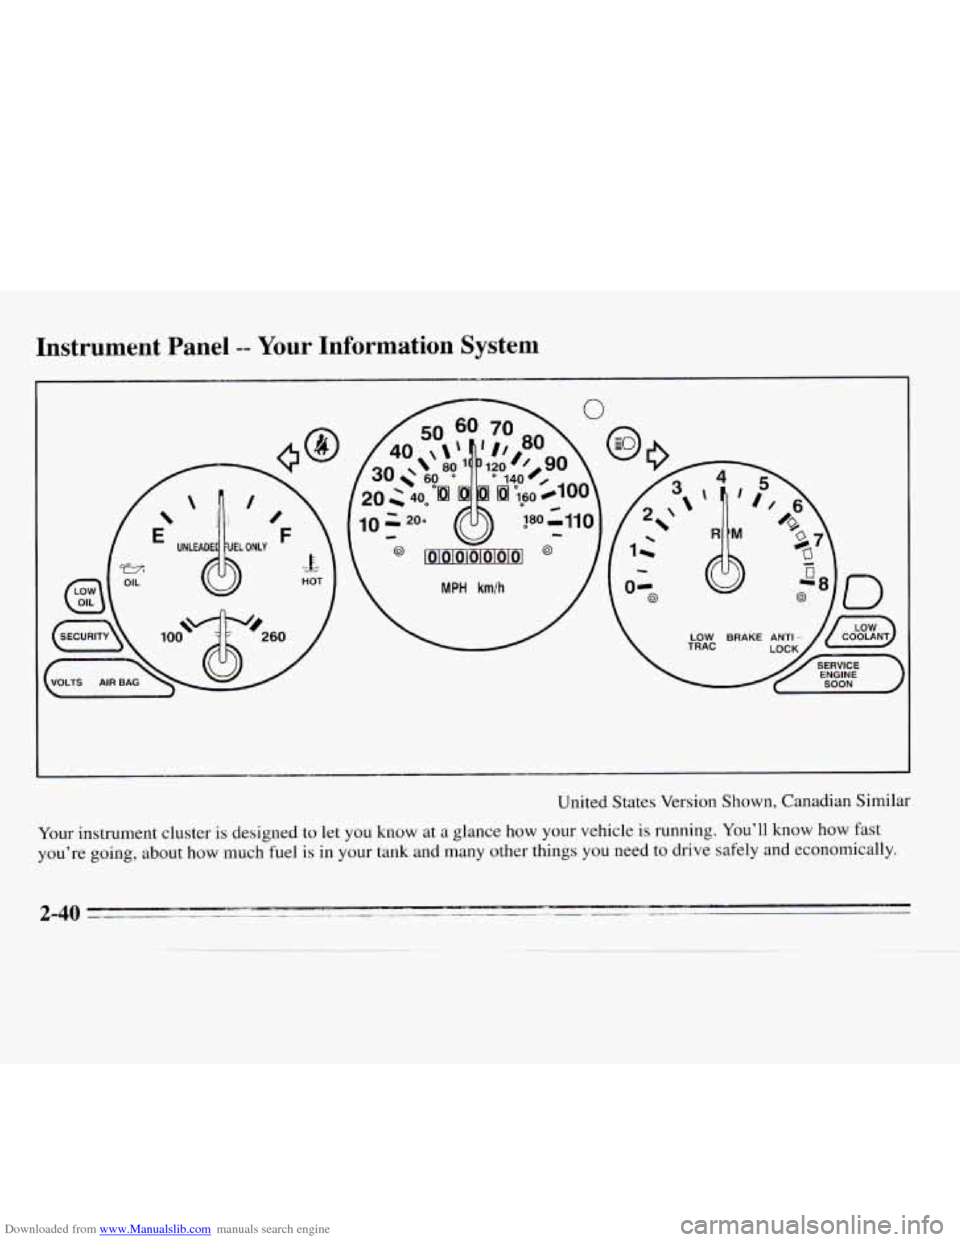
United States Version Shown, Canadian Similar
Your instrument cluster is designed to let
you know at a glance how your vehicle is running. You’ll know how fast
you’re eoing, about
how much fuel is in your tank and many other things you need to drive safely and economically.
Page 97 of 324
Downloaded from www.Manualslib.com manuals search engine Speedometer/Odometer
Your speedometer lets you see your speed in both miles
per hour (mph) and kilometers per hour (kdh). Your
odometer shows how far your vehicle has been driven in
either miles (used in the United States) or in kilometers
(used
in Canada).
Your Chevrolet has a tamper-resistant odometer.
If you
see silver lines between the numbers, you’ll know
someone has probably tampered with
it and the numbers
may
not be true.
You may wonder what happens
if your vehicle needs a
new odometer installed. If the new one can be set to the
mileage total
of the old odometer, then it must be. But if
it can’t, then it’s set at zero and a label must be put on
the driver’s door to show the old mileage reading when
the new odometer was installed.
Trip Odometer
Your trip odometer tells how far you have driven since
you last reset it.
To set it to zero, press the reset button.
Tachometer
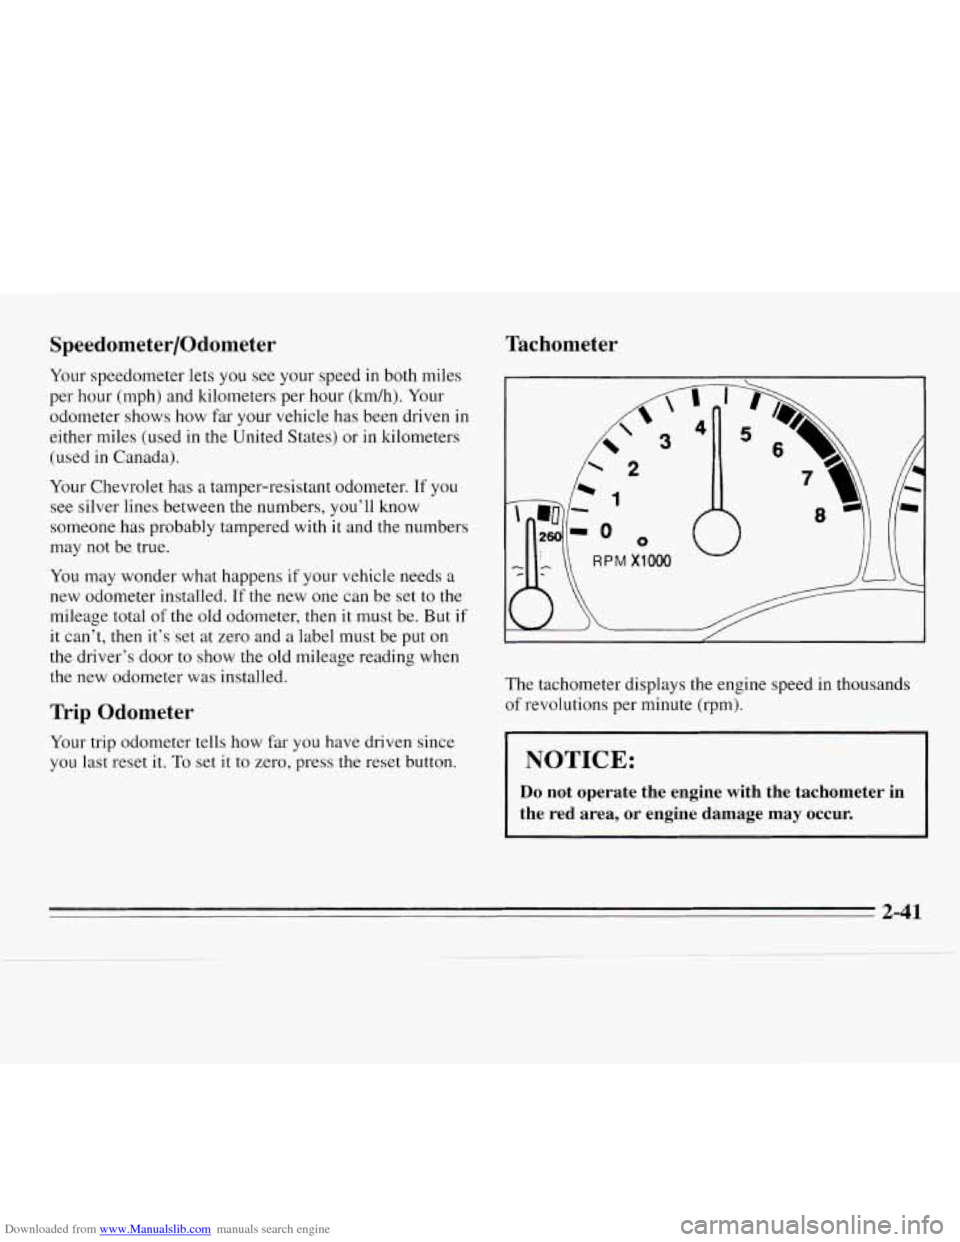
The tachometer displays the engine speed in thousands
of revolutions per minute (rpm).
NOTICE:
Do not operate the engine with the tachometer in
the red area, or engine damage may occur.
2-41
Page 98 of 324
Downloaded from www.Manualslib.com manuals search engine Warning Lights, Gages and
Indicators
This part describes the warning lights and gages that
may be on your vehicle. The pictures will help you
locate them.
Warning lights and gages can signal that something is
wrong before
it becomes serious enough to cause an
expensive repair or replacement. Paying attention to
your warning lights and gages could also save you or
others from injury.
Warning lights come on when there may be or is a
problem with one of your vehicle’s functions.
As you
will see in the details on the next few pages, some
warning lights come on briefly when you start the
engine
just to let you know they’re working. If you are
familiar with this section, you should
not be alarmed
when this happens. Gages can indicate
when there may be or is
a problem
with one
of your vehicle’s functions. Often gages and
warning lights work together to let you know when
there’s a problem with your vehicle.
When one
of the warning lights comes on and stays on
when you are driving, or when one of the gages shows
there may be a problem, check the section that tells you
what to do about it. Please follow this manual’s advice.
Waiting to
do repairs can be costly -- and even
dangerous.
So please get to know your warning lights
and gages. They’re a big help.
2-42
Page 99 of 324
Downloaded from www.Manualslib.com manuals search engine Charging System Light
Fuel Gage
E F
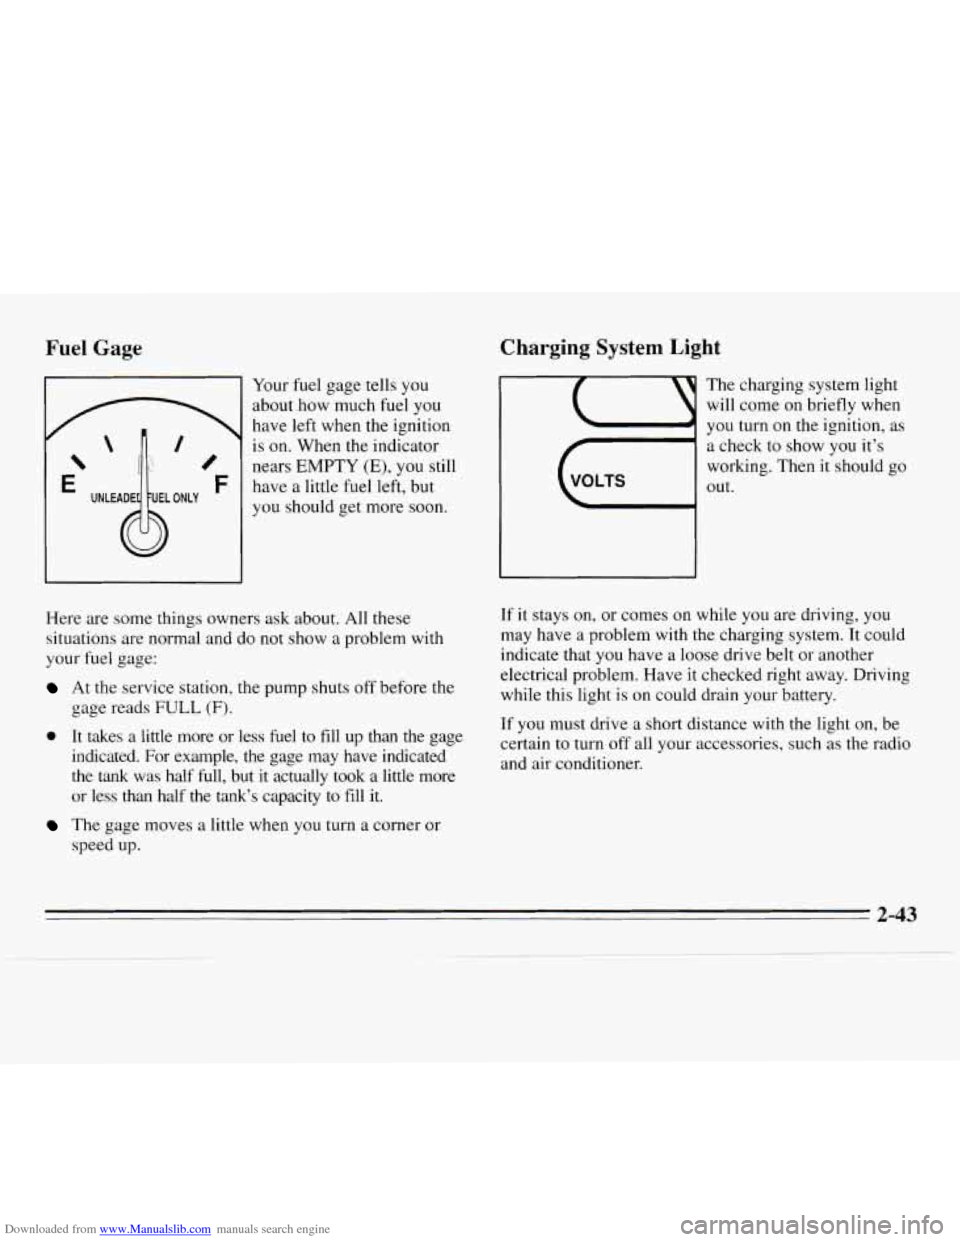
Your fuel gage tells you
about how much fuel you
have left when the ignition
is on. When the indicator
nears EMPTY
(E), you still
have a little fuel left, but
you should get more soon.
Here are some things owners ask about. All these
situations are normal and do not show a problem with
your fuel gage:
At the service station, the pump shuts off before the
gage reads
FULL (F).
0 It takes a little more or less fuel to fill up than the gage
indicated. For example, the gage may have indicated
the tank was half full, but it actually took a little more
or less than half
the tank’s capacity to fill it.
The gage moves a little when you turn a corner or
speed
up.
c7
VOLTS
The
will
YOU
charging system light
come on briefly when
turn on the ignition, as
a check to show you it’s
working. Then it should go
out.
If it stays on, or comes on while you are driving, you
may have a problem with the charging system. It could
indicate that you have a loose drive belt or another
electrical problem. Have it checked right away. Driving
while this light is
on could drain your battery.
If you must drive a short distance with the light on, be
certain to turn
off all your accessories, such as the radio
and air conditioner.
2-43
Page 100 of 324
Downloaded from www.Manualslib.com manuals search engine Safety Belt Reminder Light
8
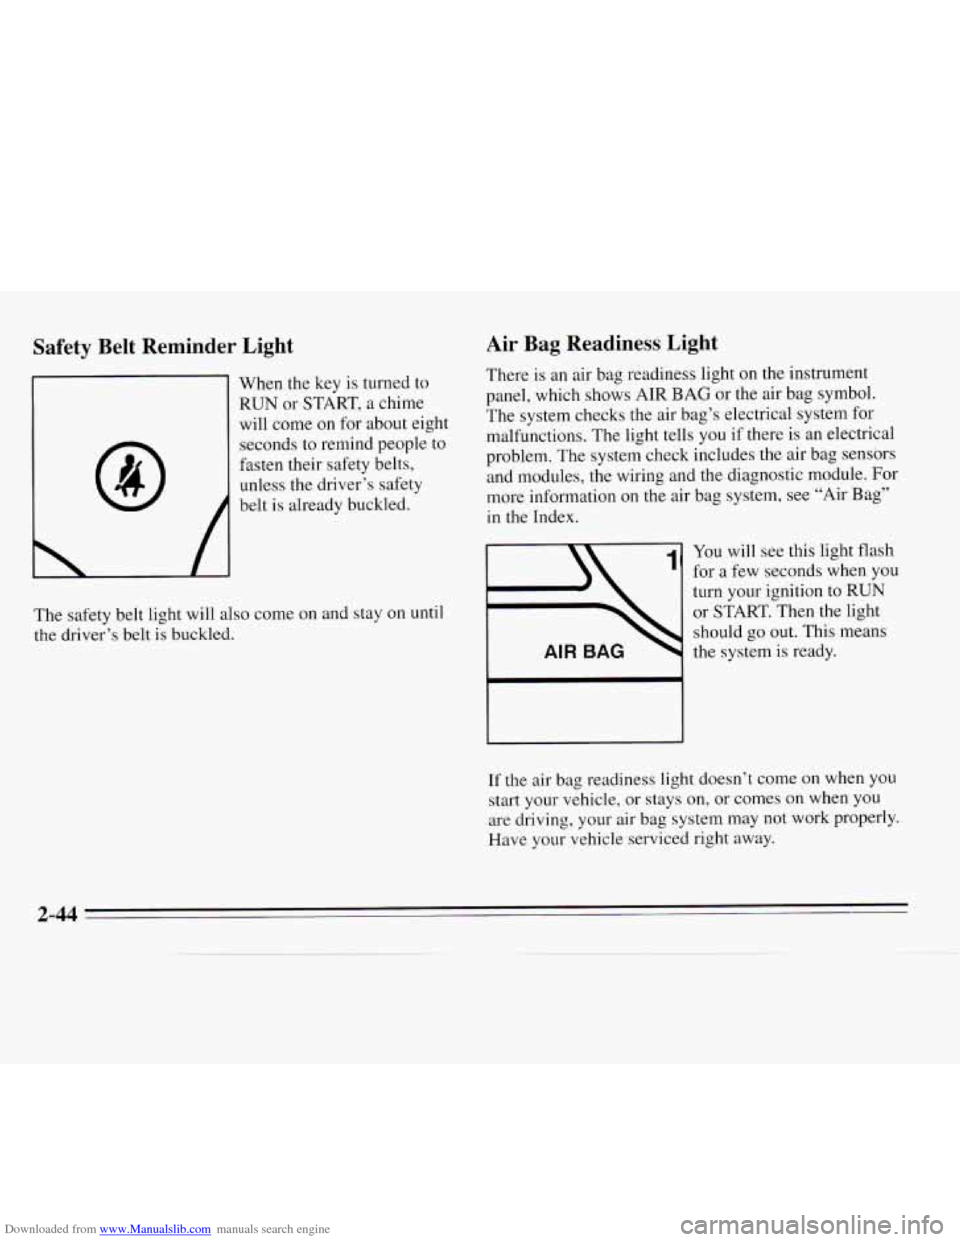
When the key is turned to
RUN or START, a chime
will come on for about eight
seconds
to remind people to
fasten their safety belts,
unless the driver’s safety
belt is already buckled.
The safety belt light will also come on and stay on
until
the driver’s belt is buckled.
Air Bag Readiness Light
There is an air bag readiness light on the instrument
panel, which shows AIR
BAG or the air bag symbol.
The system checks the air bag’s electrical system for
malfunctions.
The light tells you if there is an electrical
problem. The system check includes the air bag sensors
and modules, the wiring and the diagnostic module. For
more information on the air bag system, see “Air Bag”
in the Index.
You will see this light flash
for
a few seconds when you
turn your ignition to RUN
or START. Then the light
should go out. This means
the system is ready.
1
If the air bag readiness light doesn’t come on when you
start your vehicle, or
stays on, or comes on when you
are driving, your air bag system may not work properly.
Have your vehicle serviced right away.
2-44