seats CHEVROLET MONTE CARLO 1995 5.G Owners Manual
[x] Cancel search | Manufacturer: CHEVROLET, Model Year: 1995, Model line: MONTE CARLO, Model: CHEVROLET MONTE CARLO 1995 5.GPages: 324, PDF Size: 16.74 MB
Page 3 of 324
Downloaded from www.Manualslib.com manuals search engine 0 1995 Chevrolet Monte Carlo Owner's Manual
Seats and Restraint Systems .............................................................. 1-1
Featuresandcontrols .................................................................. 2-1
Comfort Controls and Audio Systems ..................................................... 3-1
This section tells you how to use your scats and safety belts properly. It also explains the air bag system.
This section explains how
to start and operate your Chevrolet.
This section tells you how
to adjust the ventilation and comfort controls and how to operate your
sound system.
Here
you'll find helpful inforlnation and tips about the road and how to drive under different conditions.
This section tells you what
to do if you have a problem while driving. such as a flat tire or engine
overheating, etc.
Here the
~nanual tells you how to keep your Chevrolet running properly and looking good.
This section tells you when
to perform vehicle maintenance and what tluids and lubricants to use.
This section tells you how to contact Chevrolet for assistance and how to get service publications. It also
gives you information on "Reporting Safety Defects" on page 8-4.
Here's an alphabetical listing of almost every subject in this manual. You can use it to quickly find
something you want to read.
Your Driving and the Road .............................................................. 4-1
Problems on the Road .................................................................. 5-1
Service and Appearance Care.. .......................................................... 6-1
Maintenanceschedule .................................................................. 7-1
Customer Assistance Information ........................................................ 8-1
Index ........................................................................\
......... 9-1
1
Page 11 of 324
Downloaded from www.Manualslib.com manuals search engine 0 Section I Seats and Restraint Systems
Here you’ll find information about the seats in your
Chevrolet and how to use your safety belts properly.
You can also learn about some things you should not do
with air bags and safety belts.
Seats and Seat Controls
This section tells you how to adjust the seats and
explains reclining seatbacks, folding rear seats and head
restraints.
Manual Front Seat
1-1
Page 21 of 324
Downloaded from www.Manualslib.com manuals search engine I
How to Wear Safety Belts Properly
Adults
This part is only for people of adult size.
Be aware that there are special things to know about
safety belts and children. And there are different rules
for smaller children and babies.
If a child will be riding
in your Chevrolet, see the part
of this manual called
“Children.” Follow those rules for everyone’s
protection.
First, you’ll want to know which restraint systems your
vehicle has.
We’ll start with the driver position.
Driver Position
This part describes the driver’s restraint system.
Lap-Shoulder Belt
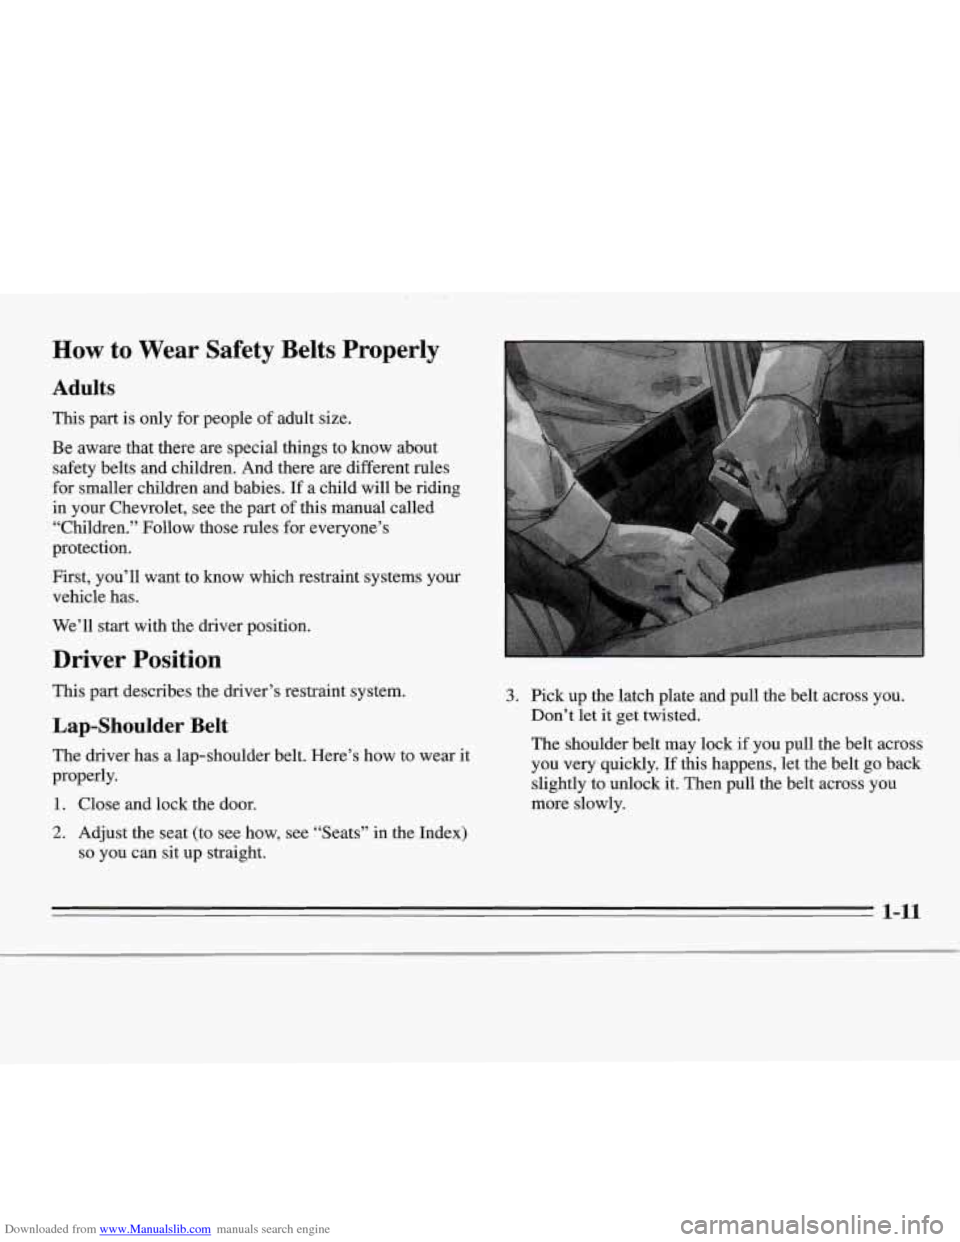
The driver has a lap-shoulder belt. Here’s how to wear it
properly.
1. Close and lock the door.
2. Adjust the seat (to see how, see “Seats” in the Index)
so you can sit up straight.
3. Pick up the latch plate and pull the belt across you.
Don’t let it get twisted.
The shoulder belt may lock
if you pull the belt across
you very quickly.
If this happens, let the belt go back
slightly to unlock
it. Then pull the belt across you
more slowly.
1-11
Page 50 of 324
Downloaded from www.Manualslib.com manuals search engine You’ll be using the lap-shoulder belt. See the earlier part
about the top strap if the child restraint has one.
1.
2.
3.
4.
Because your vehicle has a right front passenger air
bag, always move the seat as far back as it will go
before securing
a forward-facing child restraint. (See
“Seats’’ in the Index.)
Put the restraint on the seat. Follow the instructions
for the child restraint.
Secure
the child in the child restraint as the
instructions say.
Pick up the latch plate, and run the lap and shoulder
portions
of the vehicle’s safety belt through or
around the restraint. The child restraint instructions
will show you how.
If the shoulder belt goes in front
of the child’s face or
neck, put it behind the child restraint.
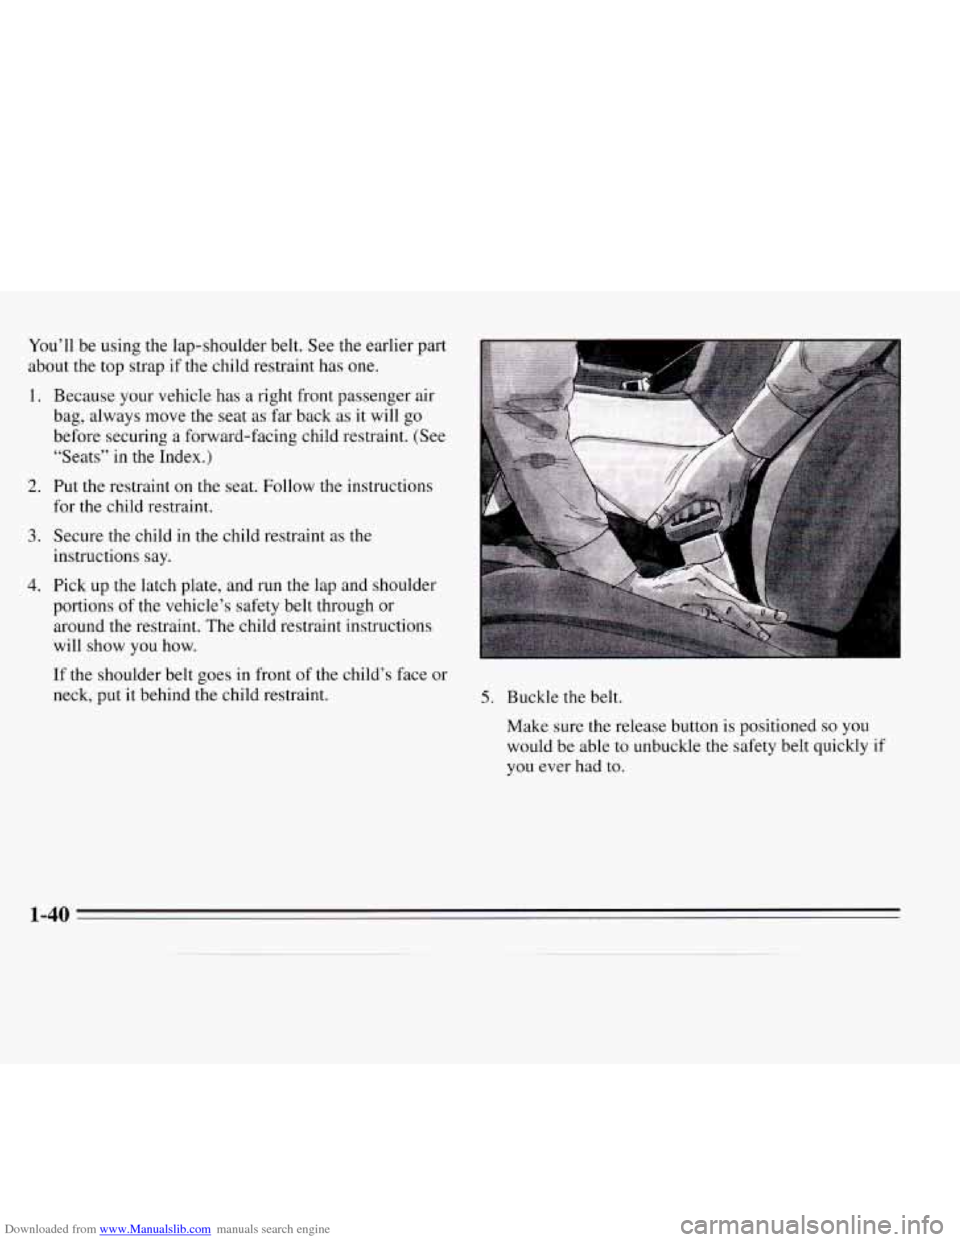
5. Buckle the belt.
Make sure the release button is positioned
so you
would be able to unbuckle the safety belt quickly if
you ever had to.
1-40
Page 70 of 324
Downloaded from www.Manualslib.com manuals search engine Automatic Transaxle
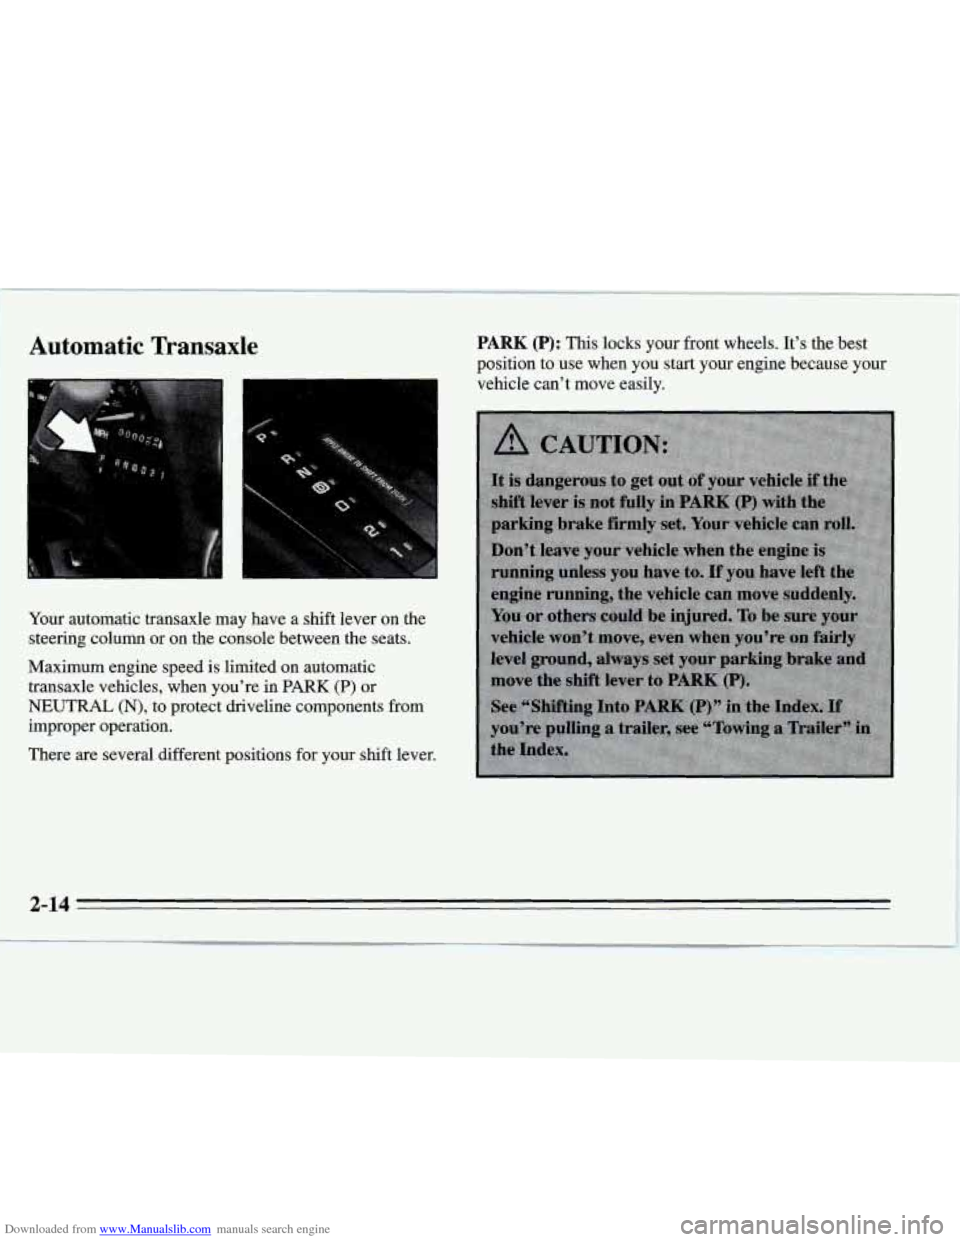
Your automatic transaxle may have a shift lever on the
steering column or on the console between the seats.
Maximum engine speed is limited on automatic
transaxle vehicles, when you’re in
PARK (P) or
NEUTRAL (N), to protect driveline components from
improper operation.
There are several different positions for your shift lever.
PARK (P): This locks your front wheels. It’s the best
position
to use when you start your engine because your
vehicle can’t move easily.
2-14
Page 114 of 324
Downloaded from www.Manualslib.com manuals search engine Rear Window Defogger
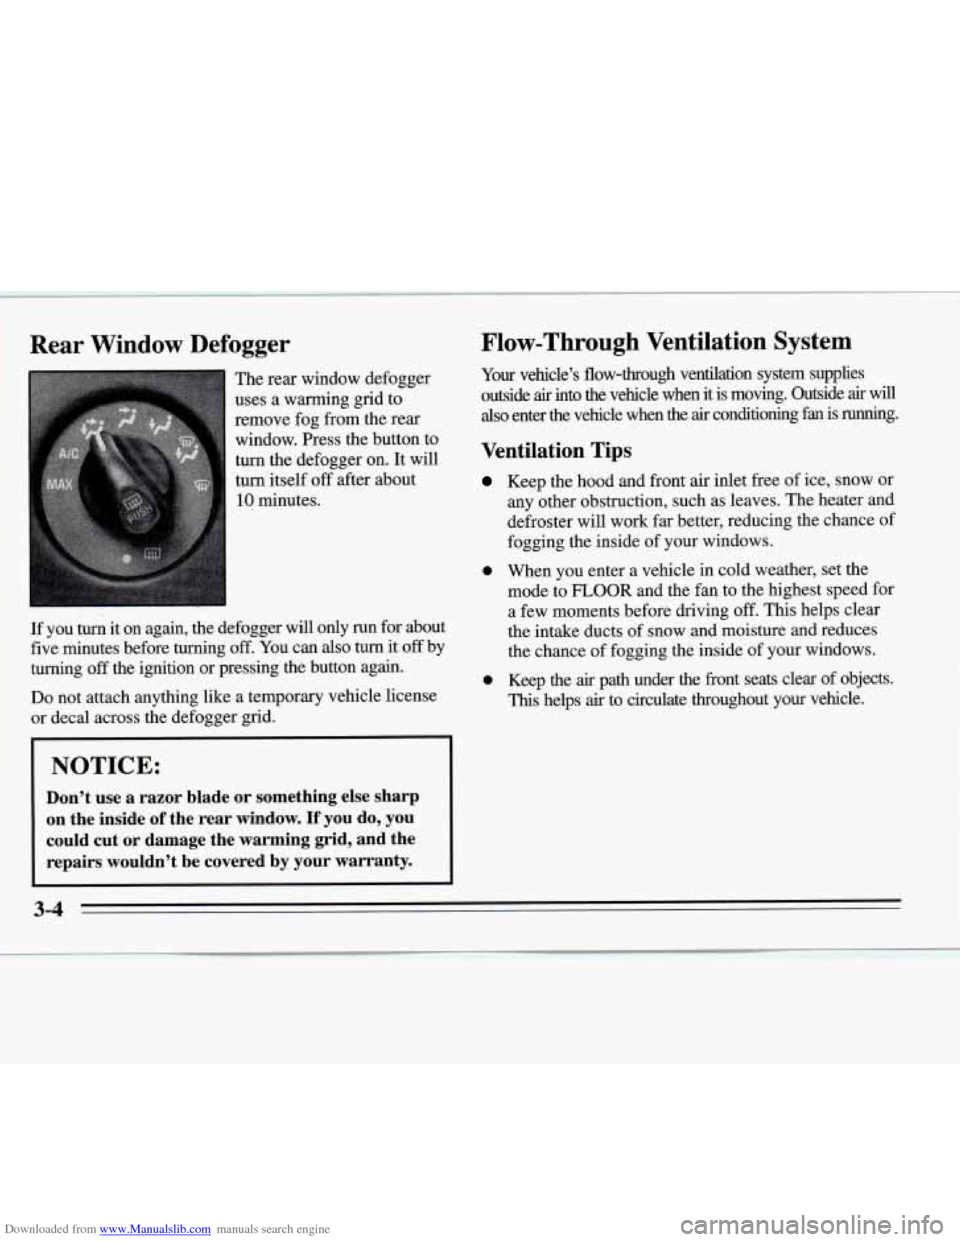
The rear window defogger
uses a warming grid to
remove fog from the rear
window. Press the button to
turn the defogger on. It will
turn itself-off after about
10 minutes.
Flow-Through Ventilation System
Your velucle's flow-through ventilation system supplies
outside
air into the vehicle when it is moving. Outside air will
also enter the vehicle when the air conditioning fan is running.
Ventilation Tips
Keep the hood and front air inlet free of ice, snow or
any other obstruction, such as leaves. The heater and
defroster will work far better, reducing the chance of
fogging the inside of your windows.
If you
turn it on again, the defogger will only run for about
five minutes before turning
off. You can also turn it off by
turning
off the ignition or pressing the button again.
Do not attach anything like a temporary vehicle license
or decal across the defogger
grid.
NOTICE:
Don't use a razor blade or something else sharp
on the inside of the rear window. If you do,' you
could cut or damage the warming grid, and the
repairs wouldn't be covered by your warranty.
0 When you enter a vehicle in cold weather, set the
mode to
FLOOR and the fan to the highest speed for
a few moments before driving off. This helps clear
the intake ducts
of snow and moisture and reduces
the chance of fogging the inside of your windows.
0 Keep the air path under the front seats clear of objects.
This helps air to circulate throughout your vehicle.
3-4
Page 227 of 324
Downloaded from www.Manualslib.com manuals search engine Center High-Mounted Stoplamp (Shelf-Mounted)
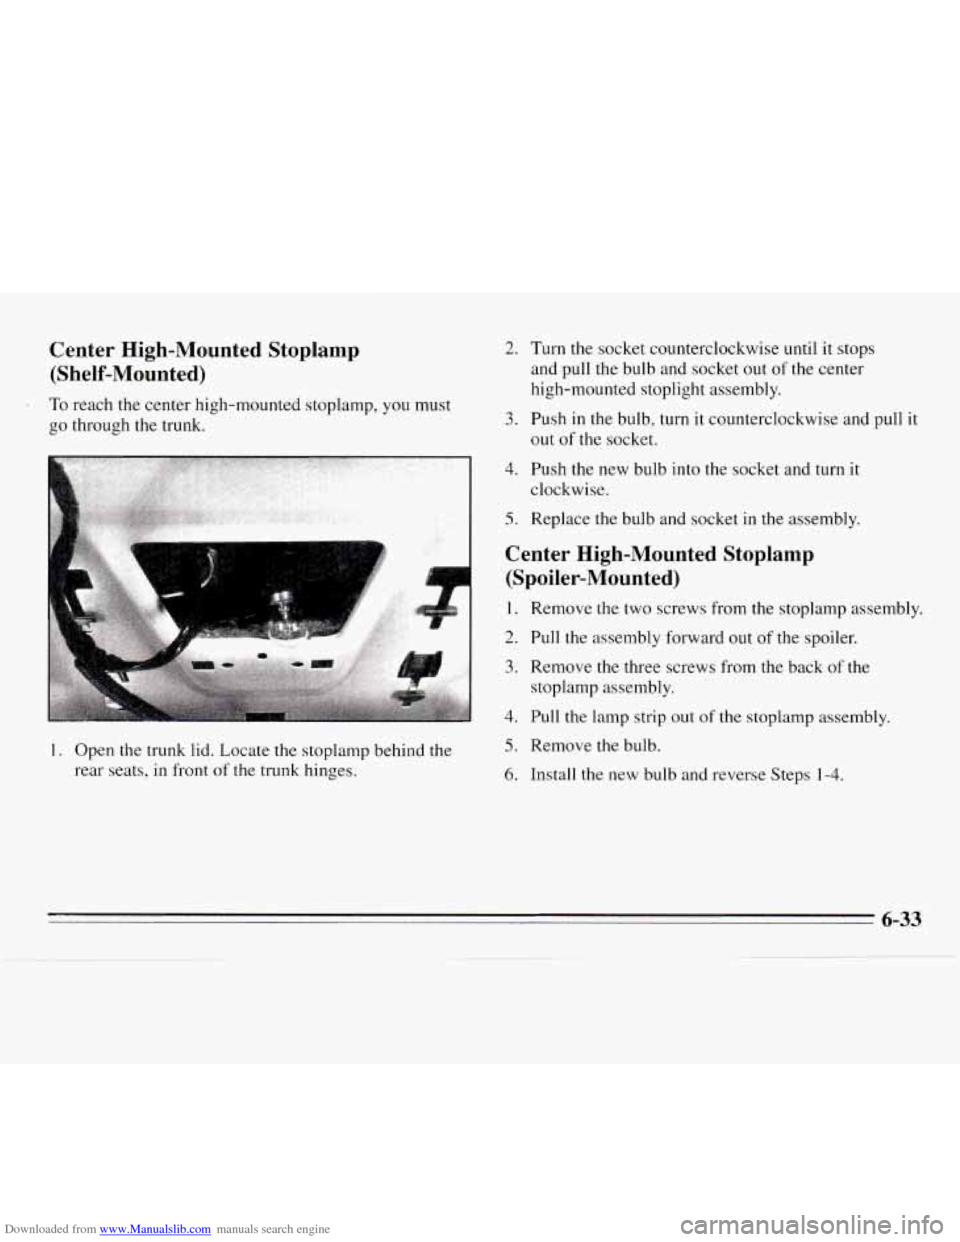
To reach the center high-mounted stoplamp, you must
go through the trunk.
1. Open the trunk lid. Locate the stoplamp behind the
rear seats, in front
of the trunk hinges.
2. Turn the socket counterclockwise until it stops
and pull the bulb and socket out of the center
high-mounted stoplight assembly.
3. Push in the bulb, turn it counterclockwise and pull it
out of the socket.
4. Push the new bulb into the socket and turn it
clockwise.
5. Replace the bulb and socket in the assembly.
Center High-Mounted Stoplamp
(Spoiler-Mounted)
1. Remove the two screws from the stoplamp assembly.
2. Pull the assembly forward out of the spoiler.
3. Remove the three screws from the back of the
stoplamp assembly.
4. Pull the lamp strip out of the stoplamp assembly.
5. Remove the bulb.
6. Install the new bulb and reverse Steps 1-4.
6-33
Page 248 of 324
Downloaded from www.Manualslib.com manuals search engine Fuses and Circuit Breakers
The wiring circuits in your vehicle are protected from
short circuits by a combination of fuses, circuit breakers,
and fusible thermal links
in the wiring itself. This
greatly reduces the chance of fires caused by electrical
problems.
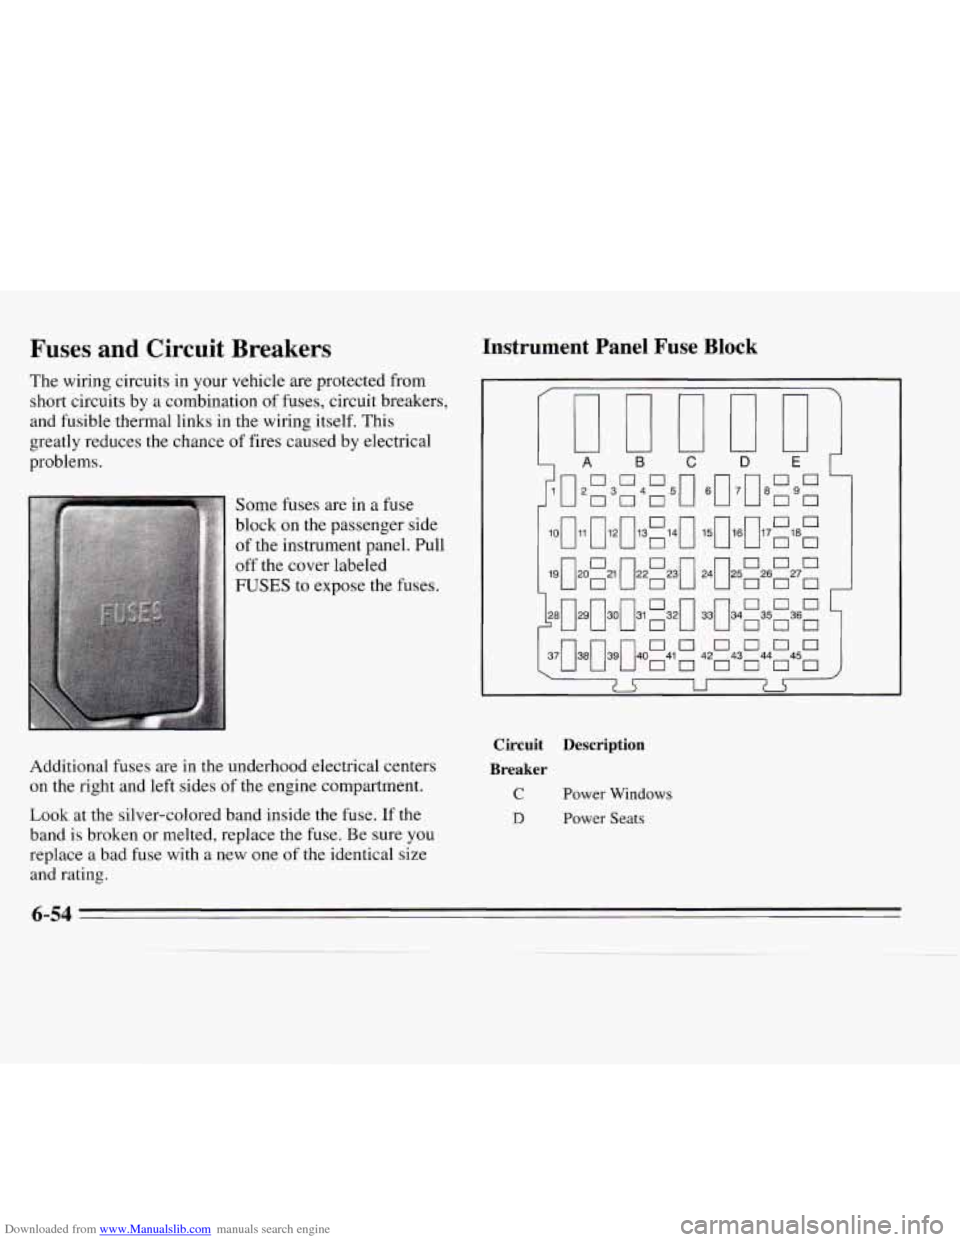
- Some fuses are in a fuse
block on the passenger side
of the instrument panel. Pull
I FUSES to expose the fuses.
Instrument Panel Fuse Block
B C D E
O320 33034 no0 35 36 0 no0
37~38~39~40 on 0000 43 44 45 0411[420 0 0 0
5
i
Additional fuses are in the underhood electrical centers
on the right and left sides of the engine compartment.
Look at the silver-colored band inside the fuse. If the
band
is broken or melted, replace the fuse. Be sure you
replace a bad fuse with a
new one of the identical size
and rating,
Circuit Description
Breaker
C
D
Power Windows
Power Seats
6-54
Page 319 of 324
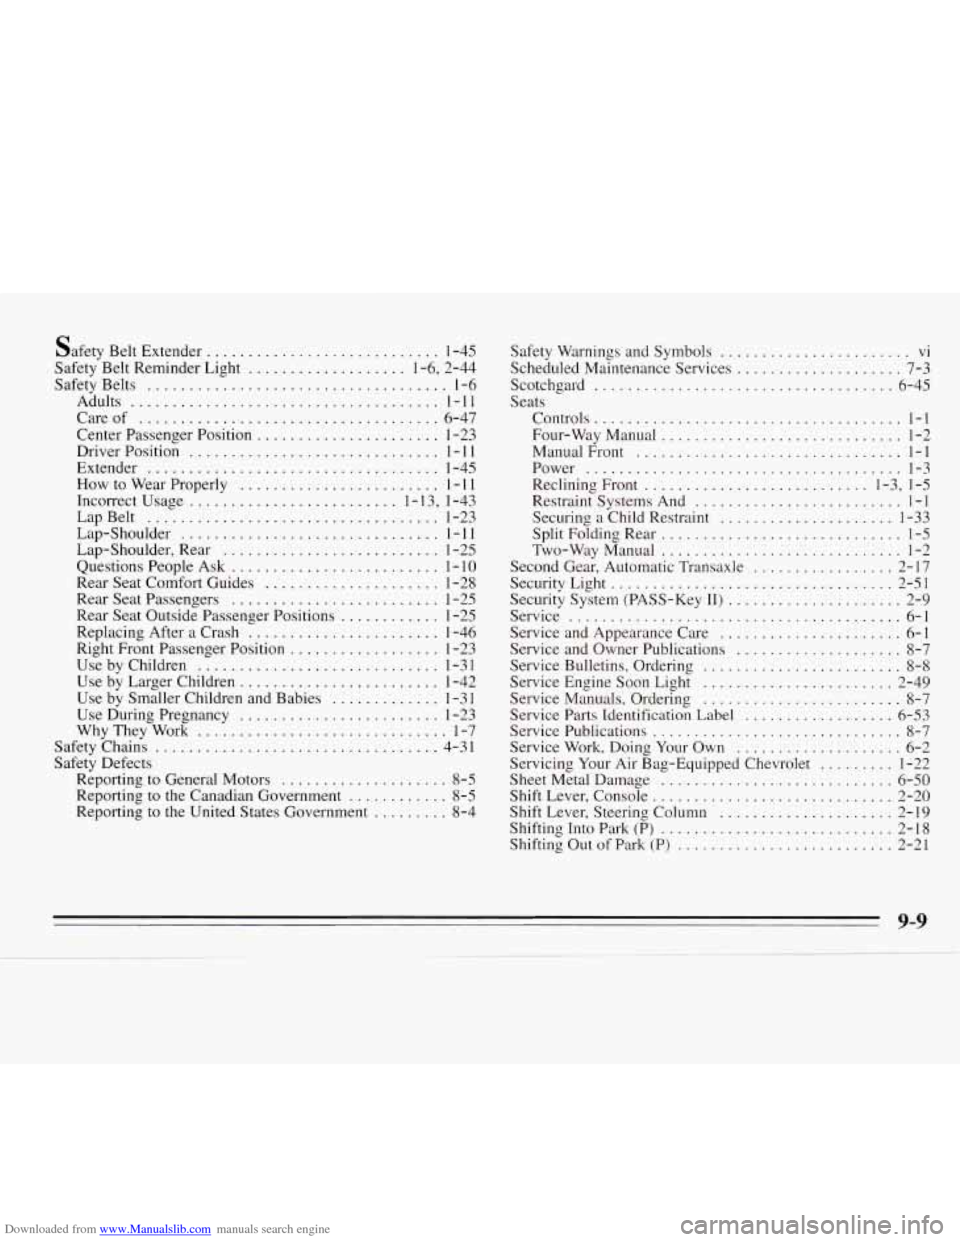
Downloaded from www.Manualslib.com manuals search engine Safety Belt Extender ............................ 1-45
Safety Belt Reminder Light
................... 1.6. 2.44
Safety Belts
.................................... 1-6
Careof
.................................... 6-47
Center Passenger Position
...................... 1-23
Driver Position
.............................. 1 . 1 I
Extender ................................... 1-45
How to Wear Properly
........................ 1 . 1 1
Incorrect Usage
......................... 1.13. 1-43
LapBelt
................................... 1-23
Lap-Shoulder
............................... 1-11
Lap.Shoulder, Rear .......................... 1-25
Questions People Ask
......................... 1 . 10
Rear Seat Comfort Guides ..................... 1-28
Rear Seat Passengers
......................... 1-25
Replacing After
a Crash ....................... 1-46
Right Front Passenger Position
.................. 1-23
Use by Children
............................. 1-3 1
Use by Larger Children ........................ 1-42
Use During Pregnancy
........................ 1-23
Why They Work
.............................. 1-7
Safety Chains
.................................. 4-31
Safety Defects Reporting to General Motors
.................... 8-5
Reporting to
the Canadian Government ............ 8-5
Reporting to the United States Government
......... 8-4
Adults
..................................... 1-11
Rear Seat Outside Passenger Positions
............ 1-25
Use by Smaller Children and Babies
............. 1-3 I
Safety Warnings and Symbols ....................... vi
Scheduled Maintenance Services .................... 7-3
Scotchgard
.................................... 6-45
Seats Controls
..................................... 1-1
Four-WayManual
............................. 1-2
ManualFront
................................ 1-1
Power ...................................... 1-3
Reclining Front
........................... 1.3. 1-5
Restraint Systems And
......................... 1-1
Securing a Child Restraint ..................... 1-33
Split Folding Rear
............................. 1-5
Two-way Manual
............................. 1-2
Second Gear. Automatic Transaxle
................. 2-17
Security Light
.................................. 2-51
Security System (PASS-Key
11) ..................... 2-9
Service
........................................ 6-1
Service and Appearance Care
...................... 6-1
Service and Owner Publications
.................... 8-7
Service Bulletins. Ordering
........................ 8-8
Service Engine Soon Light ....................... 2-49
Service Manuals. Ordering
........................ 8-7
Service Parts Identification Label .................. 6-53
Service Publications
.............................. 8-7
Service Work. Doing Your Own
.................... 6-2
Sheet Metal Damage
............................ 6-50
Shift Lever. Console ............................. 2-20
Shift Lever. Steering Column
..................... 2-19
Shifting Into Park
(P) ............................ 2-18
Shifting Out of Park (P) .......................... 2-21
Servicing
Your Air Bag-Equipped Chevrolet
......... 1-22
9-9