lock CHEVROLET MONTE CARLO 1997 5.G Owners Manual
[x] Cancel search | Manufacturer: CHEVROLET, Model Year: 1997, Model line: MONTE CARLO, Model: CHEVROLET MONTE CARLO 1997 5.GPages: 358, PDF Size: 19.11 MB
Page 5 of 358
Downloaded from www.Manualslib.com manuals search engine V
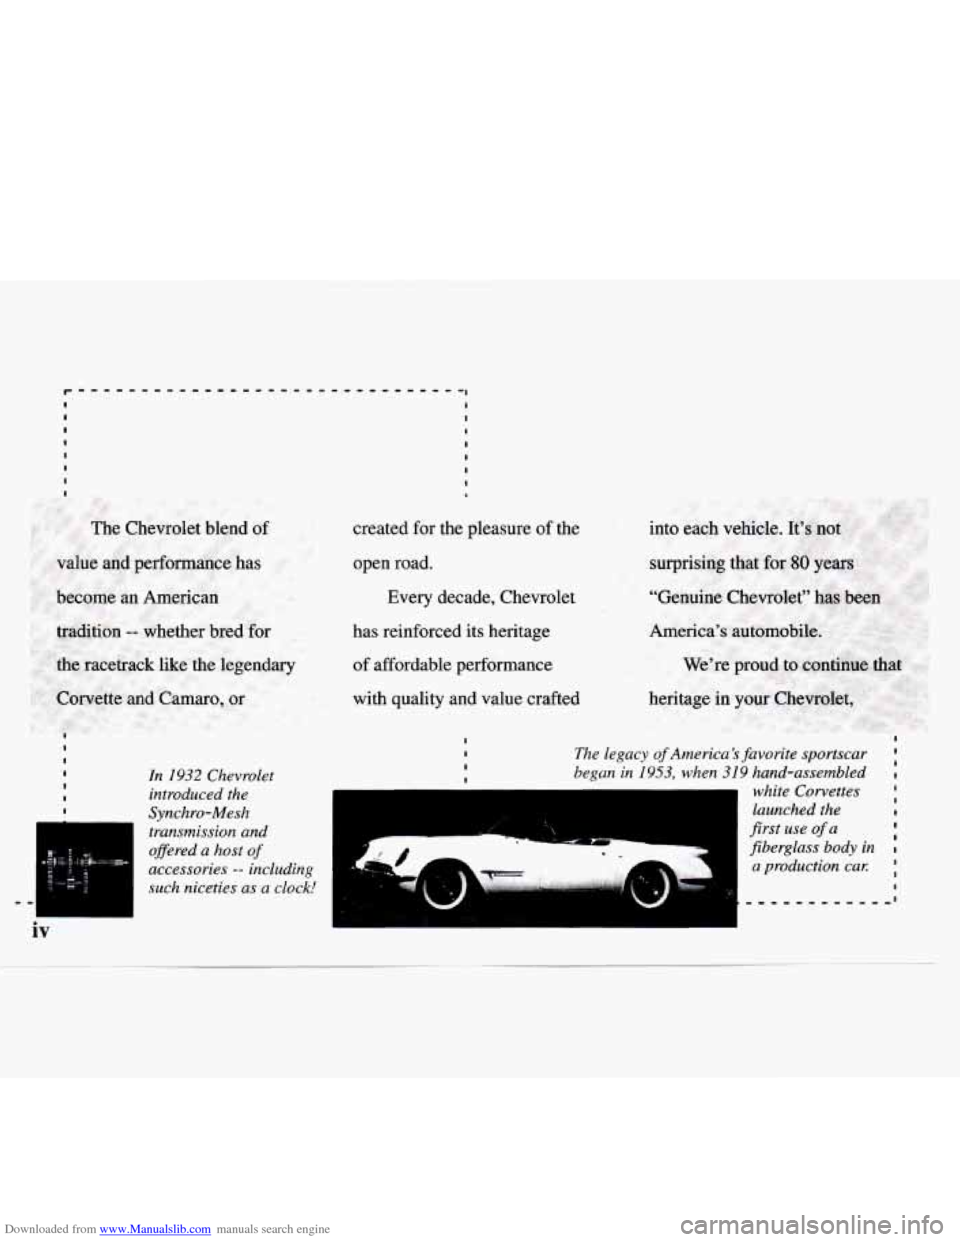
In 1932 Chevrolet
introduced the
Synchro-Mesh
transmission and
oflered a host
of
accessories -- including
such niceties as a clock!
1
created for the pleasure of the
open road. Every decade, Chevrolet
has reinforced its heritage
of affordable performance
with quality and value crafted
I I The legacy of America's favorite sportscar ;
I began in 1953, when 319 hand-assembled I I
white Corvettes
launched the
I
first use of a I
jiberglass body in I
a production ca1:
I
I
,,,,,,,,,,,,,I 1
Page 9 of 358
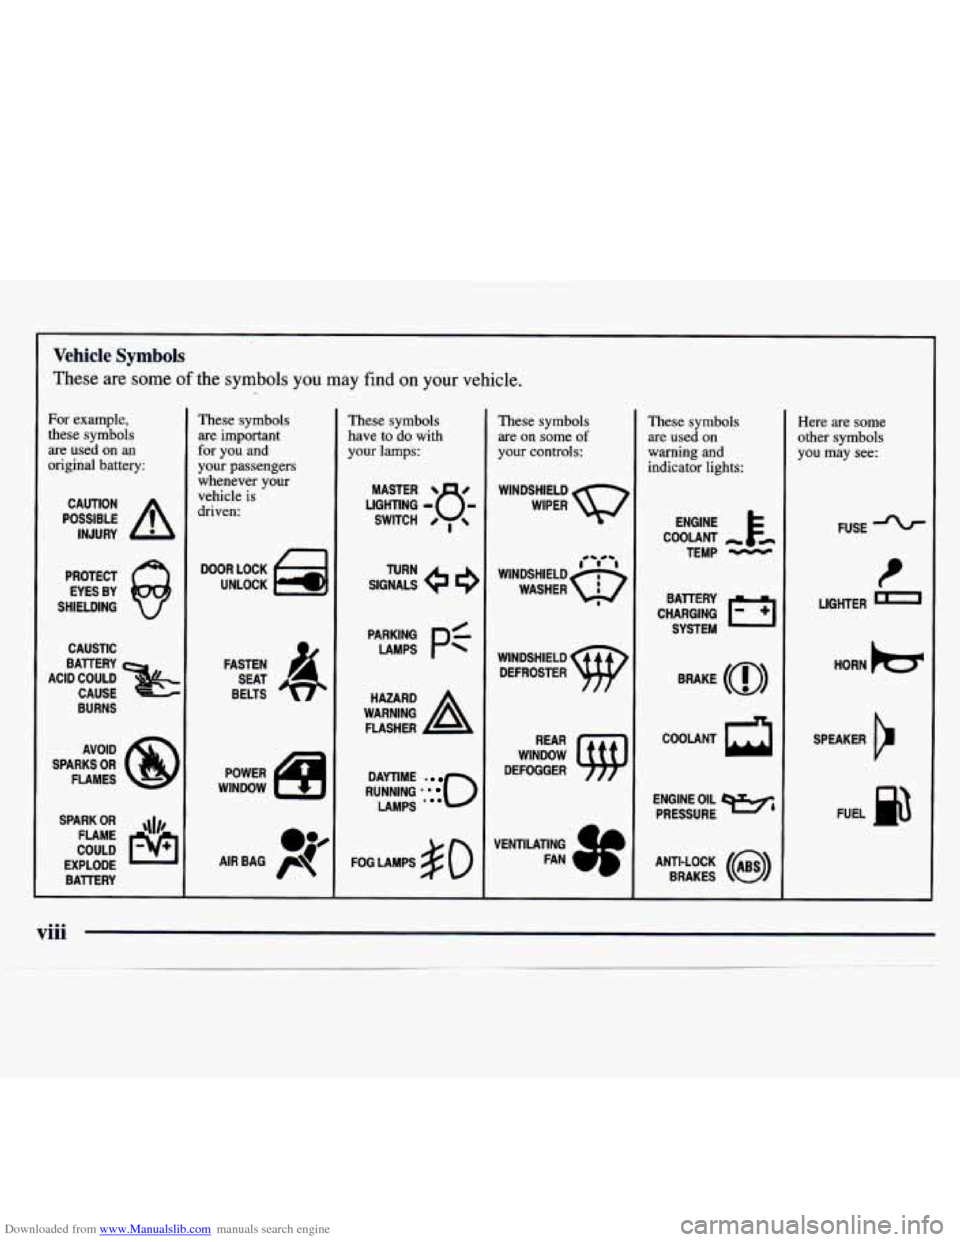
Downloaded from www.Manualslib.com manuals search engine Vehicle Symbols
These are some of the symbols you may find on your vehicle.
These symbols
are important
for you and
your passengers
whenever your
vehicle is
driven: These symbols
have
to do
with
your lamps: These symbols
are on some of
your
controls: These symbols
are used
on
warning and
indicator lights: Here
are some
other symbols
you may see: I For example,
' these symbols
are used
on an
original battery:
WINDSHIELD
WIPER
POSSIBLE
A
CAUTION
INJURY FUSE
COOLANT
TEMP
-
PROTECT EYES BY
SHIELDING
Q
SIGNALS e e
TURN
DOOR LOCK
UNLOCK
LIGHTER
CHARGING
1-1
BATTERY
SYSTEM
CAUSTIC HORN
)cr WINDSHIELD DEFROSTER BRAKE
(0)
FASTEN
SEAT
BELTS
BURNS
SPEAKER
b
COOLANT
a AVOID
SPARKS
OR
FLAMES
I
WINDOW
DEFOGGER
RUNNING
' 0
DAYTIME -
LAMPS * '
POWER
WINDOW ENGINE OIL
e,
PRESSURE FUEL B SPARK OR ,\I/,
COULD FLAME
EXPLODE BA'ITERY FOG LAMPS # 0
VENTILATING
FAN ANTI-LOCK
(@)
BRAKES
Page 10 of 358
Downloaded from www.Manualslib.com manuals search engine Supplement to the 1997 Chevrolet Lumina and Monte Carlo Owner’s Manuals
This is a correction to information found on page 2-34 and 2-35 (Lumina) and page 2-34 (Monte Carlo).
Daytime Running Lamps / Automatic
Headlamp Control
Daytime Running Lamps (DRL) can make it easier
for others to
see the front of your vehicle during the
day. DRL can be helpful in
many different dnving
conditions, but they can be especially helpful in the
short periods after dawn and before sunset.
A light sensor on top of the instrument panel makes
the DRL work,
so be sure it isn’t covered.
The DRL system will make your high-beam headlamps
come on at a reduced brightness when:
The ignition is on,
The headlamp switch is off and
The parking brake is released.
97LUMWCARL0001 When
the DRL
are on, only your reduced intensity
high-beam headlamps will be on. The taillamps,
sidemarker and other lamps won’t be on. Your
instrument panel won’t be
lit up either.
When it’s dark enough outside, your DRL will turn off
and your low-beam headlamps will turn on. The other
lamps that come on with your headlamps will also
come on.
When it’s bright enough outside, the low-beam
headlamps will go out and DRL turns on your
high-beam headlamps at reduced intensity.
To idle your vehicle with the DRL off, set the parking
brake while the ignition is in
OFF or LOCK. Then start
your vehicle. The DRL will stay off until you release
the parking brake.
As with any vehicle, you should turn on the regular
headlamp system when you need it.
1
Page 11 of 358
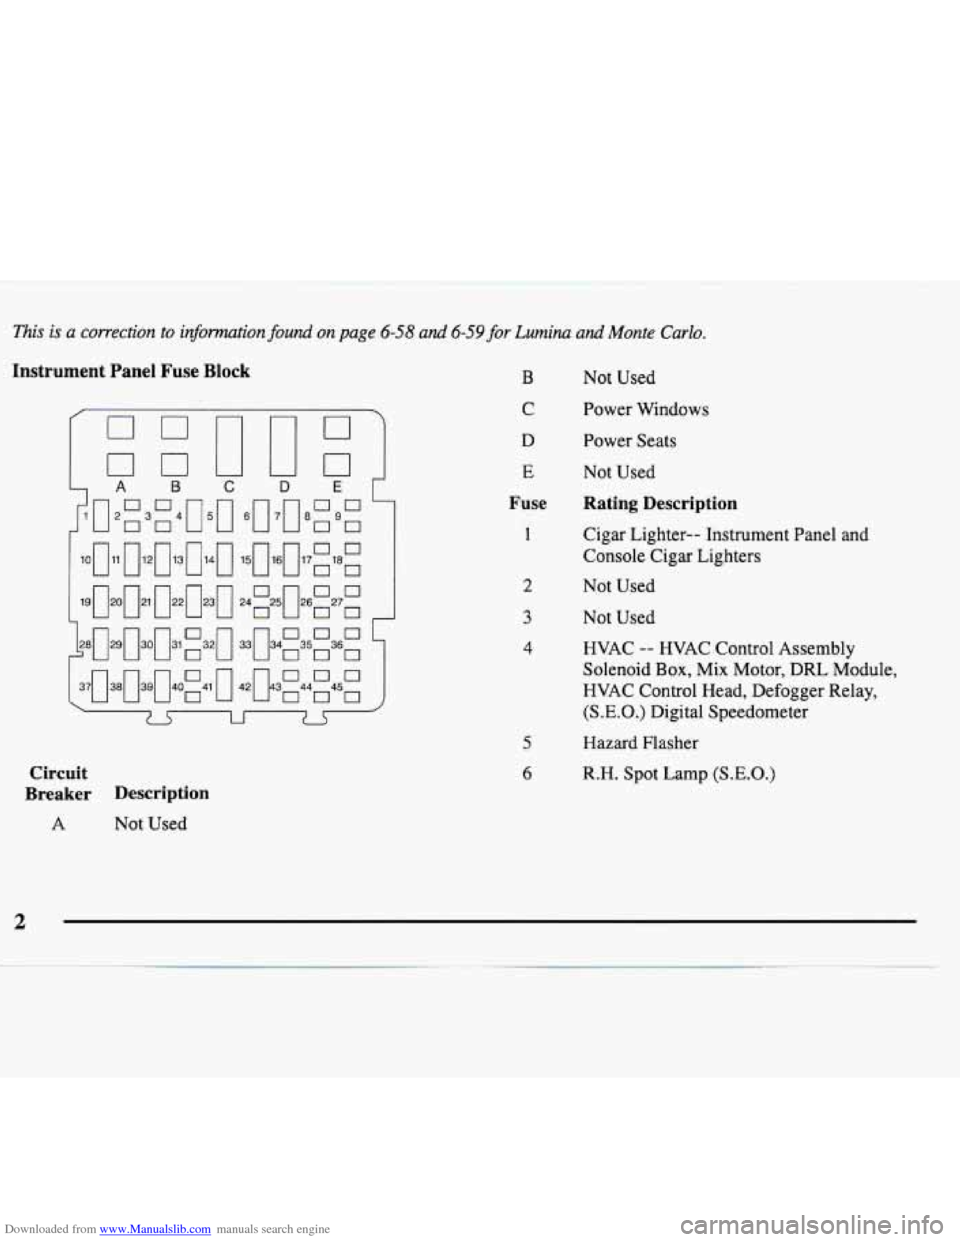
Downloaded from www.Manualslib.com manuals search engine This is a correction to information found on page 6-58 and 6-59 for Lumina and Monte Carlo.
Instrument Panel Fuse Block B Not Used
Circuit
Breaker Description
C Power Windows
D Power Seats
E Not Used
Fuse Rating Description
1
5
6
Cigar Lighter-- Instrument Panel and
Console Cigar Lighters
Not Used
Not Used
HVAC
-- HVAC Control Assembly
Solenoid Box, Mix Motor, DRL Module,
HVAC Control Head, Defogger Relay,
(S.E.O.) Digital Speedometer
nazard Flasher
R.H. Spot Lamp
(S.E.O.)
A
Not Used
2
Page 12 of 358
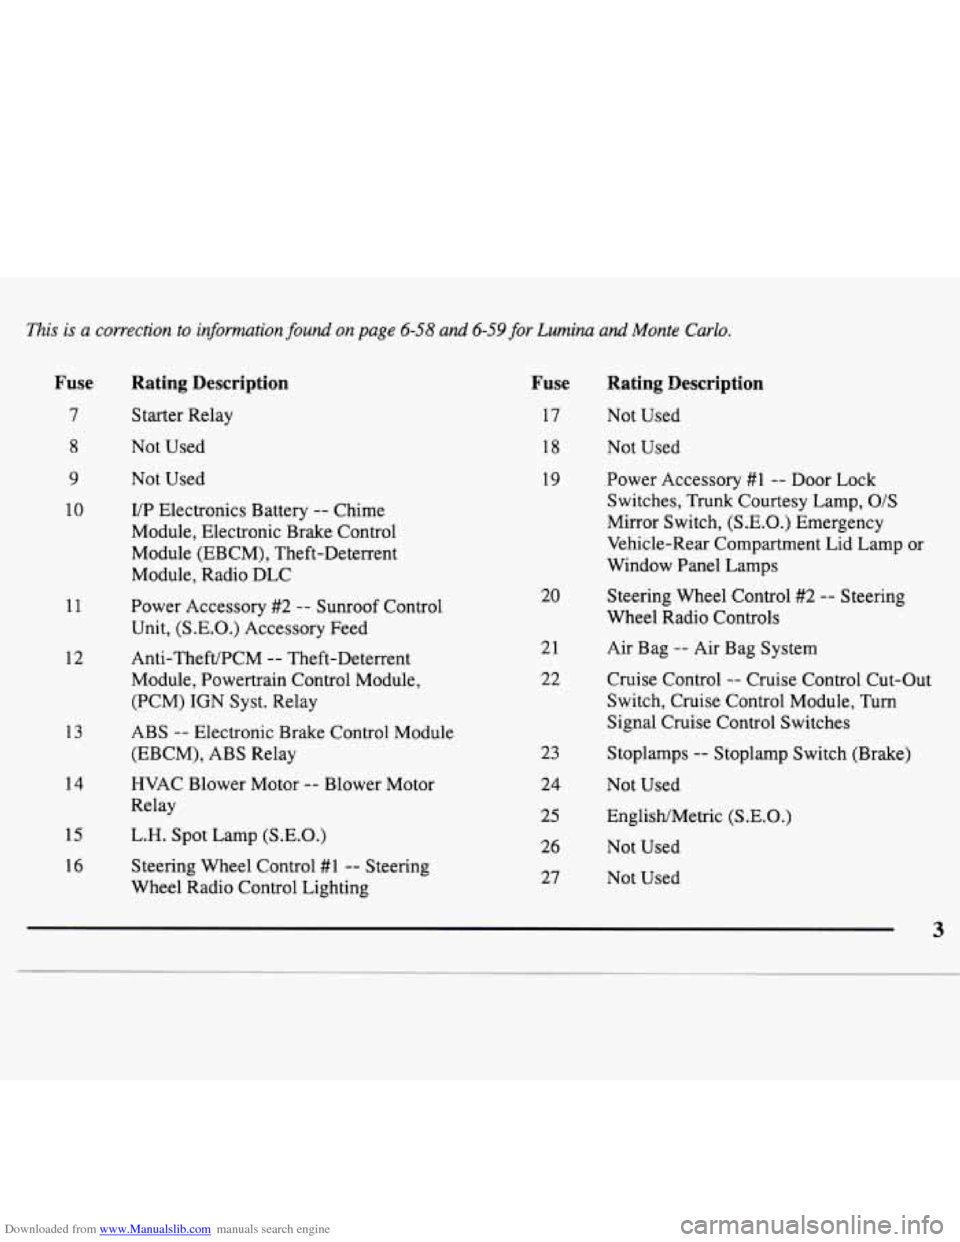
Downloaded from www.Manualslib.com manuals search engine This is a correction to information found on page 6-58 and 6-59 for Lumina and Monte Carlo.
Fuse
7
8
9
10
11
12
13
14
15
16
Rating Description
Starter Relay
Not Used
Not Used
VP Electronics Battery -- Chime
Module, Electronic Brake Control
Module (EBCM), Theft-Deterrent
Module, Radio DLC
Power Accessory #2
-- Sunroof Control
Unit,
(S.E.O.) Accessory Feed
Anti-Theft/PCM
-- Theft-Deterrent
Module, Powertrain Control Module,
(PCM)
IGN Syst. Relay
ABS
-- Electronic Brake Control Module
(EBCM), ABS Relay
HVAC Blower Motor
-- Blower Motor
Relay
L.H. Spot Lamp
(S.E.O.)
Steering Wheel Control #1 -- Steering
Wheel Radio Control Lighting
Fuse Rating Description
17
18
19
20
21
22
23
24
25
26
27
Not Used
Not Used
Power Accessory
#1 -- Door Lock
Switches, Trunk Courtesy Lamp,
O/S
Mirror Switch, (S.E.O.) Emergency
Vehicle-Rear Compartment Lid Lamp or
Window Panel Lamps
Steering Wheel Control
#2 -- Steering
Wheel Radio Controls
Air Bag
-- Air Bag System
Cruise Control
-- Cruise Control Cut-Out
Switch, Cruise Control Module, Turn
Signal Cruise Control Switches
Stoplamps
-- Stoplamp Switch (Brake)
Not Used
EnglisWMetric
(S.E.O.)
Not Used
Not Used
3
Page 13 of 358
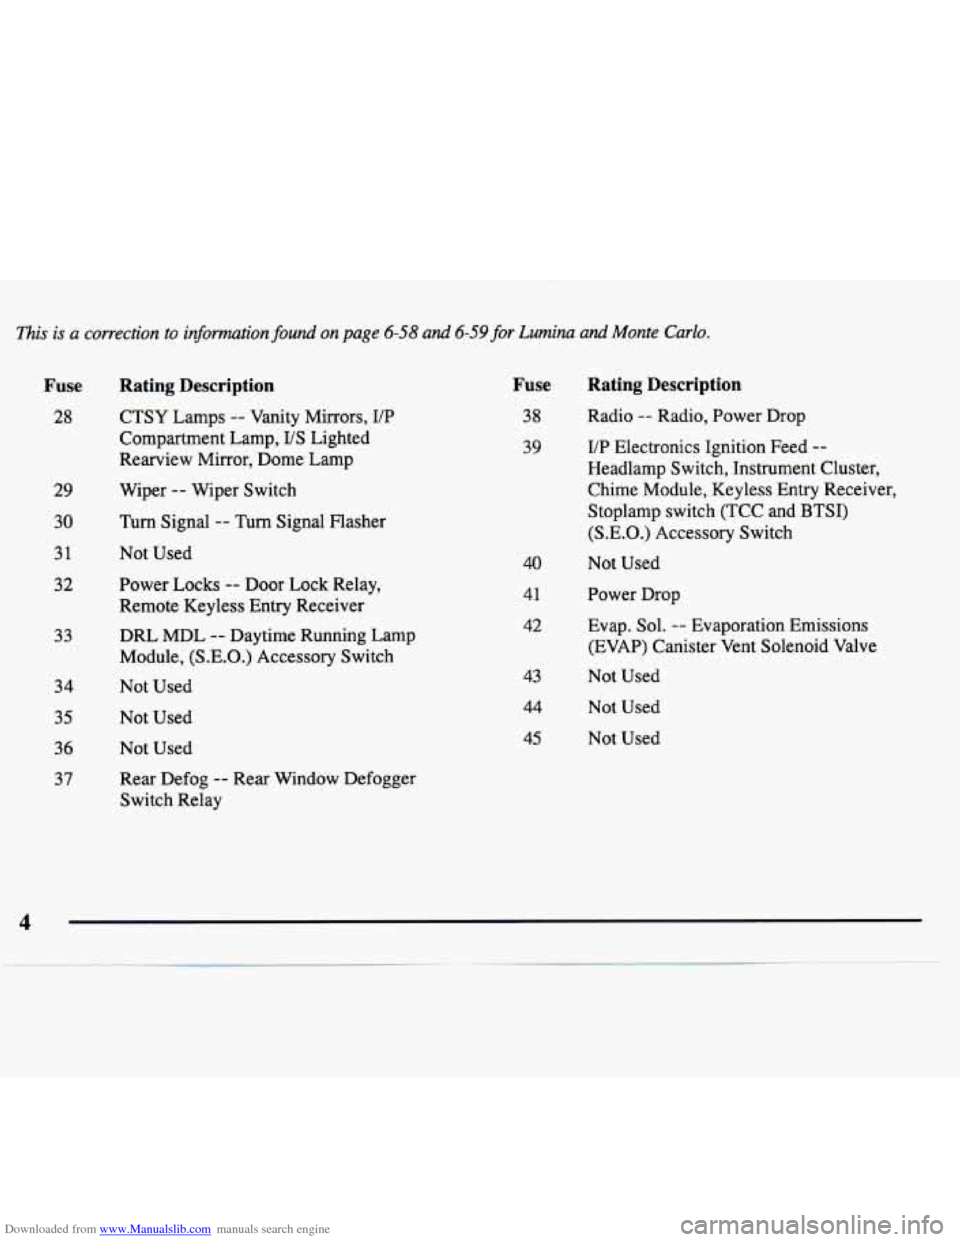
Downloaded from www.Manualslib.com manuals search engine fiis is a correction to information found on page 6-58 and 6-59 for Lumina and Monte Carlo.
Fuse Rating Description
28
29
30
31
32
33
34
35
36
37
CTSY Lamps -- Vanity Mirrors, VP
Compartment Lamp,
US Lighted
Rearview Mirror, Dome Lamp
Wiper
-- Wiper Switch
Turn Signal -- Turn Signal Flasher
Not Used
Power Locks
-- Door Lock Relay,
Remote Keyless Entry Receiver
DRL
MDL -- Daytime Running Lamp
Module, (S.E.O.) Accessory Switch
Not Used
Not Used
Not Used
Rear Defog
-- Rear Window Defogger
Switch Relay
Fuse
38
39
40
41
42
43
44
Rating Description
Radio -- Radio, Power Drop
UP Electronics Ignition Feed
--
Headlamp Switch, Instrument Cluster,
Chime Module, Keyless Entry Receiver,
Stoplamp switch (TCC and BTSI)
(S.E.O.) Accessory Switch
Not Used
Power Drop
Evap. Sol.
-- Evaporation Emissions
(EVAP) Canister Vent Solenoid Valve
Not Used
Not Used
45 Not Used
4
Page 15 of 358
Downloaded from www.Manualslib.com manuals search engine Seats and Seat Controls
This section tells you how to adjust the seats and
explains reclining seatbacks, folding rear seats and
head restraints.
2-Way Manual Front Seat
I
You can lose control of the vehicle if you try to
adjust a manual driver’s seat while the vehicle
is
moving. The sudden movement could startle and
confuse you, or make you push a pedal when you
don’t want to. Adjust the driver’s seat only when
the vehicle is not moving.
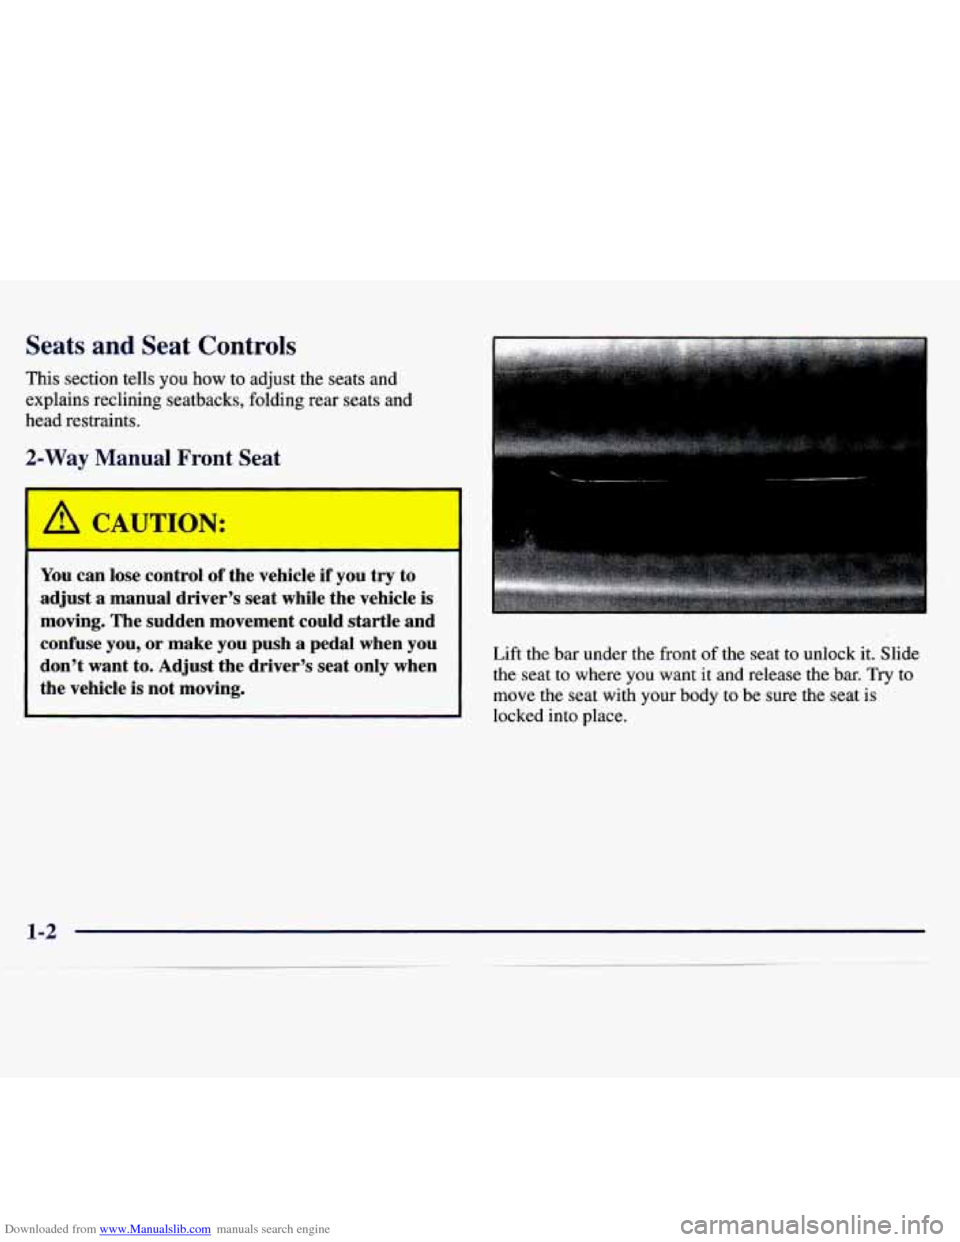
Lift the bar under the front of the seat to unlock it. Slide
the seat to where you want it and release the
bar. Try to
move the seat with your body to be sure the seat is
locked into place.
Page 16 of 358
Downloaded from www.Manualslib.com manuals search engine Driver's 4-Way Manual Seat (Option)
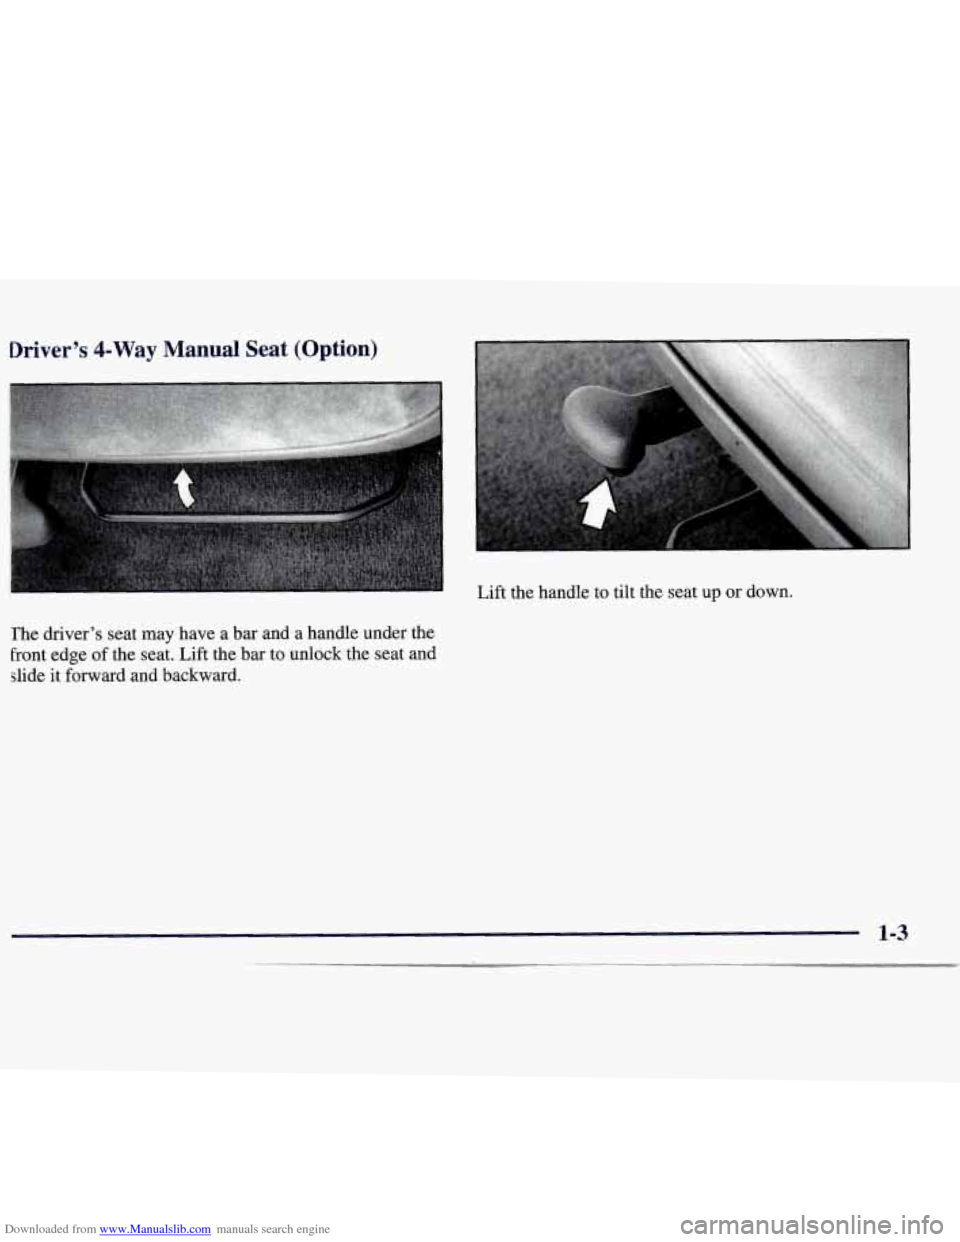
The driver's seat may have a bar and a handle under the
Front edge of the seat. Lift the
bar to unlock the seat and
slide it forward and backward.
i
~
Lift the handle to tilt the seat up or down.
1-3
Page 17 of 358
Downloaded from www.Manualslib.com manuals search engine Driver’s Side Power Seat (Option)
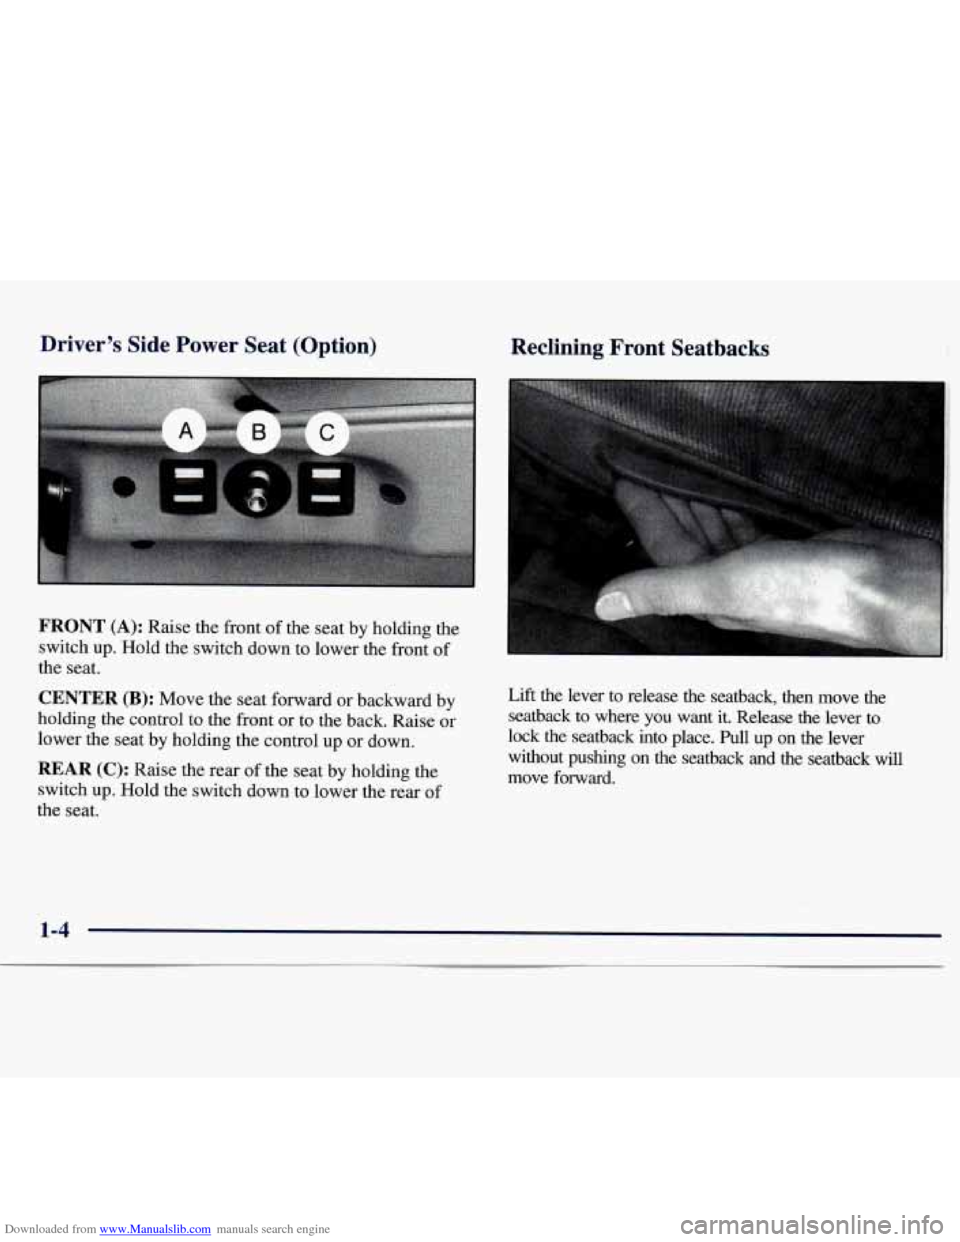
FRONT (A): Raise the front of the seat by holding the
switch up. Hold the switch down to lower the front of
the seat.
CENTER (B): Move the seat forward or backward by
holding the control to the front or to the back. Raise or
lower the seat by holding the control up or down.
REAR (C): Raise the rear of the seat by holding the
switch up. Hold the switch down to lower the rear of
the seat.
Reclining Front Seatbacks
Lift the lever to release the seatback, then move the
seatback to where
you want it. Release the lever to
lock the seatback into place.
Pull up on the lever
without pushing
on the seatback and the seatback will
move forward.
1-4
Page 19 of 358
Downloaded from www.Manualslib.com manuals search engine Head Restraints
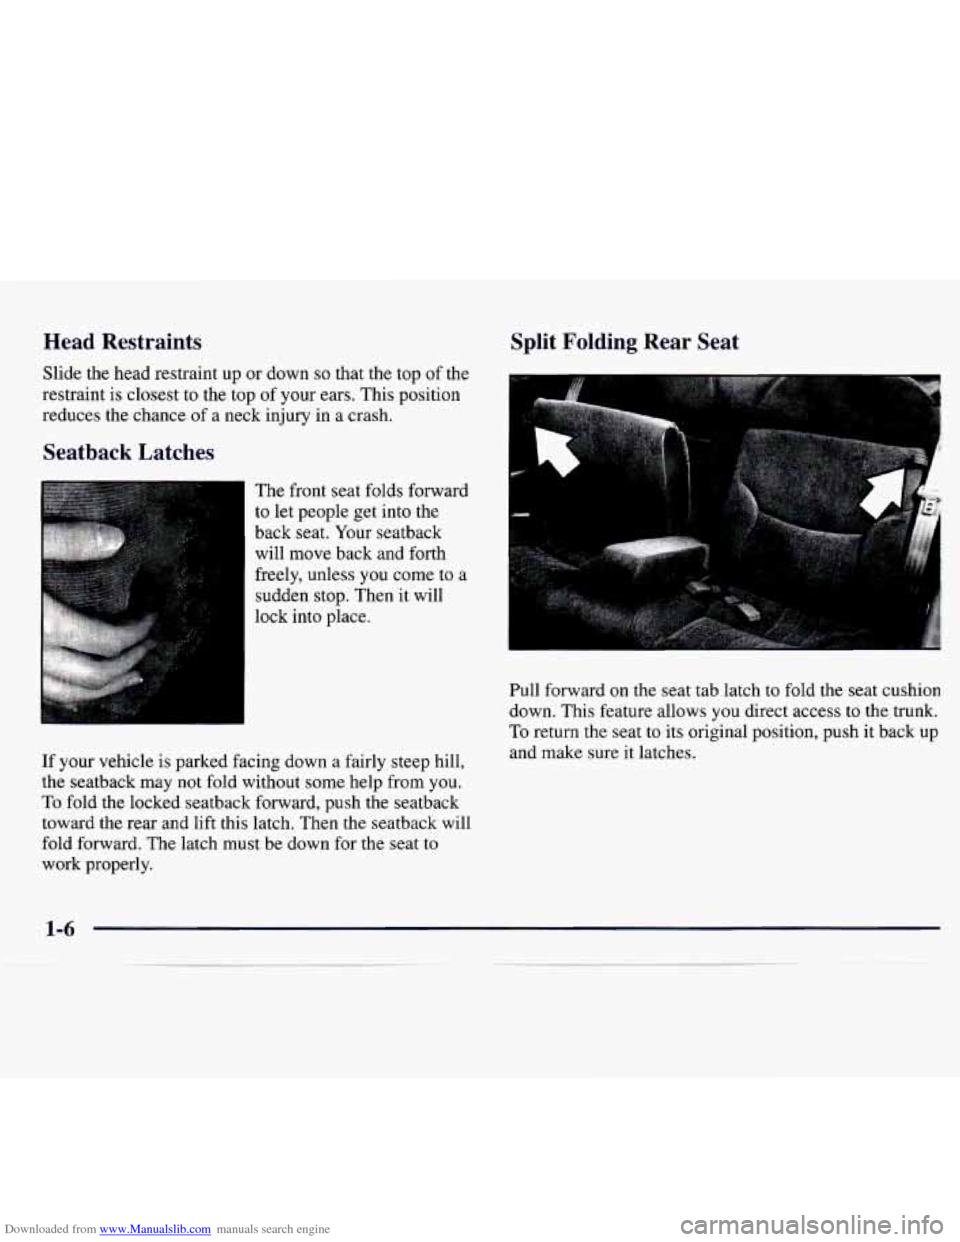
Slide the head restraint up or down so that the top of the
restraint is closest to the top
of your ears. This position
reduces the chance of a neck injury in a crash.
Seatback Latches
The front seat folds forward
to let people get into the
back seat. Your seatback
will move back and forth
freely, unless you come to a
sudden stop. Then it will
lock into place.
If your vehicle is parked facing down a fairly steep hill,
the seatback may not fold without some help from you.
To fold the locked seatback forward, push the seatback
toward the rear and lift this latch. Then the seatback will
fold forward. The latch must be down for the seat to
work properly.
Split Folding Rear Seat
Pull forward on the seat tab latch to fold the seat cushion
down. This feature allows you direct access to the trunk.
To return the seat to its original position, push it back up
and make sure it latches.