rear view mirror CHEVROLET MONTE CARLO 2003 6.G Owners Manual
[x] Cancel search | Manufacturer: CHEVROLET, Model Year: 2003, Model line: MONTE CARLO, Model: CHEVROLET MONTE CARLO 2003 6.GPages: 394, PDF Size: 2.73 MB
Page 1 of 394

Seats and Restraint Systems........................... 1-1
Front Seats
............................................... 1-2
Rear Seats
............................................... 1-8
Safety Belts
.............................................1-10
Child Restraints
.......................................1-29
Air Bag Systems
......................................1-48
Restraint System Check
............................1-56
Features and Controls..................................... 2-1
Keys
........................................................ 2-2
Doors and Locks
....................................... 2-8
Windows
.................................................2-12
Theft-Deterrent Systems
............................2-14
Starting and Operating Your Vehicle
...........2-16
Mirrors
....................................................2-29
OnStar
žSystem
......................................2-34
HomeLinkžTransmitter
.............................2-35
Storage Areas
.........................................2-39
Sunroof
..................................................2-40
Vehicle Personalization
.............................2-41
Instrument Panel............................................. 3-1
Instrument Panel Overview
.......................... 3-4
Climate Controls
......................................3-22
Warning Lights, Gages and Indicators
.........3-30
Message Center
.......................................3-44
Driver Information Center (DIC)
..................3-52Trip Computer
.........................................3-55
Audio System(s)
.......................................3-56
Driving Your Vehicle....................................... 4-1
Your Driving, the Road, and Your Vehicle
..... 4-2
Towing
...................................................4-29
Service and Appearance Care.......................... 5-1
Service
..................................................... 5-3
Fuel
......................................................... 5-4
Checking Things Under the Hood
...............5-10
Headlamp Aiming
.....................................5-53
Bulb Replacement
....................................5-54
Windshield Wiper Blade Replacement
.........5-58
Tires
......................................................5-59
Appearance Care
.....................................5-82
Vehicle Identi®cation
.................................5-90
Electrical System
......................................5-90
Capacities and Speci®cations
.....................5-98
Normal Maintenance Replacement Parts
....5-100
Maintenance Schedule..................................... 6-1
Maintenance Schedule
................................ 6-2
Customer Assistance Information.................... 7-1
Customer Assistance Information
.................. 7-2
Reporting Safety Defects
............................ 7-8
Index................................................................ 1
2003 Chevrolet Monte Carlo Owner ManualM
Page 65 of 394

Keys...............................................................2-2
Remote Keyless Entry System.........................2-3
Remote Keyless Entry System Operation...........2-4
Doors and Locks.............................................2-8
Door Locks....................................................2-8
Power Door Locks..........................................2-9
Programmable Automatic Door Locks................2-9
Lockout Protection........................................2-10
Leaving Your Vehicle....................................2-10
Trunk..........................................................2-10
Windows........................................................2-12
Power Windows............................................2-13
Sun Visors...................................................2-14
Theft-Deterrent Systems..................................2-14
Content Theft-Deterrent.................................2-14
Passlock
ž....................................................2-16
Starting and Operating Your Vehicle................2-16
New Vehicle Break-In....................................2-16
Ignition Positions..........................................2-17
Starting Your Engine.....................................2-18
Engine Coolant Heater..................................2-20
Automatic Transaxle Operation.......................2-21
Parking Brake..............................................2-24
Shifting Into Park (P).....................................2-25
Shifting Out of Park (P).................................2-27Parking Over Things That Burn.......................2-27
Engine Exhaust............................................2-28
Running Your Engine While You
Are Parked...............................................2-28
Mirrors...........................................................2-29
Manual Rearview Mirror.................................2-29
Manual Rearview Mirror with OnStar
ž..............2-30
Automatic Dimming Rearview Mirror................2-31
Automatic Dimming Rearview Mirror with
OnStar
ž...................................................2-32
Outside Power Mirrors...................................2-33
Outside Convex Mirror...................................2-33
Outside Heated Mirrors..................................2-34
OnStar
žSystem.............................................2-34
HomeLinkžTransmitter...................................2-35
Programming the HomeLinkžTransmitter.........2-36
Storage Areas................................................2-39
Glove Box...................................................2-39
Center Console Storage Area.........................2-39
Rear Storage Area........................................2-39
Convenience Net..........................................2-40
Sunroof.........................................................2-40
Vehicle Personalization...................................2-41
Section 2 Features and Controls
2-1
Page 93 of 394
{CAUTION:
It can be dangerous to get out of your vehicle
if the shift lever is not fully in PARK (P) with
the parking brake ®rmly set. Your vehicle can
roll. Do not leave your vehicle when the engine
is running unless you have to. If you have left
the engine running, the vehicle can move
suddenly. You or others could be injured.
To be sure your vehicle will not move, even
when you are on fairly level ground, always
set your parking brake and move the shift
lever to PARK (P).
Follow the proper steps to be sure your vehicle won't
move. See
Shifting Into Park (P) on page 2-25.
If you are parking on a hill and if you're pulling a trailer,
also see
Towing a Trailer on page 4-34.
Mirrors
Manual Rearview Mirror
Adjust all the mirrors so you can see clearly when you
are sitting in a comfortable driving position.
To reduce glare from headlamps behind you, pull the
lever at the bottom of the mirror toward you (to the night
position). To return the mirror back to the day position,
push the lever away from you.
There are two lamps located on the bottom of the
mirror. Press the button next to each lamp to turn it
on and off.
2-29
Page 94 of 394
Manual Rearview Mirror with
OnStar
ž
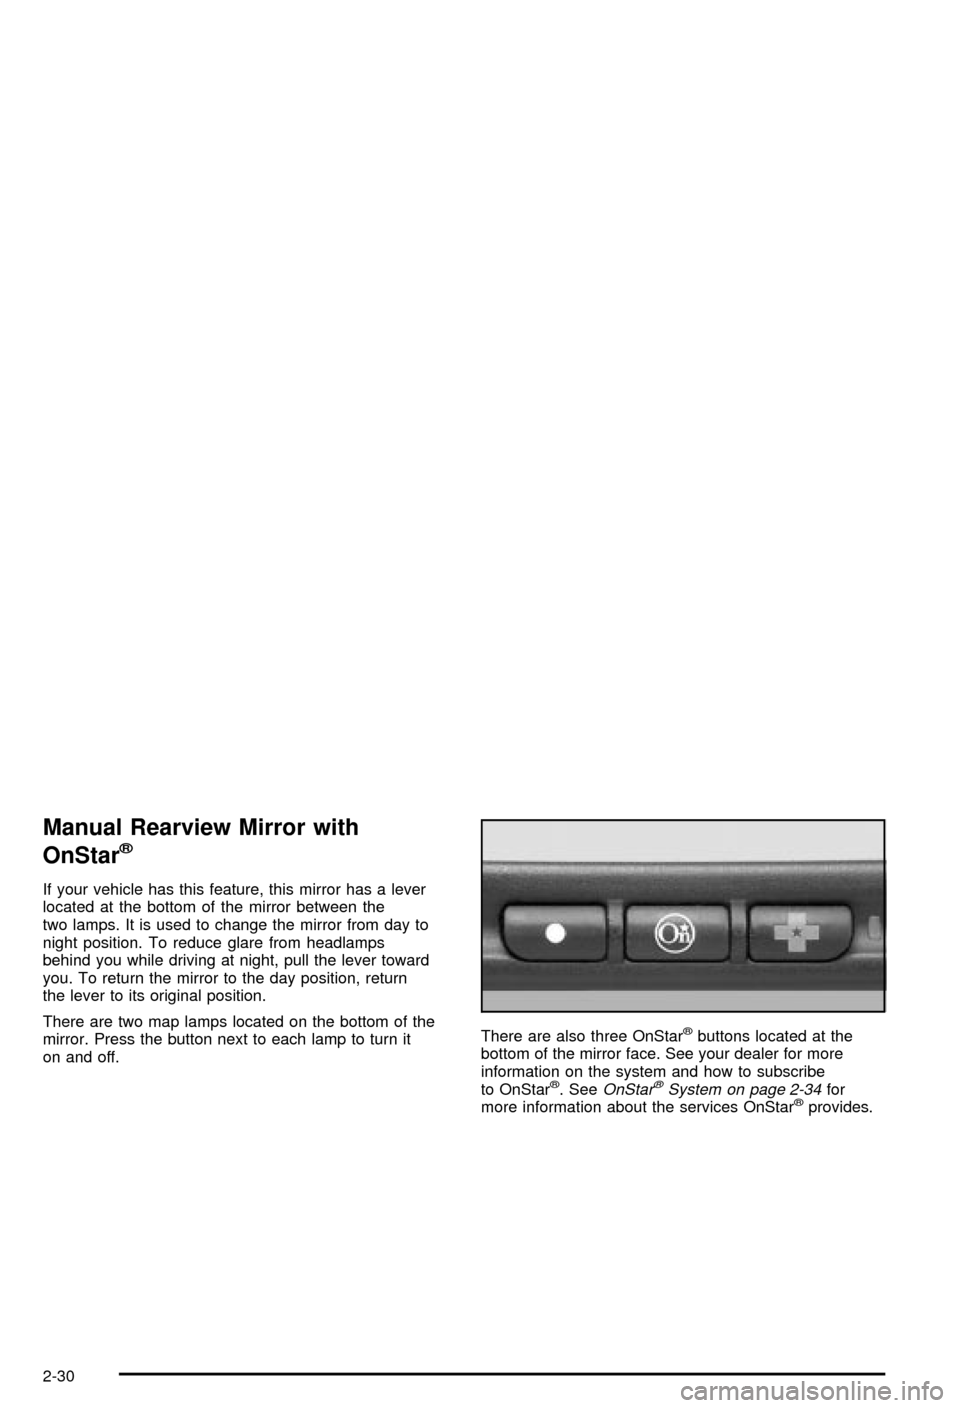
If your vehicle has this feature, this mirror has a lever
located at the bottom of the mirror between the
two lamps. It is used to change the mirror from day to
night position. To reduce glare from headlamps
behind you while driving at night, pull the lever toward
you. To return the mirror to the day position, return
the lever to its original position.
There are two map lamps located on the bottom of the
mirror. Press the button next to each lamp to turn it
on and off.There are also three OnStar
žbuttons located at the
bottom of the mirror face. See your dealer for more
information on the system and how to subscribe
to OnStar
ž. SeeOnStaržSystem on page 2-34for
more information about the services OnStaržprovides.
2-30
Page 95 of 394
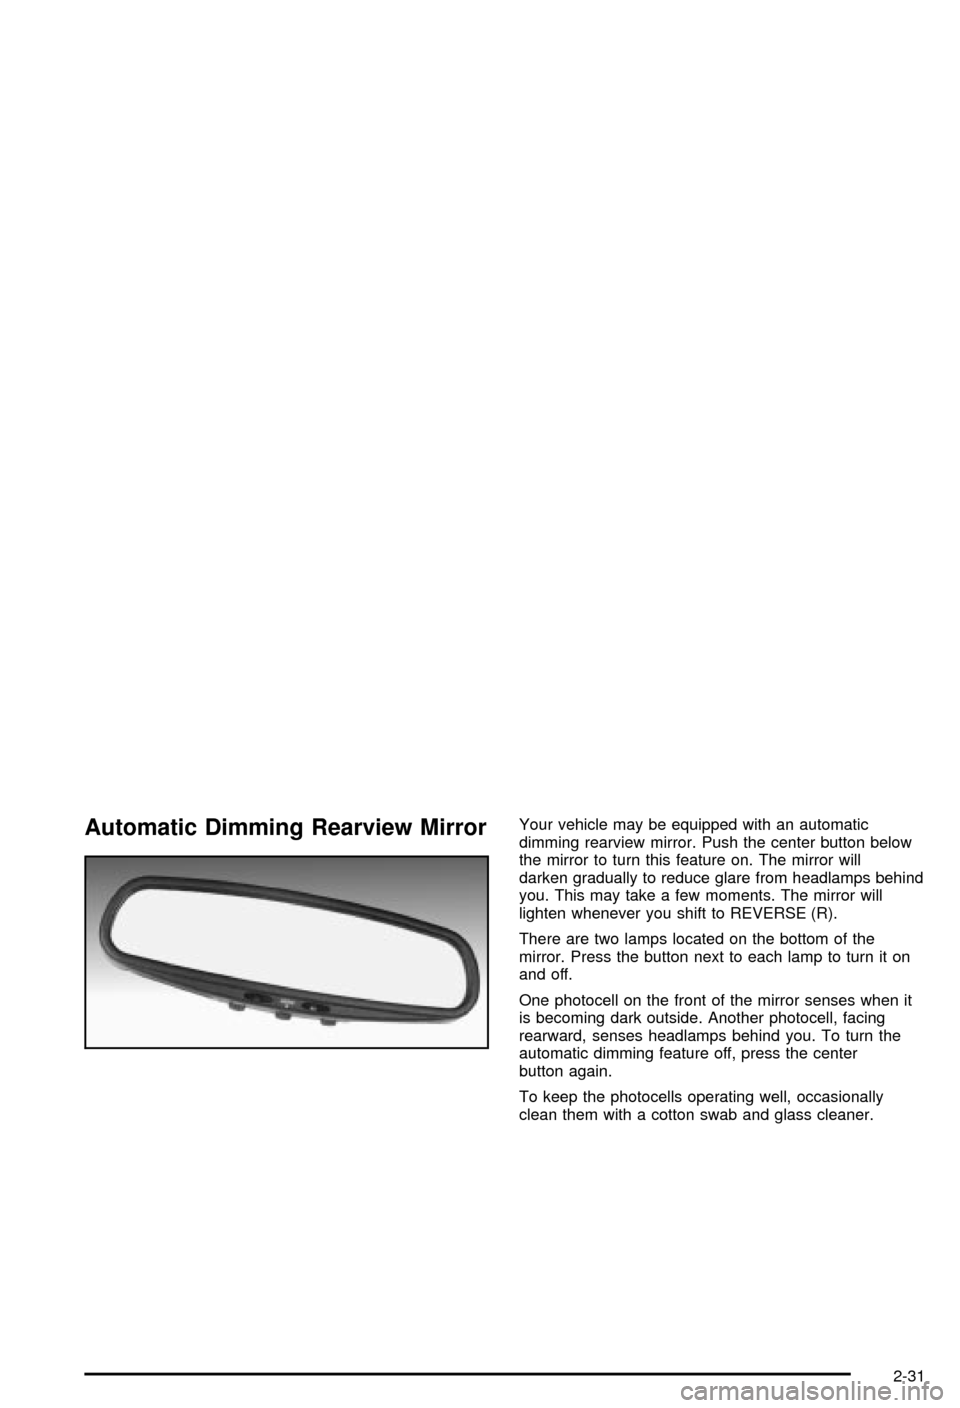
Automatic Dimming Rearview MirrorYour vehicle may be equipped with an automatic
dimming rearview mirror. Push the center button below
the mirror to turn this feature on. The mirror will
darken gradually to reduce glare from headlamps behind
you. This may take a few moments. The mirror will
lighten whenever you shift to REVERSE (R).
There are two lamps located on the bottom of the
mirror. Press the button next to each lamp to turn it on
and off.
One photocell on the front of the mirror senses when it
is becoming dark outside. Another photocell, facing
rearward, senses headlamps behind you. To turn the
automatic dimming feature off, press the center
button again.
To keep the photocells operating well, occasionally
clean them with a cotton swab and glass cleaner.
2-31
Page 96 of 394
Automatic Dimming Rearview Mirror
with OnStar
ž
Your vehicle may be equipped with an automatic
dimming rearview mirror with the OnStaržSystem.
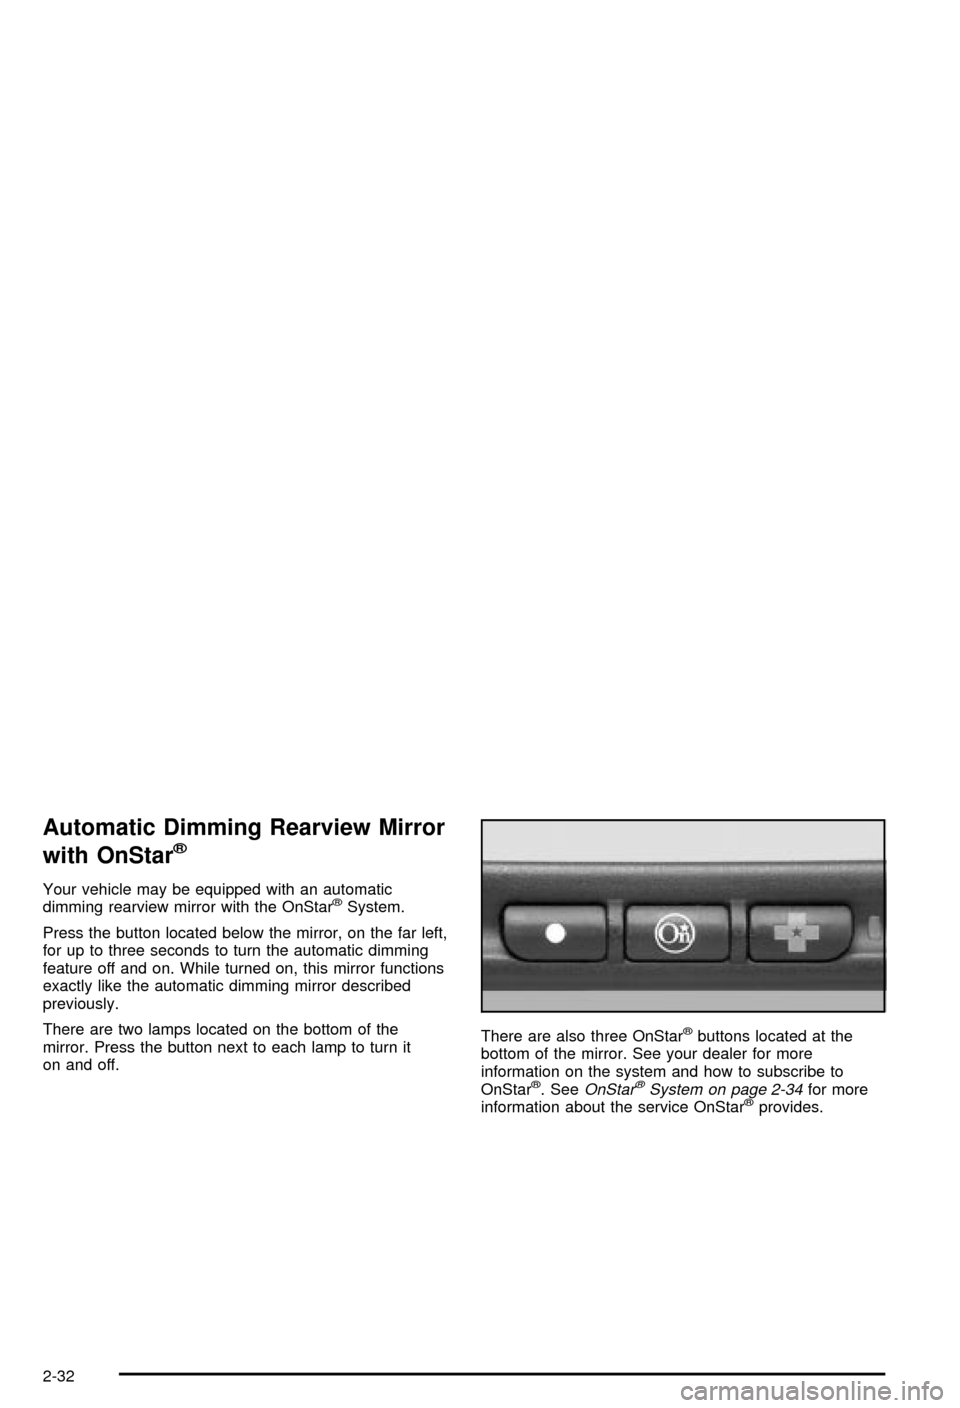
Press the button located below the mirror, on the far left,
for up to three seconds to turn the automatic dimming
feature off and on. While turned on, this mirror functions
exactly like the automatic dimming mirror described
previously.
There are two lamps located on the bottom of the
mirror. Press the button next to each lamp to turn it
on and off.There are also three OnStar
žbuttons located at the
bottom of the mirror. See your dealer for more
information on the system and how to subscribe to
OnStar
ž. SeeOnStaržSystem on page 2-34for more
information about the service OnStaržprovides.
2-32
Page 131 of 394
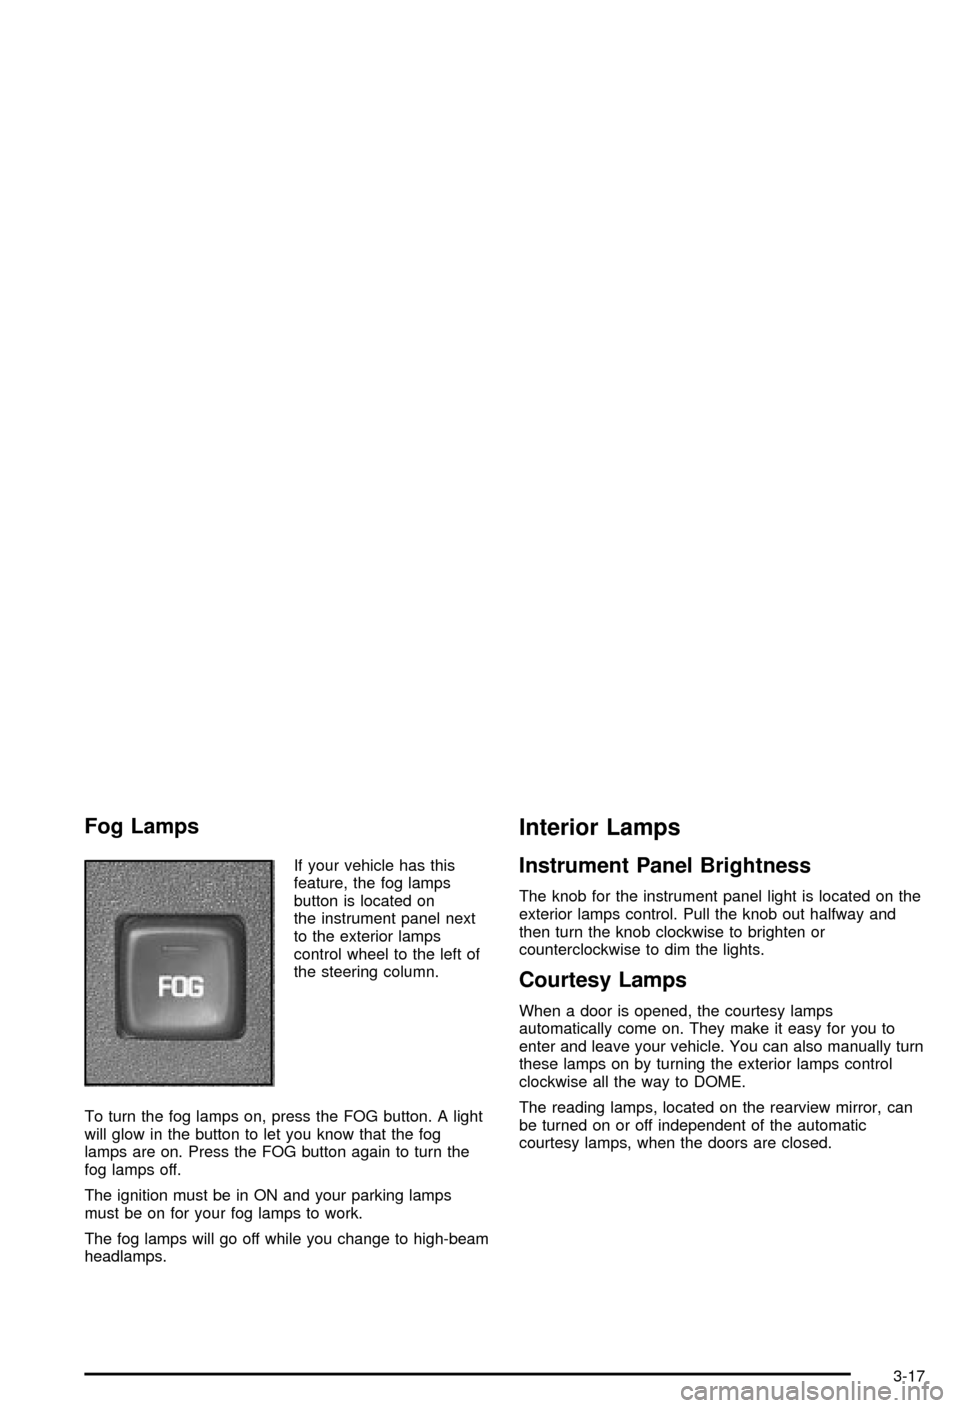
Fog Lamps
If your vehicle has this
feature, the fog lamps
button is located on
the instrument panel next
to the exterior lamps
control wheel to the left of
the steering column.
To turn the fog lamps on, press the FOG button. A light
will glow in the button to let you know that the fog
lamps are on. Press the FOG button again to turn the
fog lamps off.
The ignition must be in ON and your parking lamps
must be on for your fog lamps to work.
The fog lamps will go off while you change to high-beam
headlamps.
Interior Lamps
Instrument Panel Brightness
The knob for the instrument panel light is located on the
exterior lamps control. Pull the knob out halfway and
then turn the knob clockwise to brighten or
counterclockwise to dim the lights.
Courtesy Lamps
When a door is opened, the courtesy lamps
automatically come on. They make it easy for you to
enter and leave your vehicle. You can also manually turn
these lamps on by turning the exterior lamps control
clockwise all the way to DOME.
The reading lamps, located on the rearview mirror, can
be turned on or off independent of the automatic
courtesy lamps, when the doors are closed.
3-17
Page 133 of 394

Parade Dimming
The instrument panel has an added feature called
parade dimming. This feature prohibits the dimming of
your instrument panel displays during the daylight
while the headlamps are on so that you'll still be able to
see the displays.
Reading Lamps
The reading lamps are located on the rearview mirror.
These lamps and the interior courtesy lamps come
on when any door is opened. Press the button to turn
them on and off while the doors are closed.
Dome Lamp
The dome lamp will come on when you open a door.
You can also turn this lamp on by turning the exterior
lamp control clockwise to DOME.
Battery Rundown Protection
Your vehicle has a feature to help prevent you from
draining the battery in case you accidentally leave on the
interior courtesy lamps, reading/map lamps, visor
vanity lamps, trunk lamp or glove box lamps. If you leave
any of these lamps on, they will automatically turn off
after 10 minutes, if the ignition is off. The lamps
won't come back on again until you do the following:
·Turn the ignition on or
·turn the exterior lamps control off, then on again.
If your vehicle has less than 15 miles (25 km) on
the odometer, the battery saver will turn off the lamps
after only three minutes.
Battery rundown protection will also work if the
headlamps are left on. After having been left on for
10 minutes, the headlamps and the parking lamps will
¯ash three times. They will remain on for one more
minute before turning off automatically.
3-19
Page 141 of 394
Rear Window Defogger
The rear window defogger uses a warming grid to
remove fog from the rear window.
<(REAR):Press this button to turn the rear window
defogger on or off. An indicator light in the button
will come on to let you know that the rear window
defogger is activated. During daylight hours, you may
have to adjust the instrument panel brightness control to
the highest setting in order to see the indicator light.
See
Interior Lamps on page 3-17for more information.
The rear window defogger will turn off approximately
20 minutes after the button is pressed. If turned on
again, the defogger will run for the same amount of time.
The defogger can also be turned off by pressing the
button again or by turning off the engine.
If your vehicle has heated outside rearview mirrors, the
Rear Window Defogger also warms the heated
driver's and passenger's outside rearview mirrors to
help clear them of ice, snow and condensation.
Do not drive the vehicle until all the windows are clear.
Notice:Don't use a razor blade or something
else sharp on the inside of the rear window. If you
do, you could cut or damage the defogger and
the repairs would not be covered by your warranty.
Do not attach a temporary vehicle license, tape,
a decal or anything similar to the defogger grid.
Outlet Adjustment
The ¯ow through ventilation system on your vehicle
allows outside air to enter your vehicle when it is moving.
Outside air will also enter your vehicle when the
air-conditioning compressor is running and even in small
amounts when the recirculation mode is activated.
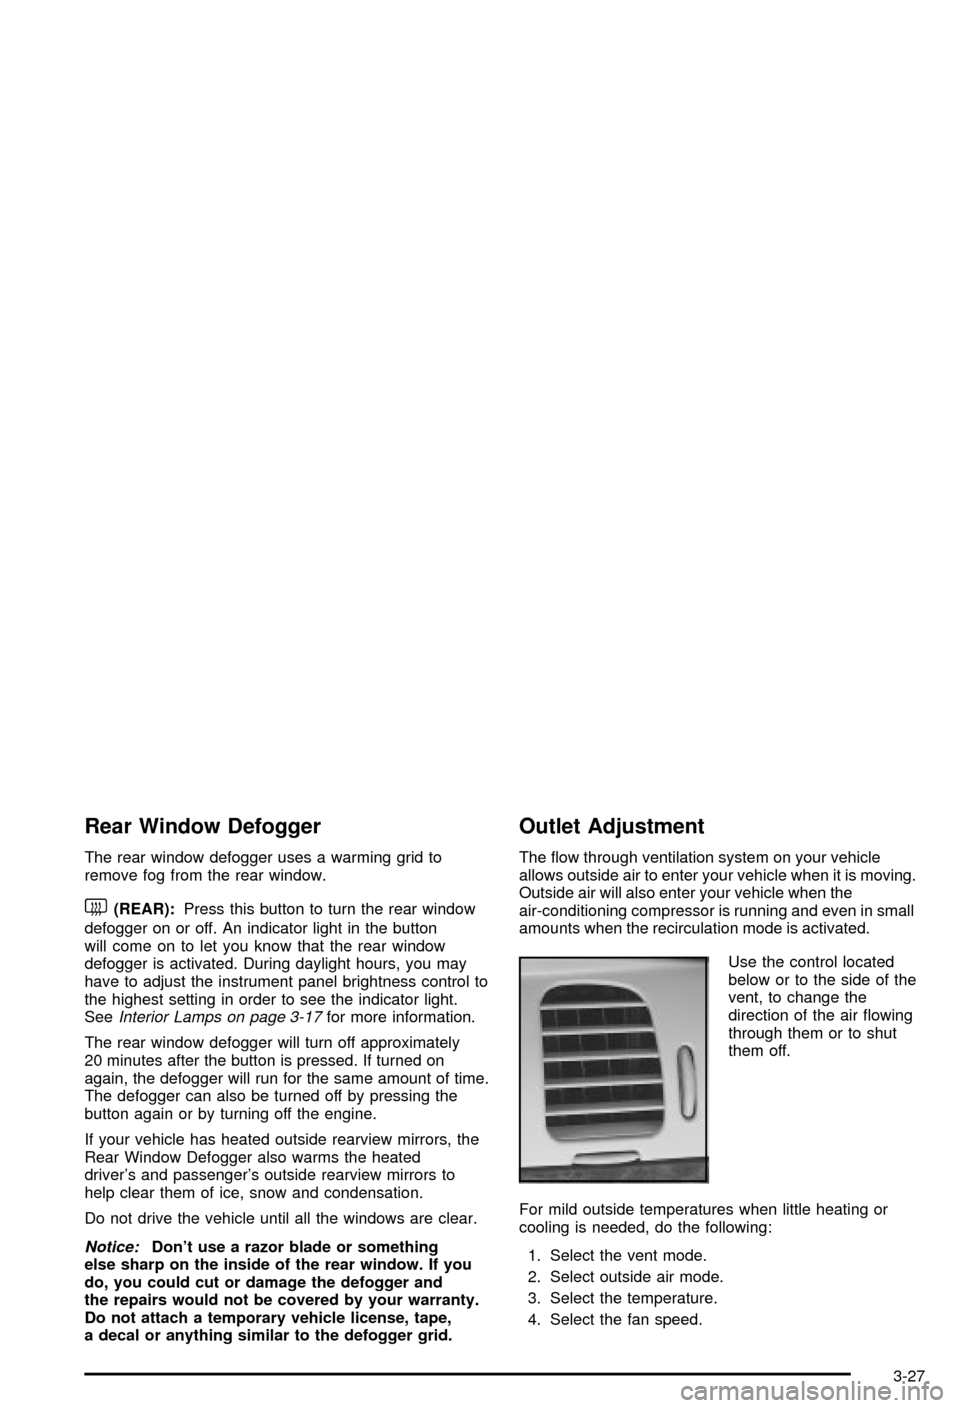
Use the control located
below or to the side of the
vent, to change the
direction of the air ¯owing
through them or to shut
them off.
For mild outside temperatures when little heating or
cooling is needed, do the following:
1. Select the vent mode.
2. Select outside air mode.
3. Select the temperature.
4. Select the fan speed.
3-27
Page 223 of 394

Driving at Night
Night driving is more dangerous than day driving.
One reason is that some drivers are likely to be
impaired Ð by alcohol or drugs, with night vision
problems, or by fatigue.
Here are some tips on night driving.
·Drive defensively.
·Don't drink and drive.
·Adjust your inside rearview mirror to reduce the
glare from headlamps behind you.
·Since you can't see as well, you may need to slow
down and keep more space between you and
other vehicles.
·Slow down, especially on higher speed roads. Your
headlamps can light up only so much road ahead.
·In remote areas, watch for animals.
·If you're tired, pull off the road in a safe place
and rest.
No one can see as well at night as in the daytime.
But as we get older these differences increase.
A 50-year-old driver may require at least twice as much
light to see the same thing at night as a 20-year-old.
What you do in the daytime can also affect your
night vision. For example, if you spend the day in bright
sunshine you are wise to wear sunglasses. Your
eyes will have less trouble adjusting to night. But if
you're driving, don't wear sunglasses at night. They may
cut down on glare from headlamps, but they also
make a lot of things invisible.
4-15