reset CHEVROLET MONTE CARLO 2004 User Guide
[x] Cancel search | Manufacturer: CHEVROLET, Model Year: 2004, Model line: MONTE CARLO, Model: CHEVROLET MONTE CARLO 2004Pages: 416, PDF Size: 4.56 MB
Page 167 of 416
Compass Variance
Compass variance is the difference between magnetic
north and geographic north. In some areas of the country,
the difference is great enough to cause the compass to
give false readings. If this occurs, the compass variance
must be set.
Setting the Variance
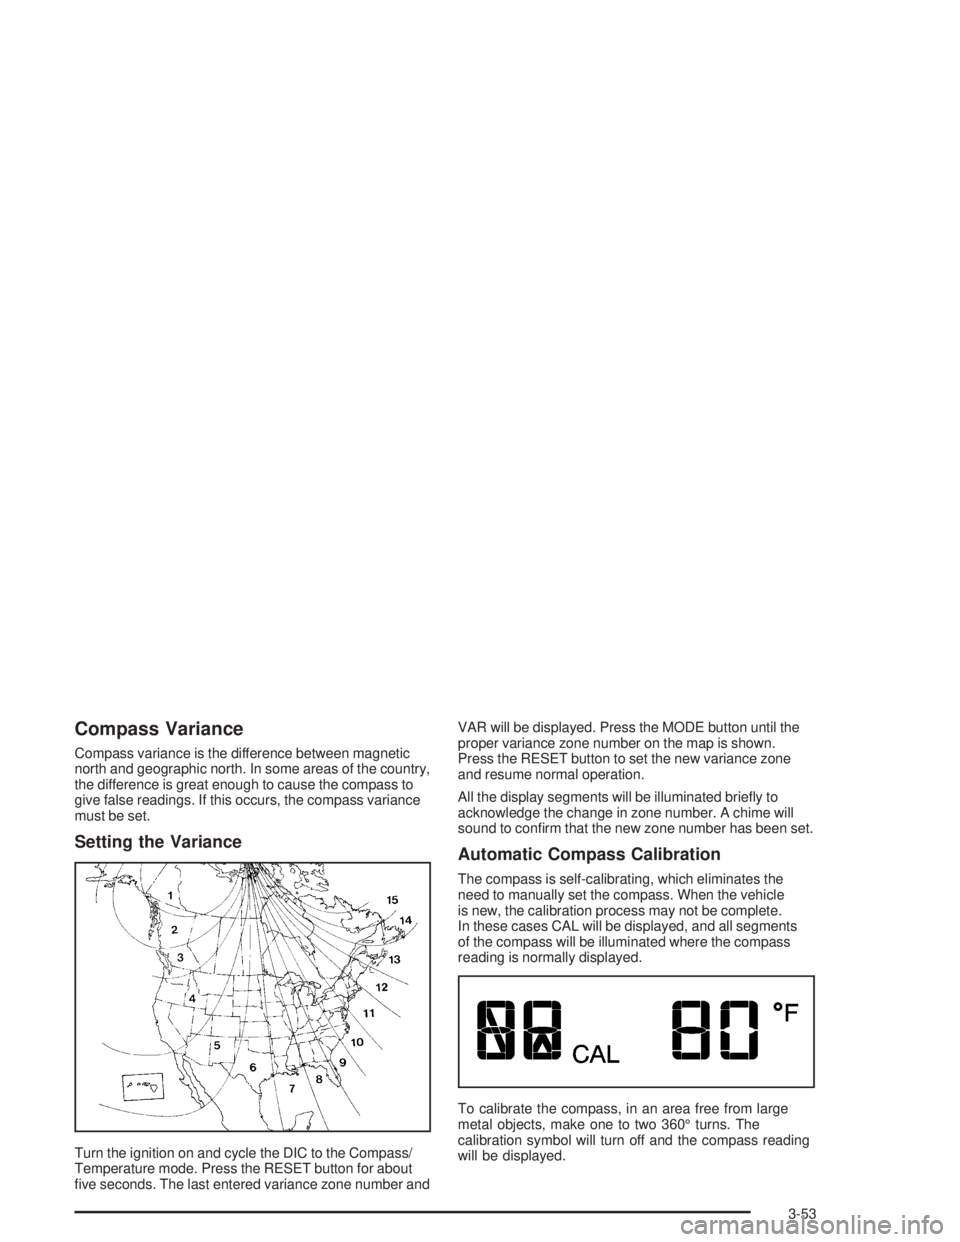
Turn the ignition on and cycle the DIC to the Compass/
Temperature mode. Press the RESET button for about
�ve seconds. The last entered variance zone number andVAR will be displayed. Press the MODE button until the
proper variance zone number on the map is shown.
Press the RESET button to set the new variance zone
and resume normal operation.
All the display segments will be illuminated brie�y to
acknowledge the change in zone number. A chime will
sound to con�rm that the new zone number has been set.
Automatic Compass Calibration
The compass is self-calibrating, which eliminates the
need to manually set the compass. When the vehicle
is new, the calibration process may not be complete.
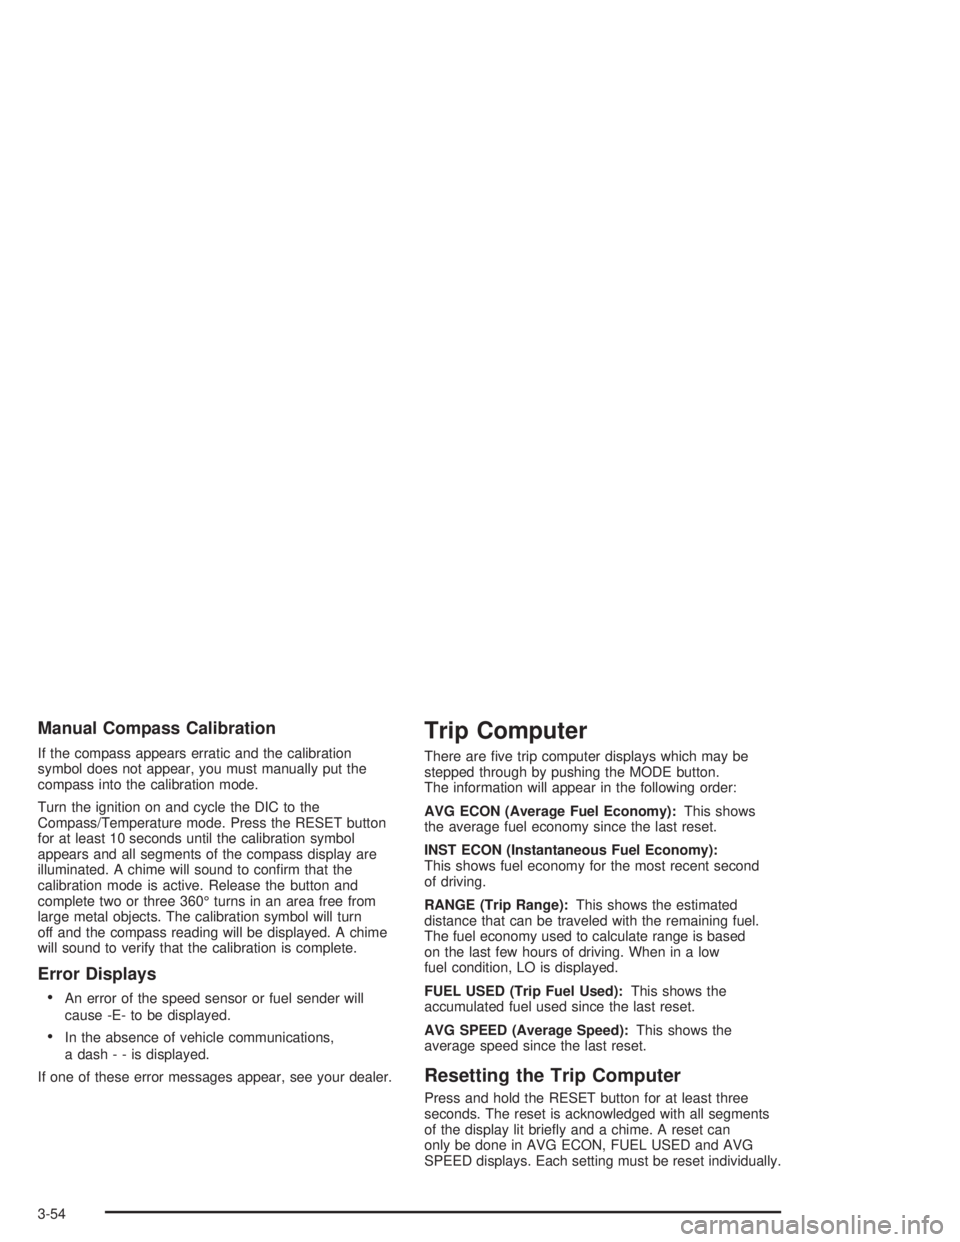
In these cases CAL will be displayed, and all segments
of the compass will be illuminated where the compass
reading is normally displayed.
To calibrate the compass, in an area free from large
metal objects, make one to two 360° turns. The
calibration symbol will turn off and the compass reading
will be displayed.
3-53
Page 168 of 416
Manual Compass Calibration
If the compass appears erratic and the calibration
symbol does not appear, you must manually put the
compass into the calibration mode.
Turn the ignition on and cycle the DIC to the
Compass/Temperature mode. Press the RESET button
for at least 10 seconds until the calibration symbol
appears and all segments of the compass display are
illuminated. A chime will sound to con�rm that the
calibration mode is active. Release the button and
complete two or three 360° turns in an area free from
large metal objects. The calibration symbol will turn
off and the compass reading will be displayed. A chime
will sound to verify that the calibration is complete.
Error Displays
An error of the speed sensor or fuel sender will
cause -E- to be displayed.
In the absence of vehicle communications,
adash--isdisplayed.
If one of these error messages appear, see your dealer.
Trip Computer
There are �ve trip computer displays which may be
stepped through by pushing the MODE button.
The information will appear in the following order:
AVG ECON (Average Fuel Economy):This shows
the average fuel economy since the last reset.
INST ECON (Instantaneous Fuel Economy):
This shows fuel economy for the most recent second
of driving.
RANGE (Trip Range):This shows the estimated
distance that can be traveled with the remaining fuel.
The fuel economy used to calculate range is based
on the last few hours of driving. When in a low
fuel condition, LO is displayed.
FUEL USED (Trip Fuel Used):This shows the
accumulated fuel used since the last reset.
AVG SPEED (Average Speed):This shows the
average speed since the last reset.
Resetting the Trip Computer
Press and hold the RESET button for at least three
seconds. The reset is acknowledged with all segments
of the display lit brie�y and a chime. A reset can
only be done in AVG ECON, FUEL USED and AVG
SPEED displays. Each setting must be reset individually.
3-54
Page 172 of 416
Finding a Station
BAND:Press this button to switch between FM1,
FM2, AM, or XM1 or XM2 (48 contiguous US states,
if equipped). The display will show your selection.
TUNE:Turn this knob to select radio stations.
qSEEKr:Press the right or the left arrow to seek
to the next or to the previous station and stay there.
The radio will seek only to stations that are in the
selected band and only to those with a strong signal.
qPSCANr(Preset Scan):Press and hold
either arrow for more than two seconds until you hear a
beep. The radio will go to the �rst preset station
stored on your pushbuttons, play for a few seconds,
then go on to the next preset station. SCAN will appear
on the display. Press either arrow again or one of
the pushbuttons to stop scanning presets.
The radio will scan only to the preset stations that are in
the selected band and only to those with a strong signal.
Setting Preset Stations
The six numbered pushbuttons let you return to your
favorite stations. You can set up to 30 stations
(six FM1, six FM2, and six AM, six XM1 and six XM2
(48 contiguous US states, if equipped), by performing
the following steps:
1. Turn the radio on.
2. Press BAND to select FM1, FM2, AM, or XM1
or XM2.
3. Tune in the desired station.
4. Press AUTO TONE to select the equalization.
5. Press and hold one of the six numbered
pushbuttons until you hear a beep. Whenever you
press that numbered pushbutton, the station
you set will return and the equalization that you
selected will be automatically stored for that
pushbutton.
6. Repeat the steps for each pushbutton.
3-58
Page 176 of 416
XM™ Radio Messages
Radio Display
MessageCondition Action Required
XL (Explicit Language
Channels)XL on the radio display,
after the channel name,
indicates content with
explicit language.These channels, or any others, can be blocked at a
customer’s request, by calling 1-800-852-XMXM (9696).
Updating Updating encryption
codeThe encryption code in your receiver is being updated, and
no action is required. This process should take no longer
than 30 seconds.
No Signl Loss of signal Your system is functioning correctly, but you are in a
location that is blocking the XM signal. When you move
into an open area, the signal should return.
Loading Acquiring channel audio
(after 4 second delay)Your radio system is acquiring and processing audio and
text data. No action is needed. This message should
disappear shortly.
Off Air Channel not in service This channel is not currently in service. Tune to another
channel.
CH Unavl Channel no longer
availableThis previously assigned channel is no longer assigned.
Tune to another station. If this station was one of your
presets, you may need to choose another station for that
preset button.
No Info Artist Name/Feature not
availableNo artist information is available at this time on this
channel. Your system is working properly.
No Info Song/Program Title not
availableNo song title information is available at this time on this
channel. Your system is working properly.
3-62
Page 183 of 416
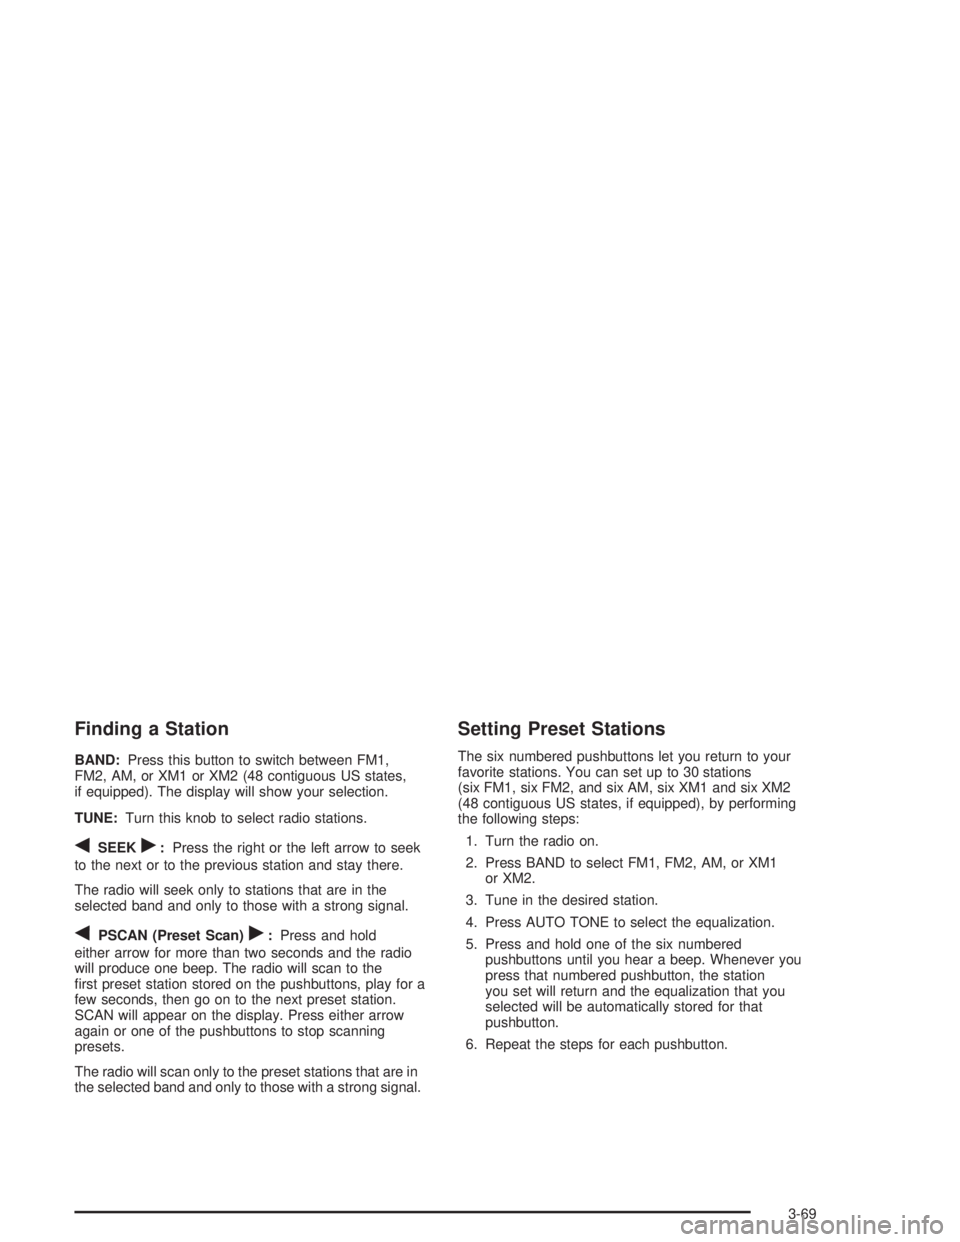
Finding a Station
BAND:Press this button to switch between FM1,
FM2, AM, or XM1 or XM2 (48 contiguous US states,
if equipped). The display will show your selection.
TUNE:Turn this knob to select radio stations.
qSEEKr:Press the right or the left arrow to seek
to the next or to the previous station and stay there.
The radio will seek only to stations that are in the
selected band and only to those with a strong signal.
qPSCAN (Preset Scan)r:Press and hold
either arrow for more than two seconds and the radio
will produce one beep. The radio will scan to the
�rst preset station stored on the pushbuttons, play for a
few seconds, then go on to the next preset station.
SCAN will appear on the display. Press either arrow
again or one of the pushbuttons to stop scanning
presets.
The radio will scan only to the preset stations that are in
the selected band and only to those with a strong signal.
Setting Preset Stations
The six numbered pushbuttons let you return to your
favorite stations. You can set up to 30 stations
(six FM1, six FM2, and six AM, six XM1 and six XM2
(48 contiguous US states, if equipped), by performing
the following steps:
1. Turn the radio on.
2. Press BAND to select FM1, FM2, AM, or XM1
or XM2.
3. Tune in the desired station.
4. Press AUTO TONE to select the equalization.
5. Press and hold one of the six numbered
pushbuttons until you hear a beep. Whenever you
press that numbered pushbutton, the station
you set will return and the equalization that you
selected will be automatically stored for that
pushbutton.
6. Repeat the steps for each pushbutton.
3-69
Page 187 of 416
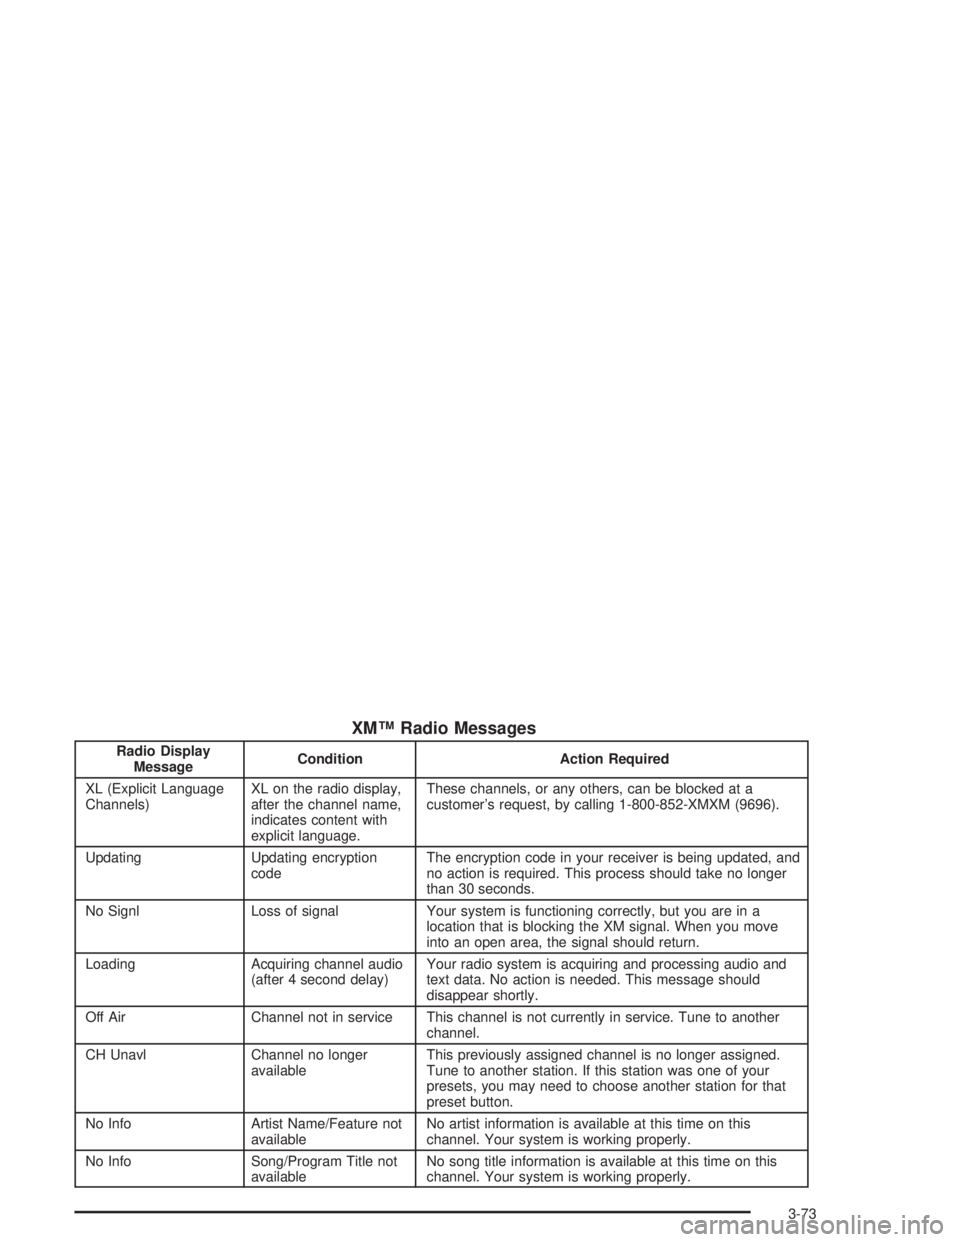
XM™ Radio Messages
Radio Display
MessageCondition Action Required
XL (Explicit Language
Channels)XL on the radio display,
after the channel name,
indicates content with
explicit language.These channels, or any others, can be blocked at a
customer’s request, by calling 1-800-852-XMXM (9696).
Updating Updating encryption
codeThe encryption code in your receiver is being updated, and
no action is required. This process should take no longer
than 30 seconds.
No Signl Loss of signal Your system is functioning correctly, but you are in a
location that is blocking the XM signal. When you move
into an open area, the signal should return.
Loading Acquiring channel audio
(after 4 second delay)Your radio system is acquiring and processing audio and
text data. No action is needed. This message should
disappear shortly.
Off Air Channel not in service This channel is not currently in service. Tune to another
channel.
CH Unavl Channel no longer
availableThis previously assigned channel is no longer assigned.
Tune to another station. If this station was one of your
presets, you may need to choose another station for that
preset button.
No Info Artist Name/Feature not
availableNo artist information is available at this time on this
channel. Your system is working properly.
No Info Song/Program Title not
availableNo song title information is available at this time on this
channel. Your system is working properly.
3-73
Page 194 of 416
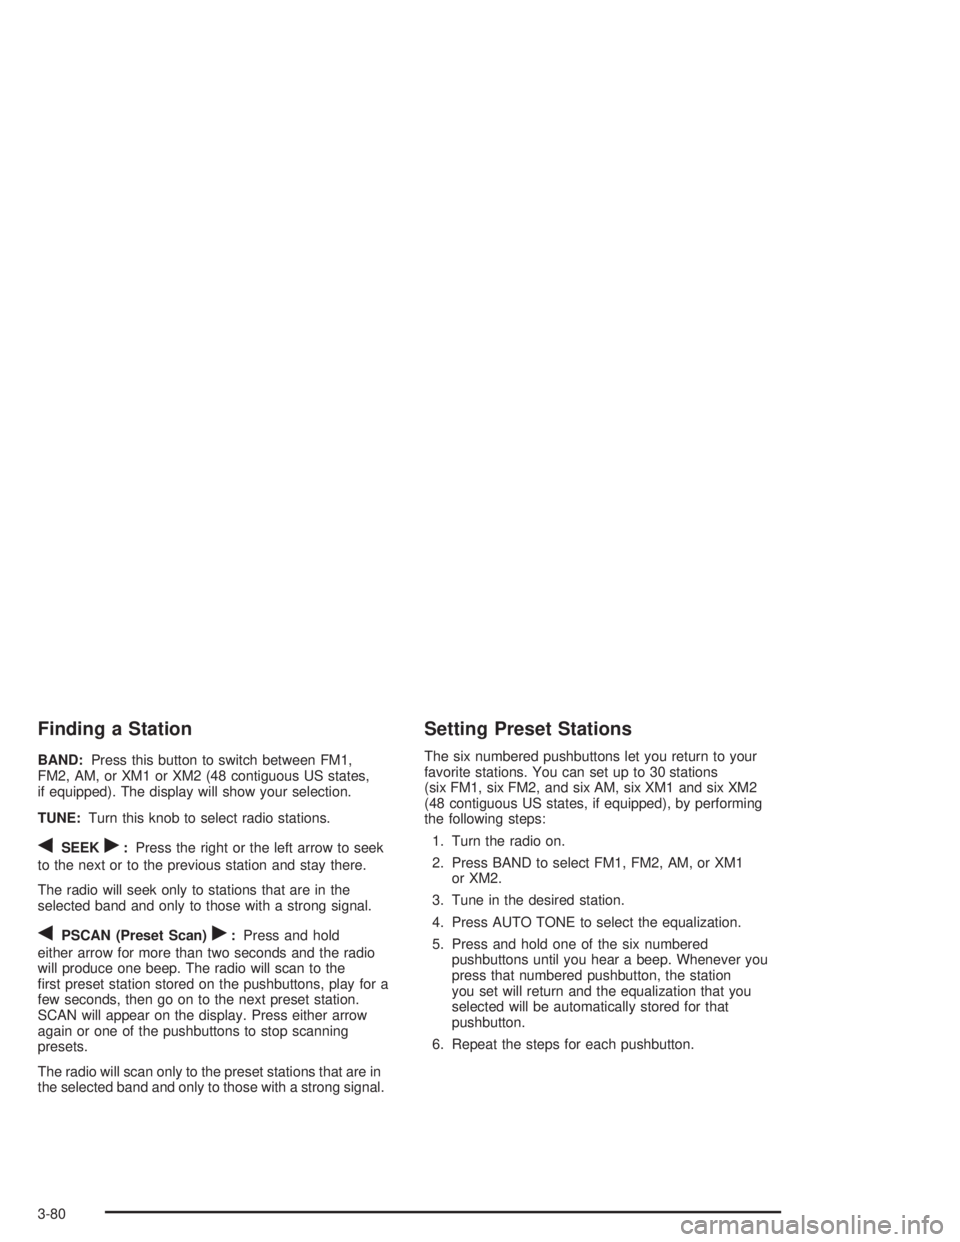
Finding a Station
BAND:Press this button to switch between FM1,
FM2, AM, or XM1 or XM2 (48 contiguous US states,
if equipped). The display will show your selection.
TUNE:Turn this knob to select radio stations.
qSEEKr:Press the right or the left arrow to seek
to the next or to the previous station and stay there.
The radio will seek only to stations that are in the
selected band and only to those with a strong signal.
qPSCAN (Preset Scan)r:Press and hold
either arrow for more than two seconds and the radio
will produce one beep. The radio will scan to the
�rst preset station stored on the pushbuttons, play for a
few seconds, then go on to the next preset station.
SCAN will appear on the display. Press either arrow
again or one of the pushbuttons to stop scanning
presets.
The radio will scan only to the preset stations that are in
the selected band and only to those with a strong signal.
Setting Preset Stations
The six numbered pushbuttons let you return to your
favorite stations. You can set up to 30 stations
(six FM1, six FM2, and six AM, six XM1 and six XM2
(48 contiguous US states, if equipped), by performing
the following steps:
1. Turn the radio on.
2. Press BAND to select FM1, FM2, AM, or XM1
or XM2.
3. Tune in the desired station.
4. Press AUTO TONE to select the equalization.
5. Press and hold one of the six numbered
pushbuttons until you hear a beep. Whenever you
press that numbered pushbutton, the station
you set will return and the equalization that you
selected will be automatically stored for that
pushbutton.
6. Repeat the steps for each pushbutton.
3-80
Page 198 of 416
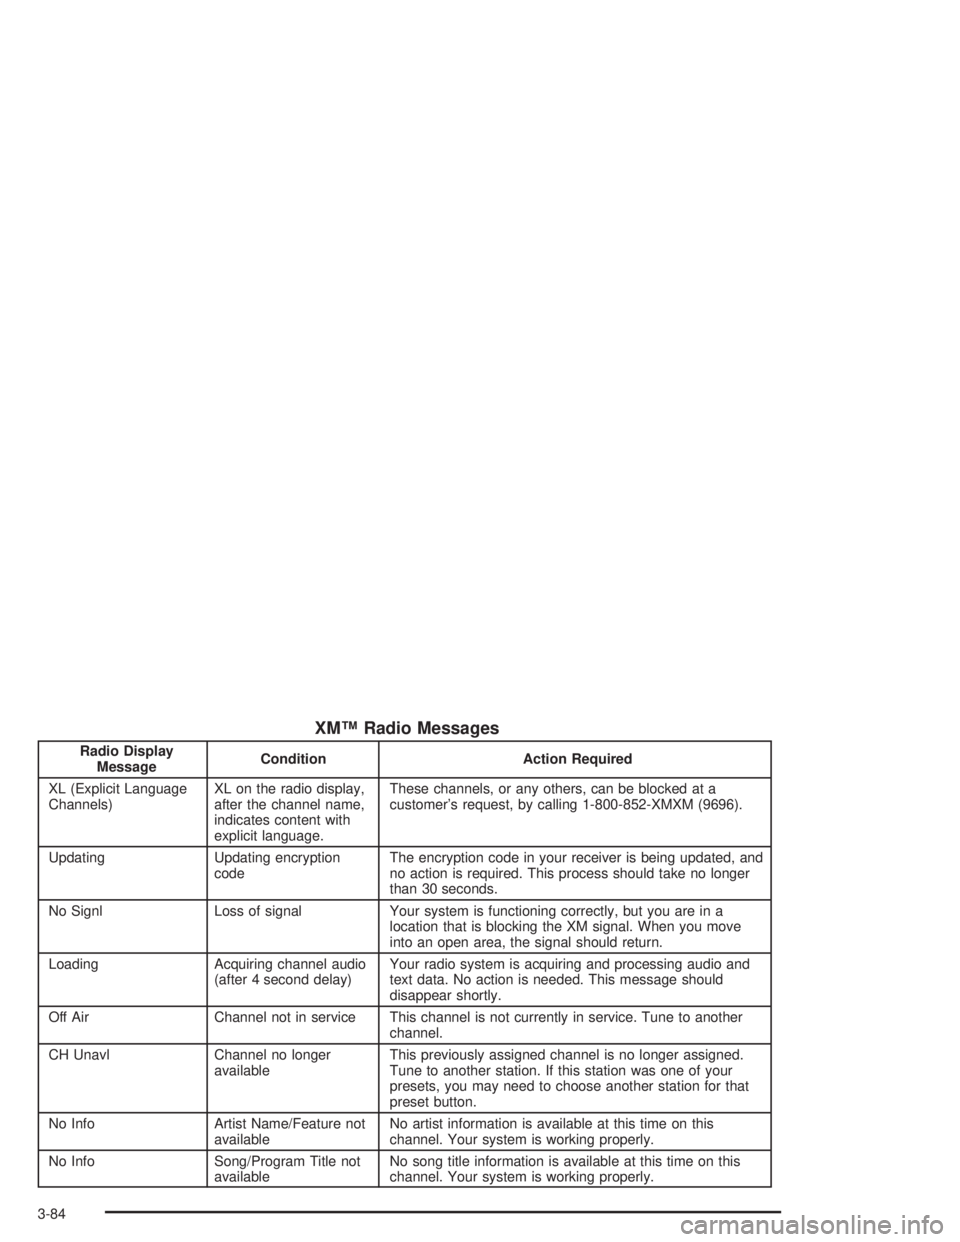
XM™ Radio Messages
Radio Display
MessageCondition Action Required
XL (Explicit Language
Channels)XL on the radio display,
after the channel name,
indicates content with
explicit language.These channels, or any others, can be blocked at a
customer’s request, by calling 1-800-852-XMXM (9696).
Updating Updating encryption
codeThe encryption code in your receiver is being updated, and
no action is required. This process should take no longer
than 30 seconds.
No Signl Loss of signal Your system is functioning correctly, but you are in a
location that is blocking the XM signal. When you move
into an open area, the signal should return.
Loading Acquiring channel audio
(after 4 second delay)Your radio system is acquiring and processing audio and
text data. No action is needed. This message should
disappear shortly.
Off Air Channel not in service This channel is not currently in service. Tune to another
channel.
CH Unavl Channel no longer
availableThis previously assigned channel is no longer assigned.
Tune to another station. If this station was one of your
presets, you may need to choose another station for that
preset button.
No Info Artist Name/Feature not
availableNo artist information is available at this time on this
channel. Your system is working properly.
No Info Song/Program Title not
availableNo song title information is available at this time on this
channel. Your system is working properly.
3-84
Page 206 of 416
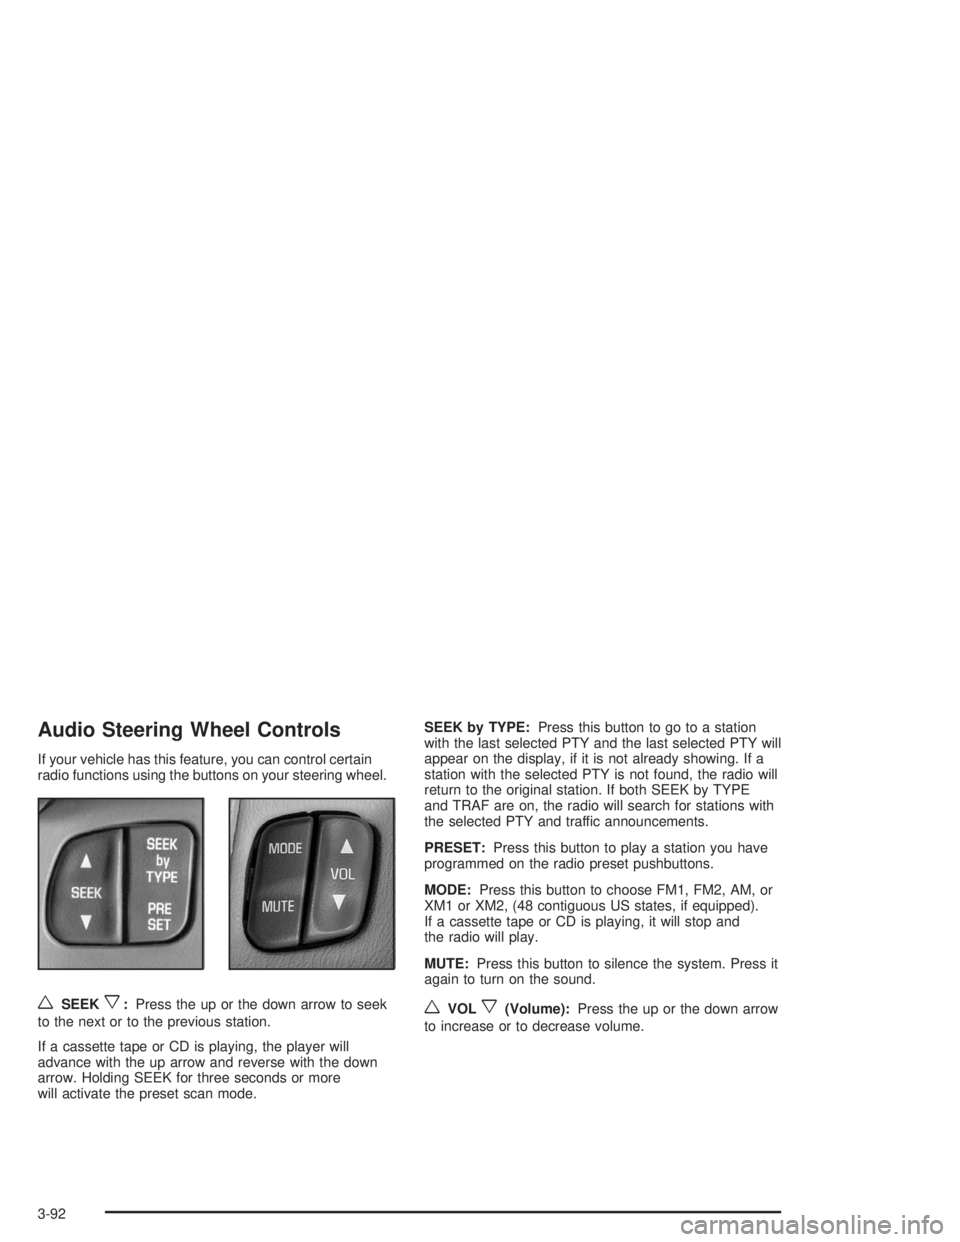
Audio Steering Wheel Controls
If your vehicle has this feature, you can control certain
radio functions using the buttons on your steering wheel.
wSEEKx:Press the up or the down arrow to seek
to the next or to the previous station.
If a cassette tape or CD is playing, the player will
advance with the up arrow and reverse with the down
arrow. Holding SEEK for three seconds or more
will activate the preset scan mode.SEEK by TYPE:Press this button to go to a station
with the last selected PTY and the last selected PTY will
appear on the display, if it is not already showing. If a
station with the selected PTY is not found, the radio will
return to the original station. If both SEEK by TYPE
and TRAF are on, the radio will search for stations with
the selected PTY and traffic announcements.
PRESET:Press this button to play a station you have
programmed on the radio preset pushbuttons.
MODE:Press this button to choose FM1, FM2, AM, or
XM1 or XM2, (48 contiguous US states, if equipped).
If a cassette tape or CD is playing, it will stop and
the radio will play.
MUTE:Press this button to silence the system. Press it
again to turn on the sound.wVOLx(Volume):Press the up or the down arrow
to increase or to decrease volume.
3-92
Page 207 of 416
Understanding Radio Reception
AM
The range for most AM stations is greater than for FM,
especially at night. The longer range, however, can
cause stations to interfere with each other. AM can pick
up noise from things like storms and power lines.
Try reducing the treble to reduce this noise.
FM Stereo
FM stereo will give you the best sound, but FM signals
will reach only about 10 to 40 miles (16 to 65 km).
Tall buildings or hills can interfere with FM signals,
causing the sound to come and go.
XM™ Satellite Radio Service
(48 Contiguous US States)
XM™ Satellite Radio gives you digital radio reception
from coast to coast. Just as with FM, tall buildings
or hills can interfere with satellite radio signals, causing
the sound to come and go. Your radio may display
NO SIGNAL to indicate interference.
Care of Your Cassette Tape Player
A tape player that is not cleaned regularly can cause
reduced sound quality, ruined cassettes, or a damaged
mechanism. Cassette tapes should be stored in their
cases away from contaminants, direct sunlight, and
extreme heat. If they are not, they may not operate
properly or may cause failure of the tape player.
Your tape player should be cleaned regularly after every
50 hours of use. Your radio may display CLEAN to
indicate that you have used your tape player for
50 hours without resetting the tape clean timer. If this
message appears on the display, your cassette
tape player needs to be cleaned. It will still play tapes,
but you should clean it as soon as possible to
prevent damage to your tapes and player. If you notice
a reduction in sound quality, try a known good
cassette to see if the tape or the tape player is at fault.
If this other cassette has no improvement in sound
quality, clean the tape player.
For best results, use a scrubbing action, non-abrasive
cleaning cassette with pads which scrub the tape
head as the hubs of the cleaner cassette turn.
The recommended cleaning cassette is available
through your dealer.
3-93