CHEVROLET OPTRA 2005 1.G Owners Manual
Manufacturer: CHEVROLET, Model Year: 2005, Model line: OPTRA, Model: CHEVROLET OPTRA 2005 1.GPages: 336, PDF Size: 2.21 MB
Page 101 of 336
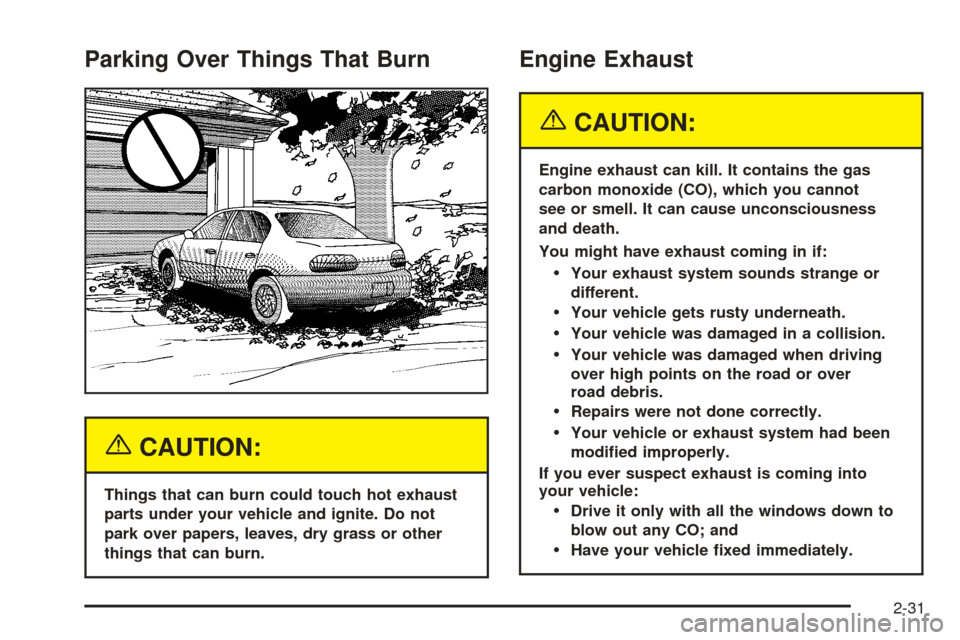
Parking Over Things That Burn
{CAUTION:
Things that can burn could touch hot exhaust
parts under your vehicle and ignite. Do not
park over papers, leaves, dry grass or other
things that can burn.
Engine Exhaust
{CAUTION:
Engine exhaust can kill. It contains the gas
carbon monoxide (CO), which you cannot
see or smell. It can cause unconsciousness
and death.
You might have exhaust coming in if:
Your exhaust system sounds strange or
different.
Your vehicle gets rusty underneath.
Your vehicle was damaged in a collision.
Your vehicle was damaged when driving
over high points on the road or over
road debris.
Repairs were not done correctly.
Your vehicle or exhaust system had been
modi�ed improperly.
If you ever suspect exhaust is coming into
your vehicle:
Drive it only with all the windows down to
blow out any CO; and
Have your vehicle �xed immediately.
2-31
Page 102 of 336
Running Your Engine While You
Are Parked
It is better not to park with the engine running. But if
you ever have to, here are some things to know.
{CAUTION:
Idling the engine with the climate control
system off could allow dangerous exhaust into
your vehicle. See the earlier caution under
Engine Exhaust on page 2-31.
Also, idling in a closed-in place can let deadly
carbon monoxide (CO) into your vehicle even if
the climate control fan is at the highest setting.
One place this can happen is a garage.
Exhaust — with CO — can come in easily.
NEVER park in a garage with the engine
running.
Another closed-in place can be a blizzard. See
Winter Driving on page 4-23.
{CAUTION:
It can be dangerous to get out of your vehicle
if the shift lever is not fully in PARK (P) with
the parking brake �rmly set. Your vehicle can
roll. Do not leave your vehicle when the engine
is running unless you have to. If you have left
the engine running, the vehicle can move
suddenly. You or others could be injured. To
be sure your vehicle will not move, even when
you are on fairly level ground, always set your
parking brake and move the shift lever to
PARK (P).
Follow the proper steps to be sure your vehicle will not
move. SeeShifting Into Park (P) (Automatic Transaxle)
on page 2-28.
If you are parking on a hill and if you are pulling a
trailer, also seeTowing a Trailer on page 4-35.
2-32
Page 103 of 336
Mirrors
Manual Rearview Mirror
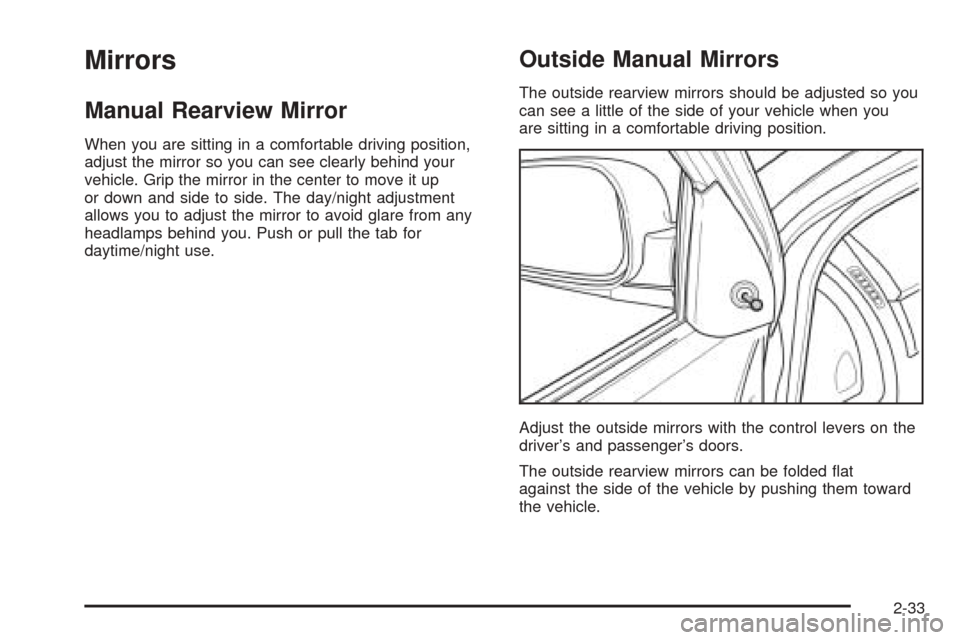
When you are sitting in a comfortable driving position,
adjust the mirror so you can see clearly behind your
vehicle. Grip the mirror in the center to move it up
or down and side to side. The day/night adjustment
allows you to adjust the mirror to avoid glare from any
headlamps behind you. Push or pull the tab for
daytime/night use.
Outside Manual Mirrors
The outside rearview mirrors should be adjusted so you
can see a little of the side of your vehicle when you
are sitting in a comfortable driving position.
Adjust the outside mirrors with the control levers on the
driver’s and passenger’s doors.
The outside rearview mirrors can be folded flat
against the side of the vehicle by pushing them toward
the vehicle.
2-33
Page 104 of 336
Outside Power Mirrors
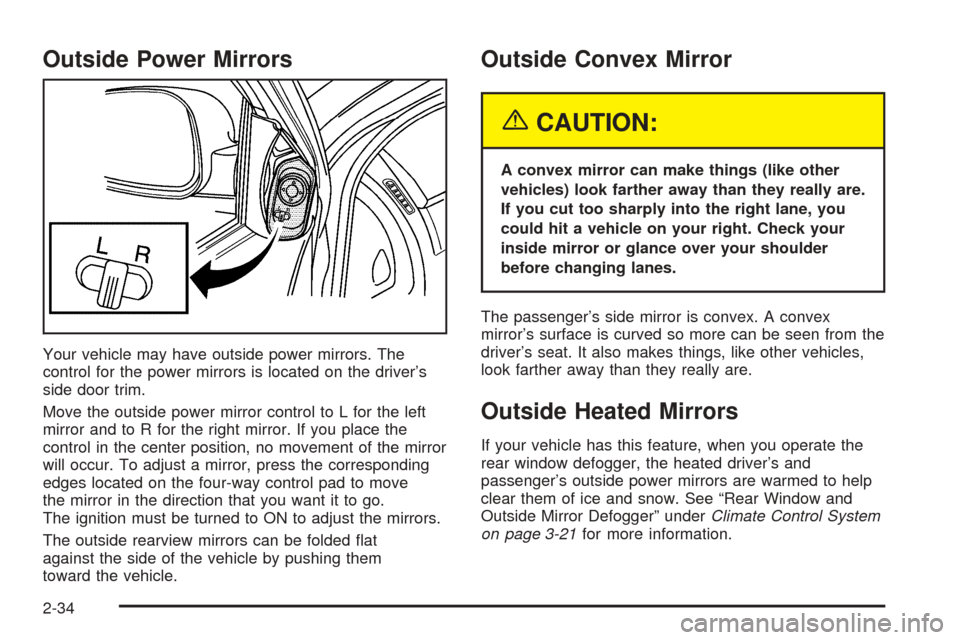
Your vehicle may have outside power mirrors. The
control for the power mirrors is located on the driver’s
side door trim.
Move the outside power mirror control to L for the left
mirror and to R for the right mirror. If you place the
control in the center position, no movement of the mirror
will occur. To adjust a mirror, press the corresponding
edges located on the four-way control pad to move
the mirror in the direction that you want it to go.
The ignition must be turned to ON to adjust the mirrors.
The outside rearview mirrors can be folded flat
against the side of the vehicle by pushing them
toward the vehicle.
Outside Convex Mirror
{CAUTION:
A convex mirror can make things (like other
vehicles) look farther away than they really are.
If you cut too sharply into the right lane, you
could hit a vehicle on your right. Check your
inside mirror or glance over your shoulder
before changing lanes.
The passenger’s side mirror is convex. A convex
mirror’s surface is curved so more can be seen from the
driver’s seat. It also makes things, like other vehicles,
look farther away than they really are.
Outside Heated Mirrors
If your vehicle has this feature, when you operate the
rear window defogger, the heated driver’s and
passenger’s outside power mirrors are warmed to help
clear them of ice and snow. See “Rear Window and
Outside Mirror Defogger” underClimate Control System
on page 3-21for more information.
2-34
Page 105 of 336
Storage Areas
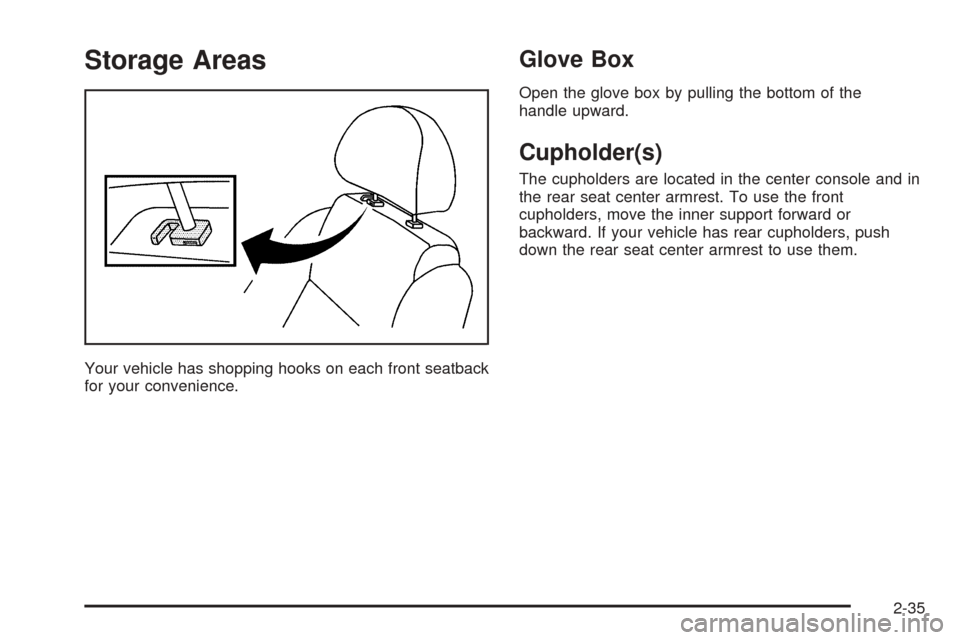
Your vehicle has shopping hooks on each front seatback
for your convenience.
Glove Box
Open the glove box by pulling the bottom of the
handle upward.
Cupholder(s)
The cupholders are located in the center console and in
the rear seat center armrest. To use the front
cupholders, move the inner support forward or
backward. If your vehicle has rear cupholders, push
down the rear seat center armrest to use them.
2-35
Page 106 of 336
Sunglasses Storage Compartment
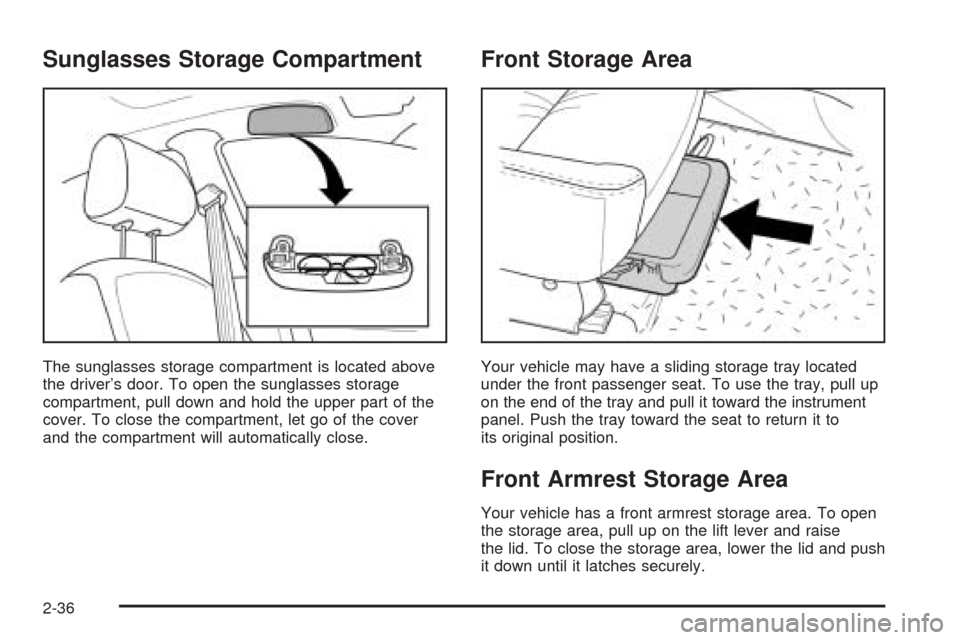
The sunglasses storage compartment is located above
the driver’s door. To open the sunglasses storage
compartment, pull down and hold the upper part of the
cover. To close the compartment, let go of the cover
and the compartment will automatically close.
Front Storage Area
Your vehicle may have a sliding storage tray located
under the front passenger seat. To use the tray, pull up
on the end of the tray and pull it toward the instrument
panel. Push the tray toward the seat to return it to
its original position.
Front Armrest Storage Area
Your vehicle has a front armrest storage area. To open
the storage area, pull up on the lift lever and raise
the lid. To close the storage area, lower the lid and push
it down until it latches securely.
2-36
Page 107 of 336
Roof Rack (Wagon Only)
{CAUTION:
If you try to carry something on top of your
vehicle that is longer or wider than the roof
rack— like paneling, plywood, a mattress and
so forth — the wind can catch it as you drive
along. This can cause you to lose control.
What you are carrying could be violently torn
off, and this could cause you or other drivers
to have a collision, and of course damage your
vehicle. You may be able to carry something
like this inside. But, never carry something
longer or wider than the roof rack on top of
your vehicle.
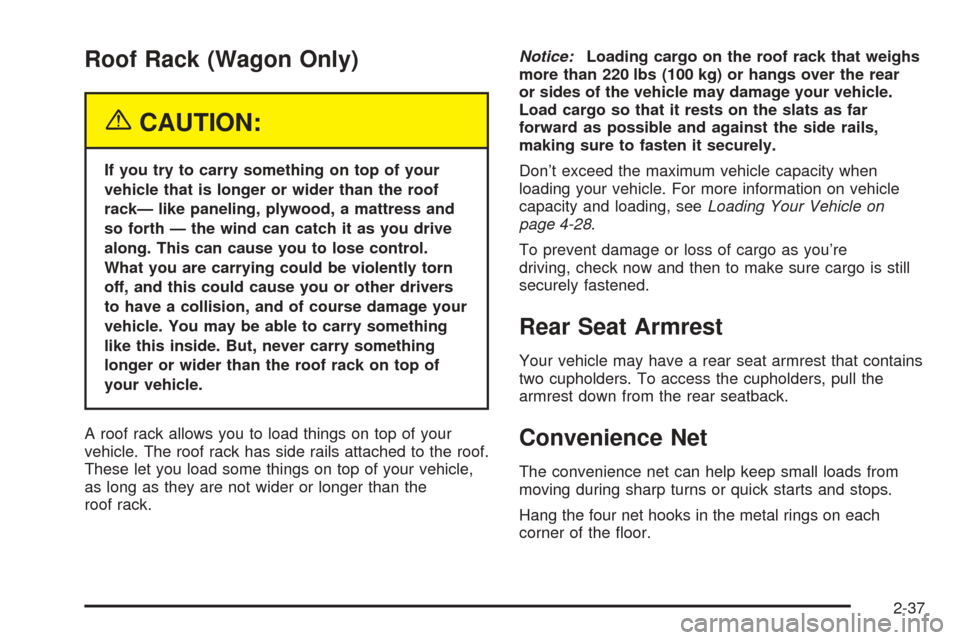
A roof rack allows you to load things on top of your
vehicle. The roof rack has side rails attached to the roof.
These let you load some things on top of your vehicle,
as long as they are not wider or longer than the
roof rack.Notice:Loading cargo on the roof rack that weighs
more than 220 lbs (100 kg) or hangs over the rear
or sides of the vehicle may damage your vehicle.
Load cargo so that it rests on the slats as far
forward as possible and against the side rails,
making sure to fasten it securely.
Don’t exceed the maximum vehicle capacity when
loading your vehicle. For more information on vehicle
capacity and loading, seeLoading Your Vehicle on
page 4-28.
To prevent damage or loss of cargo as you’re
driving, check now and then to make sure cargo is still
securely fastened.
Rear Seat Armrest
Your vehicle may have a rear seat armrest that contains
two cupholders. To access the cupholders, pull the
armrest down from the rear seatback.
Convenience Net
The convenience net can help keep small loads from
moving during sharp turns or quick starts and stops.
Hang the four net hooks in the metal rings on each
corner of the floor.
2-37
Page 108 of 336
Sunroof
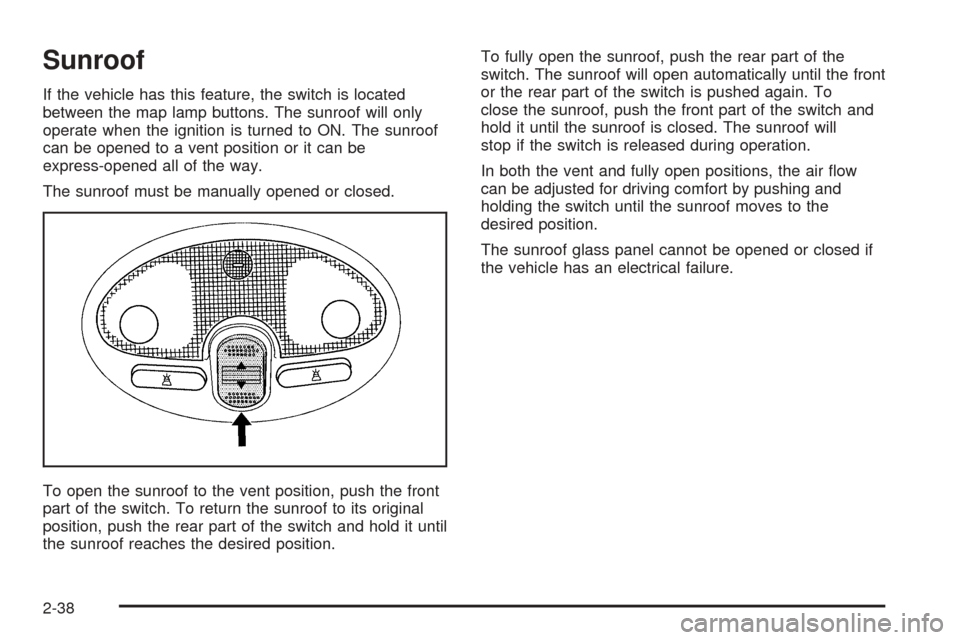
If the vehicle has this feature, the switch is located
between the map lamp buttons. The sunroof will only
operate when the ignition is turned to ON. The sunroof
can be opened to a vent position or it can be
express-opened all of the way.
The sunroof must be manually opened or closed.
To open the sunroof to the vent position, push the front
part of the switch. To return the sunroof to its original
position, push the rear part of the switch and hold it until
the sunroof reaches the desired position.To fully open the sunroof, push the rear part of the
switch. The sunroof will open automatically until the front
or the rear part of the switch is pushed again. To
close the sunroof, push the front part of the switch and
hold it until the sunroof is closed. The sunroof will
stop if the switch is released during operation.
In both the vent and fully open positions, the air flow
can be adjusted for driving comfort by pushing and
holding the switch until the sunroof moves to the
desired position.
The sunroof glass panel cannot be opened or closed if
the vehicle has an electrical failure.
2-38
Page 109 of 336
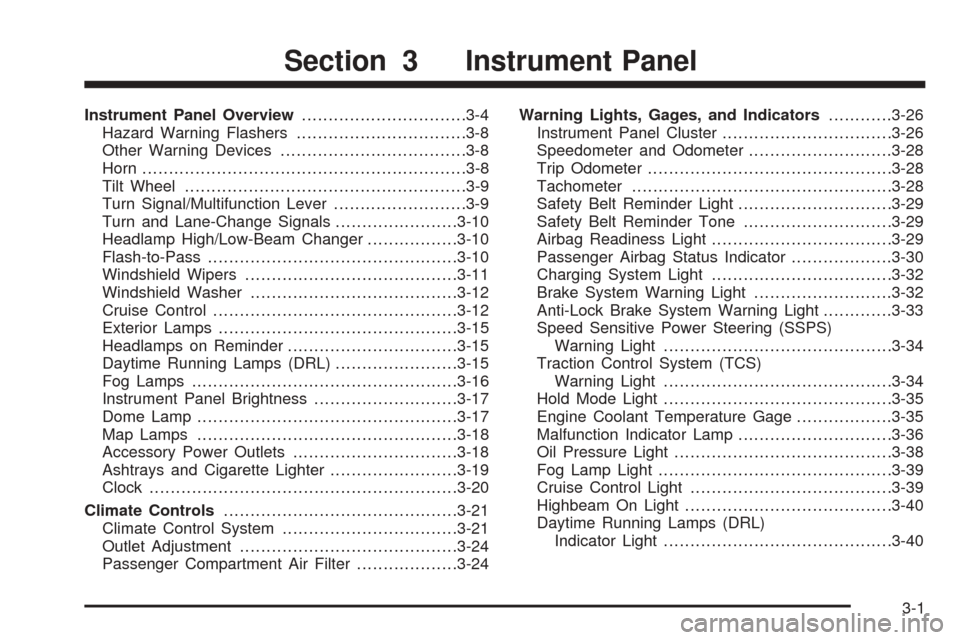
Instrument Panel Overview...............................3-4
Hazard Warning Flashers................................3-8
Other Warning Devices...................................3-8
Horn.............................................................3-8
Tilt Wheel.....................................................3-9
Turn Signal/Multifunction Lever.........................3-9
Turn and Lane-Change Signals.......................3-10
Headlamp High/Low-Beam Changer.................3-10
Flash-to-Pass...............................................3-10
Windshield Wipers........................................3-11
Windshield Washer.......................................3-12
Cruise Control..............................................3-12
Exterior Lamps.............................................3-15
Headlamps on Reminder................................3-15
Daytime Running Lamps (DRL).......................3-15
Fog Lamps..................................................3-16
Instrument Panel Brightness...........................3-17
Dome Lamp.................................................3-17
Map Lamps.................................................3-18
Accessory Power Outlets...............................3-18
Ashtrays and Cigarette Lighter........................3-19
Clock..........................................................3-20
Climate Controls............................................3-21
Climate Control System.................................3-21
Outlet Adjustment.........................................3-24
Passenger Compartment Air Filter...................3-24Warning Lights, Gages, and Indicators............3-26
Instrument Panel Cluster................................3-26
Speedometer and Odometer...........................3-28
Trip Odometer..............................................3-28
Tachometer.................................................3-28
Safety Belt Reminder Light.............................3-29
Safety Belt Reminder Tone............................3-29
Airbag Readiness Light..................................3-29
Passenger Airbag Status Indicator...................3-30
Charging System Light..................................3-32
Brake System Warning Light..........................3-32
Anti-Lock Brake System Warning Light.............3-33
Speed Sensitive Power Steering (SSPS)
Warning Light...........................................3-34
Traction Control System (TCS)
Warning Light...........................................3-34
Hold Mode Light...........................................3-35
Engine Coolant Temperature Gage..................3-35
Malfunction Indicator Lamp.............................3-36
Oil Pressure Light.........................................3-38
Fog Lamp Light............................................3-39
Cruise Control Light......................................3-39
Highbeam On Light.......................................3-40
Daytime Running Lamps (DRL)
Indicator Light...........................................3-40
Section 3 Instrument Panel
3-1
Page 110 of 336
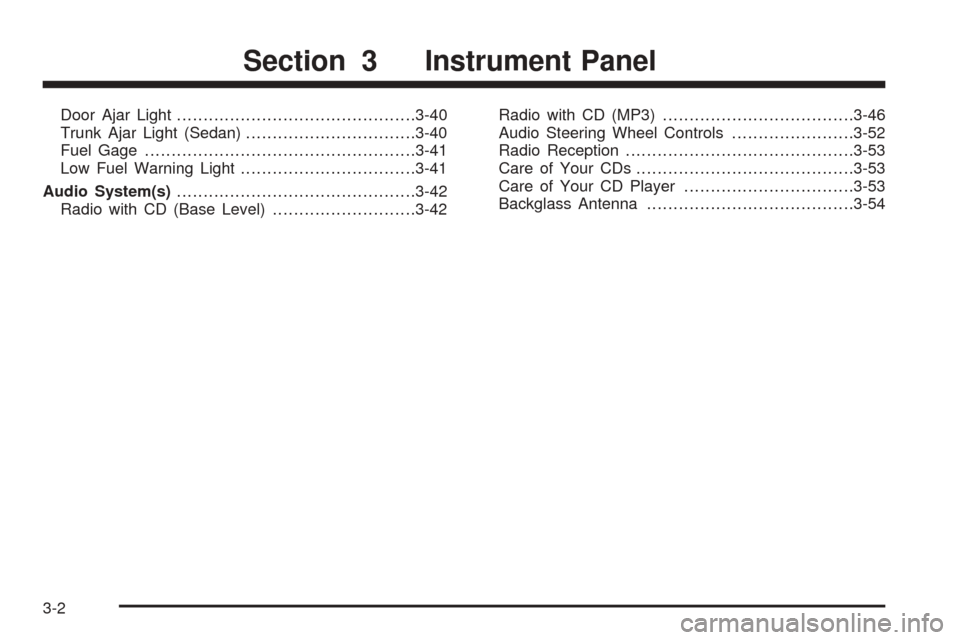
Door Ajar Light.............................................3-40
Trunk Ajar Light (Sedan)................................3-40
Fuel Gage...................................................3-41
Low Fuel Warning Light.................................3-41
Audio System(s).............................................3-42
Radio with CD (Base Level)...........................3-42Radio with CD (MP3)....................................3-46
Audio Steering Wheel Controls.......................3-52
Radio Reception...........................................3-53
Care of Your CDs.........................................3-53
Care of Your CD Player................................3-53
Backglass Antenna.......................................3-54
Section 3 Instrument Panel
3-2