heating CHEVROLET PRIZM 1998 3.G Owners Manual
[x] Cancel search | Manufacturer: CHEVROLET, Model Year: 1998, Model line: PRIZM, Model: CHEVROLET PRIZM 1998 3.GPages: 364, PDF Size: 18.79 MB
Page 87 of 364
Downloaded from www.Manualslib.com manuals search engine To replace the battery: Trunk
1. Insert a coin into the notch near the keyring. Turn
the coin to the left to separate the two halves
of
the transmitter.
2. Once the transmitter is separated, use a pencil eraser
to remove the old battery.
Do not use a metal object.
3. Replace the battery with the positive (+) side
facing upward.
4. Snap the transmitter back together tightly to be
sure
no moisture can enter.
It can be dangerous to drive with the trunk open
because carbon monoxide
(CO) gas can come into
your vehicle. You can’t see or smell
CO. It can
cause unconsciousness and even death.
If you must drive with the trunk open or if
electrical wiring or other cable connections
must pass through the seal between the body
and the trunk:
Make sure all windows are shut.
Thrn the fan on your heating or cooling
system
to its highest speed with the setting
on
VENT. That will force outside air into
your vehicle. See “Comfort Controls” in
the Index.
instrument panel, open them all the way.
If you have air outlets on or under the
See “Engine Exhaust” in the Index.
2-9
Page 96 of 364
Downloaded from www.Manualslib.com manuals search engine Manual Transaxle Operation
5-Speed
I
This is your shift pattern. Here’s how to operate
your transaxle:
FIRST (1): Press the clutch pedal fully and shift into
FIRST
(1). Then, slowly let up on the clutch pedal as
you press the accelerator pedal. Keep
your foot off the clutch pedal unless you
are
operating the clutch. Avoid excessive use of the clutch
in a half-engaged condition, otherwise the clutch could
slip or could cause problems by overheating.
You can shift into FIRST (1) when you’re going less
than
20 mph (32 kmk). If you’ve come to a complete
stop and it’s hard to shift into FIRST
(1)’ put the shift
lever in NEUTRAL
(N) and let up on the clutch. Press
the clutch pedal back down. Then shift into FIRST
(1).
SECOND (2): Press the clutch pedal as you let up on
the accelerator pedal and shift into SECOND
(2). Then,
slowly let up on the clutch pedal
as you press the
accelerator pedal.
THIRD (3), FOURTH (4), FIF 3 (5): Shift into
THIRD
(3)’ FOURTH (4) and FIFTH (5) the same way
you do for SECOND (2). Slowly let up on the clutch
pedal as
you press the accelerator pedal.
To stop, let up on the accelerator pedal and press the
brake pedal. Just before the vehicle stops, press the
clutch pedal and the brake pedal, and shift to
NEUTRAL (N).
2-1s
Page 116 of 364
Downloaded from www.Manualslib.com manuals search engine Ashtrays and Lighter
Pull the door to open the ashtray. To remove it, press
down
on the lock spring plate and pull the ashtray out.
NOTICE:
Don’t put papers and other things that burn
into your ashtray.
If you do, cigarettes or other
smoking materials could set them
on fire,
causing damage.
When you are done using the ashtray, push it back to
close
it.
To use the lighter, push the lighter in all the way and
let
go. When it’s ready, it will pop back by itself. If the
engine
is not running, the key must be in ACC to use
the lighter.
NOTICE:
Don’t hold a cigarette lighter in with your hand
while it is heating.
If you do, it won’t be able to
back away from the heating element when it’s
ready. That can make it overheat, damaging the
lighter and the heating element.
Sun Visors
To block out glare, you can swing down the visors.
You can also swing them to the side.
Visor Vanity Mirrors
Swing down the sun visor. On the driver’s side sun
visor, slide the cover to expose the vanity mirror.
2-38
Page 127 of 364
Downloaded from www.Manualslib.com manuals search engine Engine Coolant Temperature Gage Malfunction Indicator Lamp
(Check Engine Light)
TEMP
Standard Cluster Optional Cluster
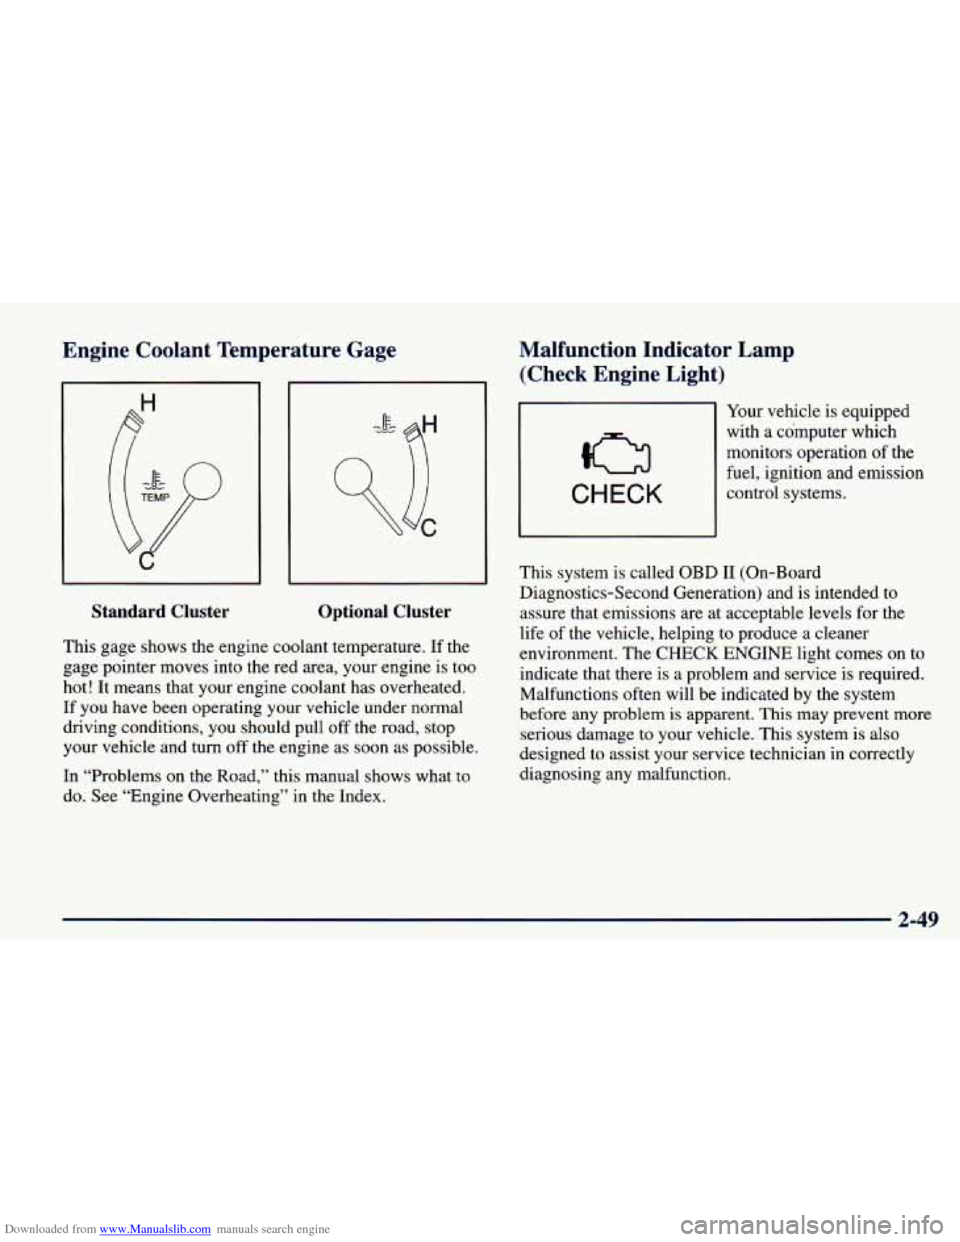
This gage shows the engine coolant temperature. If the
gage pointer moves into the red area, your engine is too
hot! It means that your engine coolant has overheated.
If you have been operating your vehicle under normal
driving conditions, you should pull off the road, stop
your vehicle and
turn off the engine as soon as possible.
In “Problems on the Road,” this manual shows what to
do. See “Engine Overheating” in the Index.
~~ -~
tis
~~ Your vehicle is equipped
with a computer which
monitors operation of the
fuel, ignition and emission
control systems.
CHECK
This system is called OBD I1 (On-Board
Diagnostics-Second Generation) and
is intended to
assure that emissions are at acceptable levels for the
life
of the vehicle, helping to produce a cleaner
environment. The CHECK ENGINE light comes on to
indicate that there is a problem and service is required.
Malfunctions often will be indicated by the system
before any problem is apparent. This may prevent more
serious damage to your vehicle. This system
is also
designed to assist your service technician in correctly
diagnosing any malfunction.
2-49
Page 135 of 364
Downloaded from www.Manualslib.com manuals search engine 0 Section 3 Comfort Controls and Audio Systems
In this section, you’ll find out how to operate the comfort control and audio systems offered with your vehicle. Be
sure to read about the particular systems supplied with your vehicle.
3-2
3-3
3-3 3-4
3-5
3-6
3-6
3-6 3-8 Comfort Controls
Air Conditioner Controls (Option)
Heating
Ventilation System
Defogging and Defrosting
Audio Systems Setting the Clock
AM-FM Stereo (If Equipped)
AM-FM Stereo with Cassette Tape Player and
Automatic Tone Control (If Equipped) 3-1 1
3- 14
3- 14
3-15
3- 17
3- 17
3- 17
i
I
AM-FM Stereo with Compact Disc Player and
Automatic Tone Control
(If Equipped)
Understanding Radio Reception
Tips About Your Audio System
Care of Your Cassette Tape Player
Care of Your Compact Discs
Care of Your Compact Disc Player
Fixed Mast Antenna
3-1
Page 136 of 364
Downloaded from www.Manualslib.com manuals search engine Comfort Controls
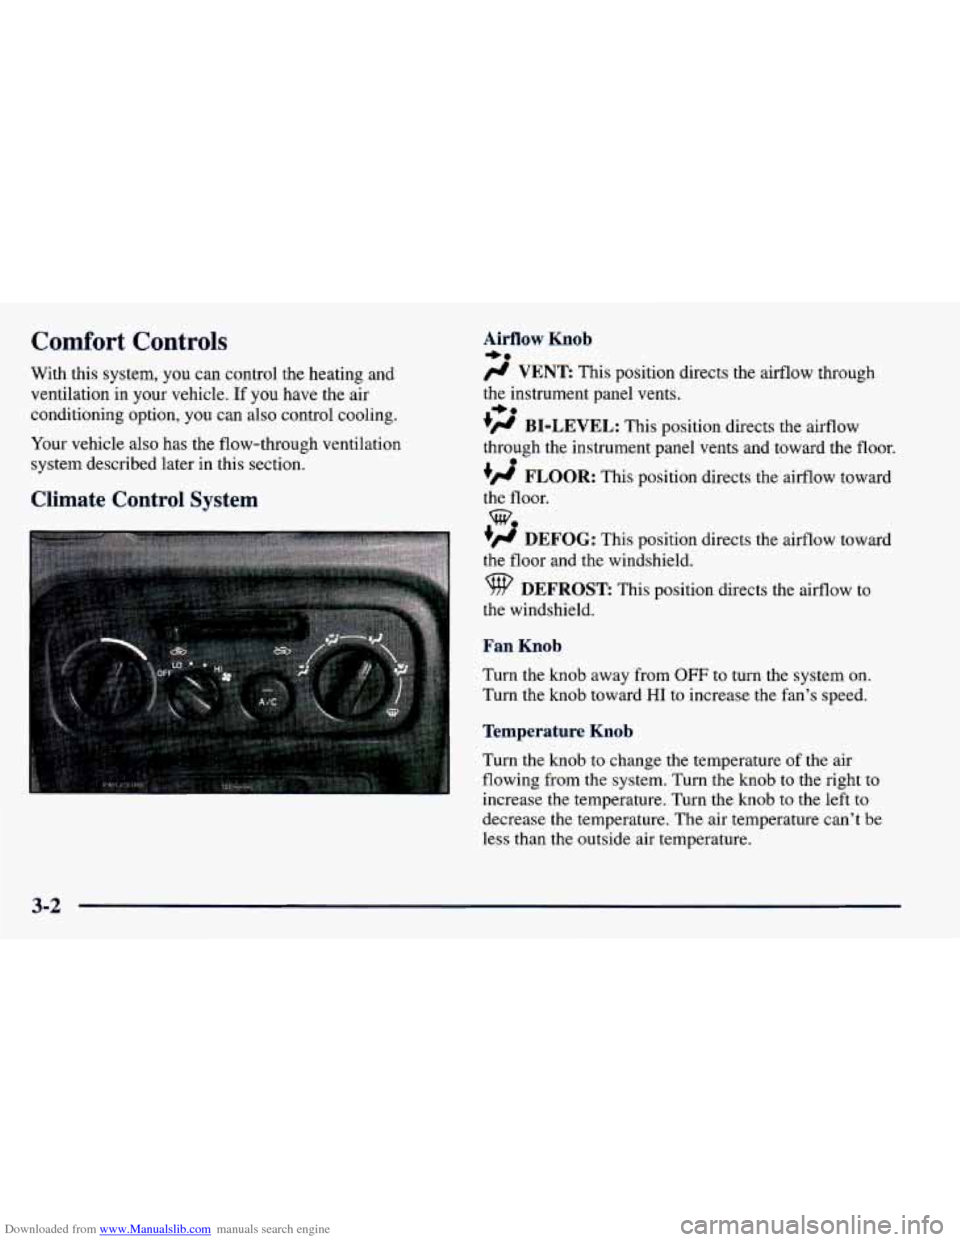
With this system, you can control the heating and
ventilation in your vehicle.
If you have the air
conditioning option, you can also control cooling.
Your vehicle also has the flow-through ventilation
system described later in this section.
Climate Control System
Airflow Knob
/J VENT This position directs the airflow through
the instrument panel vents.
+’ BI-LEVEL: This position directs the airflow
through the instrument panel vents and toward the floor.
#’ FLOOR: This position directs the airflow toward
the floor.
+# DEFOG: This position directs the airflow toward
the floor and the windshield.
9 DEFROST: This position directs the airflow to
the windshield.
Fan Knob
Turn the knob away from OFF to turn the system on.
Turn the knob toward
HI to increase the fan’s speed.
Temperature Knob
Turn the knob to change the temperature of the air
flowing from the system. Turn the knob to the right to
increase the temperature. Turn the knob to the left
to
decrease the temperature. The air temperature can’t be
less than the outside
air temperature.
+e
+e
e
we
3-2
Page 137 of 364
Downloaded from www.Manualslib.com manuals search engine Air Intake Lever RECIRCULATE:
Choose this position to
recirculate the inside air through the comfort
control system.
outside air through the comfort control system.
CIRCULATE: Choose this position to circulate
Air Conditioner Controls (Option)
The air conditioning system uses the same controls as
described previously.
The function of each control is explained under
“Climate Control System” in this part. The incoming air
is cooled and dehumidified instead of being heated.
Push the NC button to change your comfort control
system from heating to air conditioning. A light will
come on when the air conditioning is
on. The NC
button can also control the humidity in your vehicle.
The air conditioner works best if
you keep your
windows closed. On very hot days, open the windows
just long enough for the hot air
to escape.
For normal cooling, push the A/C button and move the
air intake lever
to CIRCULATE for normal cooling. For faster cooling, move
the lever to RECIRCULATE.
Then move the airflow knob to VENT and turn the
temperature control knob to the left. Turn the fan knob
to HI.
On days when it is raining or the humidity is high,
follow these dehumidifying steps instead of the cooling
directions. It will help clean windows that are cloudy
with moisture.
Move the air intake lever to CIRCULATE and turn the
airflow knob to DEFROST. Turn the fan knob to
HI and
adjust the temperature knob to
a comfortable setting.
Heating
For the quickest results, move the air intake lever to
RECIRCULATE and the airflow knob to FLOOR.
Turn the temperature knob to the right for warmer air
and turn the fan knob toward
HI. You should switch
to CIRCULATE once in a while to avoid stale air
and cloudy windows. To prevent cold air from
blowing in, you may shut
off the outer dash vents by
using the thumbwheels.
3-3
Page 138 of 364
Downloaded from www.Manualslib.com manuals search engine Bi-Level
You may want to use bi-level heating on cool, but sunny
days. This setting directs outside air toward your body
and warmer air toward your feet.
Move the air intake lever to CIRCULATE and turn the
airflow knob
to BI-LEVEL. Turn the temperature knob
to the white area and the fan knob toward
HI.
Ventilation System
For mild outside temperatures, when very little heating
is required,
you can still direct outside air through
your vehicle.
Move the air intake lever to CIRCULATE and turn the
airflow knob
to VENT. Turn the temperature knob to a
comfortable setting and the fan knob toward
HI.
Airflow through the side vents is normal in all airflow
modes.
To optimize the effectiveness of your system in
FLOOR, DEFOG, or DEFROST modes, turn
the
outboard vent (shut-off) thumbwheels down to the
closed position.
Your vehicle's flow-through ventilation system
supplies outside air into the vehicle when it
is moving.
Outside air will also enter the vehicle when the heater or
the air conditioning fan is running and
the air intake
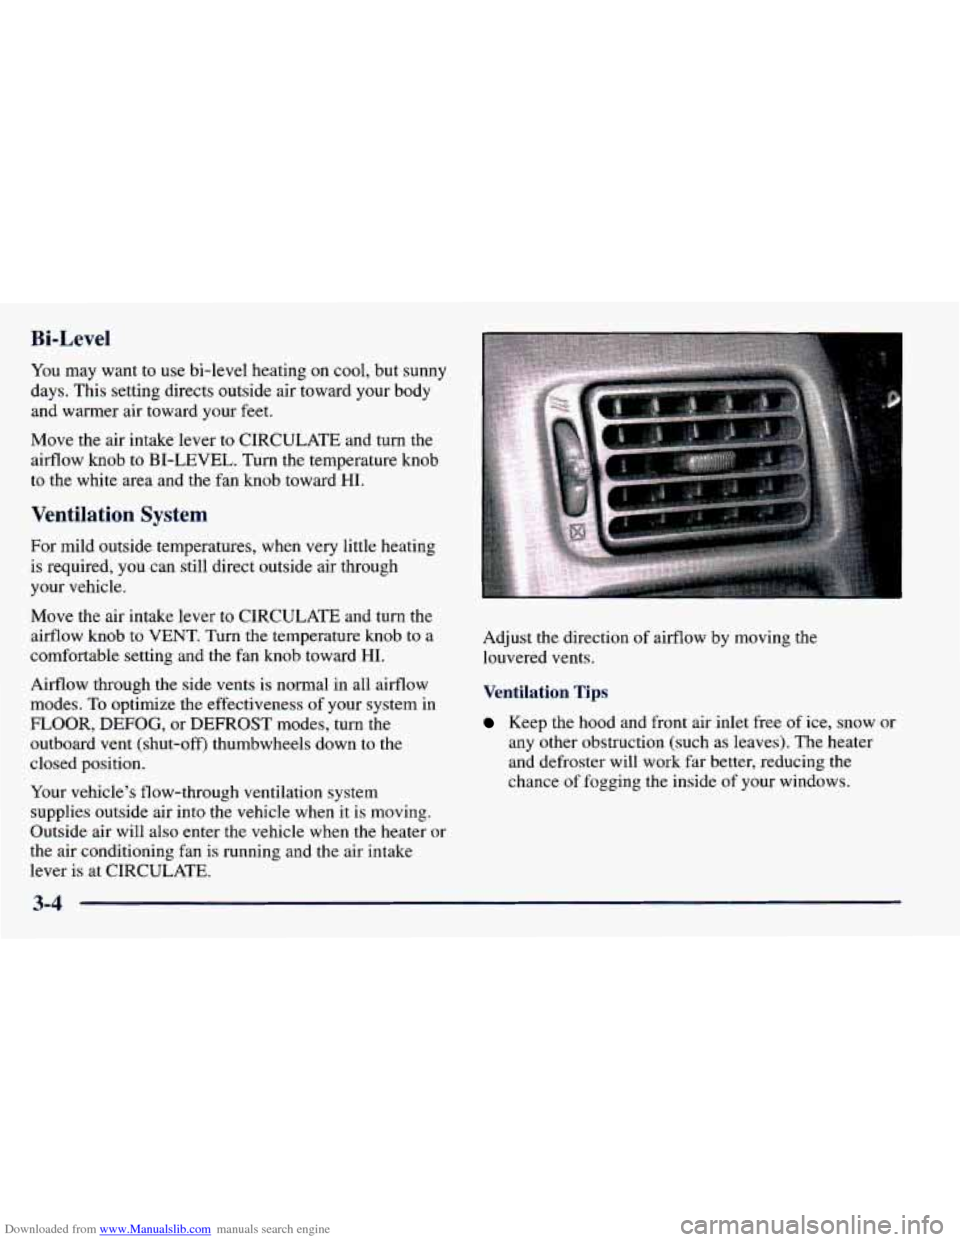
lever is at CIRCULATE. Adjust the direction
of airflow
by moving the
louvered vents.
Ventilation Tips
Keep the hood and front air inlet free of ice, snow or
any other obstruction (such as leaves). The heater
and defroster will work far better, reducing the
chance of fogging
the inside of your windows.
3-4
Page 188 of 364
Downloaded from www.Manualslib.com manuals search engine Turn Signals When Towing a Trailer
When you tow a trailer, your vehicle may need a
different turn signal flasher and/or extra wiring. Check with your Chevrolet dealer. The green arrows on your
instrument panel will flash whenever you signal a
turn
or lane change. Properly hooked up, the trailer lamps
will also flash, telling other drivers you’re about to turn,
change lanes or stop.
When towing a trailer, the green arrows on your
instrument panel will flash for turns
even if the bulbs on
the trailer are burned out. Thus, you may think drivers
behind
you are seeing your signal when they are not.
It’s important to check occasionally to be sure the
trailer bulbs are still working.
Driving On Grades
Reduce speed and shift to a lower gear before you start
down a long or steep downgrade. If you don’t shift
down, you might have to use your brakes
so much that
they would get hot and no longer work well.
On
a long uphill grade, shift down and reduce your
speed to
45 mph (70 km/h) to reduce the possibility
of engine and transaxle overheating.
If you are towing a trailer that weighs more than
1,000 lbs. (450 kg), and you have an automatic transaxle
with overdrive, you may prefer to drive in DRIVE
(D)
rather than OVERDRIVE 0 (or, as you need to, a
lower gear). Or, if you have a manual transaxle with
FIFTH (3, it’s better not to use FIFTH (5). Just drive
in
FOURTH (4) (or, as you need to, a lower gear).
Parking on Hills
You really should not park your vehicle, with a trailer
attached, on a hill. If something goes wrong, your rig
could start to move. People can be injured, and both
your vehicle and the trailer can be damaged.
But if you ever have to park your
rig on a hill, here’s
how to do it:
1. Apply your regular brakes, but don’t shift into
PARK (P) yet, or into gear for a manual transaxle.
2. Have someone place chocks under the trailer wheels.
3. When the wheel chocks are in place, release the
regular brakes until the chocks absorb thc lad.
4. Reapply your regular brakes. Then apply your
parking brake, and then shift to PARK
(P), or
REVERSE
(R) for a manual transaxle.
5. Release the regular brakes.
4-36
Page 189 of 364
Downloaded from www.Manualslib.com manuals search engine When You Are Ready to Leave After
Parking on a
Hill
1. Apply your regular brakes and hold the pedal down
while you:
0 Start your engine;
0 Shift into a gear; and
0 Release the parking brake.
2. Let up on the brake pedal.
3. Drive slowly until the trailer is clear of the chocks.
4. Stop and have someone pick up and store the chocks.
Maintenance When Trailer Towing
Your vehicle will need service more often when you’re
pulling a trailer. See the Maintenance Schedule for more
on this. Things that are especially important in trailer
operation are automatic transaxle fluid (don’t overfill),
engine oil, drive belt, cooling system and brake
adjustment. Each of
these is covered in this manual,
and the Index will help you find them quickly. If you’re
trailering, it’s a good idea to review these sections
before you start your trip.
Check periodically to
see that all hitch nuts and bolts
are tight.
Engine Cooling When Trailer Towing
Your cooling system may temporarily overheat during
severe operating conditions. See “Engine Overheating”
in the Index.
4-37