headlights CHEVROLET S10 1995 2.G Owners Manual
[x] Cancel search | Manufacturer: CHEVROLET, Model Year: 1995, Model line: S10, Model: CHEVROLET S10 1995 2.GPages: 354, PDF Size: 18.92 MB
Page 74 of 354
Downloaded from www.Manualslib.com manuals search engine The front axle portion of the diagram on the indicator will light up when
you shift into four-wheel drive. A slight delay between shifting and the
pattern’s lighting is normal. If the pattern does not light up, or
if the front
axle lights do not go out after you shift out of four-wheel drive, have your
dealer check your system. Turn the INT LIGHTS switch located to the right
of your headlight switch
to dim your transfer case indicator light when your
headlights or parking lights are
on. This will also cause your instrument
panel lights to dim.
2HI - This setting is for driving in most street and highway situations.
Your front axle is not engaged in two-wheel drive.
4HI - This setting engages your front axle to help drive your vehicle. Use
4HI when you need extra traction, such as on snowy or icy roads, or in most
off-road situations.
N SET PARK BRAKE - Shift to this neutral setting only when your
vehicle needs to be towed.
4LO - This setting also efigziges your front axle to give you extra traction
and provides extra gear reduction. You may never need 4LO. It
sends the
maximum power to all four wheels. You might choose 4LO if you were
driving off-road in sand, mud, or deep snow and climbing or descending
steep hills.
You can shift from 2HI to 4HI
or from 4HI to 2HI while the vehicle is
moving.
Do not press the transfer case shift lever button when shifting from
2HI to
4HI or from 4HI to 2HT. Your front axle will engage faster if you
take your foot off of the accelerator for a few seconds after you shift.
To shift your transfer case into N SET PARK BRAKE:
1. Stop the vehicle and shift your transmission into NEUTRAL
(N).
2. Set the parking brake. Your vehicle can roll unless the brakes are
applied.
3. Pull the transfer case shift lever into N SET PARK BRAKE.
To shift into or out of 4LO:
1. The vehicle must be stopped or moving less than 3 mph (4.8 km/h)
with the transmission in NEUTRAL
(N) for an automatic transmission
or the clutch pedal depressed with a manual transmission.
2. Press the transfer case shift button and shift in one continuous motion.
Don’t pause in
N SET PARK BRAKE as you shift into or out of 4L0, or
your gears could clash.
Remember that driving in 4HI or 4LO may reduce fuel economy. Also,
driving in four-wheel drive
on dry pavement could cause your tires to wear
faster and make your transfer case harder to shift and reduce powertrain
longevity.
2-29
Page 105 of 354
Downloaded from www.Manualslib.com manuals search engine Indicator Lights
Indicator lights go on when you use your turn signals, change from low
beam headlights
to high beams, or when you use your hazard flashers. The
next few pages will also tell you about the indicator lights on your vehicle
and help
you locate them.
Malfunction Indicator Lamp (SERVICE ENGINE SOON
Light)
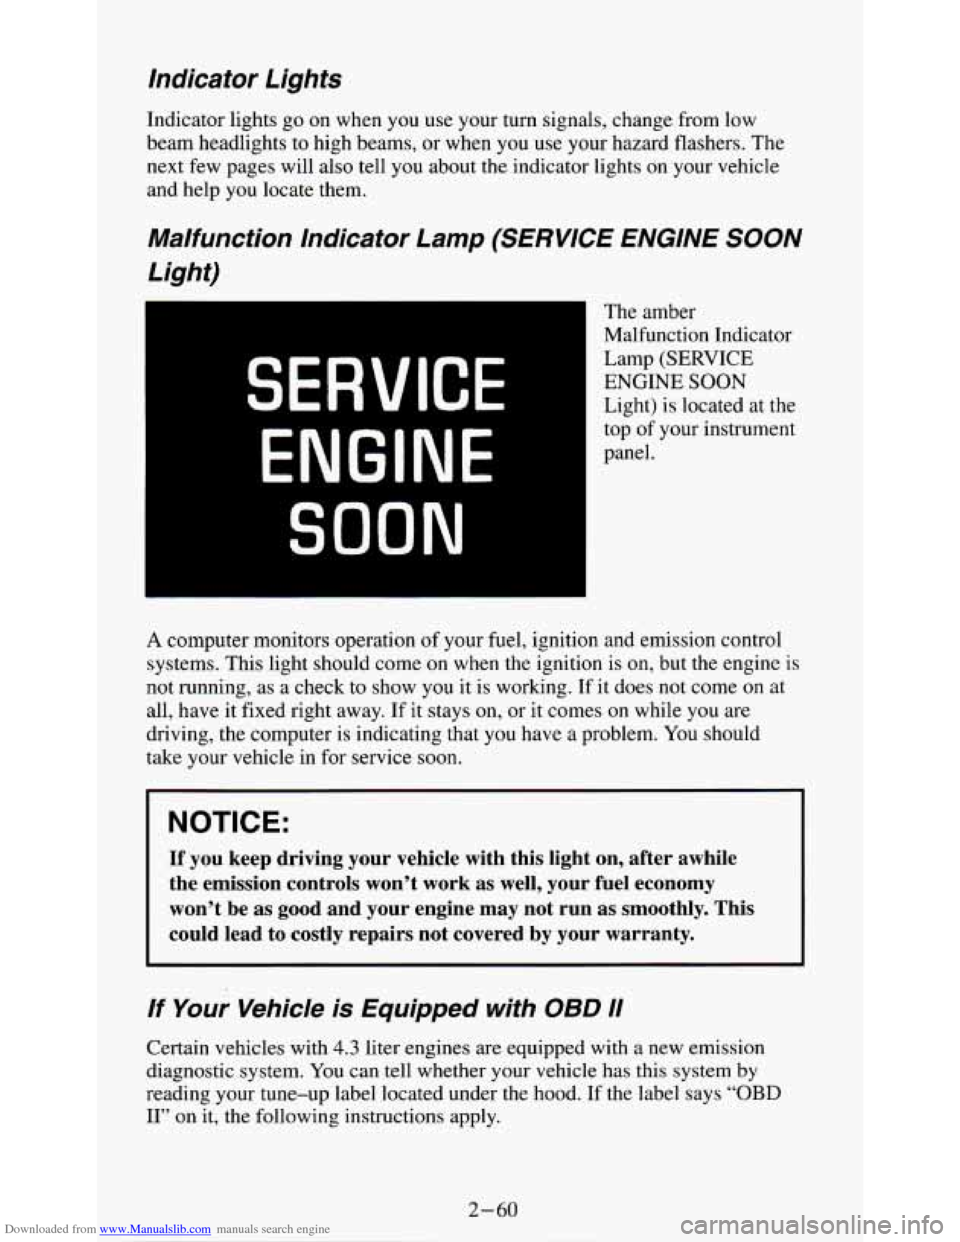
The amber
Malfunction Indicator
Lamp (SERVICE
ENGINE SOON
Light) is located at the
top of your instrument
panel.
SERVICE
ENGINE
SOON
A computer monitors operation of your fuel, ignition and emission control
systems. This light should come
on when the ignition is on, but the engine is
not running, as a check to show you it is working. If it does not come
on at
all, have it fixed right away.
If it stays on, or it comes on while you are
driving, the computer is indicating that
you have a problem. You should
take your vehicle in for service
soon.
NOTICE:
If you keep driving your vehicle with this light on, after awhile
the emission controls won’t work as well, your fuel economy
won’t be as good and your engine may not run as smoothly. This
could lead
to costly repairs not covered by your warranty.
If Your Vehicle is Equipped with OBD I1
Certain vehicles with 4.3 liter engines are equipped with a new emission
diagnostic system. You can tell whether your vehicle has this system
by
reading your tune-up label located under the hood. If the label says “OBD
11” on it, the following instructions apply.
Page 150 of 354
Downloaded from www.Manualslib.com manuals search engine Ease up on your speed as you approach the top of the hill.
Attach a flag to the vehicle to make you more visible to approaching
traffic
on trails or hills.
0 Sound the horn as you approach the top of the hill to let opposing
traffic know you’re there.
Use your headlights even during the day. They make you more visible
to oncoming traffic.
Q: What should I do if my vehicle stalls, or is about to stall, and I
can’t make it up the hill?
A: If this happens, there are some things you should do, and there are
some things you must not do. First, here’s what
you should do:
Push the brake pedal to stop the vehicle and keep it from rolling
backwards. Also, apply the parking brake.
If your engine is still running, shift the transmission into reverse,
release the parking brake, and slowly back down the hill in reverse.
If your engine has stopped running, you’ll need to restart it. With the
brake pedal depressed and the parking brake still applied, shift the
transmission to PARK (P) (or, shift to NEUTRAL
(N) if your vehicle
has a manual transmission) and restart the engine. Then, shift to
reverse, release the parking brake, and slowly back down the hill as
straight as possible
in reverse.
As you are backing down the hill, put your left hand on the steering
wheel at the
12 o’clock position. This way, you’ll be able to tell if your
wheels are straight and maneuver as
you back down. It’s best that you
back down the hill with your wheels straight rather than in the left or
right direction. Turning the wheel
too far to the left or right will
increase the possibility of a rollover.
Here are some things you
must not do if you stall, or are about to stall,
when going up a hill.
4-17
Page 157 of 354
Downloaded from www.Manualslib.com manuals search engine Here are some tips on night driving.
Drive defensively.
0 Don’t drink and drive.
Adjust your inside rearview mirror to reduce the glare from headlights
Since you can’t see as well, you may need to slow down and keep more
behind you.
space
between you and other vehicles.
Slow down, especially on higher speed roads. Your headlights can light
up
only so much road ahead.
In remote areas, watch for animals.
0 If you’re tired, pull off the road in a safe place and rest.
Night Vision
No one can see as well at night as in the daytime. But as we get older these
differences increase. A 50-year-old driver may require at least twice as
much light to see the same thing at night as a 20-year-old.
What you do in the daytime can also affect your night vision.
For example,
if you spend the day in bright sunshine you
are wise to wear sunglasses.
Your eyes will have less trouble adjusting to night. But
if you’re driving,
don’t wear sunglasses at night. They may cut down on glare from
headlights, but they also make a lot of things invisible.
You can be temporarily blinded by approaching lights. It can take a second
or
two, or even several seconds, for your eyes to readjust to the dark. When
you
are faced with severe glare (as from a driver who doesn’t lower the high
beams, or a vehicle with misaimed headlights), slow down a little. Avoid
staring directly into the approaching lights.
Keep your windshield and all the glass on your vehicle clean
- inside and
out. Glare at night is made much worse by dirt on the glass. Even the inside
of the glass can build up a film caused by dust. Dirty glass makes lights
dazzle and flash more than clean glass would, making
the pupils of your
eyes contract repeatedly.
Remember that your headlights light up far less of a roadway when you
are
in a turn or curve. Keep your eyes moving; that way, it’s easier to pick out
dimly lighted objects. Just as your headlights should be checked regularly
for proper aim,
so should your eyes be examined regularly. Some drivers
suffer from night blindness
- the inability to see in dim light - and aren’t
even aware
of it,
4-24
Page 159 of 354
Downloaded from www.Manualslib.com manuals search engine Hydroplaning
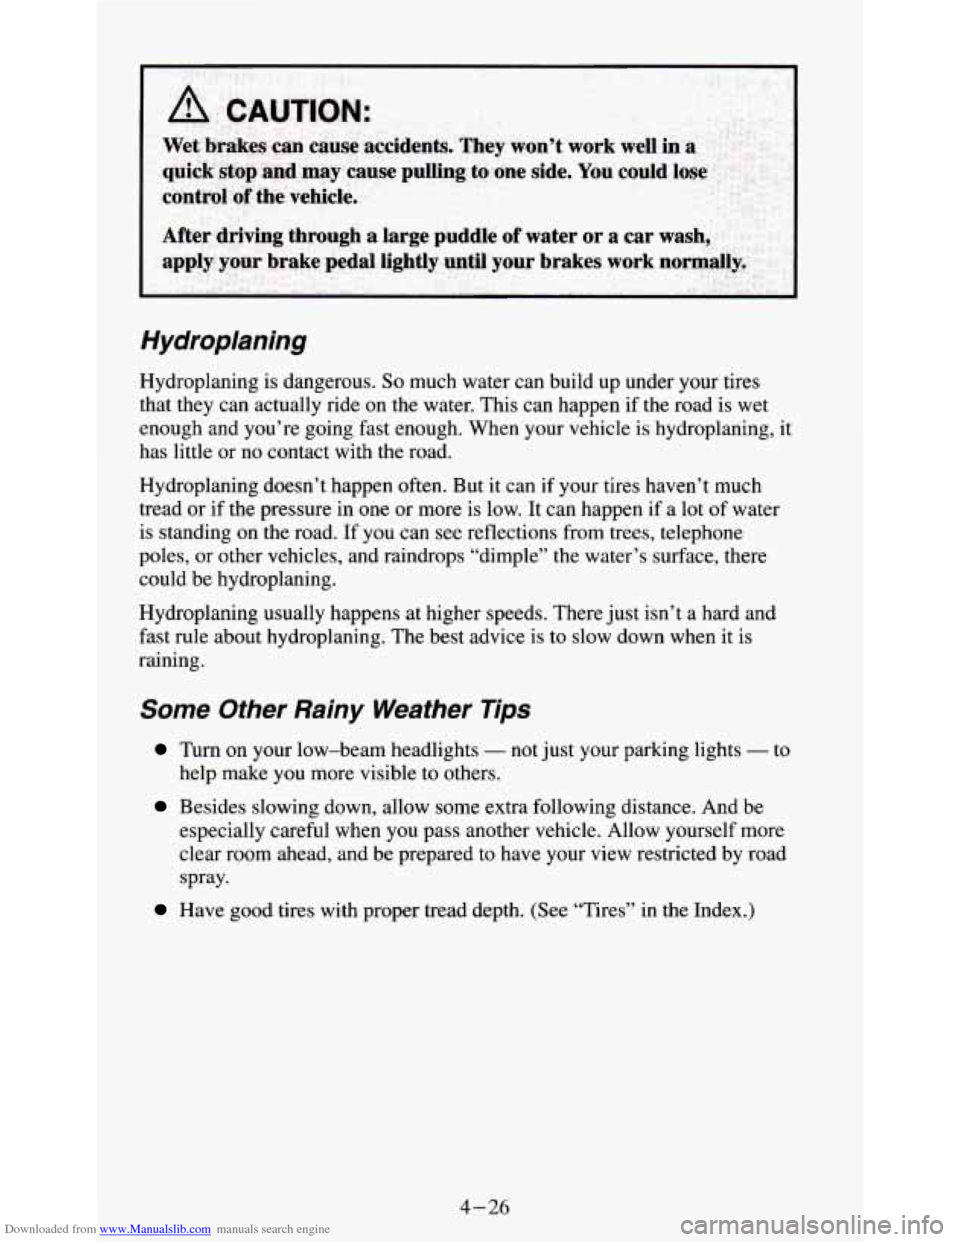
Hydroplaning is dangerous. So much water can build up under your tires
that they can actually ride on the water. This can happen if the road
is wet
enough and you’re going fast enough. When your vehicle is hydroplaning, it
has little or
no contact with the road.
Hydroplaning doesn’t happen often. But it can if your tires haven’t much
tread or if the pressure in one or more is low. It can happen if a lot
of water
is standing on the road. If
you can see reflections from trees, telephone
poles,
or other vehicles, and raindrops “dimple” the water’s surface, th\
ere
could be hydroplaning.
Hydroplaning usually happens at higher speeds. There just isn’t
a hard and
fast rule about hydroplaning.
The best advice is to slow down when it is
raining.
Some Other Rainy Weather Tips
Turn on your low-beam headlights - not just your parking lights - to
help make you more visible to others.
Besides slowing down, allow some extra following distance. And be
especially careful when you pass another vehicle. Allow yourself more
clear room ahead, and be prepared
to have your view restricted by road
spray.
Have good tires with proper tread depth. (See “Tires” in the Index.)
4-26
Page 348 of 354
Downloaded from www.Manualslib.com manuals search engine I
If You’re Stuck: In Sand. Mud. Ice. or Snow ........................... 5-32
Ignitionswitch
.................................................. 2-10
Inflation-Tire Pressure
( See “Tires”)
Instrument Cluster
............................................... 2-53
Instrumentpanel
................................................ 2-53
Jacking Equipment Storage
........................................ 5-20
Jumpstarting .................................................... 5-2
K
KeyLockCylinders .............................................. 6-39
Key Release Button
.............................................. 2-11
Keyless Entry System
............................................. 2-6
Keys
........................................................... 2-1
L
Labels
Lamps Certificatioflire
( See “Certification/Tire Label”)
Center High Mounted
Stop Lamp (CHMSL) ........................ 2-67
Dome
....................................................... 2-46
FogLamps
.................................................. 2-44
Headlights (See “Headlamps”)
Replacement
(See “Bulb Replacement”)
Lights
......................................................... 2-43
Air Bag Readiness Light
........................................ 2-57
Anti-Lock Brake System Warning Light
........................... 2-59
BrakeSystemLight
............................................ 2-58
Charging System Indicator Light
................................. 2-62
Check Gages Indicator Light
.................................... 2-62
Daytime Running Lamps (DRL) Indicator Light
................ 2-45. 2-63
Headlamp High Beam Indicator Light
............................. 2-64
Headlights (See “Headlamps”)
Malfunction Indicator
..................................... 2-60. 6-39
Safety Belt Reminder Light
..................................... 2-57
Service Engine Soon (See “Malfunction Indicator”) Shift Indicator Light
...................................... 2-21. 2-63
Turn Signal and Lane Change Indicator Light
....................... 2-64
Loading Your Vehicle
............................................ 4-36
Add-on Equipment
........................................... 4-39
Off-Road Driving
............................................. 4-13
Payload ..................................................... 4-38
Pickup Conversion to Chassis Cab
................................ 4-42
TraileringPackage
............................................ 4-39
Truck-Camper Loading Information
.............................. 440
Two-Tiered Loading ........................................... 4-38
Lock Cylinders (See “Key Lock Cylinders”)
Loss of Control (See “Driving-Loss of Control”)
Lubrication (See “Recommended Fluids and Lubricants”)
5