manual radio set CHEVROLET S10 1995 2.G Owners Manual
[x] Cancel search | Manufacturer: CHEVROLET, Model Year: 1995, Model line: S10, Model: CHEVROLET S10 1995 2.GPages: 354, PDF Size: 18.92 MB
Page 51 of 354
Downloaded from www.Manualslib.com manuals search engine Tailgate Removal
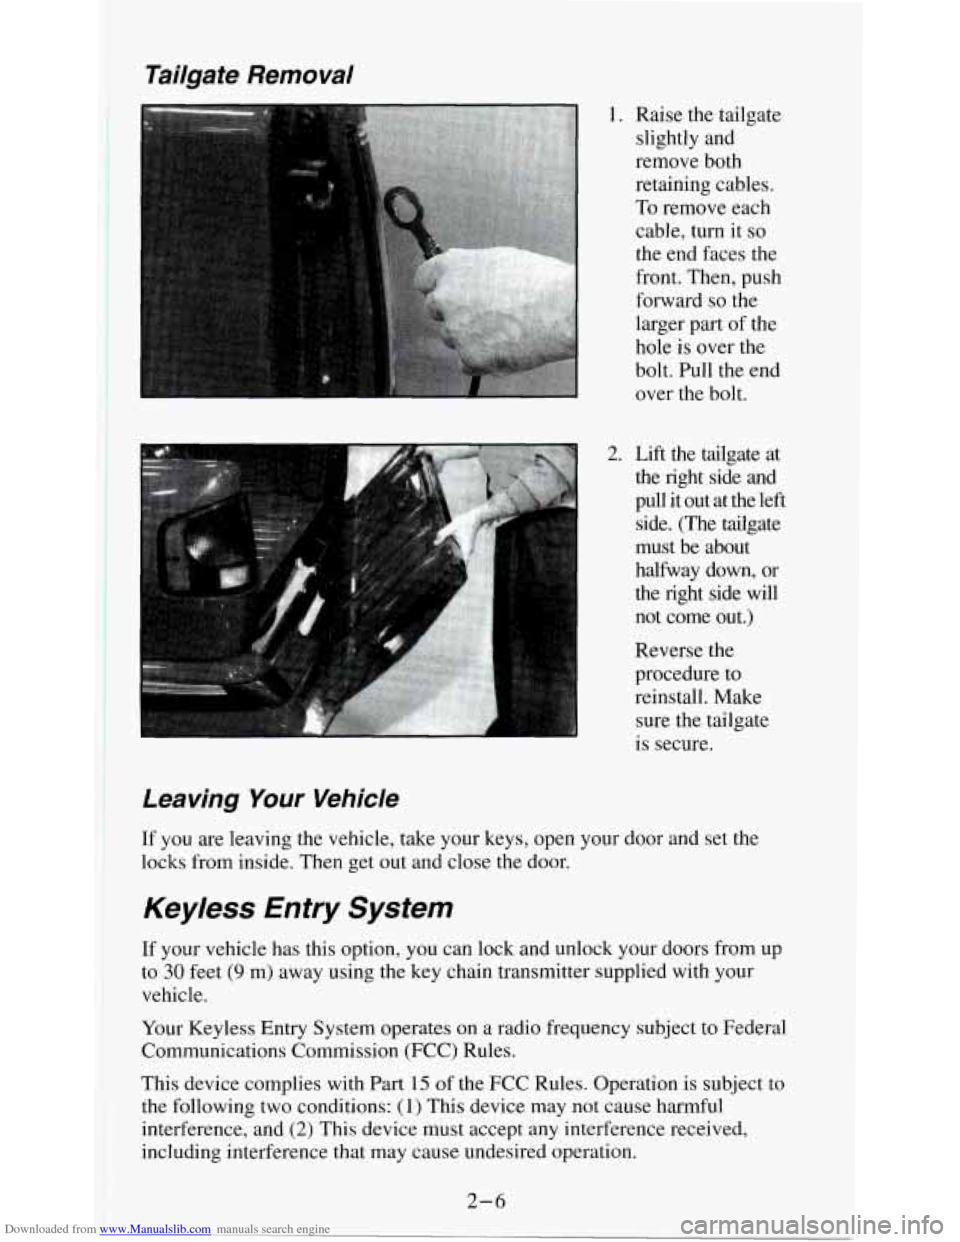
1. Raise the tailgate
slightly and
remove both
retaining cables.
To remove each
cable, turn it
so
the end faces the
front. Then, push
forward
so the
larger part of the
hole is over the
bolt. Pull the end
over the bolt.
2. Lift the tailgate at the right side and
pull it out at the left
side. (The tailgate
must be about
halfway down, or
the right side will
not come out.)
Reverse the
procedure to
reinstall. Make
sure the tailgate
is secure.
Leaving Your Vehicle
lr you are leaving the vehicle, take your keys, open your door and set the
locks from inside. Then get out and close the door.
Keyless Entry System
If your vehicle has this option, you can lock and unlock your doors from up
to
30 feet (9 m) away using the key chain transmitter supplied with your
vehicle.
Your Keyless Entry System operates on
a radio frequency subject to Federal
Communications Commission (FCC) Rules.
This device complies with Part 15 of the FCC Rules. Operation is subject to
the following
two conditions: (1) This device may not cause harmful
interference, and
(2) This device must accept any interference received,
including interference that may cause undesired operation.
2-6
Page 118 of 354
Downloaded from www.Manualslib.com manuals search engine You can move the vents to direct the flow of air, or close the vents
altogether. When you close
a vent, it will increase the flow of air coming out
of any
vents that are open.
Audio Systems
Your Delco@ audio system has been designed to operate easily and give
years of listening pleasure. But you will get the most enjoyment out of it
if
you acquaint yourself with it first. Find out what your Delco@system can do
and how to operate all its controls, to be sure you’re getting the most out of
the advanced engineering that went into it.
Setting the Clock (Audio Systems without a Compact
Disc)
To set the clock:
1. Press the SET button.
2. Within 5 seconds, push and hold SEEK until the correct minute appears
3. Press and hold SCAN until the correct hour appears on the display.
on
the display.
To display the clock with the ignition off, push the upper knob. The time
will be displayed for a few seconds.
Setting the Clock (Audio Systems with a Compact
Disc)
To set the clock:
1. Press the SET button. The radio may be on or off.
2. Within 5 seconds, press and hold either SEEK or 4 SEEK until the
3. Press and hold SCAN until the correct hour appears on the display.
correct
minute appears on the display.
3-5
Page 121 of 354
Downloaded from www.Manualslib.com manuals search engine Upper Knob (PWR-VOL-PROG-RCL) - The upper knob has these five
functions:
0 Turn it to turn the system on and off.
0 Turn it to control the volume.
Press it to display the time when the ignition is off.
Press it to change between the clock and the radio station frequency
0 Press it to change sides of a tape when a cassette is playing.
displayed
when the radio
is on.
BAL (Balance) - The control ring behind the upper knob adjusts the
lefdright speaker balance.
Lower Knob (TUNE-AM-FM)
- The lower knob has two functions:
Turn it to tune in radio stations.
Press it to change between the AM and FM bands.
FADE - The control ring behind the lower knob adjusts the frondrear
speaker balance.
SEEK - Press the SEEK button to cause the receiver to SEEK the next
higher station and stop.
SCAN - Press the SCAN button to hear each station for a few seconds.
Push it again when
you reach the station you want to listen to and the radio
will stop scanning.
“SCAN’ appears in the display.
Pushbuttons
- The four pushbuttons let you return to favorite stations. To
set the pushbuttons for up to fourteen favorite stations
(7 AM and 7 FM):
1. Tune in the desired station.
2. Press the SET button. “SET” appears in the display momentarily.
3. Within 5 seconds, press one of the four pushbuttons to store the station.
Whenever you press that button, the preset station will return.
NOTE:
In addition to the four stations set as above, up to three additional stations
may be preset on each band by pressing two adjoining pushbuttons at the
same time. Then do the following:
1. Tune in the desired station.
2. Push the SET button. “SET” appears in the display momentarily.
3. Within 5 seconds, press any two adjoining pushbuttons at the same
time. (The station will return when the same two buttons are pressed
again.)
3-8
Page 122 of 354
Downloaded from www.Manualslib.com manuals search engine Repeat these steps for each pair of buttons.
TREBLE
- Slide the TREBLE lever up to increase the treble response. If
the station is weak or noisy, slide the TREBLE lever down to reduce the
noise.
BASS
- Slide the BASS lever up to increase the bass response. Adjust the
BASS lever to give a pleasing sound to your ear.
AUTO DNR
@ - This unit is equipped with an automatic Dynamic Noise
Reduction system. DNR@reduces background hiss on
AM and FM radio
broadcasts, as well as on cassette tapes. DNR@is a registered trademark of
National Semiconductor Corporation.
To PIay A Cassette
Your tape player is built to work best with tapes that are 30 to 45 minutes
long
on each side. Tapes longer than that are so thin they may not work well
in this player.
Once the tape is playing, use the upper and lower
knobs for volume, balance
and fade just as you do for the radio. A lighted arrow shows which direction
the tape is being played.
FWD
- To rapidly advance the tape, press 4 or b in the direction that the
amber arrow points and the tape will rapidly go forward until you press the
STOP-EJECT button lightly.
REV
- To rapidly reverse the tape, press 4 or b in the opposite direction
that the amber arrow points and the tape will rapidly reverse until you press
the STOP-EJECT button lightly.
PROGRAM
- To go from one side of the tape to the other, press the
PWR-VOL-PROG-RCL knob.
STOP-EJECT
- To remove the tape or stop the tape and switch to radio,
press
the STOP-EJECT button.
If “Cln” (Clean) appears
on the display when you insert your cassette tape,
your cassette player needs to be cleaned.
It will still play cassette tapes but it
should be cleaned to prevent damage to your cassette tapes and the cassette
tape player. See “Care of Your Cassette Tape Player” later in this section.
After you have cleaned the cassette tape player, press and hold EJECT for
5
seconds to reset the the “Cln” indicator. The radio will display “- - -” to
show the clean feature has been reset.
3-9
Page 123 of 354
Downloaded from www.Manualslib.com manuals search engine How to Operate Your ETW AM-FM Stereo Audio
Cassette System with Equalizer
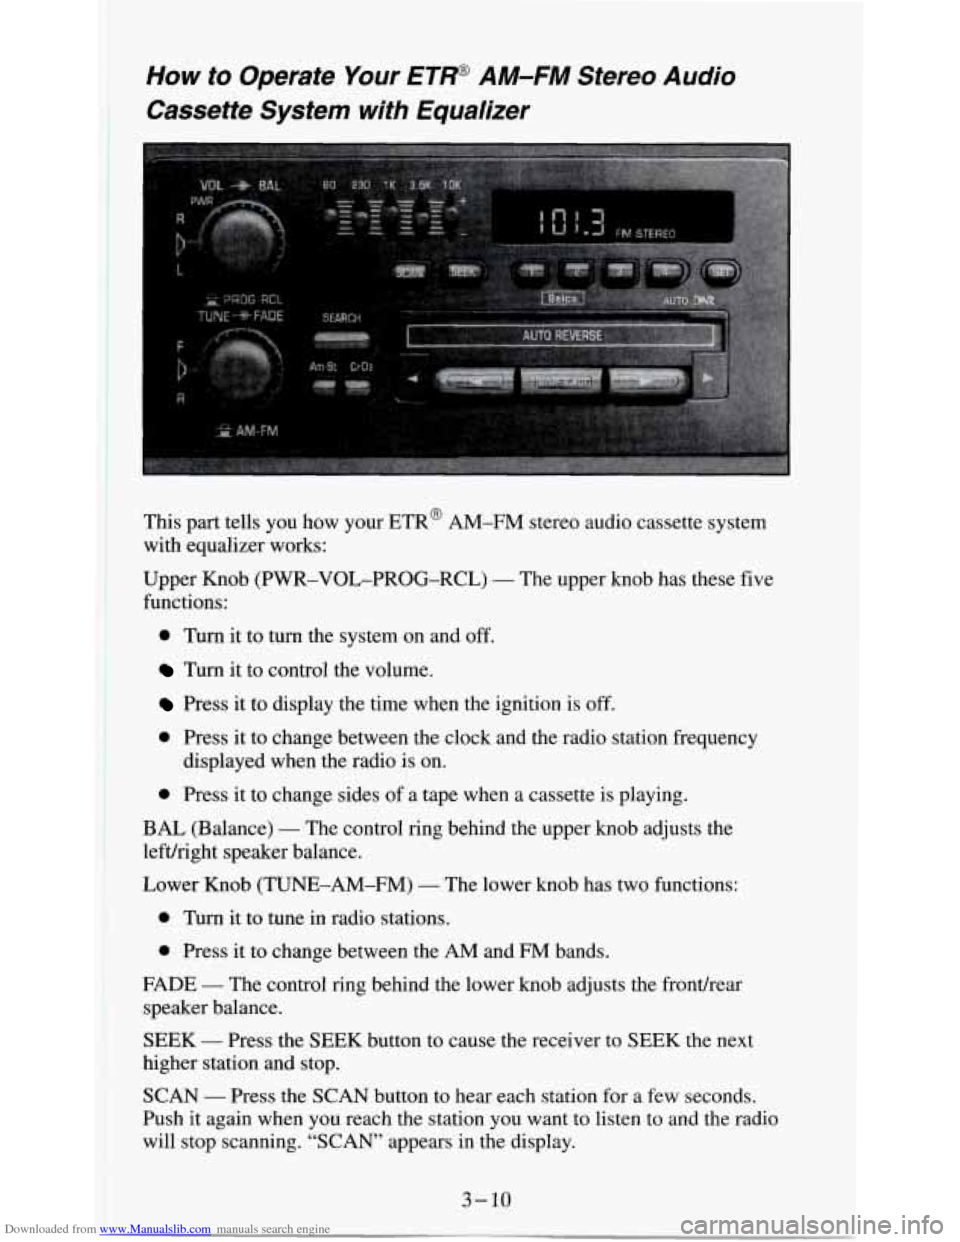
This part tells you how your ETR@ AM-FM stereo audio cassette system
with equalizer works:
Upper Knob (PWR-VOL-PROG-RCL)
- The upper knob has these five
functions:
0 Turn it to turn the system on and off.
Turn it to control the volume.
Press it to display the time when the ignition is off.
0 Press it to change between the clock and the radio station frequency
0 Press it to change sides of a tape when a cassette is playing.
displayed
when the radio is on.
BAL (Balance)
- The control ring behind the upper knob adjusts the
lefuright speaker balance.
Lower Knob (TUNE-AM-FM)
- The lower knob has two functions:
0 Turn it to tune in radio stations.
0 Press it to change between the AM and FM bands.
FADE
- The control ring behind the lower knob adjusts the fronthear
speaker balance.
SEEK
- Press the SEEK button to cause the receiver to SEEK the next
higher station and stop.
SCAN
- Press the SCAN button to hear each station for a few seconds.
Push it again when you reach the station you want to listen to and the radio
will stop scanning. “SCAN” appears in the display.
Page 124 of 354
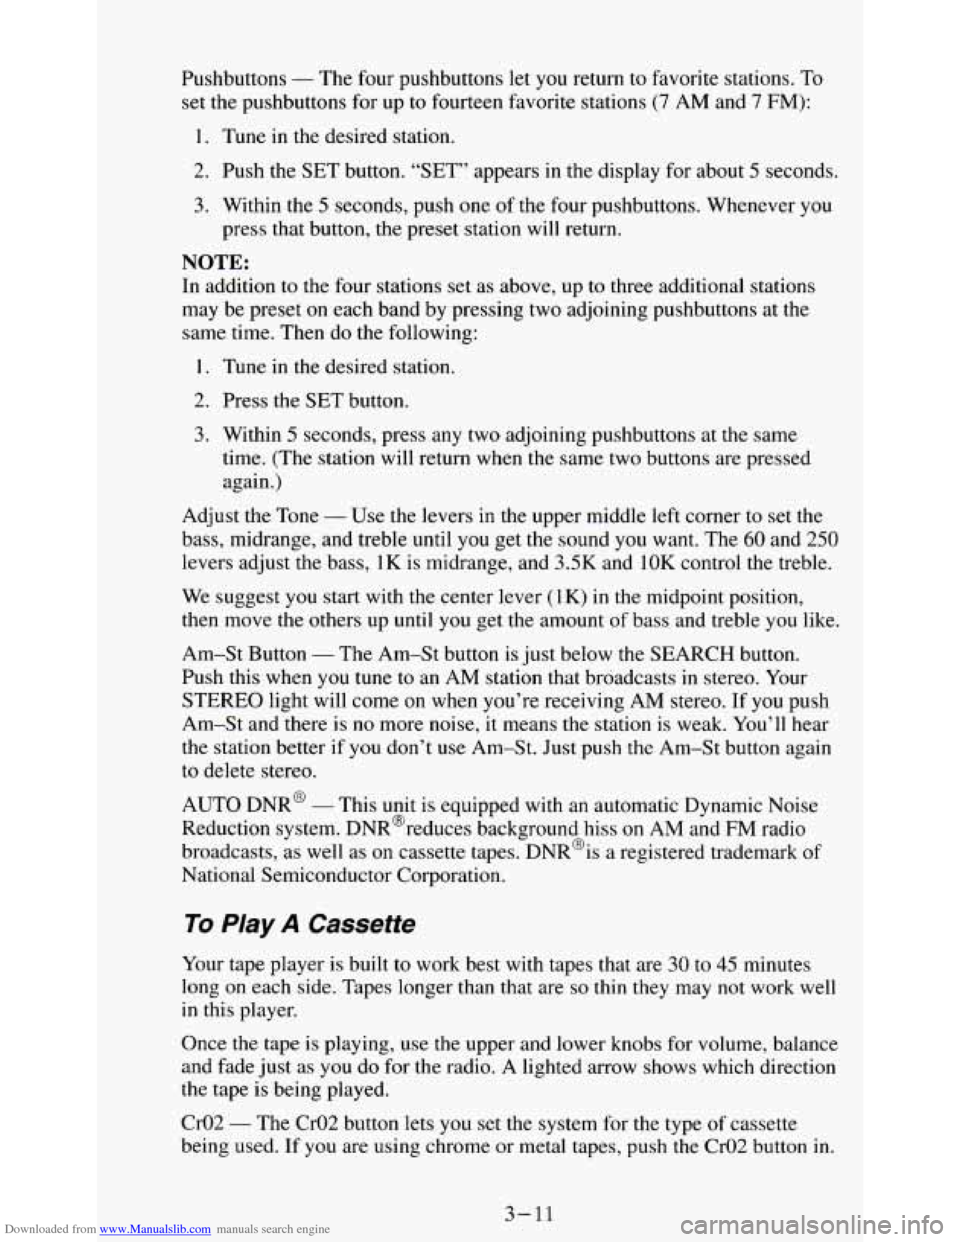
Downloaded from www.Manualslib.com manuals search engine Pushbuttons - The four pushbuttons let you return to favorite stations. To
set the pushbuttons for up to fourteen favorite stations (7 AM and 7 FM):
1. Tune in the desired station.
2. Push the SET button. “SET” appears in the display for about
5 seconds.
3. Within the 5 seconds, push one of the four pushbuttons. Whenever you
press that button, the preset station will return.
NOTE:
In addition to the four stations set as above, up to three additional stations
may be preset on each band by pressing two adjoining pushbuttons at the
same time. Then do the following:
I. Tune in the desired station.
2. Press the SET button.
3. Within 5 seconds, press any two adjoining pushbuttons at the same
time. (The station will return when the same two buttons are pressed
again.)
Adjust the Tone
- Use the levers in the upper middle left corner to set the
bass, midrange, and treble until you get the sound you want. The
60 and 250
levers adjust the bass, 1 K is midrange, and 3.5K and 1OK control the treble.
We suggest
you start with the center lever (1 K) in the midpoint position,
then move the others up until
you get the amount of bass and treble you like.
Am-St Button
- The Am-St button is just below the SEARCH button.
Push this when
you tune to an AM station that broadcasts in stereo. Your
STEREO light will come on when you’re receiving AM stereo. If
you push
Am-St and there is
no more noise, it means the station is weak. You’ll hear
the station better if you don’t use Am-St. Just push the Am-St button again
to delete stereo.
AUTO DNR@
- This unit is equipped with an automatic Dynamic Noise
Reduction system. DNR@reduces background hiss
on AM and FM radio
broadcasts, as well as
on cassette tapes. DNR@is a registered trademark of
National Semiconductor Corporation.
To Flay A Cassette
Your tape player is built to work best with tapes that are 30 to 45 minutes
long on each side. Tapes longer than that are
so thin they may not work well
in this player.
Once the tape is playing, use the upper and lower knobs for volume, balance
and fade
just as you do for the radio. A lighted arrow shows which direction
the tape is being played,
02
- The Cr02 button lets you set the system for the type of cassette
being used. If
you are using chrome or metal tapes, push the Cr02 button in.
3-11
Page 125 of 354
Downloaded from www.Manualslib.com manuals search engine FWD - To rapidly advance the tape, press 4 or in the direction that the
amber arrow points and the tape will rapidly go forward until you press the
STOP-EJECT button lightly.
REV
- To rapidly reverse the tape, press 4 or b in the opposite direction
that the amber arrow points and the tape will rapidly reverse until you press
the STOP-EJECT button lightly.
SEARCH
- Press the SEARCH button to the recessed position.
Press
b to go to the beginning of the next selection.
Press
4 and the tape will reverse to the beginning of the current selection.
PROGRAM
- To go from one side of the tape to the other, press the
PWR-VOL-PROG-RCL knob.
STOP-EJECT
- To remove the tape or stop the tape and switch to radio,
press the STOP-EJECT button.
If “Cln” (Clean) appears on the display when you insert your cassette tape,
your cassette player needs to be cleaned. It will still play cassette tapes but
it
should be cleaned to prevent damage to your cassette tapes and the cassette
tape player. See “Care of Your Cassette Tape Player” later in
this section.
After you have cleaned the cassette tape player, press and hold EJECT for
5
seconds to reset the the “Cln” indicator. The radio will display “- - -’, to
show the clean feature has been reset.
Your Delco system may be able to receive C-QUAM@ stereo broadcasts.
Many
AM stations around the country use C-QUAM@ to produce stereo,
though some do not. C-QUAM@ is
a re istered trademark of Motorola Inc.
If your Delco system can get C-QUAM signals, your STEREO light will
come on when you are receiving stereo. %
3-12
Page 127 of 354
Downloaded from www.Manualslib.com manuals search engine Pushbuttons - The five pushbuttons let you return to favorite stations.
They are also used when you play a disc. (See
“To Play A Compact Disc”.)
To
set the pushbuttons for up to ten favorite stations (5 AM and 5 FM):
1. Tune in the desired station.
2. Push the SET button. “SET” is displayed briefly.
3. Within 5 seconds, push one of the five pushbuttons to store the station.
Whenever
you press that button, the preset station will return. Repeat
the steps for each of the
5 AM and 5 FM stations.
MUTE
- Press the MUTE button and all sound from the radio or CD
player stops. By pressing the button again sound will begin again.
RCL - Press the RCL button to change between the clock and the radio
station frequency displayed when the radio
is on. RCL may be pressed when
the ignition is off to see
the time.
BASS
- Press the BASS A to increase the bass tones and v BASS to
decrease bass tones. Press the center of the control for a preset BASS
position.
The bass level will be displayed briefly when using this control.
TREBLE
- Press the TREB A to increase the treble tones and v TREB to
decrease the treble tones. Press the center of the control for a preset TREB
position. The treble level will be displayed briefly when using this control.
To Play A Compact Disc (CD)
NOTICE:
DO NOT use mini-discs that are called singles. They won’t eject\
.
USE FULL-SIZE COMPACT DISCS. If the disc player is very
hot, or if you’re driving on a very rough road,
a disc may come
out or just not play. If you see the word HOT on the displa\
y, the
disc player is too hot to play the disc. Press RCL to make \
the
word HOT
go off the display. When things get back to normal,
the disc should play again. Press PWR to turn the system on.
Insert a disc partway into the slot, label side up. The player will pull it in.
Wait a few seconds and the disc should play.
If
the disc comes back out, check to see if any of the following are true:
0 The disc is upside down.
0 It is dirty, scratched, or wet.
0 Too much moisture is in the air. (If there is, wait about one hour and try
again.)
3- 14
Page 129 of 354
Downloaded from www.Manualslib.com manuals search engine To Lock The System:
1. Write down any 6 digit number and keep it in a safe place.
2. Turn the ignition to the ACC (Accessory) or RUN position.
3. Press the PWR knob to turn the radio off.
4. Press the 1 and 4 buttons together. Hold them down until “- - -” shows
on the display.
You are now ready to enter your secret code. Don’t wait more than
15
seconds between steps.
5. Press SET and “000” will appear on the display.
6. Press the SEEK or 4 button to make the first number appear.
7. Press SCAN to make the next two numbers agree with your code.
8. Press BAND and “000” will appear again. Now you are ready to enter
the last three digits
of your code.
9. Repeat steps 6 and 7 for the last three digits of your code.
10. Press BAND and “rEP’ will appear for 5 seconds and then “OOO” will
11. Repeat steps 6 through 10. This time “SEC” will appear - indicating
appear.
that the radio
is secure.
To Unlock The System After A Power Loss
When battery power is reapplied to a secured radio, the radio won’t turn on
and
“LOC” will appear on the display.
Enter your secret code as follows. Pause
no more than 15 seconds between
steps.
1. Turn the ignition on. (Radio off.)
2. Press the SET button. The display will show “000”.
3. Enter the six digits of the code following steps 6-9 above. The display
4. Press the BAND knob and the time appears - indicating that the
will
show the numbers as entered.
disabling sequence was successful. If the display indicates
“SEC”, the
numbers did
not match and the unit is still secured.
3-16
Page 130 of 354
Downloaded from www.Manualslib.com manuals search engine Disabling The Theft System
1.
2.
3.
4.
5.
6.
Press presets 1 and 4 for 5 seconds with ignition on and radio off. The
display will show “SEC”, indicating the unit is in the secure mode.
Press the SET button. The display will show
“000”.
Enter the first three digits of the code following steps 6 and 7 of the
preceding paragraphs (To Lock the System). The display will show the
numbers as entered.
Press the BAND knob. The radio will display
“OOO”.
Enter the second three digits of the code. The display will show the
numbers as entered.
Press the BAND knob.
If the display shows “- - - ”, the disabling
sequence was successful. The numbers matched the user-selected code
or the factory back-up code, and the unit is in the UNSECURED
mode.
If the display shows “SEC”, the disabling sequence was
unsuccessful and the numbers did not match either of the codes and the
unit will remain
in the SECURED mode.
Understanding Radio Reception
FM stereo will give you the best sound. But FM signals will reach only
about 10 to
40 miles (16 to 65 km). And, tall buildings or hills can interfere
with
FM signals, causing the sound to come and go.
The range for most AM stations is greater than for
FM, especially at night.
The longer range, however, can cause stations to interfere with each other.
AM can pick up noise from things like storms and power lines. Try reducing
the treble to reduce this noise if you ever get it.
AM Stereo means the Delco@ system can receive C-QUAM@stereo
broadcasts. Many AM stations around the count use C-QUAM@ to
produce stereo, though some do not. (C-QUAM is a registered trademark
of Motorola, Inc.) If your Delco@ system can get C-QUAM@, your
“STEREO” light will come on when you’re receiving
it.
Be aware that hearing damage from loud noise is almost undetectable until
it is too late. Your hearing can adapt to higher volumes
of sound. Sound that
seems normal can be loud and harmful to your hearing. Take precautions by
adjusting the volume control on your radio to a safe sound level before your
hearing adapts to it.
3
To help avoid hearing loss or damage:
1. Adjust the volume control to the lowest setting.
2. Increase volume slowly until you hear comfortably and clearly.
3-17