seats CHEVROLET S10 1996 2.G Owners Manual
[x] Cancel search | Manufacturer: CHEVROLET, Model Year: 1996, Model line: S10, Model: CHEVROLET S10 1996 2.GPages: 375, PDF Size: 20.73 MB
Page 2 of 375
Downloaded from www.Manualslib.com manuals search engine The 1996 Chevrolet S-Series Owner’s Manual
Seats and Restraint Systems ............................................................. 1-1
. This section tells you how to use your seats and safety belts properly. It also explains the\
“SIR’ system.
FeaturesandControls .................................................................. 2-1
Comfort Controls and Audio Systems ..................................................... 3-1
This section explains how to start and operate your vehicle.
This section tells you how to adjust the ventilation and comfo\
rt controls and how
to operate your
audio system.
Here you’ll find helpful information and tips about the road\
and how to drive under different conditions.
This section tells
you what to do if you have a problem while driving, such as a flat tire or overheated
engine, etc.
Here the manual tells
you how to keep your vehicle running properly and looking good.
This section tells
you when to perform vehicle maintenance and what fluids and lubricants to u\
se.
This section tells
you how to contact Chevrolet for assistance and how to get service publica\
tions.
It
also gives you information on “Reporting Safety Defects” on page 8-8.
Here’s an alphabetical listing of almost every subject in this manual. You can use it to quickly find
something
you want to read.
YourDrivingandtheRoad .............................................................. 4-1
ProblemsontheRoad .................................................................. 5-1
Service and Appearance Care ............................................................ 6-1
Maintenanceschedule........ .......................................................... 7-1
Customer Assistance Information ........................................................ 8-1
Index ........................................................................\
........ 9-1
i
Page 12 of 375
Downloaded from www.Manualslib.com manuals search engine Section 1 Seats and Restraint Systems
I
Here you'll find information about the seats in your
vehicle and how to use your safety belts properly. You
can also learn about some things you should
not do with
air bags and safety. belts.
Seats and Seat Controls
This section tells you about the seats -- how to adjust
them, and fold them up and down.
Manual Front Seat
You can lose control of the vehicle if you try to
adjust a manual driver's seat while the vehicle is
moving. The sudden movement could startle and
confuse you, or make you push a pedal when you
1 don't want to. Adjust the driver's seat only when
~ the vehicle is not moving.
1-1
Page 13 of 375
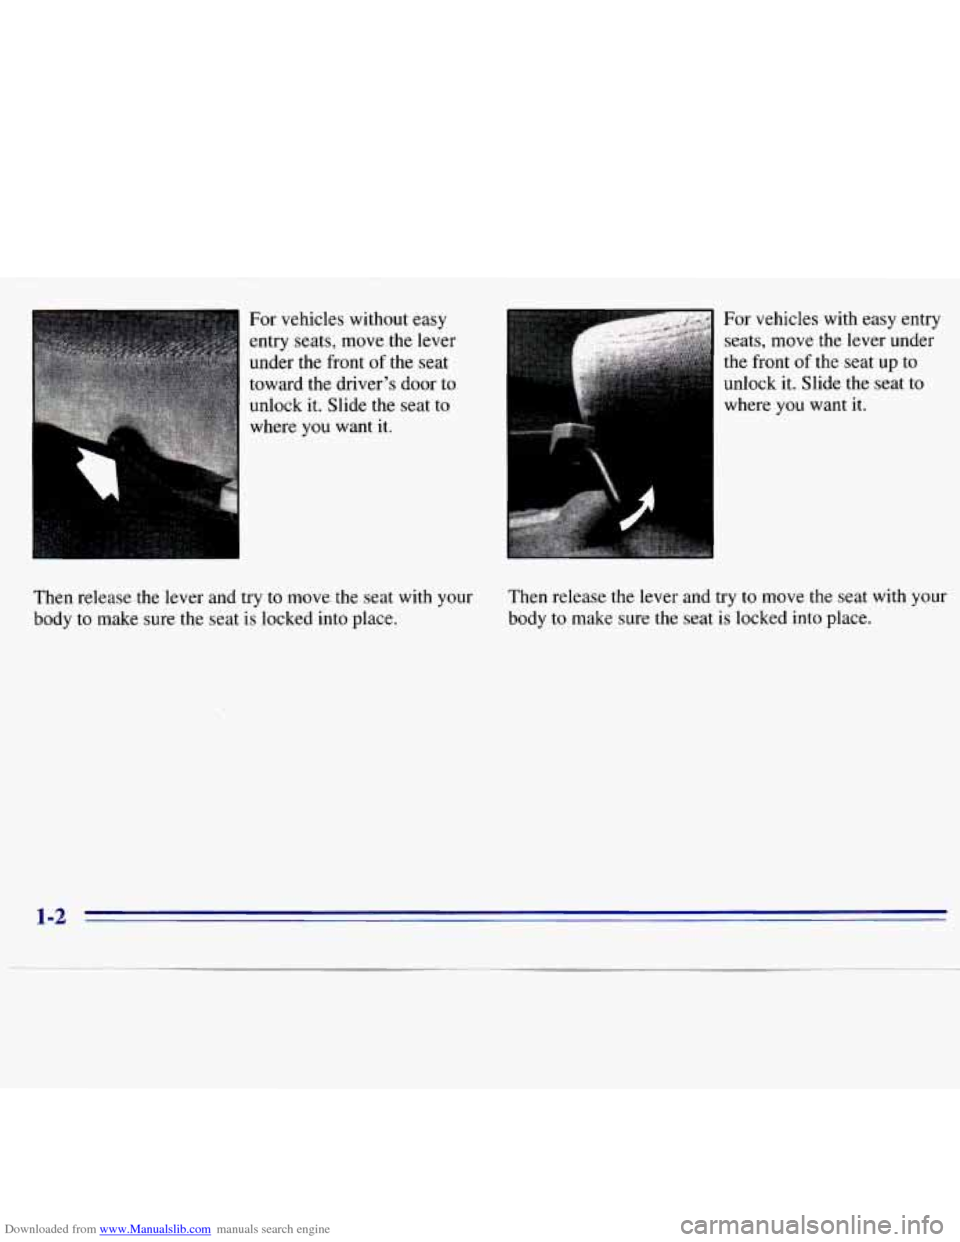
Downloaded from www.Manualslib.com manuals search engine For vehicles without easy
entry seats, move
the lever
under the front
of the seat I
toward the driver’s door to
unlock it. Slide the seat to
where you want it. For vehicles
with easy entry
seats, move the lever under
the front
of the seat up to
unlock it. Slide
the seat to
where you
want it.
Then release the lever and try to move the seat with your
body to make sure the seat is locked into place. Then release the lever and try
to move the seat
with your
body to make sure the seat is locked into
place.
Page 14 of 375
Downloaded from www.Manualslib.com manuals search engine Manual Lumbar Support (Option)
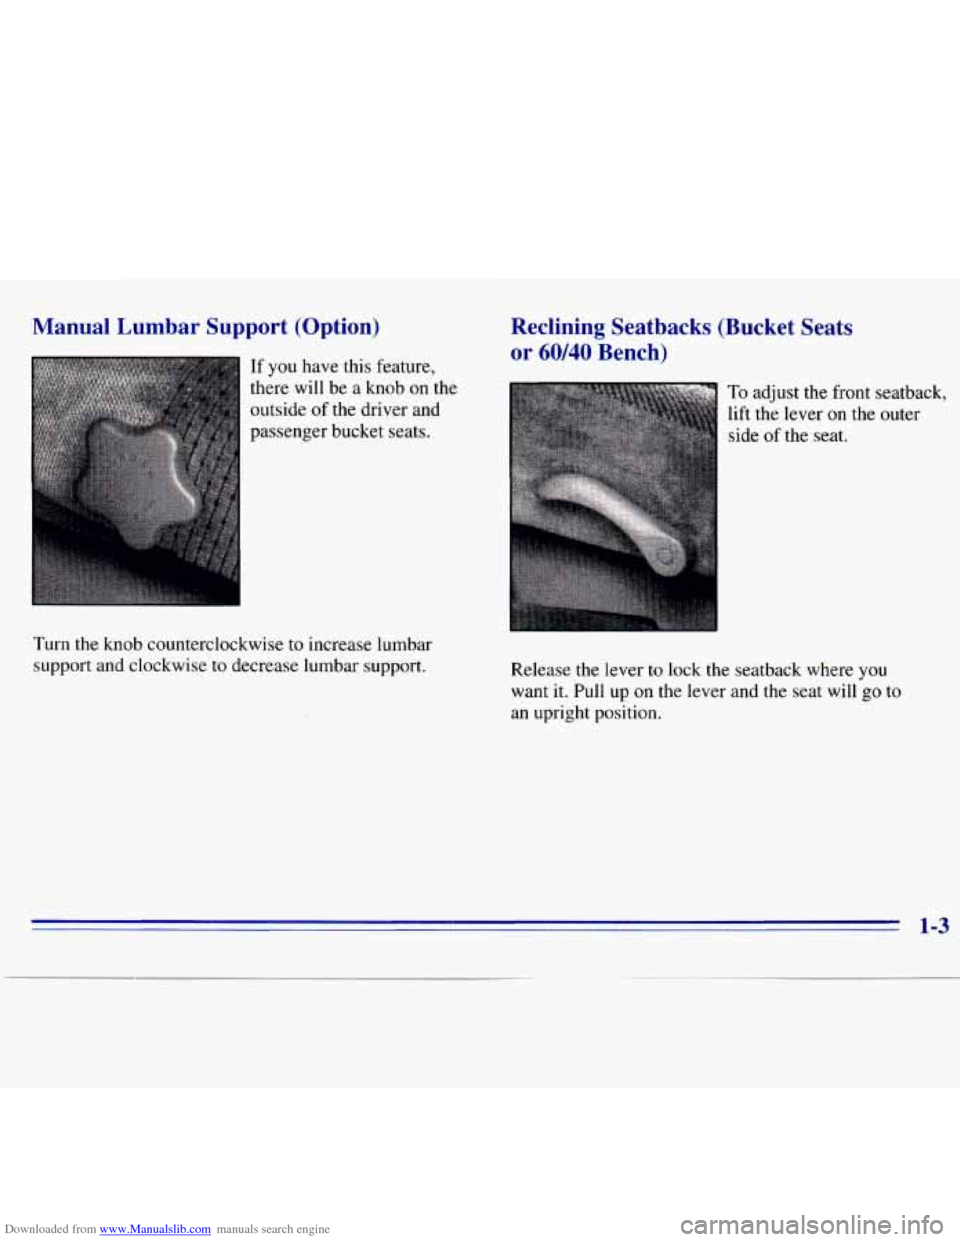
If you have this feature,
there will be a knob on the
outside
of the driver and
passenger bucket seats.
Turn the knob counterclockwise to increase lumbar
support and clockwise to decrease lumbar support.
Reclining Seatbacks (Bucket Seats
or 60/40 Bench)
To adjust the front seatback,
lift the lever on the outer
side
of the seat.
Release
the lever to lock the seatback where you
want
it. Pull up on the lever and the seat will go to
an upright position.
1-3
Page 23 of 375
Downloaded from www.Manualslib.com manuals search engine How to Wear Safety Belts Properly
Adults
This part is only for people of adult size.
Be aware that there are special things to know about safety
belts and children. And there
are different rules for smaller
children and babies. If a child will be riding in your
vehicle, see the part of this manual called “Children.”
Follow those rules for everyone’s protection.
First,
you’ll want to know which restraint systems your
vehicle has.
We’ll start with the driver position.
Driver Position
This part describes the driver’s restraint system.
Lap-Shoulder Belt
The driver has a lap-shoulder belt. Here’s how to wear
it properly.
1. Close and lock the door.
2. Adjust the seat (to see how, see “Seats’’ in the Index)
so you can sit up straight.
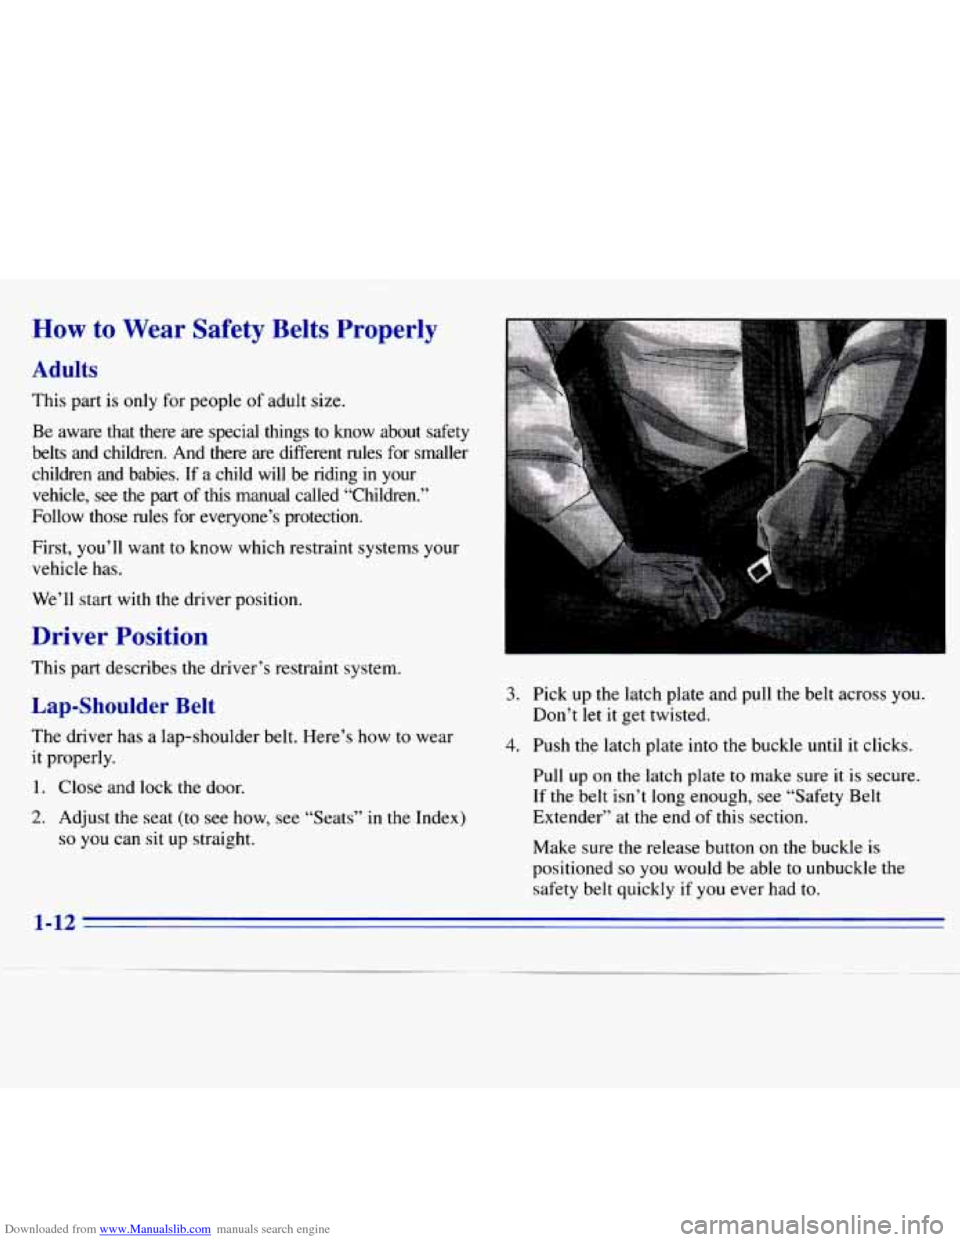
3. Pick up the latch plate and pull the belt across you.
4. Push the latch plate into the buckle until it clicks.
Don’t let it get twisted.
Pull up
on the latch plate to make sure
it is secure.
If the belt isn’t long enough, see “Safety Belt
Extender” at the end
of this section.
Make sure the release button
on the buckle is
positioned
so you would be able to unbuckle the
safety belt quickly if you ever had
to.
1-12
Page 38 of 375
Downloaded from www.Manualslib.com manuals search engine Rear Seat Passengers (Extended Cab
Jump Seats)
Lap Belt
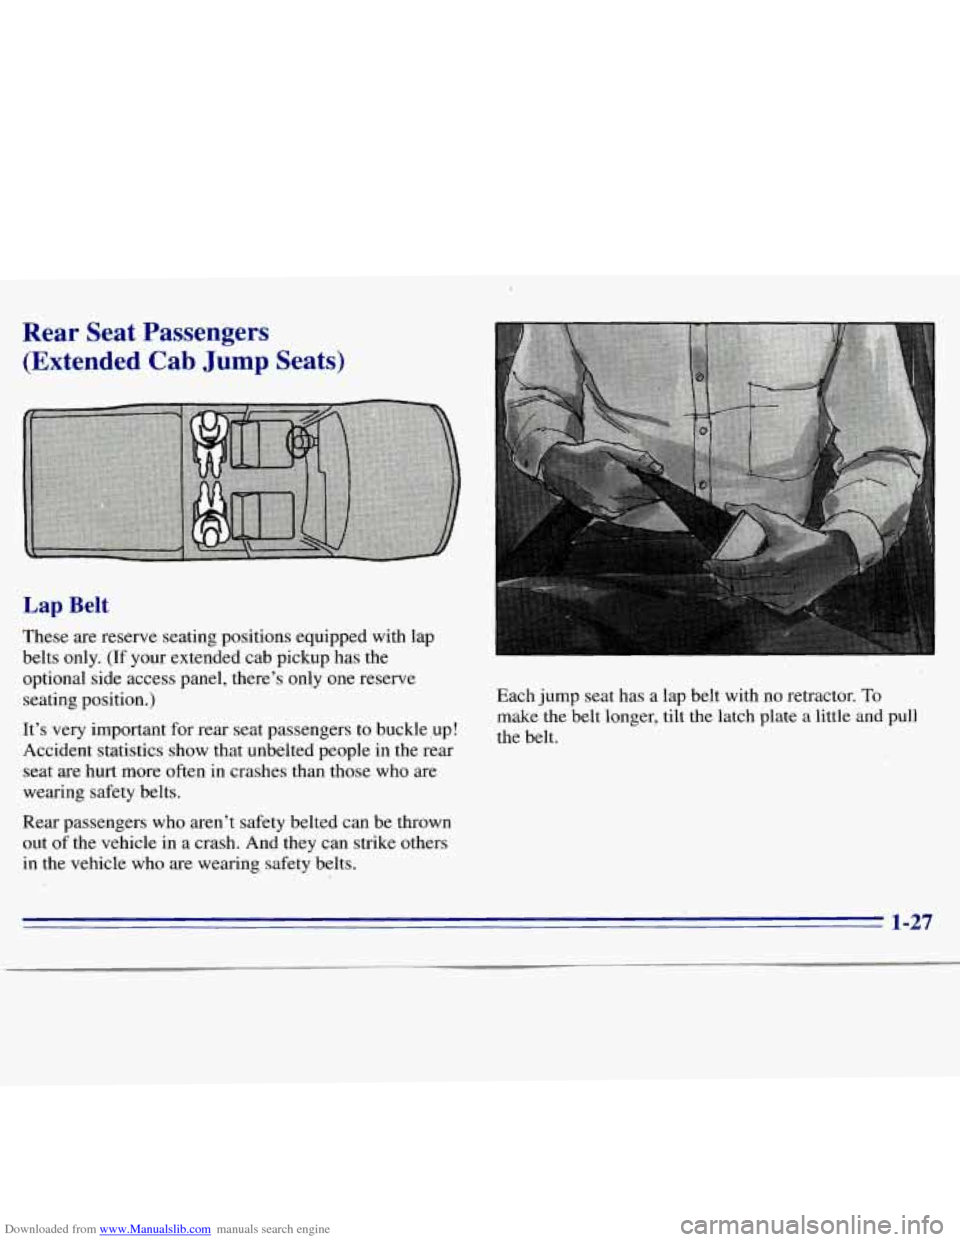
These are reserve seating positions equipped with lap
belts only.
(If your extended cab pickup has the
optional side access panel, there’s only one reserve
seating position.)
It’s very important for rear seat passengers to buckle,up!
Accident statistics show that unbelted people in the rear
seat are hurt more often in crashes than those who are
wearing safety belts.
Rear passengers who aren’t safety belted can be thrown
out of the vehicle in a crash. And they can strike others
in the vehicle who are wearing safety belts.
,!
Each jump seat has a lap belt with no retractor. To
make the belt longer, tilt the latch plate a little and pull
the belt.
1-27
Page 39 of 375
Downloaded from www.Manualslib.com manuals search engine Children
Everyone in a vehicle needs protection! That includes
infants and all children smaller than adult size. In fact, the law in every state
in the United States and in every
Canadian province says children up to some age must be
restrained while in a vehicle.
Smaller Children and Babies
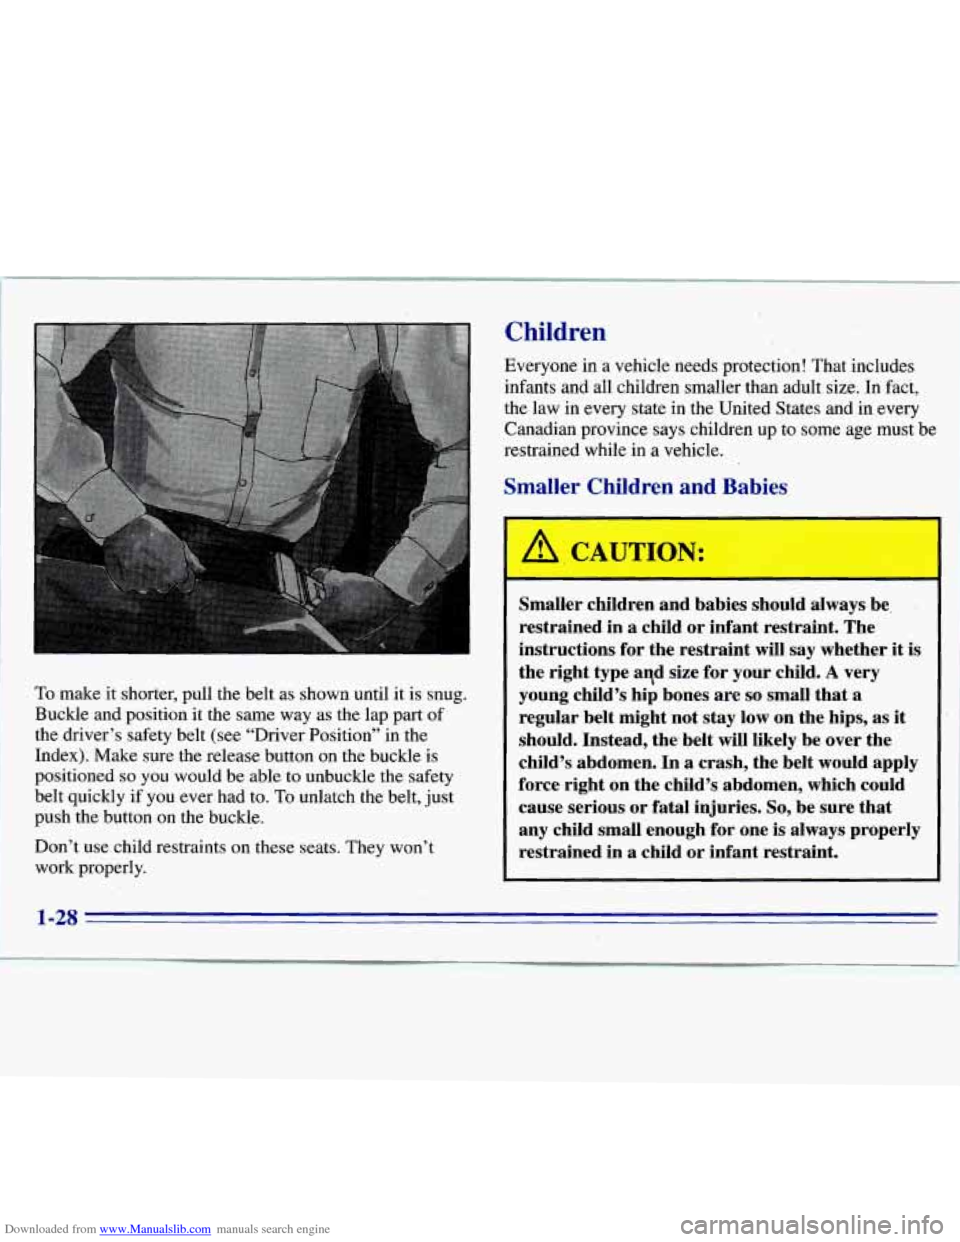
To make it shorter, pull the belt as shown until it is snug.
Buckle
and position it the same way as the lap part of
the driver’s safety belt (see “Driver Position” in the
Index), Make sure the release button on the buckle is
positioned
so you would be able to unbuckle the safety
belt quickly
if you ever had to. To unlatch the belt, just
push the button on the buckle.
Don’t use child restraints on these seats. They won’t
work properly.
I
Smaller children and babies should always be,
restrained in
a child or infant restraint. The
instructions for the restraint will say whether it is
the right type aqd size for your child.
A very
young child’s hip bones are
so small that a
regular belt might not stay low on the hips, as it
should. Instead, the, belt will likely be over the
child’s abdomen. In
a crash, the belt would apply
force right on the child’s abdomen, which could
cause serious or fatal injuries.
So, be sure that
any child small enough for one is always properly
restrained in
a child or infant restraint. 1 ,
I 1-28
Page 44 of 375
Downloaded from www.Manualslib.com manuals search engine Jump Seats (Extended Cab)
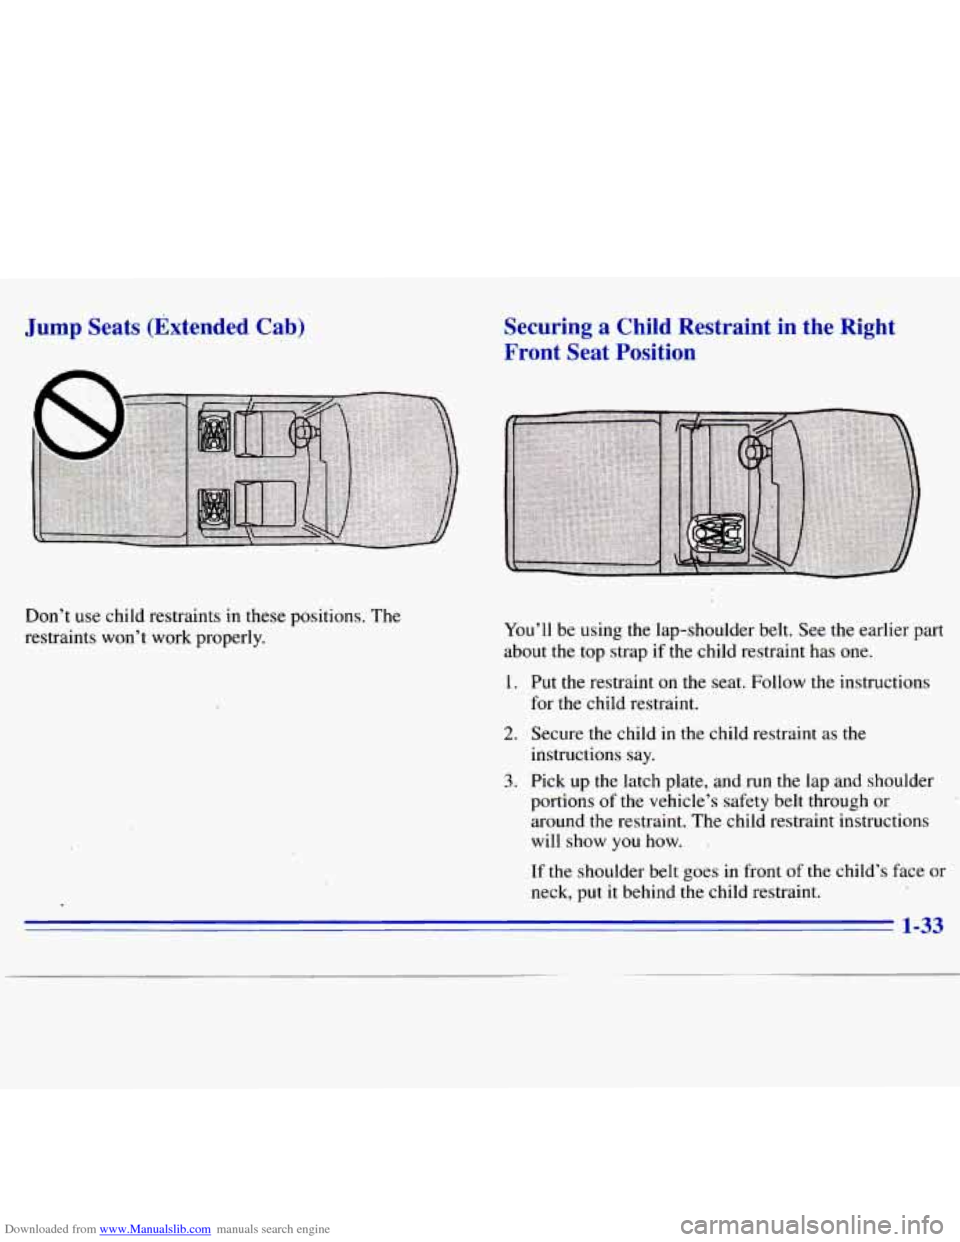
Don’t use child restraints in these positions. The
restraints won’t work properly.
Securing a Child Restraint in the Right
Front Seat Position
You’ll be using the lap-shoulder belt. See the earlier part
about the top strap if the child restraint has
one.
1. Put the restraint on the seat. Follow the instructions
for the child restraint.
2. Secure the child in the child restraint as the
instructions say.
3. Pick up the latch plate, and run the lap and shoulder
portions of the vehicle’s safety belt through or
around
the restraint. The child restraint instructions
will show
you how. .
If the shoulder belt goes in front of the child’s face or
neck, put it behind the child restraint.
Page 96 of 375
Downloaded from www.Manualslib.com manuals search engine Front Storage Area
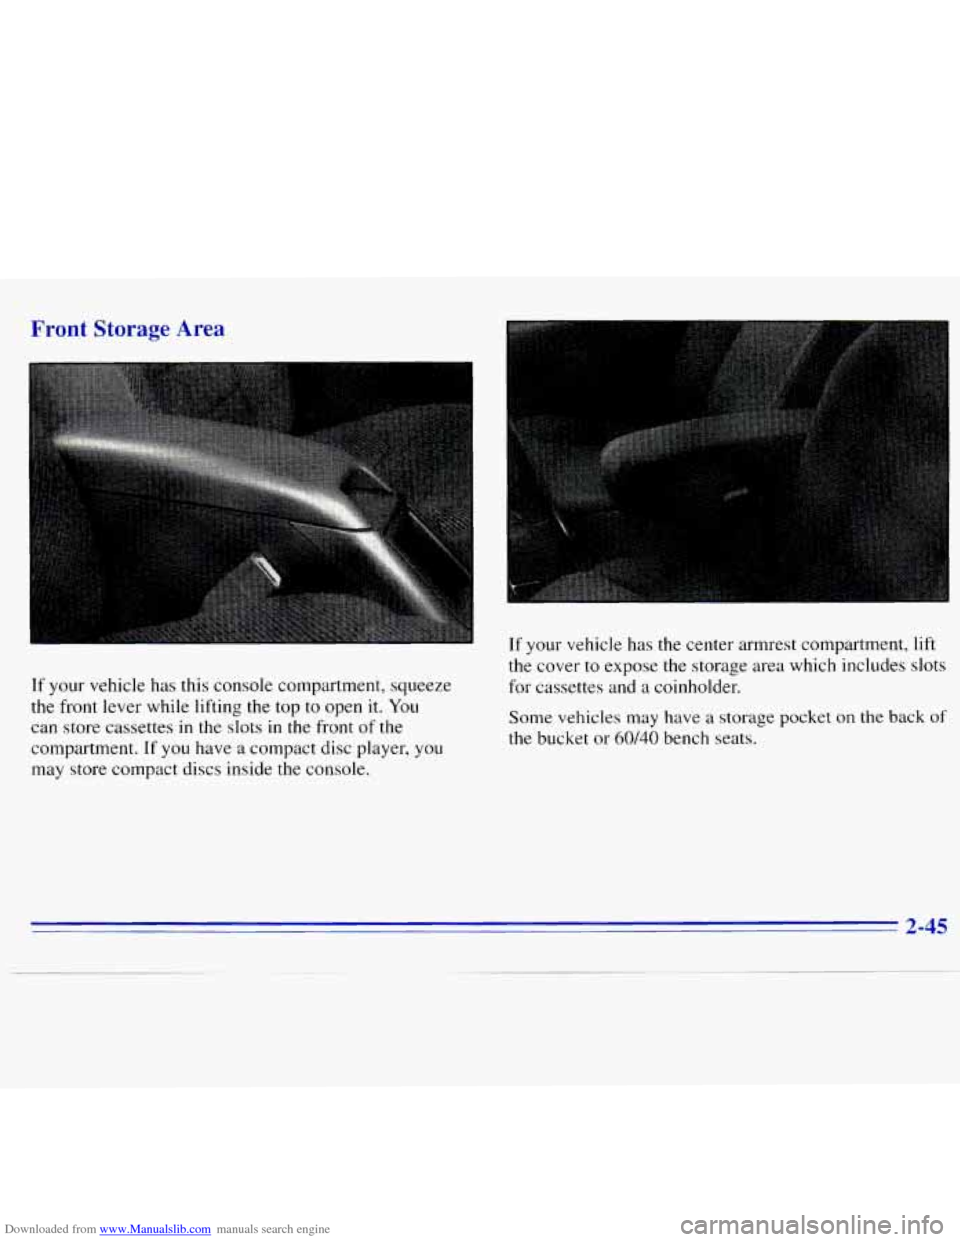
If your vehicle has this console compartment, squeeze
the front lever while lifting the top to open
it. You
can store cassettes
in the slots in the front of the
compartment. If
you have a compact disc player, you
may store compact discs inside the console. If
your vehicle has the center armrest compartment,
lift
the cover to expose the storage area which includes slots
for cassettes and
a coinholder.
Some vehicles may have a storage pocket on
the back of
the bucket or 60140 bench seats.
2-45
Page 118 of 375
Downloaded from www.Manualslib.com manuals search engine Ventilation Tips
0
0
0
Keep the hood and front air inlet free of ice, snow or
any other obstruction (such as leaves). The heater
and defroster will work far better, reducing the
chance of fogging the inside of your windows.
When you enter a vehicle in cold weather, turn the
blower fan
to HI for a few moments before driving
off. This helps clear the intake ducts
of snow and
moisture, and reduces the chance
of fogging the
inside of your windows.
Keep the air path under the front seats clear of
objects. This helps air to circulate throughout
your vehicle.
Defogging and Defrosting
On cool, humid days, use BLEND to keep the
windshield and side windows clear.
Use DEFROST to remove fog or ice from the
windshield quickly in extremely humid or cold
conditions. Turn the temperature knob clockwise
and move the fan control toward
HI.
Audio Systems
Your Delco' audio system has been designea to operate
easily and give years of listening pleasure. You will get
the most enjoyment out of it
if you acquaint yourself
with it first. Find out what your Delco system can do
and how to operate all its controls, to be sure you're
getting the most out of the advanced engineering that
went into
it.
Setting the Clock for All Systems Except
AM-FM Stereo with Compact Disc Player
Press SET. Within five seconds, press and hold SEEK
until the correct minute appears on the display. Press and
hold
SCAN until the correct hour appears on the display.
Setting the Clock for AM-FM Stereo with
Compact Disc Player
Press SET. (The radio may be on or off.) Within five
seconds, press the
SEEK right or left arrow until the
correct minute appears on the display. Press and hold
SCAN until the correct hour appears on the display.
3-5