oil pressure CHEVROLET SILVERADO 1500 2021 User Guide
[x] Cancel search | Manufacturer: CHEVROLET, Model Year: 2021, Model line: SILVERADO 1500, Model: CHEVROLET SILVERADO 1500 2021Pages: 463, PDF Size: 9.65 MB
Page 130 of 463
Chevrolet Silverado 1500 Owner Manual (GMNA-Localizing-U.S./Canada/
Mexico/Paraguay-14632303) - 2021 - CRC - 11/9/20
Instruments and Controls 127
than when the oil has just been changed.
It cannot be reset accurately until the next
oil change. To reset, seeEngine Oil Life
System 0331.
Tire Pressure : Shows the approximate
pressures of all four tires. Tire pressure is
displayed in either kilopascal (kPa) or in
pounds per square inch (psi). If the pressure
is low, the value for that tire is shown in
amber. See Tire Pressure Monitor System
0 368 and
Tire Pressure Monitor Operation 0369.
Air Filter Life : Shows an estimate of the
engine air filter’s remaining useful life and
the state of the system. Engine Air Filter Life
95% means 95% of the current air filter life
remains. Messages will display based on the
engine air filter life and the state of the
system. When the REPLACE AT NEXT OIL
CHANGE message displays, the engine air
filter should be replaced at the time of the
next oil change. When the REPLACE SOON
message displays, the engine air filter
should be replaced at the earliest
convenience.
The Air Filter Life display must be reset after
the engine air filter replacement. To reset,
see Engine Air Filter Life System 0332. Brake Pad Life :
This displays an estimate of
the remaining life of the front and rear
brake pads. Messages will display based on
brake pad wear and the state of the system.
Reset the Brake Pad Life display after
replacing the brake pads. See Brake Pad Life
System 0341.
Fuel Economy : Displays average fuel
economy, the best fuel economy over the
selected distance, and a bar graph showing
instantaneous fuel economy.
Press the thumbwheel to change the
selected distance. Press and hold the
thumbwheel while this display is active to
reset the best fuel economy and average
fuel economy. This display can also be reset
by selecting reset in the menu.
Engine Hours (Hourmeter) : Shows the total
number of hours the engine has run. This
display also shows the engine idle hours.
Transmission Fluid Temperature : Shows the
temperature of the automatic transmission
fluid in either degrees Celsius (°C) or degrees
Fahrenheit (°F).
Trailer Brake : On vehicles with the
Integrated Trailer Brake Control (ITBC)
system, the trailer brake display appears in
the DIC. TRAILER GAIN shows the trailer gain setting.
This setting can be adjusted from 0.0 to 10.0
with either a trailer connected or
disconnected.
TRAILER OUTPUT shows the power output to
the trailer any time a trailer with electric
brakes is connected. Output is displayed as a
bar graph. Dotted lines may appear in the
OUTPUT display if a trailer is not connected.
Off Road :
Displays vehicle pitch and roll
information, road wheel angle, and
four-wheel drive (4WD) status.
Follow Distance : If equipped, the current
follow time to the vehicle ahead is displayed
as a time value on this page.
Driver Assistance : If equipped, shows
information for Lane Keep Assist (LKA) and
Forward Collision Alert (FCA).
Info Page Options : Scroll to choose which
info pages appear on the DIC. Press the
thumbwheel to select or deselect.
Blank Page : Shows no information.
Page 323 of 463
Chevrolet Silverado 1500 Owner Manual (GMNA-Localizing-U.S./Canada/
Mexico/Paraguay-14632303) - 2021 - CRC - 11/9/20
320 Vehicle Care
Vehicle Care
General Information
General Information . . . . . . . . . . . . . . . . . . . 321
California Proposition 65 Warning . . . . . 321
California Perchlorate MaterialsRequirements . . . . . . . . . . . . . . . . . . . . . . . . 321
Accessories and Modifications . . . . . . . . . 322
Vehicle Checks
Doing Your Own Service Work . . . . . . . . . 322
Hood . . . . . . . . . . . . . . . . . . . . . . . . . . . . . . . . . . 322
Engine Compartment Overview . . . . . . . . 324
Engine Oil . . . . . . . . . . . . . . . . . . . . . . . . . . . . . 329
Engine Oil Life System . . . . . . . . . . . . . . . . . 331
Automatic Transmission Fluid . . . . . . . . . . 332
Engine Air Filter Life System . . . . . . . . . . . 332
Engine Air Cleaner/Filter . . . . . . . . . . . . . . . 333
Cooling System . . . . . . . . . . . . . . . . . . . . . . . . 334
Engine Overheating . . . . . . . . . . . . . . . . . . . . 337
Overheated Engine Protection Operating Mode . . . . . . . . . . . . . . . . . . . . . 339
Engine Fan . . . . . . . . . . . . . . . . . . . . . . . . . . . . 339
Washer Fluid . . . . . . . . . . . . . . . . . . . . . . . . . . 339
Brakes . . . . . . . . . . . . . . . . . . . . . . . . . . . . . . . . 340
Brake Pad Life System . . . . . . . . . . . . . . . . . 341
Brake Fluid . . . . . . . . . . . . . . . . . . . . . . . . . . . . 342
Battery - North America . . . . . . . . . . . . . . . 342 Four-Wheel Drive . . . . . . . . . . . . . . . . . . . . . . 345
Front Axle . . . . . . . . . . . . . . . . . . . . . . . . . . . . . 345
Rear Axle . . . . . . . . . . . . . . . . . . . . . . . . . . . . . . 345
Starter Switch Check . . . . . . . . . . . . . . . . . . 346
Automatic Transmission Shift Lock
Control Function Check . . . . . . . . . . . . . . 346
Ignition Transmission Lock Check . . . . . . 346
Park Brake and P (Park) Mechanism Check . . . . . . . . . . . . . . . . . . . . . . . . . . . . . . . 346
Wiper Blade Replacement . . . . . . . . . . . . . 347
Glass Replacement . . . . . . . . . . . . . . . . . . . . 347
Windshield Replacement . . . . . . . . . . . . . . 347
Gas Strut(s) . . . . . . . . . . . . . . . . . . . . . . . . . . . 348
Headlamp Aiming
Front Headlamp Aiming . . . . . . . . . . . . . . . 349
Bulb Replacement
Bulb Replacement . . . . . . . . . . . . . . . . . . . . . 349
Halogen Bulbs . . . . . . . . . . . . . . . . . . . . . . . . . 349
LED Lighting . . . . . . . . . . . . . . . . . . . . . . . . . . . 349
Headlamps, Front Turn Signal, Sidemarker, and Parking Lamps . . . . . 349
Taillamps, Turn Signal, Stoplamps, and Back-Up Lamps . . . . . . . . . . . . . . . . . . . . . . 350
Center High-Mounted Stoplamp (CHMSL) and Cargo Lamp . . . . . . . . . . . . 352
License Plate Lamp . . . . . . . . . . . . . . . . . . . . 352
Electrical System
Electrical System Overload . . . . . . . . . . . . . 352
Fuses and Circuit Breakers . . . . . . . . . . . . . 353
Engine Compartment Fuse Block . . . . . . . 353
Instrument Panel Fuse Block (Left) . . . . . 357
Instrument Panel Fuse Block (Right) . . . 358
Wheels and Tires
Tires . . . . . . . . . . . . . . . . . . . . . . . . . . . . . . . . . . . 361
All-Season Tires . . . . . . . . . . . . . . . . . . . . . . . . 361
Winter Tires . . . . . . . . . . . . . . . . . . . . . . . . . . . 362
All-Terrain Tires . . . . . . . . . . . . . . . . . . . . . . . 362
Tire Sidewall Labeling . . . . . . . . . . . . . . . . . 362
Tire Designations . . . . . . . . . . . . . . . . . . . . . . 364
Tire Terminology and Definitions . . . . . . 365
Tire Pressure . . . . . . . . . . . . . . . . . . . . . . . . . . 367
Tire Pressure Monitor System . . . . . . . . . 368
Tire Pressure Monitor Operation . . . . . . 369
Tire Inspection . . . . . . . . . . . . . . . . . . . . . . . . 374
Tire Rotation . . . . . . . . . . . . . . . . . . . . . . . . . . 374
When It Is Time for New Tires . . . . . . . . 375
Buying New Tires . . . . . . . . . . . . . . . . . . . . . 376
Different Size Tires and Wheels . . . . . . . . 377
Uniform Tire Quality Grading . . . . . . . . . . 377
Wheel Alignment and Tire Balance . . . . 379
Wheel Replacement . . . . . . . . . . . . . . . . . . . 379
Tire Chains . . . . . . . . . . . . . . . . . . . . . . . . . . . . 379
If a Tire Goes Flat . . . . . . . . . . . . . . . . . . . . . 380
Tire Changing . . . . . . . . . . . . . . . . . . . . . . . . . . 381
Full-Size Spare Tire . . . . . . . . . . . . . . . . . . . . . 391
Page 328 of 463
Chevrolet Silverado 1500 Owner Manual (GMNA-Localizing-U.S./Canada/
Mexico/Paraguay-14632303) - 2021 - CRC - 11/9/20
Vehicle Care 325
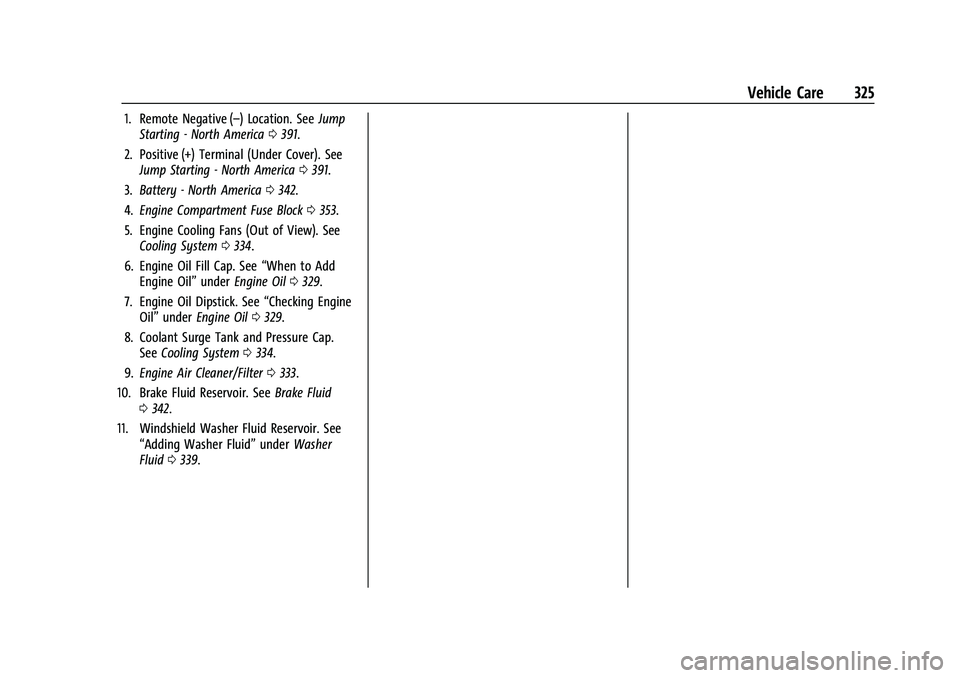
1. Remote Negative (–) Location. SeeJump
Starting - North America 0391.
2. Positive (+) Terminal (Under Cover). See Jump Starting - North America 0391.
3. Battery - North America 0342.
4. Engine Compartment Fuse Block 0353.
5. Engine Cooling Fans (Out of View). See Cooling System 0334.
6. Engine Oil Fill Cap. See “When to Add
Engine Oil” underEngine Oil 0329.
7. Engine Oil Dipstick. See “Checking Engine
Oil” under Engine Oil 0329.
8. Coolant Surge Tank and Pressure Cap. See Cooling System 0334.
9. Engine Air Cleaner/Filter 0333.
10. Brake Fluid Reservoir. See Brake Fluid
0 342.
11. Windshield Washer Fluid Reservoir. See “Adding Washer Fluid” underWasher
Fluid 0339.
Page 330 of 463
Chevrolet Silverado 1500 Owner Manual (GMNA-Localizing-U.S./Canada/
Mexico/Paraguay-14632303) - 2021 - CRC - 11/9/20
Vehicle Care 327
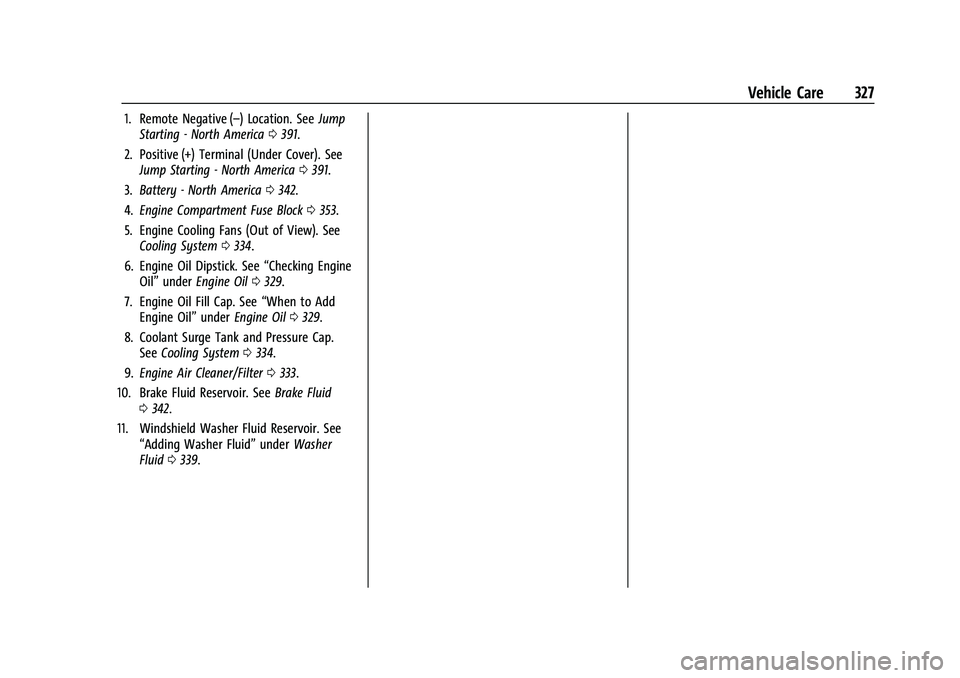
1. Remote Negative (–) Location. SeeJump
Starting - North America 0391.
2. Positive (+) Terminal (Under Cover). See Jump Starting - North America 0391.
3. Battery - North America 0342.
4. Engine Compartment Fuse Block 0353.
5. Engine Cooling Fans (Out of View). See Cooling System 0334.
6. Engine Oil Dipstick. See “Checking Engine
Oil” under Engine Oil 0329.
7. Engine Oil Fill Cap. See “When to Add
Engine Oil” underEngine Oil 0329.
8. Coolant Surge Tank and Pressure Cap. See Cooling System 0334.
9. Engine Air Cleaner/Filter 0333.
10. Brake Fluid Reservoir. See Brake Fluid
0 342.
11. Windshield Washer Fluid Reservoir. See “Adding Washer Fluid” underWasher
Fluid 0339.
Page 332 of 463
Chevrolet Silverado 1500 Owner Manual (GMNA-Localizing-U.S./Canada/
Mexico/Paraguay-14632303) - 2021 - CRC - 11/9/20
Vehicle Care 329
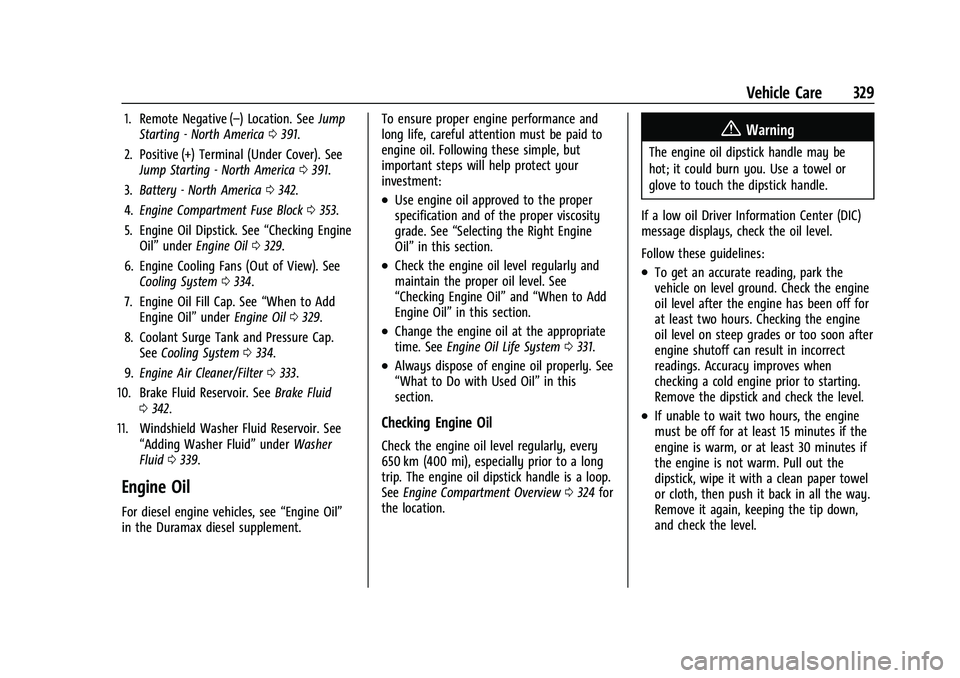
1. Remote Negative (–) Location. SeeJump
Starting - North America 0391.
2. Positive (+) Terminal (Under Cover). See Jump Starting - North America 0391.
3. Battery - North America 0342.
4. Engine Compartment Fuse Block 0353.
5. Engine Oil Dipstick. See “Checking Engine
Oil” under Engine Oil 0329.
6. Engine Cooling Fans (Out of View). See Cooling System 0334.
7. Engine Oil Fill Cap. See “When to Add
Engine Oil” underEngine Oil 0329.
8. Coolant Surge Tank and Pressure Cap. See Cooling System 0334.
9. Engine Air Cleaner/Filter 0333.
10. Brake Fluid Reservoir. See Brake Fluid
0 342.
11. Windshield Washer Fluid Reservoir. See “Adding Washer Fluid” underWasher
Fluid 0339.
Engine Oil
For diesel engine vehicles, see “Engine Oil”
in the Duramax diesel supplement. To ensure proper engine performance and
long life, careful attention must be paid to
engine oil. Following these simple, but
important steps will help protect your
investment:
.Use engine oil approved to the proper
specification and of the proper viscosity
grade. See
“Selecting the Right Engine
Oil” in this section.
.Check the engine oil level regularly and
maintain the proper oil level. See
“Checking Engine Oil” and“When to Add
Engine Oil” in this section.
.Change the engine oil at the appropriate
time. SeeEngine Oil Life System 0331.
.Always dispose of engine oil properly. See
“What to Do with Used Oil” in this
section.
Checking Engine Oil
Check the engine oil level regularly, every
650 km (400 mi), especially prior to a long
trip. The engine oil dipstick handle is a loop.
See Engine Compartment Overview 0324 for
the location.
{Warning
The engine oil dipstick handle may be
hot; it could burn you. Use a towel or
glove to touch the dipstick handle.
If a low oil Driver Information Center (DIC)
message displays, check the oil level.
Follow these guidelines:
.To get an accurate reading, park the
vehicle on level ground. Check the engine
oil level after the engine has been off for
at least two hours. Checking the engine
oil level on steep grades or too soon after
engine shutoff can result in incorrect
readings. Accuracy improves when
checking a cold engine prior to starting.
Remove the dipstick and check the level.
.If unable to wait two hours, the engine
must be off for at least 15 minutes if the
engine is warm, or at least 30 minutes if
the engine is not warm. Pull out the
dipstick, wipe it with a clean paper towel
or cloth, then push it back in all the way.
Remove it again, keeping the tip down,
and check the level.
Page 339 of 463
Chevrolet Silverado 1500 Owner Manual (GMNA-Localizing-U.S./Canada/
Mexico/Paraguay-14632303) - 2021 - CRC - 11/9/20
336 Vehicle Care
Check to see if coolant is visible in the
coolant surge tank. If the coolant inside the
coolant surge tank is boiling, wait until it
cools down. The coolant level should be at
or above the indicated mark. If it is not,
there may be a leak in the cooling system.
If coolant is visible but the coolant level is
not at or above the indicated mark, see the
following sections on how to add coolant to
the coolant surge tank following.
Automatic Coolant Service Fill
Instructions (L3B Engine)
This feature assists in filling and removing
air from the cooling system after service of
components or when coolant is added after
being too low.
To activate the fill and air removal process:1. Remove the coolant surge tank pressure cap when the cooling system, including
the coolant surge tank pressure cap and
upper radiator hose, is no longer hot.
Turn the pressure cap; slowly
counterclockwise about one full turn. If a
hiss is heard, wait for that to stop.
A hiss means there is still some
pressure left.
2. Keep turning the pressure cap slowly, and remove it. 3. Fill the coolant surge tank with the
proper mixture to the indicated mark.
4. Connect the vehicle to a battery charger.
5. Set the ignition to service mode, see Ignition Positions (Keyless Access) 0230
or
Ignition Positions (Key Access) 0229.
6. Turn off the air conditioning.
7. Set the parking brake.
8. At the same time, press the accelerator and the brake for automatic vehicles for
two seconds, then release.
9. Listen for pump activation and movement of the control valves while
watching the level of the coolant in the
surge tank. Add fluid as the level drops
below the indicated mark on the surge
tank. Allow 15 minutes for the fill and air
removal process to complete.
10. Reinstall the surge tank cap.
If the tank empties, turn the ignition off,
allow the Electronic Control Module (ECM) to
go to sleep, about two minutes, refill to the
indicated mark, and repeat Steps 5–9.
How to Add Coolant to the Coolant
Surge Tank for Gasoline Engines
Except L3B
If the vehicle has a diesel engine, see
“Cooling System” in the Duramax diesel
supplement for the proper coolant fill
procedure.
{Warning
Spilling coolant on hot engine parts can
burn you. Coolant contains ethylene
glycol and it will burn if the engine parts
are hot enough.
{Warning
Plain water, or other liquids such as
alcohol, can boil before the proper
coolant mixture will. With plain water or
the wrong mixture, the engine could get
too hot but there would not be an
overheat warning. The engine could catch
fire and you or others could be burned.
Page 369 of 463
Chevrolet Silverado 1500 Owner Manual (GMNA-Localizing-U.S./Canada/
Mexico/Paraguay-14632303) - 2021 - CRC - 11/9/20
366 Vehicle Care
Belt:A rubber coated layer of cords
between the plies and the tread. Cords
may be made from steel or other
reinforcing materials.
Bead
:The tire bead contains steel
wires wrapped by steel cords that hold
the tire onto the rim.
Bias Ply Tire
:A pneumatic tire in which
the plies are laid at alternate angles
less than 90 degrees to the centerline
of the tread.
Cold Tire Pressure
:The amount of air
pressure in a tire, measured in kPa
(kilopascal) or psi (pounds per square
inch) before a tire has built up heat
from driving. See Tire Pressure0367.
Curb Weight
:The weight of a motor
vehicle with standard and optional
equipment including the maximum
capacity of fuel, oil, and coolant, but
without passengers and cargo.
DOT Markings
:A code molded into the
sidewall of a tire signifying that the tire
is in compliance with the U.S.
Department of Transportation (DOT) Motor Vehicle Safety Standards. The
DOT code includes the Tire Identification
Number (TIN), an alphanumeric
designator which can also identify the
tire manufacturer, production plant,
brand, and date of production.
GVWR
:Gross Vehicle Weight Rating.
See Vehicle Load Limits 0222.
GAWR FRT
:Gross Axle Weight Rating
for the front axle. See Vehicle Load
Limits 0222.
GAWR RR
:Gross Axle Weight Rating
for the rear axle. See Vehicle Load
Limits 0222.
Intended Outboard Sidewall
:The side
of an asymmetrical tire that must
always face outward when mounted on
a vehicle.
Kilopascal (kPa)
:The metric unit for air
pressure.
Light Truck (LT-Metric) Tire
:A tire used
on light duty trucks and some
multipurpose passenger vehicles. Load Index
:An assigned number
ranging from 1 to 279 that corresponds
to the load carrying capacity of a tire.
Maximum Inflation Pressure
:The
maximum air pressure to which a cold
tire can be inflated. The maximum air
pressure is molded onto the sidewall.
Maximum Load Rating
:The load rating
for a tire at the maximum permissible
inflation pressure for that tire.
Maximum Loaded Vehicle Weight
:The
sum of curb weight, accessory weight,
vehicle capacity weight, and production
options weight.
Normal Occupant Weight
:The number
of occupants a vehicle is designed to
seat multiplied by 68 kg (150 lb). See
Vehicle Load Limits 0222.
Occupant Distribution
:Designated
seating positions.
Outward Facing Sidewall
:The side of
an asymmetrical tire that has a
particular side that faces outward when
mounted on a vehicle. The side of the
tire that contains a whitewall, bears
Page 402 of 463
Chevrolet Silverado 1500 Owner Manual (GMNA-Localizing-U.S./Canada/
Mexico/Paraguay-14632303) - 2021 - CRC - 11/9/20
Vehicle Care 399
Caution
Avoid using high-pressure washes closer
than 30 cm (12 in) to the surface of the
vehicle. Use of power washers exceeding
8 274 kPa (1,200 psi) can result in
damage or removal of paint and decals.
Cleaning Underhood Components
Caution
Do not power wash any component
under the hood that has this
e
symbol.
This could cause damage that would not
be covered by the vehicle warranty.
Solvents or aggressive cleaners may harm
underhood components. The usages of these
chemicals should be avoided.
Recommend water only.
A pressure washer may be used, but care
must be utilized. The following criteria must
be followed:
.Water pressure must be kept below
14 000 KPa (2,000 PSI).
.Water temperature must be below 80 °C
(180 °F).
.Spray nozzle with a 40 degree wide angle
spray pattern or wider must be used.
.Nozzle must be kept at least 30 cm (1 ft)
away from all surfaces.
Automatic Car Wash
Caution
Some automatic car washes can cause
damage to the vehicle, wheels and
ground effects. Automatic car washes are
not recommended, due to lack of
clearance for the undercarriage and/or
wide rear tires and wheels.
Caution
Automatic car washes can cause damage
to the vehicle, wheels, ground effects,
and convertible top (if equipped).
Do not use automatic car washes due to
lack of clearance for the undercarriage,
wide rear tires, and wheels.
If using an automatic car wash, follow with
the car wash instructions. The windshield
wiper and rear window wiper, if equipped, must be turned off. Remove any accessories
that may be damaged or interfere with the
car wash equipment.
See
Power Assist Steps 030 for cleaning
information.
Rinse the vehicle well, before washing and
after, to remove all cleaning agents
completely. If they are allowed to dry on
the surface, they could stain.
Dry the finish with a soft, clean chamois or
an all-cotton towel to avoid surface
scratches and water spotting.
Finish Care
Application of aftermarket clearcoat sealant/
wax materials is not recommended.
If painted surfaces are damaged, see your
dealer to have the damage assessed and
repaired. Foreign materials such as calcium
chloride and other salts, ice melting agents,
road oil and tar, tree sap, bird droppings,
chemicals from industrial chimneys, etc., can
damage the vehicle's finish if they remain
on painted surfaces. Wash the vehicle as
soon as possible. If necessary, use
non-abrasive cleaners that are marked safe
for painted surfaces to remove foreign
matter.
Page 406 of 463
Chevrolet Silverado 1500 Owner Manual (GMNA-Localizing-U.S./Canada/
Mexico/Paraguay-14632303) - 2021 - CRC - 11/9/20
Vehicle Care 403
Do not directly power wash the transfer
case and/or front/rear axle output seals.
High pressure water can overcome the seals
and contaminate the fluid. Contaminated
fluid will decrease the life of the transfer
case and/or axles and should be replaced.
Sheet Metal Damage
If the vehicle is damaged and requires sheet
metal repair or replacement, make sure the
body repair shop applies anti-corrosion
material to parts repaired or replaced to
restore corrosion protection.
Original manufacturer replacement parts will
provide the corrosion protection while
maintaining the vehicle warranty.
Finish Damage
Quickly repair minor chips and scratches
with touch-up materials available from your
dealer to avoid corrosion. Larger areas of
finish damage can be corrected in your
dealer's body and paint shop.
Chemical Paint Spotting
Airborne pollutants can fall upon and attack
painted vehicle surfaces causing blotchy,
ring-shaped discolorations, and small,irregular dark spots etched into the paint
surface. Refer to
“Finish Care”previously in
this section.
Interior Care
To prevent dirt particle abrasions, regularly
clean the vehicle's interior. Immediately
remove any soils. Newspapers or dark
garments can transfer color to the vehicle’s
interior.
Use a soft bristle brush to remove dust from
knobs and crevices on the instrument
cluster. Using a mild soap solution,
immediately remove hand lotions,
sunscreen, and insect repellent from all
interior surfaces or permanent damage may
result.
Use cleaners specifically designed for the
surfaces being cleaned to prevent
permanent damage. Apply cleaners directly
to the cleaning cloth. Do not spray cleaners
on any switches or controls. Remove
cleaners quickly.
Before using cleaners, read and follow all
safety instructions on the label. While
cleaning the interior, open the doors and
windows to get proper ventilation. To prevent damage, do not clean the
interior using the following cleaners or
techniques:
.Never use a razor or any other sharp
object to remove soil from any interior
surface.
.Never use a brush with stiff bristles.
.Never rub any surface aggressively or
with too much pressure.
.Do not use laundry detergents or
dishwashing soaps with degreasers. For
liquid cleaners, use approximately
20 drops per 3.8 L (1 gal) of water.
A concentrated soap solution will create
streaks and attract dirt. Do not use
solutions that contain strong or
caustic soap.
.Do not heavily saturate the upholstery
when cleaning.
.Do not use solvents or cleaners containing
solvents.
Interior Glass
To clean, use a terry cloth fabric dampened
with water. Wipe droplets left behind with a
clean dry cloth. If necessary, use a
commercial glass cleaner after cleaning with
plain water.
Page 412 of 463
Chevrolet Silverado 1500 Owner Manual (GMNA-Localizing-U.S./Canada/
Mexico/Paraguay-14632303) - 2021 - CRC - 11/9/20
Service and Maintenance 409
Because of the way people use vehicles,
maintenance needs vary. There may need to
be more frequent checks and services. The
Additional Required Services - Normal are for
vehicles that:
.Carry passengers and cargo within
recommended limits on the Tire and
Loading Information label. SeeVehicle
Load Limits 0222.
.Are driven on reasonable road surfaces
within legal driving limits.
.Use the recommended fuel. See
Recommended Fuel (Except 6.2L
V8 Engine) 0283 or
Recommended Fuel (6.2L V8 Engine)
0 283.
Refer to the information in the Maintenance
Schedule Additional Required Services -
Normal chart.
The Additional Required Services - Severe are
for vehicles that are:
.Mainly driven in heavy city traffic in hot
weather
.Mainly driven in hilly or mountainous
terrain
.Frequently towing a trailer
.Used for high speed or competitive
driving
.Used for taxi, police, or delivery service
Refer to the information in the Maintenance
Schedule Additional Required Services -
Severe chart.
{Warning
Performing maintenance work can be
dangerous and can cause serious injury.
Perform maintenance work only if the
required information, proper tools, and
equipment are available. If they are not,
see your dealer to have a trained
technician do the work. See Doing Your
Own Service Work 0322.
Maintenance Schedule
Owner Checks and Services
Check the engine oil level. See Engine Oil
0 329.
Once a Month
.Check the tire inflation pressures,
including the spare. See Tire Pressure
0 367.
.Inspect the tires for wear. See Tire
Inspection 0374.
.Check the windshield washer fluid level.
See Washer Fluid 0339.
Engine Oil Change
When the CHANGE ENGINE OIL SOON
message displays, have the engine oil
and filter changed within the next
1 000 km/600 mi. If driven under the best
conditions, the engine oil life system may
not indicate the need for vehicle service for
up to a year. The engine oil and filter must
be changed at least once a year and the oil
life system must be reset. Your trained
dealer technician can perform this work.
If the engine oil life system is reset
accidentally, service the vehicle within
5 000 km/3,000 mi since the last service.
Reset the oil life system when the oil is
changed. See Engine Oil Life System 0331.
Engine Air Filter Change
When the REPLACE AT NEXT OIL CHANGE
message displays, the engine air filter
should be replaced at the next engine oil
change. When the REPLACE ENGINE AIR
FILTER SOON message displays, the engine
air filter should be replaced at the earliest
convenience. Reset the engine air filter life
system after the engine air filter is replaced.
See Engine Air Filter Life System 0332.