tire CHEVROLET SILVERADO 2007 1.G Owners Manual
[x] Cancel search | Manufacturer: CHEVROLET, Model Year: 2007, Model line: SILVERADO, Model: CHEVROLET SILVERADO 2007 1.GPages: 684, PDF Size: 3.4 MB
Page 2 of 684
Noise Control System
........................... 544
Bulb Replacement
................................ 545
Windshield Wiper Blade Replacement
... 551
Tires
..................................................... 552
Appearance Care
.................................. 601
Vehicle Identication
............................. 610
Electrical System
.................................. 611
Capacities and Specications
................ 620Maintenance Schedule
.............................. 623
Maintenance Schedule
.......................... 624
Customer Assistance Information
............. 647
Customer Assistance and Information
... 648
Reporting Safety Defects
...................... 664
Index
.......................................................... 669
2
Page 10 of 684
Power Seats
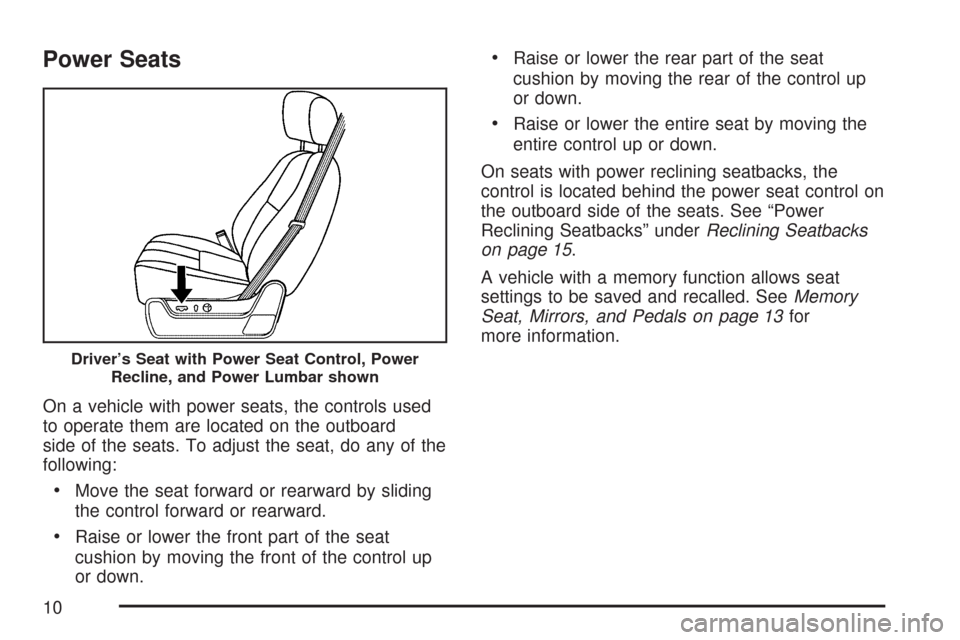
On a vehicle with power seats, the controls used
to operate them are located on the outboard
side of the seats. To adjust the seat, do any of the
following:
Move the seat forward or rearward by sliding
the control forward or rearward.
Raise or lower the front part of the seat
cushion by moving the front of the control up
or down.
Raise or lower the rear part of the seat
cushion by moving the rear of the control up
or down.
Raise or lower the entire seat by moving the
entire control up or down.
On seats with power reclining seatbacks, the
control is located behind the power seat control on
the outboard side of the seats. See “Power
Reclining Seatbacks” underReclining Seatbacks
on page 15.
A vehicle with a memory function allows seat
settings to be saved and recalled. SeeMemory
Seat, Mirrors, and Pedals on page 13for
more information.
Driver’s Seat with Power Seat Control, Power
Recline, and Power Lumbar shown
10
Page 112 of 684
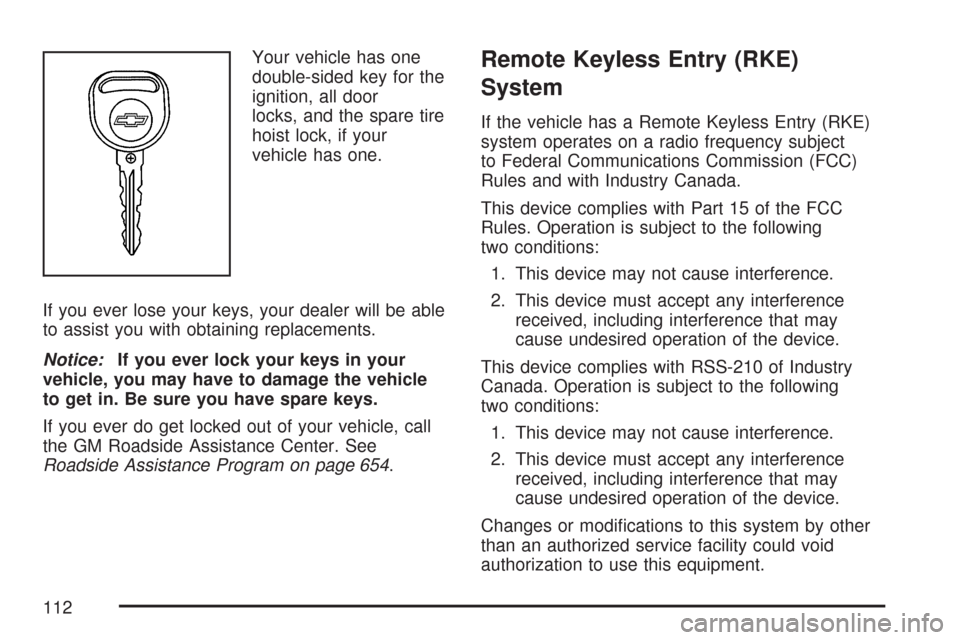
Your vehicle has one
double-sided key for the
ignition, all door
locks, and the spare tire
hoist lock, if your
vehicle has one.
If you ever lose your keys, your dealer will be able
to assist you with obtaining replacements.
Notice:If you ever lock your keys in your
vehicle, you may have to damage the vehicle
to get in. Be sure you have spare keys.
If you ever do get locked out of your vehicle, call
the GM Roadside Assistance Center. See
Roadside Assistance Program on page 654.Remote Keyless Entry (RKE)
System
If the vehicle has a Remote Keyless Entry (RKE)
system operates on a radio frequency subject
to Federal Communications Commission (FCC)
Rules and with Industry Canada.
This device complies with Part 15 of the FCC
Rules. Operation is subject to the following
two conditions:
1. This device may not cause interference.
2. This device must accept any interference
received, including interference that may
cause undesired operation of the device.
This device complies with RSS-210 of Industry
Canada. Operation is subject to the following
two conditions:
1. This device may not cause interference.
2. This device must accept any interference
received, including interference that may
cause undesired operation of the device.
Changes or modications to this system by other
than an authorized service facility could void
authorization to use this equipment.
112
Page 144 of 684
SECOND (2):This position reduces vehicle speed
even more than THIRD (3) without using your
brakes. You can use SECOND (2) on hills. It can
help control your speed as you go down steep
mountain roads, but then you would also want to
use the brakes off and on.
If you manually select SECOND (2) in an
automatic transmission, the transmission will start
in second gear. You can use this feature for
reducing the speed of the rear wheels when you
are trying to start your vehicle from a stop on
slippery road surfaces.
FIRST (1):For the Hydra-Matic
®4-Speed
transmission this position reduces vehicle speed
even more than SECOND (2) without using
the brakes. You can use it on very steep hills, or
in deep snow or mud. If the shift lever is put
in FIRST (1) while the vehicle is moving forward,
the transmission does not shift into rst gear
until the vehicle is going slowly enough.For an Allison Transmission
®or Hydra-Matic®
6-Speed transmission, this position reduces
vehicle speed without using your brakes. You can
use it for major/severe downgrades and off-road
driving where the vehicle would otherwise
accelerate due to steepness of grade. When you
shift to FIRST (1) it provides the lowest gear
appropriate to your current road speed and
continues to downshift as the vehicle slows,
eventually downshifting to FIRST (1) gear.
Notice:Spinning the tires or holding the
vehicle in one place on a hill using only the
accelerator pedal may damage the
transmission. The repair will not be covered by
your warranty. If you are stuck, do not spin
the tires. When stopping on a hill, use the
brakes to hold the vehicle in place.
144
Page 146 of 684
Grade Braking is not available when the Range
Selection Mode is active. SeeTow/Haul Mode on
page 146
While using the Range Selection mode feature,
cruise control and the Tow/Haul mode can
be used.
Notice:Spinning the tires or holding the
vehicle in one place on a hill using only the
accelerator pedal may damage the
transmission. The repair will not be covered by
your warranty. If you are stuck, do not spin
the tires. When stopping on a hill, use the
brakes to hold the vehicle in place.
Low Traction Mode
If your vehicle has the Allison Transmission®,or
the Hydra-Matic®6-Speed Automatic
Transmission, it has a Low Traction Mode that
assist in vehicle acceleration when road conditions
are slippery, such as with ice or snow. While
the vehicle is at a stop, select the second gear
range using the Range Selection system. This will
limit torque to the wheels after it detects wheel
slip, preventing the tires from spinning.
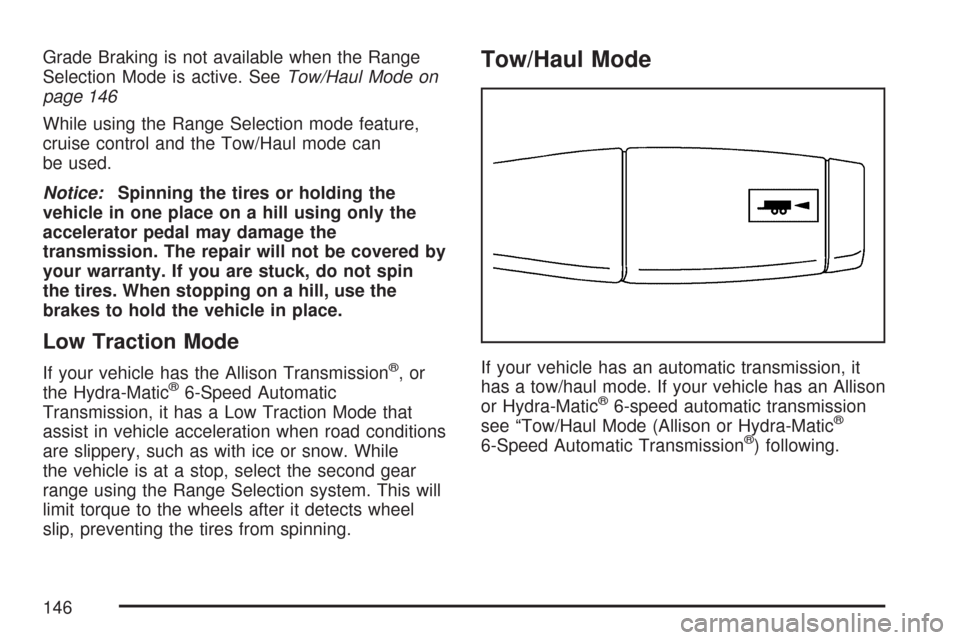
Tow/Haul Mode
If your vehicle has an automatic transmission, it
has a tow/haul mode. If your vehicle has an Allison
or Hydra-Matic
®6-speed automatic transmission
see “Tow/Haul Mode (Allison or Hydra-Matic®
6-Speed Automatic Transmission®) following.
146
Page 152 of 684
When Using the Manual Transfer Case
Shifting should be made using quick
motions. Shifting slowly may make it more
difficult to shift.
You may notice that it is harder to shift when
the vehicle is cold. After the vehicle warms
up the shifting will return to normal.
While in Four-Wheel High or Four-Wheel-Drive
Low you may experience reduced fuel
economy.
Avoid driving in Four-Wheel Drive on clean,
dry pavement. It may cause your tires to
wear faster, and make the transfer case harder
to shift and run noisier.
If the transfer case shifter is in the NEUTRAL
position and you have difficulty reaching the
selected transfer case mode, with the
engine running, shift the transmission
momentarily to drive and then back to
NEUTRAL. This will realign the gear teeth in
the transfer case and allow you to complete
the shift.
Shifting from Two-Wheel-Drive High to
Four-Wheel-Drive High
Shifts between Two-Wheel-Drive High and
Four-Wheel-Drive High can be made at
any vehicle speed.
Shift the transfer case lever in one continuous
motion into either the Four-Wheel-Drive High
or Two-Wheel-Drive High position.
In extremely cold weather, it may be
necessary to slow or stop the vehicle to shift
into Four-wheel-Drive High until your
vehicle has warmed up.
While in Four-Wheel-Drive High, your vehicle
can be driven at any posted legal speed
limit.
152
Page 192 of 684
Read the instructions completely before attempting
to program the transmitter. Because of the steps
involved, it may be helpful to have another person
available to assist you in programming the
transmitter.
Be sure to keep the original remote control
transmitter for use in other vehicles, as well as, for
future programming. You only need the original
remote control transmitter for Fixed Code
programming. It is also recommended that upon
the sale or lease termination of the vehicle,
the programmed buttons should be erased for
security purposes. See “Erasing Universal Home
Remote Buttons” later in this section.
When programming a garage door, it is advised to
park outside of the garage. Be sure that people
and objects are clear of the garage door or
security device you are programming.
Programming Universal Home
Remote — Rolling Code
Most garage door openers sold after 1996 are
Rolling Code units.Programming a garage door opener involves
time-sensitive actions, so read the entire procedure
before you begin. If you do not follow these
actions, the device will time out and you will have
to repeat the procedure.
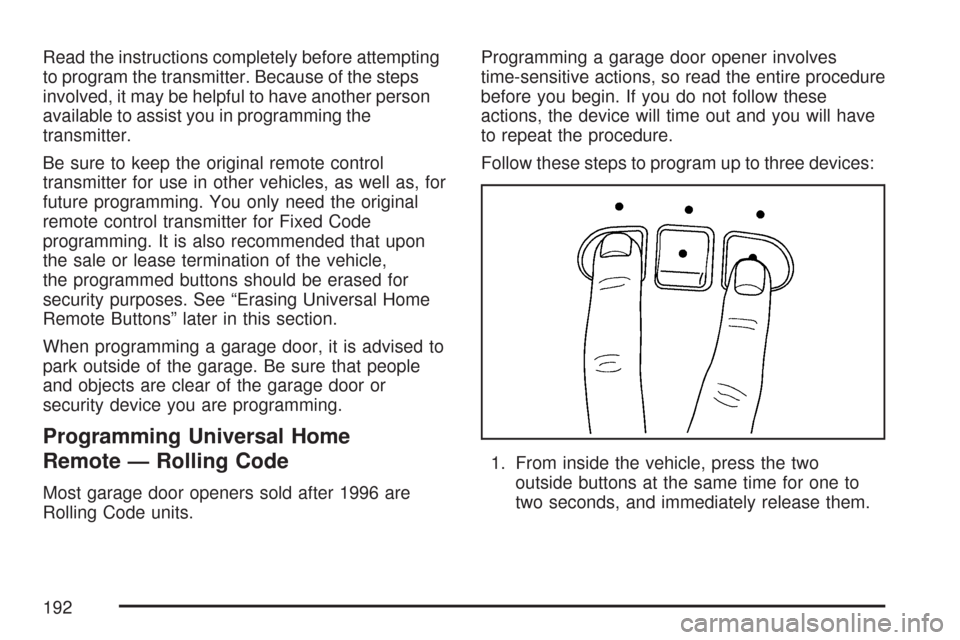
Follow these steps to program up to three devices:
1. From inside the vehicle, press the two
outside buttons at the same time for one to
two seconds, and immediately release them.
192
Page 194 of 684
Programming Universal Home
Remote — Fixed Code
Most garage door openers sold before 1996 are
Fixed Code units.
Programming a garage door opener involves
time-sensitive actions, so read the entire procedure
before you begin. If you do not follow these
actions, the device will time out and you will have
to repeat the procedure.Follow these steps to program up to three devices:
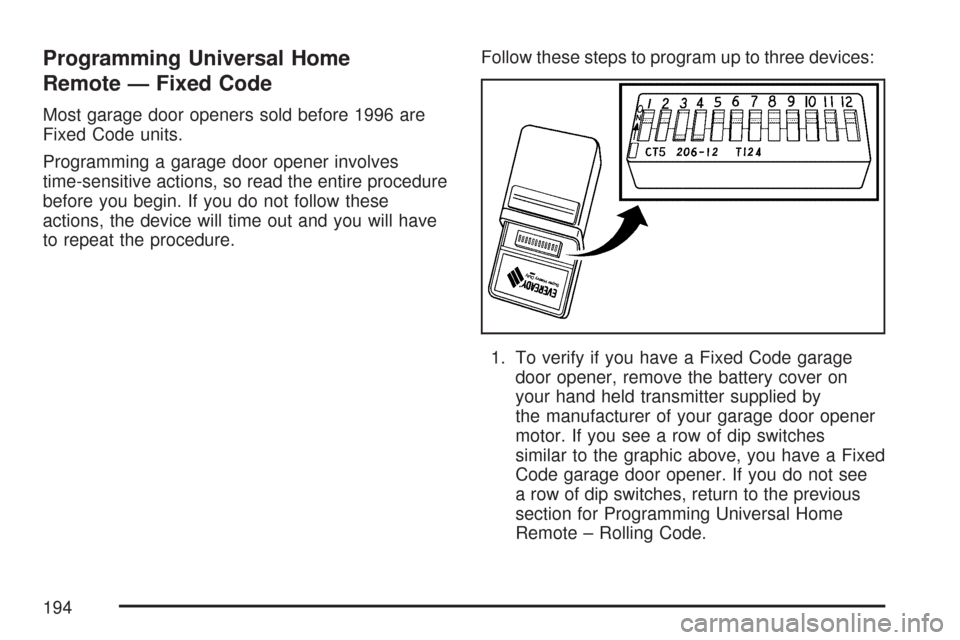
1. To verify if you have a Fixed Code garage
door opener, remove the battery cover on
your hand held transmitter supplied by
the manufacturer of your garage door opener
motor. If you see a row of dip switches
similar to the graphic above, you have a Fixed
Code garage door opener. If you do not see
a row of dip switches, return to the previous
section for Programming Universal Home
Remote – Rolling Code.
194
Page 206 of 684
Warning Lights, Gages, and Indicators..... 248
Instrument Panel Cluster........................... 249
Speedometer and Odometer...................... 250
Trip Odometer........................................... 250
Tachometer............................................... 250
Safety Belt Reminder Light........................ 251
Passenger Safety Belt Reminder Light
(1500 Series)......................................... 251
Airbag Readiness Light............................. 252
Airbag Off Light......................................... 252
Passenger Airbag Status Indicator............. 254
Charging System Light.............................. 256
Voltmeter Gage......................................... 257
Brake System Warning Light..................... 258
Anti-Lock Brake System Warning Light...... 259
StabiliTrak
®Indicator Light......................... 260
Engine Coolant Temperature Gage............ 260
Tire Pressure Light.................................... 261
Malfunction Indicator Lamp........................ 262Oil Pressure Gage..................................... 265
Oil Pressure Light..................................... 266
Security Light............................................ 266
Fog Lamp Light......................................... 267
Cruise Control Light.................................. 267
Highbeam On Light................................... 267
Four-Wheel-Drive Light.............................. 267
Tow/Haul Mode Light................................ 268
Fuel Gage................................................. 268
Low Fuel Warning Light............................ 269
Driver Information Center (DIC).................. 269
DIC Operation and Displays
(With DIC Buttons)................................. 270
DIC Operation and Displays
(Without DIC Buttons)............................ 277
DIC Warnings and Messages.................... 281
DIC Vehicle Customization
(With DIC Buttons)................................. 291
Section 3 Instrument Panel
206
Page 220 of 684
Cruise Control
{CAUTION:
Cruise control can be dangerous where
you cannot drive safely at a steady speed.
So, do not use your cruise control on
winding roads or in heavy traffic.
Cruise control can be dangerous on
slippery roads. On such roads, fast
changes in tire traction can cause
excessive wheel slip, and you could lose
control. Do not use cruise control on
slippery roads.
With cruise control, you can maintain a speed of
about 25 mph (40 km/h) or more without
keeping your foot on the accelerator. This can
really help on long trips. Cruise control does not
work at speeds below about 25 mph (40 km/h).
When you apply your brakes, cruise control
is turned off.If your vehicle has an Allison
®automatic
transmission, see “Grade Braking and Cruise
Grade Braking (Allison Transmission
®) under
Tow/Haul Mode on page 146for an explanation of
how cruise control interacts with the Range
Selection Mode, tow/haul and grade braking
systems.
If your vehicle has the StabiliTrak
®™ system and
begins to limit wheel spin while you are using
cruise control, the cruise control will automatically
disengage. SeeStabiliTrak
®System on
page 384. When road conditions allow you to
safely use it again, you may turn the cruise control
back on.
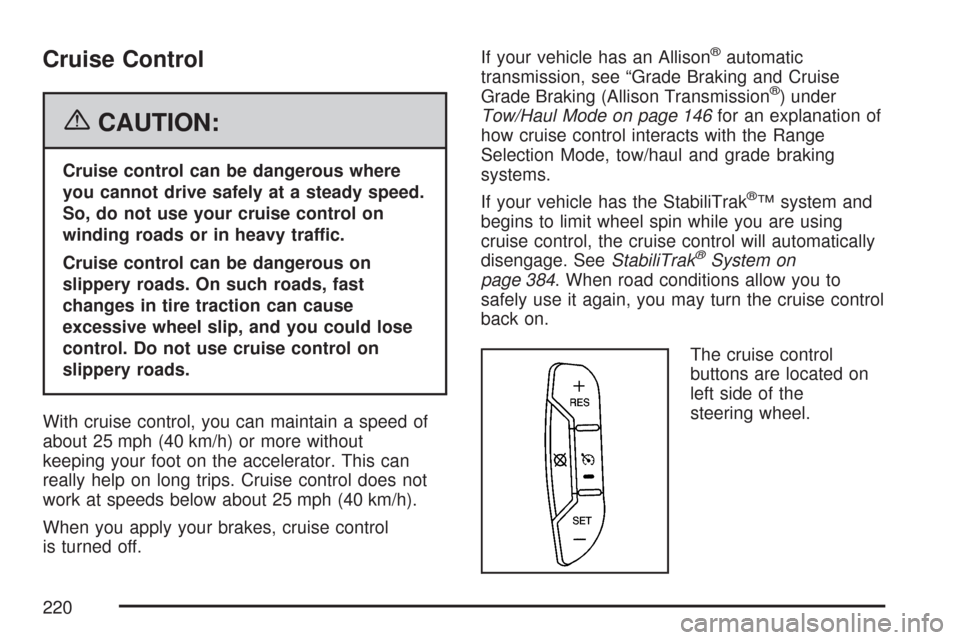
The cruise control
buttons are located on
left side of the
steering wheel.
220