odometer CHEVROLET SSR 2005 1.G Owners Manual
[x] Cancel search | Manufacturer: CHEVROLET, Model Year: 2005, Model line: SSR, Model: CHEVROLET SSR 2005 1.GPages: 388, PDF Size: 2.5 MB
Page 119 of 388

Instrument Panel Overview...............................3-4
Hazard Warning Flashers................................3-5
Other Warning Devices...................................3-5
Horn.............................................................3-6
Tilt Wheel.....................................................3-6
Turn Signal/Multifunction Lever.........................3-6
Turn and Lane-Change Signals........................3-7
Headlamp High/Low-Beam Changer..................3-8
Flash-to-Pass.................................................3-8
Windshield Wipers..........................................3-8
Windshield Washer.........................................3-9
Cruise Control................................................3-9
Exterior Lamps.............................................3-12
Headlamps on Reminder................................3-13
Daytime Running Lamps (DRL).......................3-14
Automatic Headlamp System..........................3-14
Fog Lamps..................................................3-15
Interior Lamps..............................................3-16
Instrument Panel Brightness...........................3-16
Theater Dimming..........................................3-17
Exit Lighting.................................................3-17
Perimeter Lighting.........................................3-17
Map Lamps.................................................3-17
Battery Run-Down Protection..........................3-17Center Console Switchbank............................3-18
Accessory Power Outlets...............................3-18
Ashtrays and Cigarette Lighter........................3-19
Climate Controls............................................3-20
Climate Control System.................................3-20
Outlet Adjustment.........................................3-22
Warning Lights, Gages, and Indicators............3-23
Instrument Panel Cluster................................3-24
Speedometer and Odometer...........................3-25
Trip Odometer..............................................3-25
Tachometer.................................................3-26
Engine Speed Limiter....................................3-26
Safety Belt Reminder Light.............................3-26
Airbag Readiness Light..................................3-27
Airbag Off Light............................................3-28
Charging System Light..................................3-29
Brake System Warning Light..........................3-30
Anti-Lock Brake System Warning Light.............3-31
Traction Control System (TCS) Warning
Light (Automatic Transmission)....................3-31
Engine Coolant Temperature Gage...................3-32
Malfunction Indicator Lamp.............................3-32
Oil Pressure Gage........................................3-36
Section 3 Instrument Panel
3-1
Page 143 of 388

Speedometer and Odometer
The speedometer lets you see your speed in both
miles per hour (mph) and kilometers per hour (km/h).
The odometer shows how far your vehicle has been
driven, in either miles (used in the United States)
or kilometers (used in Canada).
The odometer mileage can be checked without the
vehicle running. Turn the ignition to RUN and press the
trip information button located on the steering wheel.
See
DIC Controls and Displays on page 3-42for more
information.
You may wonder what happens if your vehicle needs a
new odometer installed. If the new one can be set to
the mileage total of the old odometer, then it must
be. But if it can't, then it's set at zero, and a label must
be put on the driver's door to show the old mileage
reading when the new odometer was installed.
Trip Odometer
The trip odometer can tell you how far your vehicle has
been driven since you last set the trip odometer to zero.
Your trip odometer is part of your Driver Information
Center (DIC). The trip information button toggles
to display your trip odometer, Trip A, and Trip B
functions. See ªTrip Odometerº under
DIC Controls
and Displays on page 3-42for more information.
3-25
Page 160 of 388

Driver Information Center (DIC)
The Driver Information Center (DIC) gives you the
status of many of your vehicle's systems. It is also used
to display driver personalization features and warning/
status messages. The DIC display is located on
the instrument panel cluster. The DIC buttons are
located on the steering wheel.
The DIC comes on when the ignition is on. After a short
delay the DIC will display the current driver and the
information that was last displayed before the engine
was turned off.
If a problem is detected, a warning message will appear
on the display. Be sure to take any message that
appears on the display seriously and remember that
clearing the message will only make the message
disappear, not correct the problem.
DIC Controls and Displays
The DIC has different modes which can be accessed by
pressing the four buttons located on the steering wheel.
The button functions are listed in the following pages.A.
3(Trip Information) : Press this button to
display the odometer, trip odometer, and the timer.
B.
r(Fuel Information) : Press this button to
display the current fuel and engine oil information.
3-42
Page 161 of 388

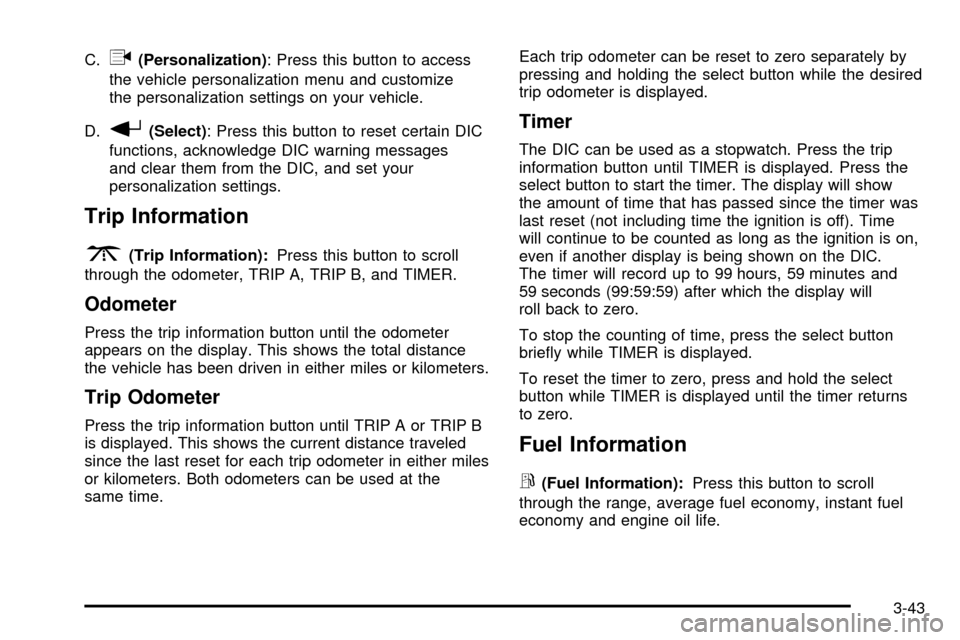
C.q(Personalization): Press this button to access
the vehicle personalization menu and customize
the personalization settings on your vehicle.
D.
r(Select) : Press this button to reset certain DIC
functions, acknowledge DIC warning messages
and clear them from the DIC, and set your
personalization settings.
Trip Information
3
(Trip Information): Press this button to scroll
through the odometer, TRIP A, TRIP B, and TIMER.
Odometer
Press the trip information button until the odometer
appears on the display. This shows the total distance
the vehicle has been driven in either miles or kilometers.
Trip Odometer
Press the trip information button until TRIP A or TRIP B
is displayed. This shows the current distance traveled
since the last reset for each trip odometer in either miles
or kilometers. Both odometers can be used at the
same time. Each trip odometer can be reset to zero separately by
pressing and holding the select button while the desired
trip odometer is displayed.
Timer
The DIC can be used as a stopwatch. Press the trip
information button until TIMER is displayed. Press the
select button to start the timer. The display will show
the amount of time that has passed since the timer was
last reset (not including time the ignition is off). Time
will continue to be counted as long as the ignition is on,
even if another display is being shown on the DIC.
The timer will record up to 99 hours, 59 minutes and
59 seconds (99:59:59) after which the display will
roll back to zero.
To stop the counting of time, press the select button
brie¯y while TIMER is displayed.
To reset the timer to zero, press and hold the select
button while TIMER is displayed until the timer returns
to zero.
Fuel Information
r
(Fuel Information):
Press this button to scroll
through the range, average fuel economy, instant fuel
economy and engine oil life.
3-43
Page 314 of 388

Each new wheel should have the same load-carrying
capacity, diameter, width, offset and be mounted
the same way as the one it replaces.
If you need to replace any of your wheels, wheel
bolts or wheel nuts, replace them only with new GM
original equipment parts. This way, you will be sure to
have the right wheel, wheel bolts and wheel nuts
for your vehicle.
{CAUTION:
Using the wrong replacement wheels, wheel
bolts or wheel nuts on your vehicle can be
dangerous. It could affect the braking and
handling of your vehicle, make your tires lose
air and make you lose control. You could have
a collision in which you or others could be
injured. Always use the correct wheel, wheel
bolts and wheel nuts for replacement.Notice:The wrong wheel can also cause problems
with bearing life, brake cooling, speedometer or
odometer calibration, headlamp aim, bumper height,
vehicle ground clearance and tire clearance to the
body and chassis.
{CAUTION:
Rust or dirt on a wheel, or on the parts to
which it is fastened, can make wheel nuts
become loose after a time. The wheel could
come off and cause a crash. When you change
a wheel, remove any rust or dirt from places
where the wheel attaches to the vehicle. In an
emergency, you can use a cloth or a paper
towel to do this; but be sure to use a scraper
or wire brush later, if you need to, to get all the
rust or dirt off.
5-64
Page 359 of 388

Maintenance Record
After the scheduled services are performed, record the date, odometer reading, who performed the service and
the type of services performed in the boxes provided. SeeMaintenance Requirements on page 6-2. Any additional
information fromOwner Checks and Services on page 6-8can be added on the following record pages. You should
retain all maintenance receipts.
Maintenance Record
DateOdometer
ReadingServiced ByMaintenanceIor
MaintenanceIIServices Performed
6-15
Page 360 of 388

Maintenance Record (cont’d)
DateOdometer
ReadingServiced ByMaintenanceIor
MaintenanceIIServices Performed
6-16
Page 361 of 388

Maintenance Record (cont’d)
DateOdometer
ReadingServiced ByMaintenanceIor
MaintenanceIIServices Performed
6-17
Page 362 of 388

Maintenance Record (cont’d)
DateOdometer
ReadingServiced ByMaintenanceIor
MaintenanceIIServices Performed
6-18
Page 384 of 388

Manual Transmission
Fluid..........................................................5-24
Operation...................................................2-21
Map Lamps....................................................3-17
Map Pocket...................................................2-35
Memory Seat.................................................2-59
Message
DIC Warnings and Messages........................3-45
Mirrors
Automatic Dimming Rearview Mirror
with HomeLink
®.......................................2-28
Manual Rearview Mirror................................2-28
Outside Automatic Dimming Heated Mirror......2-30
Outside Convex Mirror.................................2-29
Outside Power Heated Mirrors.......................2-29
MyGMLink.com................................................ 7-4
N
New Vehicle Break-In......................................2-15
Normal Maintenance Replacement Parts............6-14
O
Odometer......................................................3-25
Odometer, Trip...............................................3-25
Off-Road Recovery..........................................4-12Oil
Change Engine Oil Light...............................3-37
Engine.......................................................5-13
Pressure Gage............................................3-36
Older Children, Restraints................................1-19
Online Owner Center........................................ 7-4
Other Warning Devices...................................... 3-5
Outlet Adjustment............................................3-22
Outside
Automatic Dimming Heated Mirror..................2-30
Convex Mirror.............................................2-29
Power Heated Mirrors..................................2-29
Owner Checks and Services.............................. 6-8
Owners, Canadian............................................... ii
P
Park (P)
Shifting Into................................................2-24
Shifting Out of............................................2-25
Parking
Brake........................................................2-23
Over Things That Burn.................................2-26
Parking Your Vehicle.......................................2-25
Passenger Position, Safety Belts.......................1-19
Passing.........................................................4-12
Passlock
®......................................................2-15
Perimeter Lighting...........................................3-17
8