key CHEVROLET SSR 2006 1.G Owner's Manual
[x] Cancel search | Manufacturer: CHEVROLET, Model Year: 2006, Model line: SSR, Model: CHEVROLET SSR 2006 1.GPages: 390, PDF Size: 2.44 MB
Page 83 of 390
Parking Brake
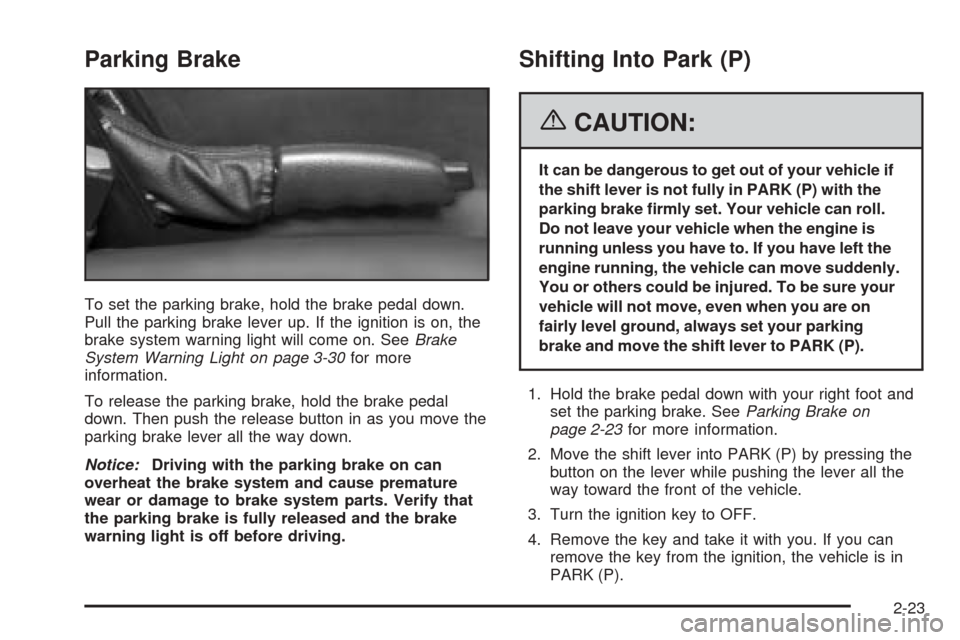
To set the parking brake, hold the brake pedal down.
Pull the parking brake lever up. If the ignition is on, the
brake system warning light will come on. SeeBrake
System Warning Light on page 3-30for more
information.
To release the parking brake, hold the brake pedal
down. Then push the release button in as you move the
parking brake lever all the way down.
Notice:Driving with the parking brake on can
overheat the brake system and cause premature
wear or damage to brake system parts. Verify that
the parking brake is fully released and the brake
warning light is off before driving.
Shifting Into Park (P)
{CAUTION:
It can be dangerous to get out of your vehicle if
the shift lever is not fully in PARK (P) with the
parking brake �rmly set. Your vehicle can roll.
Do not leave your vehicle when the engine is
running unless you have to. If you have left the
engine running, the vehicle can move suddenly.
You or others could be injured. To be sure your
vehicle will not move, even when you are on
fairly level ground, always set your parking
brake and move the shift lever to PARK (P).
1. Hold the brake pedal down with your right foot and
set the parking brake. SeeParking Brake on
page 2-23for more information.
2. Move the shift lever into PARK (P) by pressing the
button on the lever while pushing the lever all the
way toward the front of the vehicle.
3. Turn the ignition key to OFF.
4. Remove the key and take it with you. If you can
remove the key from the ignition, the vehicle is in
PARK (P).
2-23
Page 85 of 390
Parking Your Vehicle (Manual
Transmission)
Before you get out of your vehicle, move the shift lever
into REVERSE (R), and firmly apply the parking
brake. Once the shift lever has been placed into
REVERSE (R), with the clutch pedal pressed in, you
can turn the ignition key to OFF, press the key release
button to remove the key and release the clutch.
See Key Release Button (Manual Transmission) under
Ignition Positions on page 2-16.
If you are parking on a hill, see “Parking on Hills” under
Towing a Trailer on page 4-35.
If your vehicle is pulling a trailer, seeTowing a Trailer
on page 4-35.
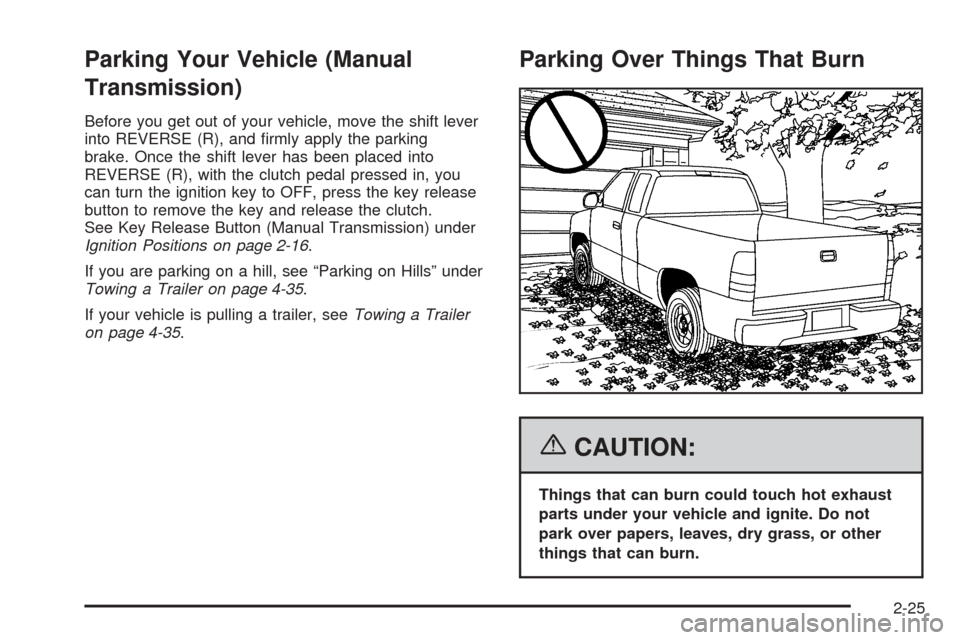
Parking Over Things That Burn
{CAUTION:
Things that can burn could touch hot exhaust
parts under your vehicle and ignite. Do not
park over papers, leaves, dry grass, or other
things that can burn.
2-25
Page 94 of 390
Reprogramming a Single Universal
Home Remote Button
To program a device to Universal Home Remote using
a Universal Home Remote button previously trained,
follow these steps:
1. Press and hold the desired Universal Home
Remote button. Do not release the button.
2. The indicator light will begin to flash after
20 seconds. While still holding the Universal Home
Remote button, proceed with Step 2 under
“Programming Universal Home Remote” shown
earlier in this section.
For additional information on Universal Home Remote,
seeCustomer Assistance Offices on page 7-4.
Storage Areas
Glove Box
To open the glove box, pull on the lever. Use your door
key to lock or unlock it.
Cupholder(s)
Your vehicle has one cupholder located on your
instrument panel and it may have one cupholder that is
removable and snaps to the passenger’s side of the
center console in the bracket provided.
To open the cupholder on the instrument panel, push in
the center of the cupholder door. The cupholder will
then release and move outward toward you for use. To
return the cupholder to its closed position, push in
the center of the cupholder door near the top. If you
press in the center middle of the cupholder door,
the cupholder will not close properly.
Instrument Panel Storage Area
There is a storage tray located to the right of the
steering wheel on the instrument panel. Press on the
tray to release it. The tray will slide out of the instrument
panel toward you. You can then put small items into
the tray. To close the tray, push forward on the center of
the tray until it latches back into the instrument panel.
2-34
Page 95 of 390
Center Console Storage Area
Your center console has a storage area that can be
locked and unlocked with the center console storage
key. SeeKeys on page 2-3for more information.
Map Pocket
The map/storage pockets are located on both the driver
and passenger side doors.
Cargo Cover
Opening the Cargo Cover
Notice:Opening the cargo cover manually when
the convertible top is not in the full-open or
full-closed position could damage the tonneau
cover and the convertible top. Always make sure
the convertible top is in the full-closed or
full-opened position before manually opening the
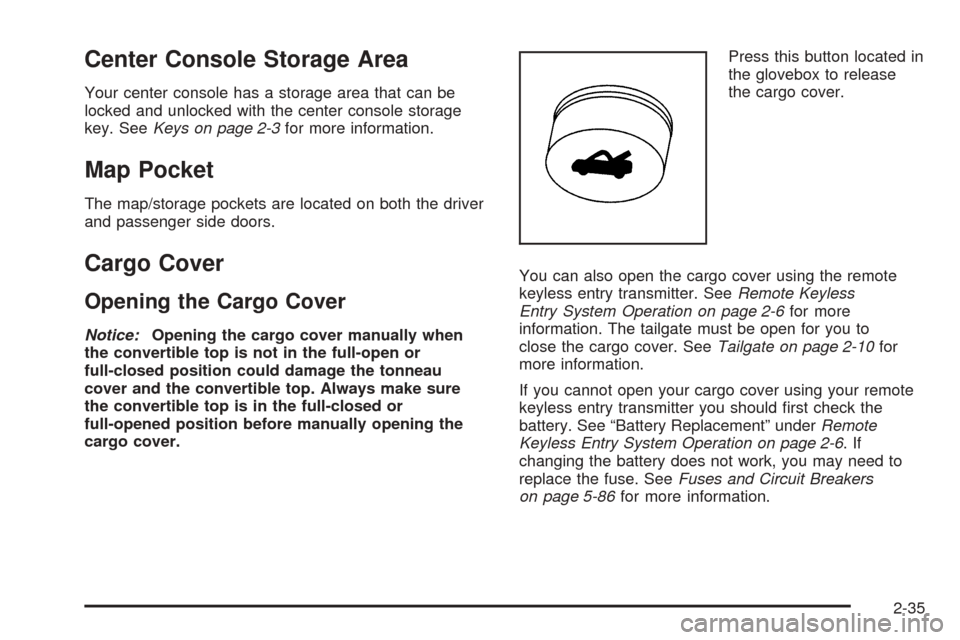
cargo cover.Press this button located in
the glovebox to release
the cargo cover.
You can also open the cargo cover using the remote
keyless entry transmitter. SeeRemote Keyless
Entry System Operation on page 2-6for more
information. The tailgate must be open for you to
close the cargo cover. SeeTailgate on page 2-10for
more information.
If you cannot open your cargo cover using your remote
keyless entry transmitter you should first check the
battery. See “Battery Replacement” underRemote
Keyless Entry System Operation on page 2-6.If
changing the battery does not work, you may need to
replace the fuse. SeeFuses and Circuit Breakers
on page 5-86for more information.
2-35
Page 114 of 390
To program memory settings to each button, use the
following steps:
1. Adjust the driver’s seat to the desired position.
2. Press the SET button.
3. Press and hold button 1 (for Driver 1) for
three seconds. A double chime will sound to
let you know that the position has been stored.
A second seating position can be programmed by
repeating the procedure with a second driver and
pressing button 2 for three seconds.
To recall a memory position, do one of the following:
•If you have an automatic transmission vehicle, press
and release the desired button 1 or 2 while the
vehicle is in PARK (P). A single chime will sound
and the memory position will be recalled. If the
vehicle is not in PARK (P), the memory position will
not be recalled.
•If you have a manual transmission vehicle, press and
release the desired button 1 or 2 while the vehicle is
off. A single chime will sound and the memory
position will be recalled. If the vehicle is not off, the
memory position will not be recalled.If you use the unlock button on the remote keyless entry
transmitter to enter your vehicle, the preset driver’s
seat positions will be recalled if programmed to do so
through the Driver Information Center (DIC). The
numbers on the back of the transmitters, 1 or 2,
correspond to the numbers on the memory controls.
The seat positions can also be recalled by placing the
key in the ignition if programmed to do so through
the Driver Information Center (DIC).
To stop recall movement of the memory feature at
any time, press one of the power seat controls or
memory buttons.
Further programming for automatic seat can be done
through the Driver Information Center (DIC). See
DIC Vehicle Personalization on page 3-52for
more information.
2-54
Page 120 of 390

Hazard Warning Flashers
Your hazard warning flashers let you warn others. They
also let police know you have a problem. Your front
and rear turn signal lamps will flash on and off.
The hazard warning flasher
button is located on top of
the steering column.
Your hazard warning flashers work no matter what
position your key is in, and even if the key is not in
the ignition.
Press the button to make the front and rear turn signal
lamps flash on and off. Press the button again to
turn the flashers off.
When the hazard warning flashers are on, your turn
signals will not work.
Other Warning Devices
If you carry reflective triangles, you can set them up at
the side of the road about 300 feet (100 m) behind
your vehicle.
Horn
To sound the horn, press the horn symbol on the
steering wheel pad.
Tilt Wheel
A tilt wheel allows you to adjust the steering wheel
before you drive. You can raise it to the highest level
to allow more room for the driver to enter and exit
the vehicle.
The tilt lever is located on
the driver’s side of the
steering column, under
the turn signal lever.
To tilt, hold the steering wheel and pull the tilt lever
toward you. Move the wheel to a comfortable level, then
release the tilt lever to lock the wheel in place.
3-6
Page 128 of 390

Headlamps on Reminder
A reminder chime will sound when your headlamps or
parking lamps are manually turned on, the driver’s door
is open and your ignition is in OFF or ACCESSORY.
To turn the chime off, turn the knob all the way
counterclockwise. In the automatic mode, the headlamps
turn off once the ignition key is in OFF.
Daytime Running Lamps (DRL)
Daytime Running Lamps (DRL) can make it easier for
others to see the front of your vehicle during the
day. DRL can be helpful in many different driving
conditions, but they can be especially helpful in the short
periods after dawn and before sunset. Fully functional
daytime running lamps are required on all vehicles
first sold in Canada.The DRL system will make your headlamps come on
at reduced brightness when the following conditions
are met:
•Ignition is on.
•Exterior lamps knob is in AUTO.
•Light sensor detects daytime light.
•Automatic transmission is not in PARK (P).
•The parking brake is not set.
When the DRL are on, only your headlamps will be on.
The taillamps, sidemarker and other lamps won’t be
on. The instrument panel won’t be lit up either.
When it begins to get dark, the headlamps will
automatically switch from DRL to the regular headlamps.
3-14
Page 131 of 390

Interior Lamps
O(Exterior and Interior Lamp Controls):These
controls (B) are used to operate the exterior and interior
lamps. Information on the interior lamps follows. For
more information on the exterior lamps, seeExterior
Lamps on page 3-13.
D(Interior Lamp Control):The interior lamp
control (A) is located to the left of the steering wheel
and is used to adjust the brightness of the instrument
panel lights.
Instrument Panel Brightness
To adjust the brightness of the instrument panel lights,
press lightly on the interior lamp control and release.
The control will extend outward. Turn the control
counterclockwise to brighten and clockwise to dim the
instrument panel lights. Press on the control to return it
to the stored position.
Parade Dimming
This feature prohibits the dimming of your instrument
panel displays during daylight while your headlamps are
on. When the light sensor reads darkness outside,
you will be able to dim your instrument panel displays
once again.
Theater Dimming
This feature allows for a three to five-second fade out of
the courtesy lamps instead of immediate turn off.
Exit Lighting
With the exit lighting, the interior lamps will come on
when you remove the key from the ignition to help you
see while exiting the vehicle.
3-17
Page 132 of 390

Perimeter Lighting
When the button with the unlock symbol on the remote
keyless entry transmitter is pressed, the DRL, parking
lamps and back-up lamps will come on if it is dark
enough outside.
This feature can be personalized for up to two drivers.
SeeDIC Vehicle Personalization on page 3-52for
more information.
Parade Dimming
This feature prohibits dimming of the instrument panel
displays and backlighting during daylight hours when the
key is in the ignition and the headlamps are on. This
feature operates with the light sensor and is fully
automatic. When the light sensor reads darkness outside
and the parking lamps are active, the instrument
panel displays can be adjusted by turning the instrument
panel brightness knob. SeeInstrument Panel Brightness
on page 3-17.
Map Lamps
If your vehicle has front map lamps, they are located on
the inside rearview mirror. They will automatically
come on for approximately 40 seconds when the doors
are unlocked with the remote keyless entry transmitter
or until the ignition key is turned to RUN or
ACCESSORY. The lamps will also stay on for
approximately 40 seconds after you exit the vehicle
unless you lock the doors with the remote keyless
entry transmitter.
You can also turn the lamps on and off by pressing the
button near each lamp. If your vehicle has self-dimming
mirrors, the halo lighting feature will remain on at
all times.
Battery Run-Down Protection
This feature shuts off all lamps that are left on for more
than 10 minutes when the ignition is off. This will
keep your battery from running down.
3-18
Page 141 of 390
Engine Speed Limiter
Fuel will shut off at about 6500 rpm. It will turn back on
again once the vehicle rpm drops below 6500.
Safety Belt Reminder Light
When the key is turned to RUN or START, a chime will
be provided for several seconds to remind people to
buckle their safety belts. The driver safety belt light will
also be provided and stay on for several seconds,
then it will flash for several more. You should buckle
your seat belt.
This chime and light will be
repeated if the driver
remains unbuckled and the
vehicle is in motion.
If the driver’s belt is buckled, neither the chime nor the
light will be provided.
Airbag Readiness Light
There is an airbag readiness light on the instrument
panel cluster, which shows the airbag symbol. The
system checks the airbag’s electrical system for
malfunctions. The light tells you if there is an electrical
problem. The system check includes the airbag
sensors, the airbag modules, the wiring and the crash
sensing and diagnostic module. For more information on
the airbag system, seeAirbag System on page 1-40.
This light will come on
when you start your
vehicle, and it will flash for
a few seconds. Then the
light should go out. This
means the system is ready.
3-27