brakes CHEVROLET SUBURBAN 1994 Owner's Manual
[x] Cancel search | Manufacturer: CHEVROLET, Model Year: 1994, Model line: SUBURBAN, Model: CHEVROLET SUBURBAN 1994Pages: 385, PDF Size: 19.88 MB
Page 199 of 385
Trailer Brakes
If your trailer weighs more than 1,000 pounds (450 kg) loaded, then it needs
its own brakes
- and they must be adequate. Be sure to read and follow the
instructions for the trailer brakes
so you’ll be able to install, adjust and
maintain them properly.
Your trailer brake system can tap into your vehicle’s hydraulic brake system,
but consider the following:
Will the trailer brake system use more than 0.02 cubic inch (0.3 cc) of
fluid from your vehicle’s master cylinder? If it will, don’t tap into your
vehicle’s brake system. Both braking systems
won’t work well, and you
could even lose your brakes altogether.
not, the trailer brake system must not be used with your vehicle.
If everything checks
out this far, make the brake tap at the port on the
master cylinder that sends the fluid to the rear brakes. But don’t use copper
tubing for this. if you do, it will bend and finally break
off. Use steel brake
tubing.
Will the trailer brake parts take 3,000 psi (20 650 kPa) of pressure? If
Driving with a Trailer
Towing a trailer requires a certain amount of experience. Before setting out
for the open road,
you’ll want to get to know your rig. Acquaint yourself
with the feel
of handling and braking with the added weight of the trailer.
And always keep
in mind that the vehicle you are driving is now a good
deal longer and not nearly so responsive as your vehicle is by itself.
Before
you start, check the trailer hitch and platform, safety chains,
electrical connector, lights, tires and mirror adjustment. If the trailer has
electric brakes, start your vehicle and trailer moving and then apply the
trailer brake controller by hand to be sure the brakes are working. This lets
you check your electrical connection at the same time.
4-40
ProCarManuals.com
Page 200 of 385
During your trip, check occasionally to be sure that the load is secure, and
that the lights and any trailer brakes are still working.
Following Distance
Stay at least twice as far behind the vehicle ahead as you would when
driving your
vehicle without a trailer. This can help you avoid situations that
require heavy braking and sudden turns.
Passing
You’ll need more passing distance up ahead when you’re towing a trailer.
And, because you’re a good deal longer, you’ll need
to go much farther
beyond the passed vehicle
before you can return to your lane.
Backing Up
Hold the bottom of the steering wheel with one hand. Then, to move the
trailer to
the left, just move that hand to the left. To move the trailer to the
right, move your hand to the right. Always back up slowly and,
if possible,
have someone guide you.
4-41 ProCarManuals.com
Page 201 of 385
Making Turns
When you’re turning with a trailer, make wider turns than normal. Do this
so your trailer won’t strike soft shoulders, curbs, road signs, trees, or other
objects. Avoid jerky or sudden maneuvers. Signal well
in advance.
Turn Signals When Towing a Trailer
When you tow a trailer, your vehicle has to have a different turn signal
flasher and extra wiring, The green arrows on your instrument panel will
flash whenever you signal a turn or lane change. Properly hooked up, the
trailer lights will also flash, telling other drivers you’re about to turn,
change lanes or stop.
When towing a trailer,
the green arrows on your instrument panel will flash
for turns even if the bulbs on the trailer are burned out. Thus, you may think
drivers behind you are seeing your signal when they are not. It’s important
to check occasionally
to be sure the trailer bulbs are still working.
Driving On Grades
Reduce speed and shift to a lower gear before you start down a long or
steep downgrade. If
you don’t shift down, you might have to use your
brakes
so much that they would get hot and no longer work well.
On
a long uphill grade, shift down and reduce your speed to around 45 mph
(70 kdh) to reduce the possibility of engine and transmission overheating.
If you have an automatic transmission, you should use “D” (or, as you need
to, a lower gear) when towing
a trailer. Operating your vehicle in “D” when
towing a trailer will minimize heat buildup and extend
the life of your
transmission.
If
you have a manual transmission and you are towing a trailer, it’s better
not
to use fifth gear. Just drive in fourth gear (or, as you need to, a lower
gear).
Parking on Hills
You really should not park your vehicle, with a trailer attached, on a hill. If
something goes wrong, your rig could start to move. People can be injured,
and both your vehicle and the trailer can be damaged.
But
if you ever have to park your rig on a hill, here’s how to do it:
1. Apply your regular brakes, but don’t shift into “P’ (Park) yet, or in gear
for a manual transmission.
2. Have someone place chocks under the trailer wheels.
3. When the wheel chocks are in place, release the regular brakes until the
chocks absorb
the load.
4-42
ProCarManuals.com
Page 202 of 385
4. Re-apply the regular brakes. Then apply your parking brake, and then
shift to
“P” (Park), or “R’ (Reverse) for a manual transmission.
5. If you have a four-wheel-drive vehicle, be sure the transfer case is in a
6. Release the regular brakes. drive
gear-not in “N” (Neutral).
When You Are Ready to Leave After Parking on a Hill
1. Apply your regular brakes and hold the pedal down while you:
Start your engine;
Shift into a gear; and
Release the parking brake.
2. Let up on the brake pedal.
3. Drive slowly until the trailer is clear of the chocks.
4. Stop and have someone pick up and store the chocks.
4-43
ProCarManuals.com
Page 288 of 385
Brakes
Brake Master Cylinder
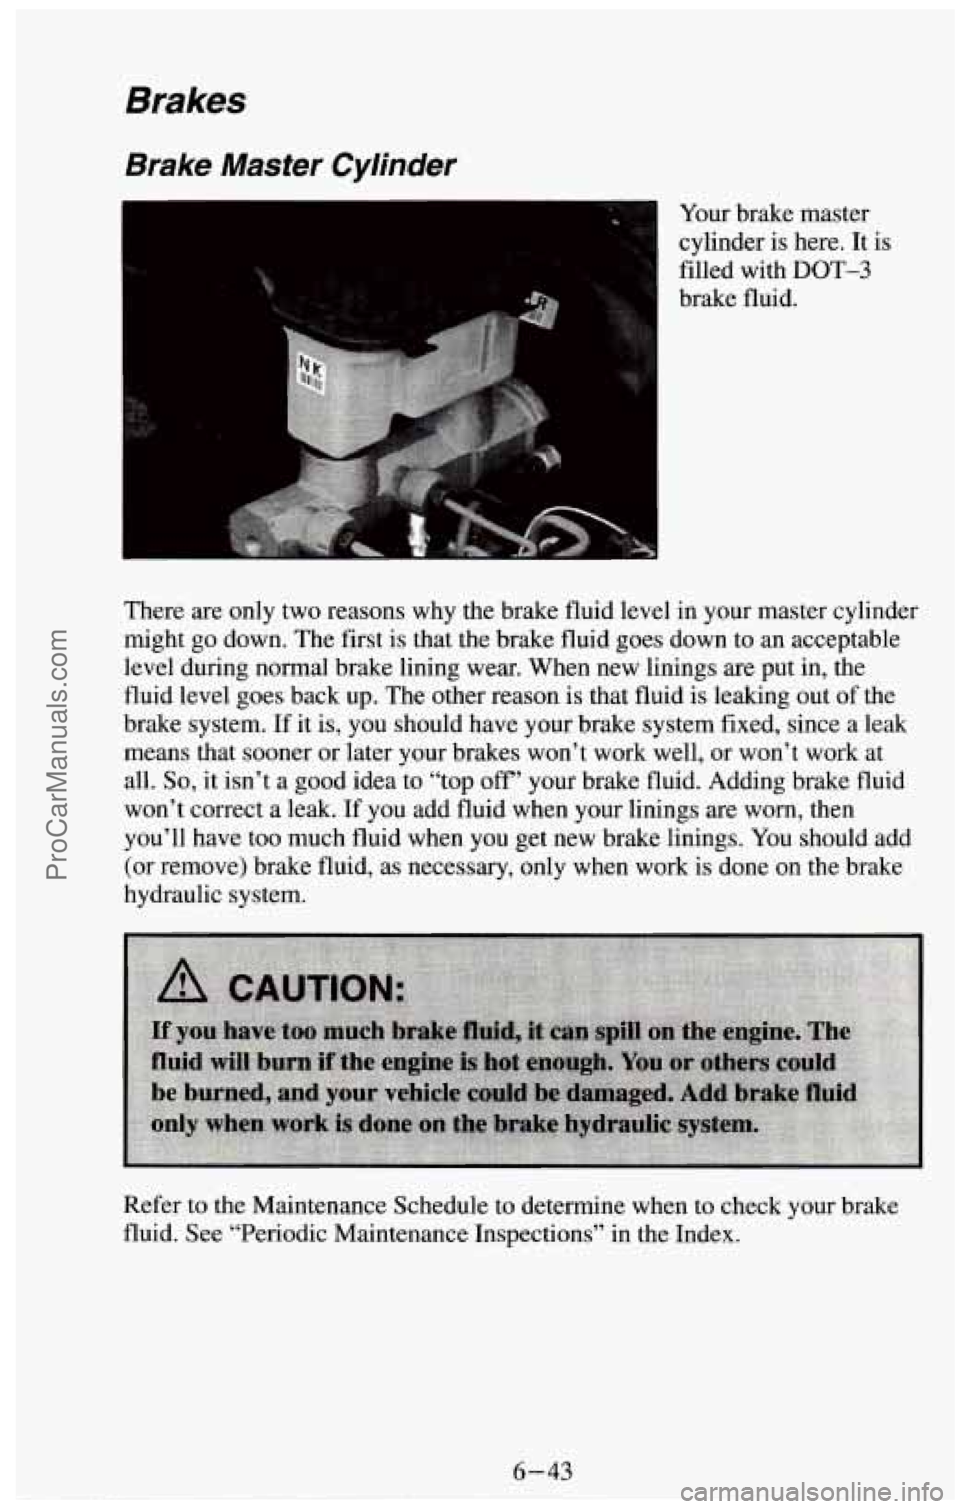
4 Your brake master
cylinder
is here. It is
filled with
DOT-3
brake fluid.
There are only two reasons why the brake fluid level in your master cylinder
might go down. The first is that the brake fluid goes down to an acceptable
level during normal brake lining wear. When new linings are put in, the
fluid level goes back up. The other reason is that fluid is leaking out
of the
brake system. If it is,
you should have your brake system fixed, since a leak
means that sooner or later your brakes won’t work well, or won’t work at
all.
So, it isn’t a good idea to “top off’ your brake fluid. Adding brake fluid
won’t correct
a leak. If you add fluid when your linings are worn, then
you’ll have too much fluid when you get new brake linings. You should add
(or remove) brake fluid, as necessary, only when work is done on the brake
hydraulic system.
Refer to the Maintenance Schedule to determine when to check your brake
fluid. See “Periodic Maintenance Inspections” in the Index.
ProCarManuals.com
Page 290 of 385
Brake Wear
Your vehicle has front disc brakes and rear drum brakes.
Disc brake pads have built-in wear indicators that make
a high-pitched
warning sound when the brake pads are worn and new pads are needed. The
sound
may come and go or be heard all the time your vehicle is moving
(except when you
are pushing on the brake pedal firmly).
NOTICE:
Continuing to drive with worn-out brake pads could result in
costly brake repair.
Some driving conditions or climates may cause a brake squeal when the
brakes are first applied or lightly applied. This does not mean something is
wrong with your brakes.
Rear drum brakes don’t have wear indicators, but if you ever hear a rear
brake rubbing noise,
have the rear brake linings inspected. Also, the rear
brake drums should be removed and inspected each time the tires are
removed for rotation or changing. When you have the front brakes replaced,
have the rear brakes inspected, too.
Brake linings should always be replaced as complete axle sets.
Brake Pedal Trave/
See your dealer if the brake pedal does not return to normal height, or if
there
is a rapid increase in pedal travel. This could be a sign of brake
trouble.
Brake Adjustment
Every time you make a brake stop, your disc brakes adjust for wear.
Tf your brake pedal goes down farther than normal, your rear drum brakes
may need adjustment. Adjust them by backing up and firmly applying the
brakes a few times.
6-45
ProCarManuals.com
Page 291 of 385
Replacing Brake System Parts
The braking system on a modern vehicle is complex. Its many parts have to
be of top quality and work well together if the vehicle is to have really good
braking. Vehicles we design and test have top-quality
GM brake parts in
them, as your vehicle does when it is new. When you replace parts of your
braking system
- for example, when your brake linings wear down and
you have to have new ones put
in - be sure you get new genuine GM
replacement parts. If you don’t, your brakes may no longer work properly.
For example, if someone puts
in brake linings that are wrong for your
vehicle, the balance between your front and rear brakes can change, for the
worse. The braking performance you’ve come to expect can change
in many
other ways
if someone puts in the wrong replacement brake parts.
Other Maintenance Items
Front Suspension and Steering Linkage
Your maintenance schedule will tell you how often to lubricate the fittings.
See “Recommended Fluids and Lubricants” in the Index for the proper
lubricant to use.
Front Wheel Bearing
Your vehicle has front wheel bearings that must be cleaned and repacked.
Your maintenance schedule will tell you how often this must be done.
Front Shock Absorbers
The front shock absorbers of your vehicle do many things. They help the
vehicle ride smoothly and also control the travel of the suspension system.
When the shock absorbers are serviced, any replacement shock absorbers
must be the same as the original equipment shock absorbers
in both
extended length
and strength.
I NOTICE:
If you use shock absorbers that are not the same as the original
shock absorbers, the shock absorbers or suspension system
could be damaged.
6-46
ProCarManuals.com
Page 306 of 385
Trailering Package
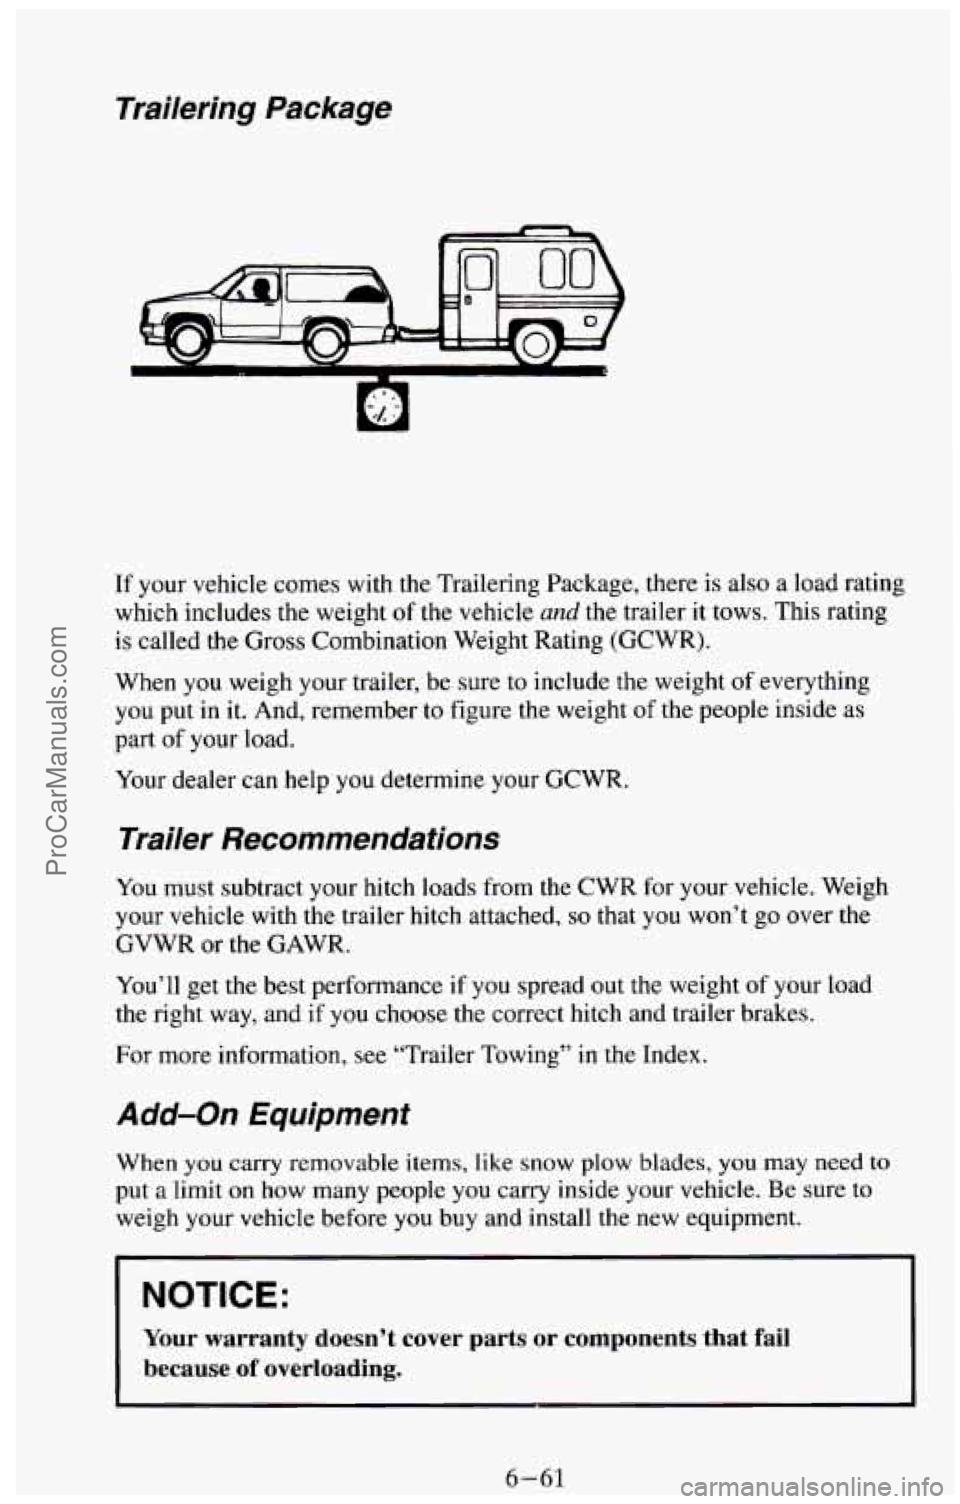
If your vehicle comes with the Trailering Package, there is also a load rating
which includes the weight
of the vehicle and the trailer it tows. This rating
is called the Gross Combination Weight Rating (GCWR).
When you weigh your trailer, be sure to include the weight
of everything
you put in it. And, remember
to figure the weight of the people inside as
part of your
load.
Your dealer can help you determine your GCWR.
Trailer Recommendations
You must subtract your hitch loads from the CWR for your vehicle. Weigh
your vehicle with the trailer hitch attached,
so that you won’t go over the
GVWR
or the GAWR.
You’ll get the best performance
if you spread out the weight of your load
the right way, and if you choose the correct hitch and trailer brakes.
For more information, see “Trailer Towing’’
in the Index.
Add-on Equipment
When you carry removable items, like snow plow blades, you may need to
put a limit on how many people you carry inside your vehicle. Be sure to
weigh your vehicle before you buy and install the new equipment.
~
NOTICE:
Your warranty doesn’t cover parts or components that fail
because
of overloading.
6-61 ProCarManuals.com
Page 355 of 385
25. BRAKE SYSTEM INSPECTION? - When the engine oil is
changed, inspect the
lines and hoses for proper hookup, binding, leaks,
cracks, chafing, etc. Check
the parking brake adjust, and the fluid level
in the master cylinder.
A low fluid level can indicate worn disc brake
pads which may need to be serviced.
When the wheels are removed for rotation, inspect disc brake pads for
wear and rotors for surface condition. Also inspect drum brake linings
for wear and cracks. Inspect other brake parts, including drums, wheel
cylinders, parking brake, etc., at
the same time. Remove any rust or dirt
from the wheel and mounting surfaces before mounting
the wheel.
Inspect brakes more often if driving habits or conditions resul\
t in
frequent braking.
Owner Checks and Services
Listed below are owner checks and services which should be made at the
time period specified to help ensure proper safety, emission performance,
and dependability of your vehicle.
Be
sure any necessary repairs are completed at once. Whenever any fluids
or lubricants
are added to your vehicle, make sure they are the proper ones,
as shown in this Section.
At Least Once a Month
Tire inflation pressure check - Check the tires for proper inflation. If
they are low, inflate them to the level specified on the Certificatiomire
label or on the tire inflation charts. See “Loading Your Vehicle” or
“Inflation-Tire Pressure”
in the Index.
At Least Once a Year
Key lock cylinder lubrication - Lubricate key lock cylinders with engine
oil. See the “Recommended Fluid and Lubricants” chart
in this section.
Transmission neutral or clutch start switch operation -
?A fluid loss in these systems may indicate a problem. Have them inspected
and repaired at once.
7-22
ProCarManuals.com
Page 356 of 385
I. Before you start, be sure you have enough room around the vehicle.
2. Firmly apply both the manual parking brake and the Ye‘@lar brake. See
“Brakes” and “Parking Brake” in the Index.
Do not use the accelerator
pedal.
3. Be ready to turn off the engine immediately if it starts.
4. On automatic transmission vehicles, try to start the engine in each gear.
The starter should work only in
“P’ (Park) or “N” (Neutral).
On manual transmission vehicles, put the shift lever
in “N” (Neutral), push
the clutch down halfway, and try to start the engine. The starter should work
only when the clutch is pushed down all the way to the floor.
Steering column lock operation - While parked, try to turn the key to
LOCK in each gear shift position.
With an automatic transmission, the key should turn to
LOCK only when
the gear shift is in
“P” (Park).
On vehicles with a key release lever, try to turn the key to LOCK without
pressing the lever. The key should turn to
LOCK only with the key lever
depressed.
On all vehicles, the key should come out only in
LOCK.
Parking brake and transmission
“P’ (PARK) mechanism operation -
Park on a fairly steep hill, with the vehicle facing downhill. Keeping your
foot
on the regular brake, set the manual parking brake.
To check the parking brake: With the engine running and the
transmission in
“N” (Neutral), slowly remove foot pressure from the
regular brake pedal.
Do this until the vehicle is held by the parking
brake
only.
To check the “P” (Park) mechanism’s holding ability: Apply the regular
brake and shift to
“P’ (Park). Release the manual parking brake, then
slowly release the regular brake.
7-23 ProCarManuals.com