buttons CHEVROLET SUBURBAN 1994 Owners Manual
[x] Cancel search | Manufacturer: CHEVROLET, Model Year: 1994, Model line: SUBURBAN, Model: CHEVROLET SUBURBAN 1994Pages: 385, PDF Size: 19.88 MB
Page 112 of 385
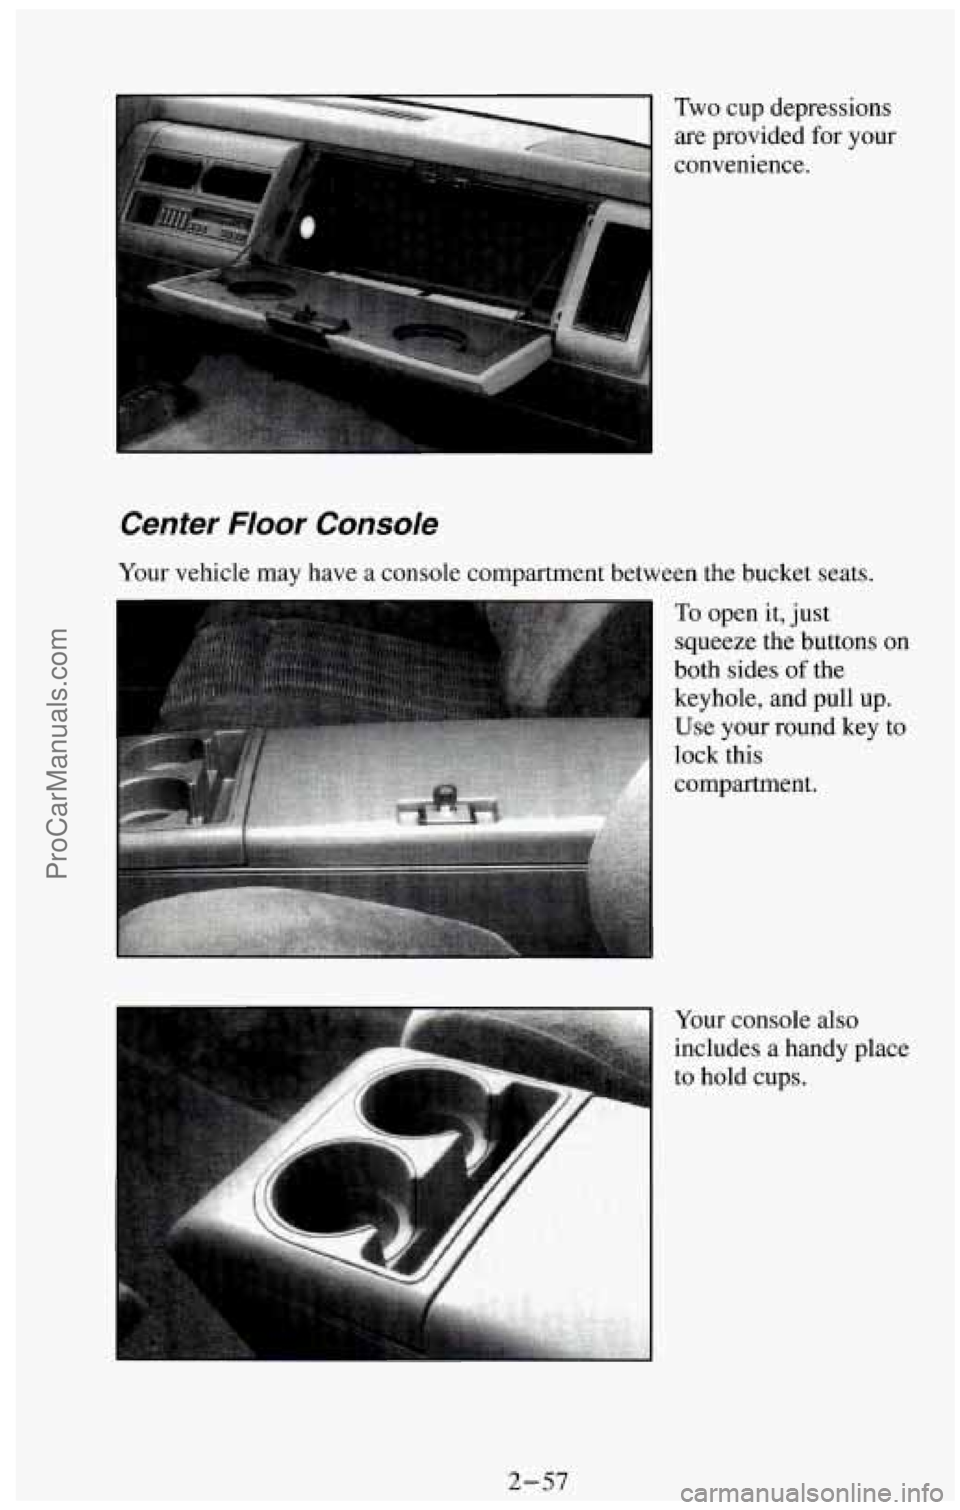
Two cup depressions
are provided for your
convenience.
Center Floor Console
Your vehicle may have a console compartment between the bucket seats.
To open it, just
squeeze the buttons on
both sides
of the
keyhole, and pull up.
Use your round key to
lock this
compartment.
Your console also
includes a handy place
to hold cups.
2-57
ProCarManuals.com
Page 143 of 385
When you first turn on your vehicle’s air conditioning, open the windows to
clear the vehicle
of hot air. Using the MAX button can also help. See
“MAX Button” in this section for more information.
.‘
s
...... Lj”. . ..-. .....
‘I ,OFF
..... .. ... : .
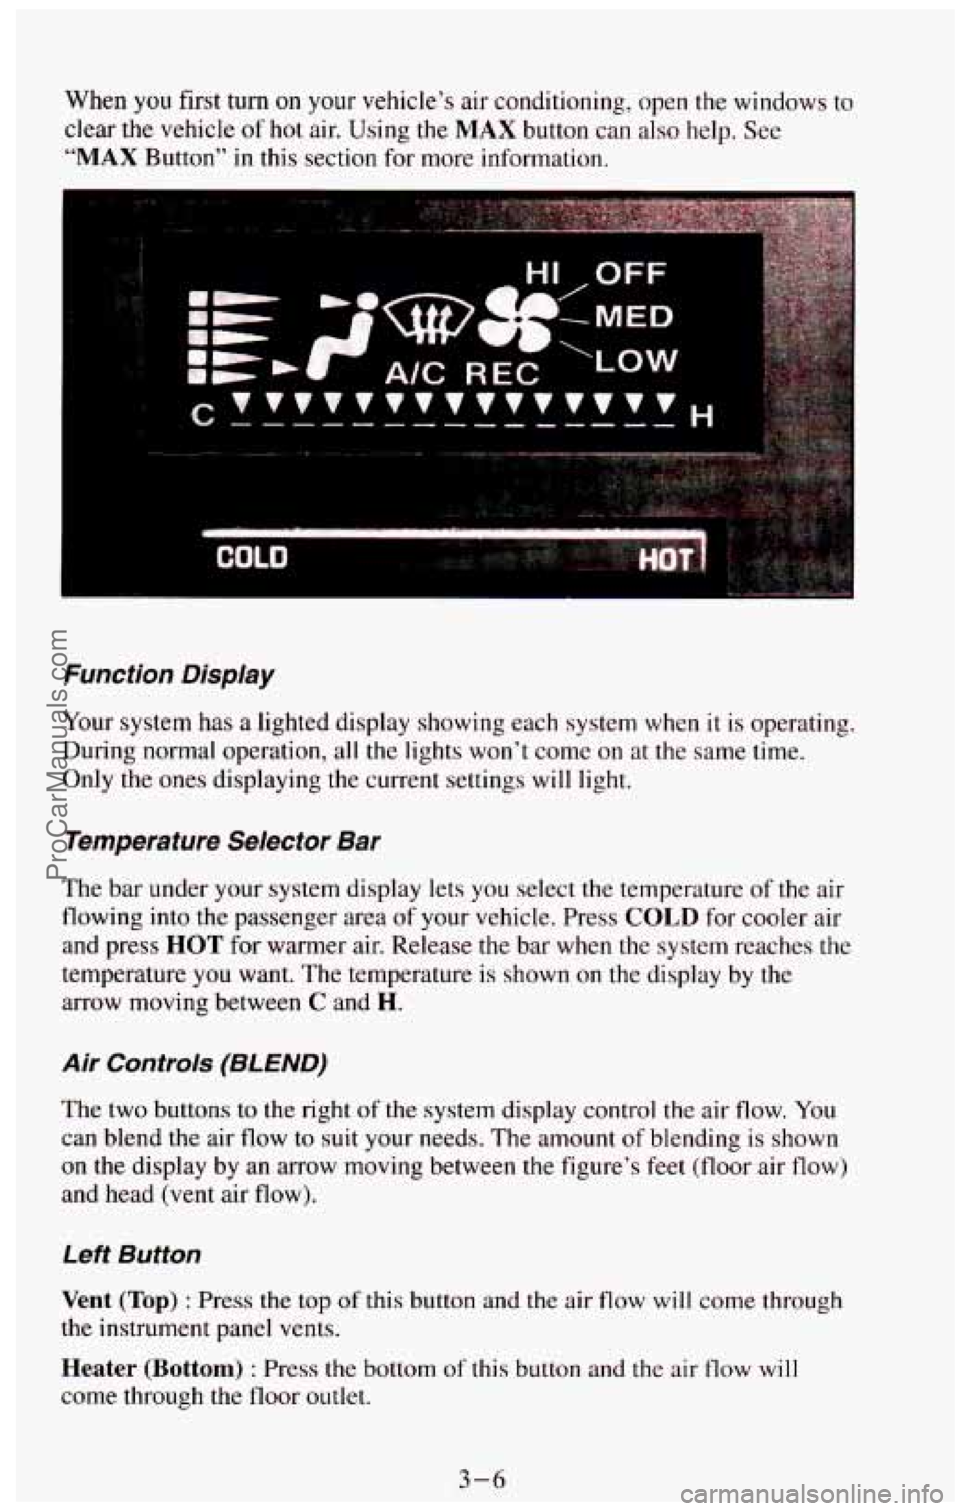
Function Display
Your system has a lighted display showing each system when it is operating.
During normal operation, all the lights won’t come on
at the same time.
Only the ones displaying the current settings will light.
Temperature Selector Bar
The bar under your system display lets you select the temperature of the air
flowing into the passenger area
of your vehicle. Press COLD for cooler air
and press HOT for warmer air. Release the bar when the system reaches the
temperature you want. The temperature is shown on the display by the
arrow moving between
C and H.
Air Controls (8L END)
The two buttons to the right of the system display control the air flow. You
can blend
the air flow to suit your needs. The amount of blending is shown
on the display by an arrow moving between the figure’s feet (floor air flow)
and head (vent air flow).
Left Button
Vent (Top) : Press the top of this button and the air flow will come through
the instrument panel vents.
Heater (Bottom) : Press the bottom of this button and the air flow will
come through the floor outlet.
3-6
ProCarManuals.com
Page 145 of 385
Fan Control Button
This button is in the upper right corner of your system control panel. The
fan has four settings
- low, medium low, medium high and high. Press the
top
of the button (+) to increase the air flow. Press the bottom of the button
(-) to decrease the air flow. The setting you select is shown on your display
as
LOW, MED LOW, MED HI or HI.
OFF Button
Press this button to turn the air conditioningheating system off. Pressing
OFF will erase the present mode of operation from the system’s \
memory,
Outside air will still come out of the heater outlet whenever the vehicle
is
moving forward.
If the OFF button was pressed, you must press A/C, MAX, or one of the
BLEND buttons for the system to come back on.
Rear Air Conditioning and Heating Systems (Wagon
Models)
If your vehicle has either or both of these systems, you can increase and
decrease the air flow at the rear vents. Depending
on the system you have
and the setting selected, you can send cooled
or heated air to the rear of the
vehicle.
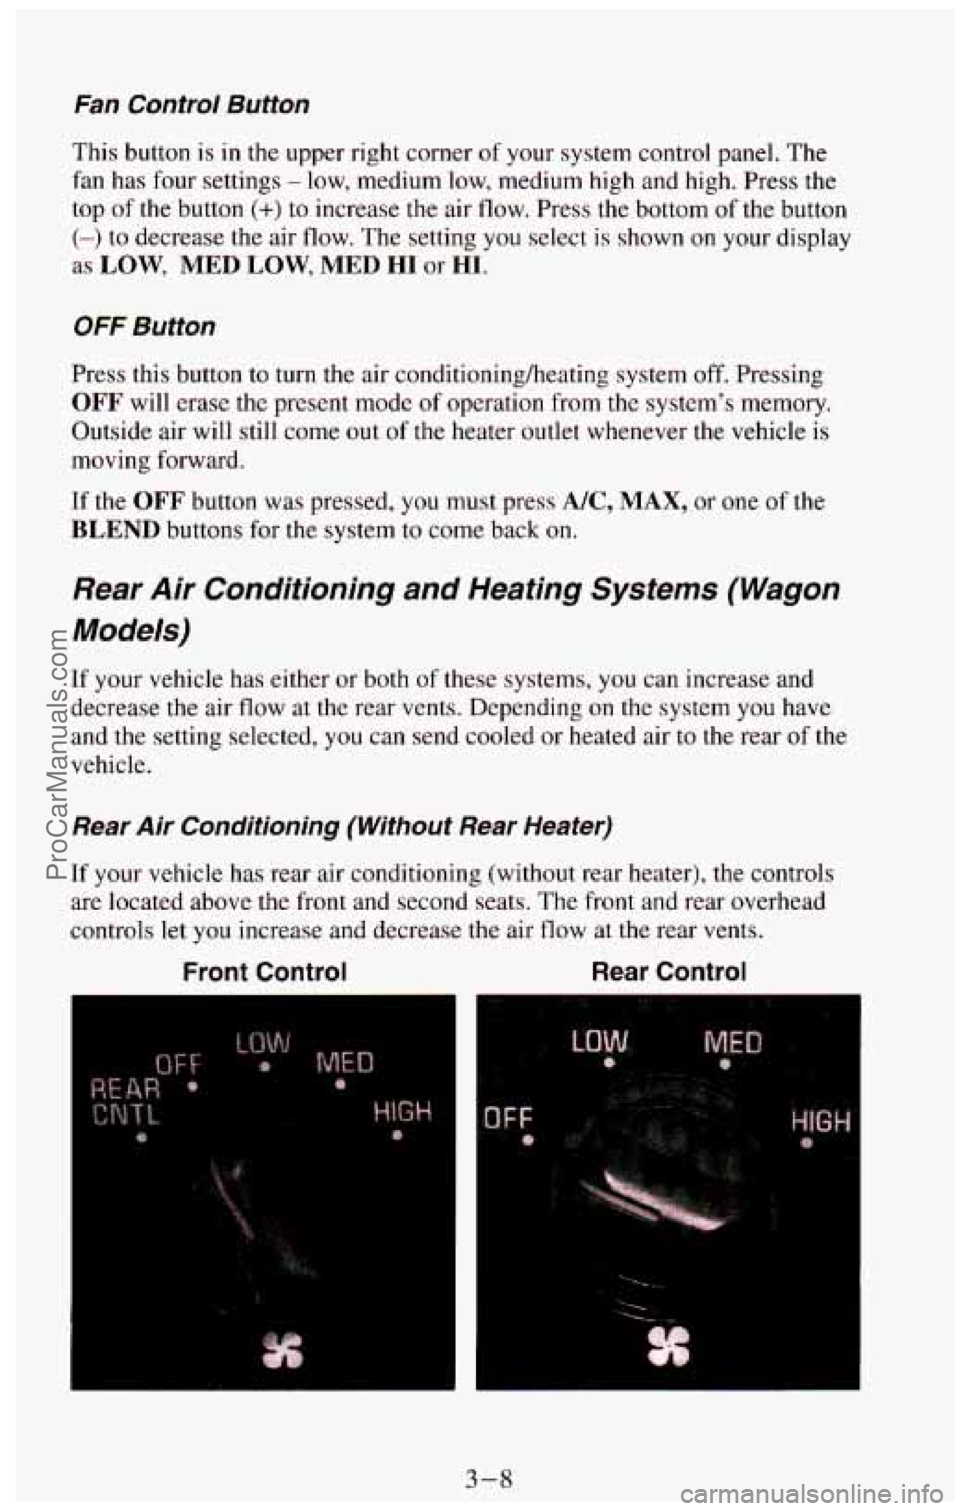
Rear Air Conditioning (Without Rear Heater)
If your vehicle has rear air conditioning (without rear heater), the controls \
are located above the front and second seats.
The front and rear overhead
controls let
you increase and decrease the air flow at the rear vents.
Front Control Rear Control
e
F
t
3-8
ProCarManuals.com
Page 151 of 385
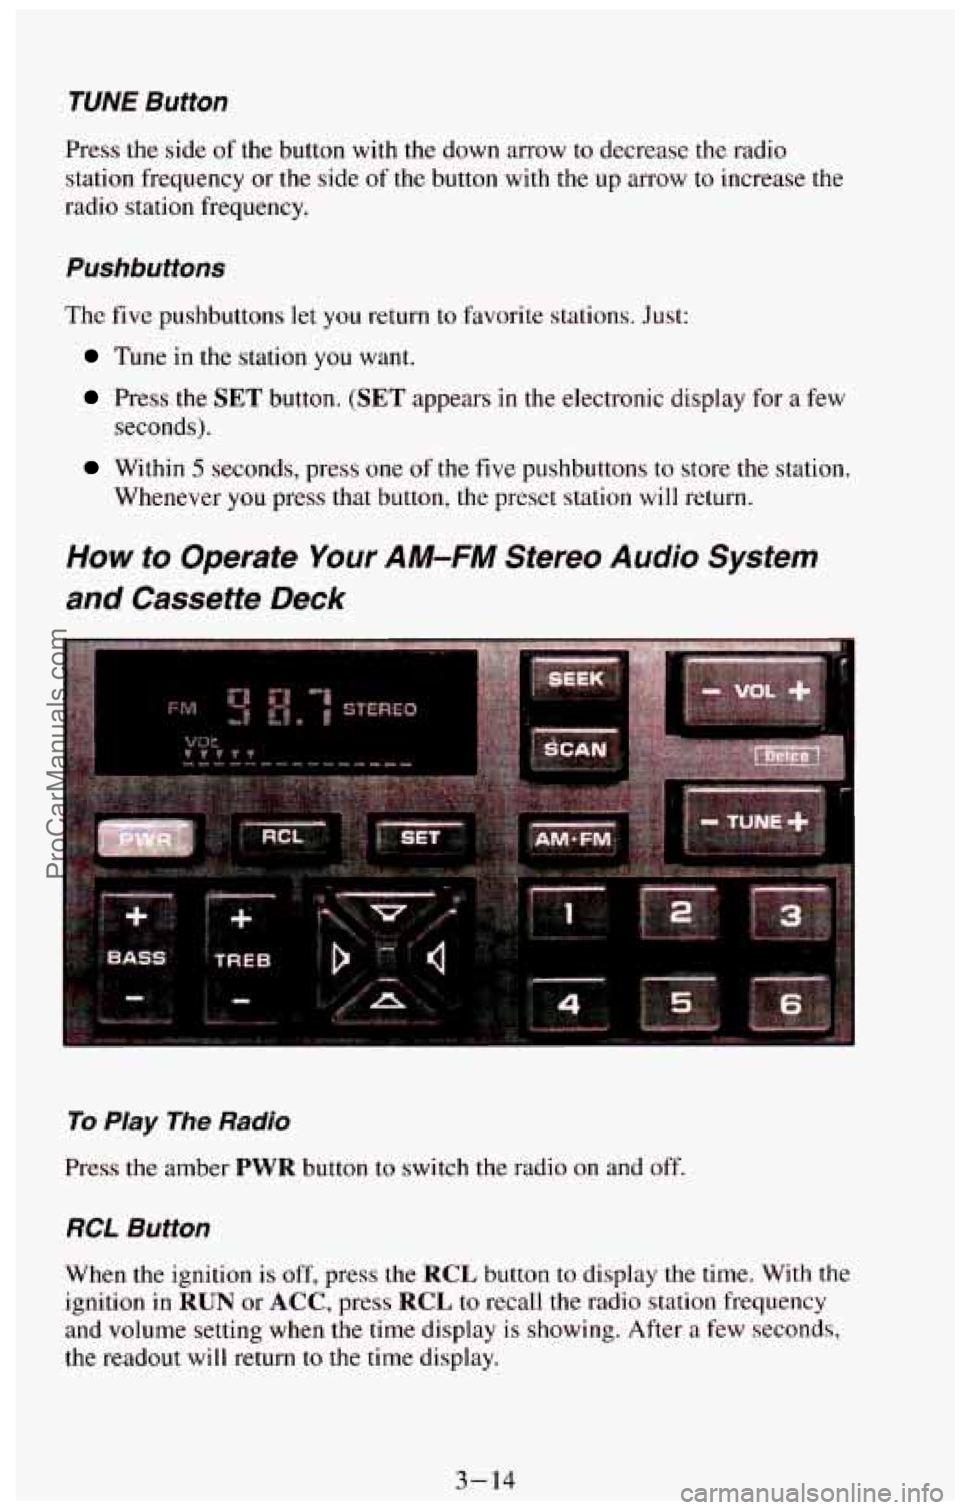
TUNE Button
Press the side of the button with the down arrow to decrease the radio
station frequency or
the side of the button with the up arrow to increase the
radio station frequency.
Pushbuttons
The five pushbuttons let you return to favorite stations. Just:
Tune in the station you want.
Press the SET button. (SET appears in the electronic display for a few
Within 5 seconds, press one of the five pushbuttons to store the station.
seconds).
Whenever you press that button, the preset station will return.
How to Operate Your AM-FM Stereo Audio System
and Cassette Deck
To Play The Radio
Press the amber PWR button to switch the radio on and off.
RCL Button
When the ignition is off, press the RCL button to display the time. With the
ignition
in RUN or ACC, press RCL to recall the radio station frequency
and volume setting when the time display is showing. After
a few seconds,
the readout
will return to the time display.
3-14
ProCarManuals.com
Page 152 of 385
SEEK Button
Press the SEEK button to make the receiver seek, and stop at, the next
higher available station.
SCAN Button
Press the SCAN button to make the receiver scan, and momentarily pause
at, all available stations. SCAN will appear in the electronic display while
the receiver
is in the scan mode. Press SCAN again to cancel the scan mode
and hold the current station.
AM-FM Button
Press the AM-FM button to switch between AM and FM.
VOL Button
The VOL button controls the volume. Pressing VOL "+" increases volume;
VOL "-" decreases volume.
TUNE Button
To tune in radio stations, press the TUNE button. TUNE "+" increases
radio station frequency;
TUNE "-" decreases radio station frequency.
BASS Button
Press the BASS button to adjust the bass level. BASS "+" increases the
bass; BASS "-" decreases bass.
Adjust
the TREB and BASS buttons to give a pleasing sound. If a station is
weak and noisy, adjust the TREB button to reduce the noise.
TREBLE Button
Press the TREB button to adjust the treble level. TREB "+" increases the
treble;
TREB "-" decreases treble.
BAUFADE Buttons
To balance and fade the sound between the lefvright or fronthear speakers,
use the four buttons with the speaker symbols on them. Press the left and
right buttons to adjust the left and right speaker balance. Pressing the top
and bottom buttons adjusts the front and rear speaker volume balance,
or
fade. The relative balance and fade adjustments are shown on the electronic
display.
3- 15 ProCarManuals.com
Page 153 of 385
Pushbuttons
The six pushbuttons let you return to favorite stations. You can set the
pushbuttons for up to twelve favorite stations
(6 AM and 6 FM). To set the
pushbuttons, just:
Tune in the station you want.
Press the SET button. (SET appears in the electronic display for a few
seconds.)
0 Within 5 seconds, push one of the six pushbuttons to store the station.
After that, whenever
you press that button, the preset station will
re turn.
Clock
To set the clock, just:
a Press the SET button. The word SET will light up in the electronic
display.
0 Within 5 seconds, press and hold the SEEK button until the correct
hour appears
on the display.
Then, press and hold the SCAN button until the correct minute appears
on the display.
display for
a few seconds.
After you set the time, the word SET will remain in the electronic
. ... .. ,
. ., ... . , - . .... .
If you have a cassette deck, it is built to work best with tapes that are 30 to
45 minutes long on each side. Tapes longer than that are so thin that they
may not work will in this player.
3-16
ProCarManuals.com
Page 154 of 385
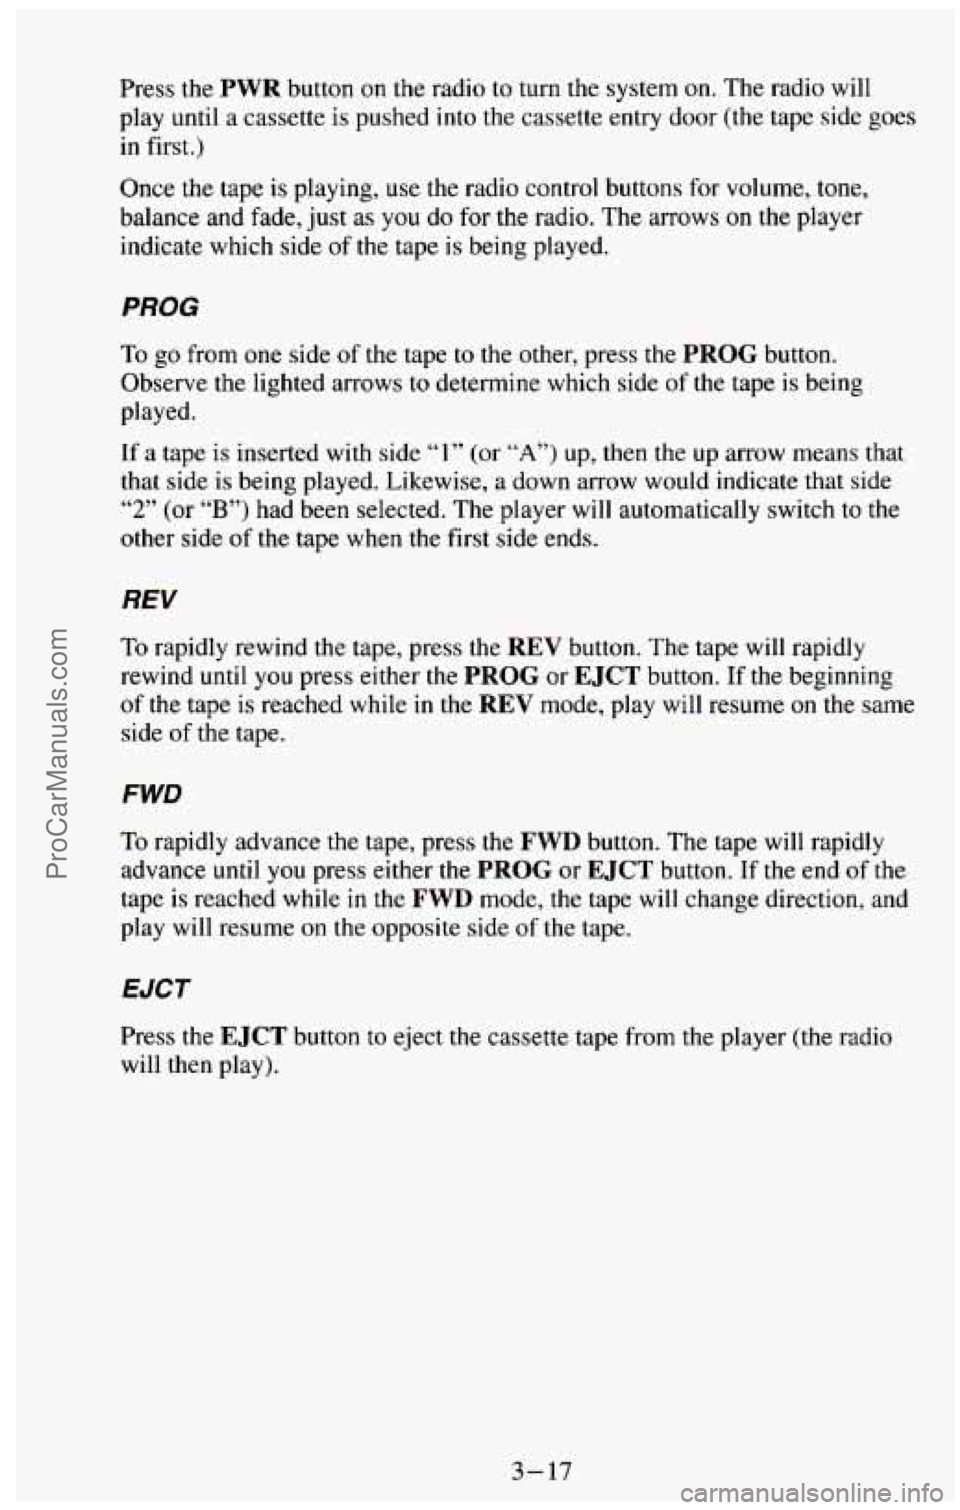
Press the PWR button on the radio to turn the system on. The radio will
play until a cassette is pushed into the cassette entry door (the tape side goes
in first.)
Once the tape
is playing, use the radio control buttons for volume, tone,
balance and fade, just
as you do for the radio. The arrows on the player
indicate which side
of the tape is being played.
PROG
To go from one side of the tape to the other, press the PROG button.
Observe the lighted arrows to determine which side of the tape is being
played.
If a tape is inserted with side “1” (or “A”) up, then the up arrow means that
that side
is being played. Likewise, a down arrow would indicate that side
“2” (or “B”) had been selected. The player will automatically switch to the
other side of the tape when the first side ends.
REV
To rapidly rewind the tape, press the REV button. The tape will rapidly
rewind
until you press either the PROG or EJCT button. If the beginning
of the tape is reached while in the REV mode, play will resume on the same
side of the tape.
FWD
To rapidly advance the tape, press the FWD button. The tape will rapidly
advance
until you press either the PROG or EJCT button. If the end of the
tape is reached while in the
FWD mode, the tape will change direction, and
play will resume on the opposite side of the tape.
EJCT
Press the EJCT button to eject the cassette tape from the player (the radio
will then play).
3-17
ProCarManuals.com
Page 156 of 385
Stereo (AM)
Your Delco@ radio can receive C-QUAM@stereo broadcasts. Many AM
stations around the country use C-QUAM@to produce stereo, though
some
do not. If your Delco@ system can get C-QUAM@ signals, your
“STEREO” light will come on when you are receiving stereo. (C-QUAM@
is a registered trademark of Motorola Inc.).
VOL Button
The VOL button controls the volume. Pressing VOL “+.I’ increases volume;
VOL “-” decreases volume.
TUNE Button
To tune in radio stations, press the TUNE button. TUNE “+” increases
radio station frequency;
TUNE “-’, decreases radio station frequency.
BAUFADE Buttons
To balance and fade the sound between the lefthight or fronthear speakers,
use the four buttons
with the speaker symbols on them. Press the left and
right buttons to adjust the left and right speaker balance. Pressing
the top
and bottom
buttons adjusts the front and rear speaker volume balance, or
fade. The relative balance and fade adjustments are shown on the electronic
display.
Pushbuttons
The six pushbuttons let you return to favorite stations. You can set the
pushbuttons for up to twelve favorite stations (6 AM and 6 FM). To set the
pushbuttons, just:
Tune in the station you want.
Press the SET button. (SET appears in the electronic display for a few
seconds.)
0 Within 5 seconds, push one of the six pushbuttons to store the station.
After that, whenever you press that button, the preset station will
return.
Clock
To set the clock, just:
Press the SET button. The word SET will light up in the electronic
display.
hour appears on the display.
Within 5 seconds, press and hold the SEEK button until the correct
3-19
ProCarManuals.com
Page 157 of 385
Then, press and hold the SCAN button until the correct minute appears
on the display.
After you set the time, the word SET will remain in the electronic
display for a few seconds.
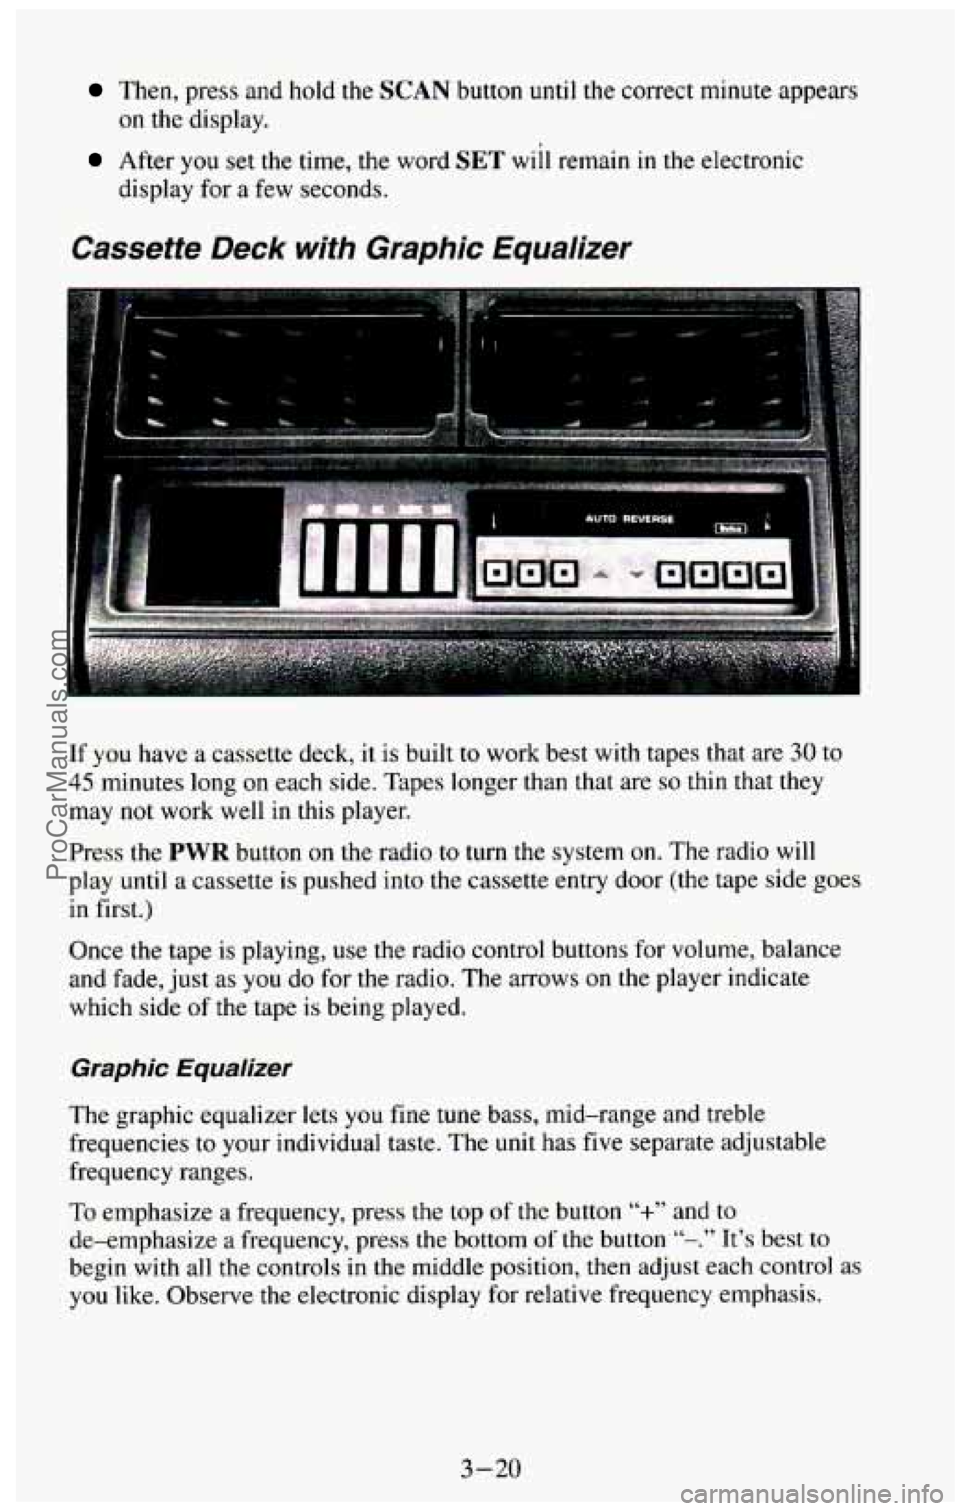
Cassette Deck with Graphic Equalizer
If you have a cassette deck, it is built to work best with tapes that are 30 to
45 minutes long on each side. Tapes longer than that are so thin that they
may not work well in this player.
Press the
PWR button on the radio to turn the system on. The radio will
play until a cassette is pushed into the cassette entry door
(the tape side goes
in first.)
Once the tape is playing,
use the radio control buttons for volume, balance
and fade, just
as you do for the radio. The arrows on the player indicate
which side
of the tape is being played.
Graphic Equalizer
The graphic equalizer lets you fine tune bass, mid-range and treble
frequencies to your individual taste.
The unit has five separate adjustable
frequency ranges.
To emphasize a frequency,
press the top of the button “+” and to
de-emphasize a frequency, press the bottom of the button “-.” It’s best to
begin with all the controls in the middle position, then adjust each control as
you like. Observe the electronic display for relative frequency emphasis.
3-20
ProCarManuals.com