low beam CHEVROLET SUBURBAN 2007 10.G Owners Manual
[x] Cancel search | Manufacturer: CHEVROLET, Model Year: 2007, Model line: SUBURBAN, Model: CHEVROLET SUBURBAN 2007 10.GPages: 634, PDF Size: 3.18 MB
Page 199 of 634
Instrument Panel Overview........................ 202
Hazard Warning Flashers.......................... 204
Other Warning Devices............................. 204
Horn.......................................................... 204
Tilt Wheel.................................................. 204
Turn Signal/Multifunction Lever.................. 205
Turn and Lane-Change Signals................. 206
Headlamp High/Low-Beam Changer.......... 207
Flash-to-Pass............................................ 207
Windshield Wipers..................................... 207
Rainsense™ II Wipers............................... 208
Windshield Washer.................................... 209
Rear Window Wiper/Washer...................... 210
Cruise Control........................................... 211
Exterior Lamps.......................................... 215
Headlamps on Reminder........................... 216
Daytime Running Lamps (DRL)................. 216
Automatic Headlamp System..................... 217
Fog Lamps................................................ 218
Auxiliary Roof Mounted Lamp.................... 218Instrument Panel Brightness...................... 219
Dome Lamps............................................. 219
Dome Lamp Override................................ 219
Entry Lighting............................................ 220
Exit Lighting.............................................. 220
Reading Lamps......................................... 220
Electric Power Management...................... 220
Battery Run-Down Protection..................... 221
Ultrasonic Rear Parking
Assist (URPA)........................................ 222
Accessory Power Outlet(s)........................ 225
Ashtray(s) and Cigarette Lighter................ 227
Climate Controls......................................... 227
Climate Control System............................. 227
Dual Automatic Climate Control System.... 231
Outlet Adjustment...................................... 238
Rear Air Conditioning and Heating
System.................................................. 239
Rear Air Conditioning and Heating System
and Electronic Climate Controls............... 240
Section 3 Instrument Panel
199
Page 200 of 634
Warning Lights, Gages, and Indicators..... 242
Instrument Panel Cluster........................... 243
Speedometer and Odometer...................... 244
Trip Odometer........................................... 244
Tachometer............................................... 244
Safety Belt Reminder Light........................ 244
Passenger Safety Belt Reminder Light....... 245
Airbag Readiness Light............................. 245
Passenger Airbag Status Indicator............. 246
Charging System Light.............................. 248
Voltmeter Gage......................................... 249
Brake System Warning Light..................... 249
Anti-Lock Brake System Warning Light...... 251
StabiliTrak
®Indicator Light......................... 252
Engine Coolant Temperature Gage............ 252
Tire Pressure Light.................................... 253
Malfunction Indicator Lamp........................ 253
Oil Pressure Gage..................................... 256Oil Pressure Light..................................... 257
Security Light............................................ 258
Fog Lamp Light......................................... 258
Cruise Control Light.................................. 258
Highbeam On Light................................... 259
Tow/Haul Mode Light................................ 259
Fuel Gage................................................. 259
Low Fuel Warning Light............................ 260
Driver Information Center (DIC).................. 260
DIC Operation and Displays
(With DIC Buttons)................................. 261
DIC Operation and Displays
(Without DIC Buttons)............................ 267
DIC Warnings and Messages.................... 270
DIC Vehicle Customization
(With DIC Buttons)................................. 280
Section 3 Instrument Panel
200
Page 205 of 634
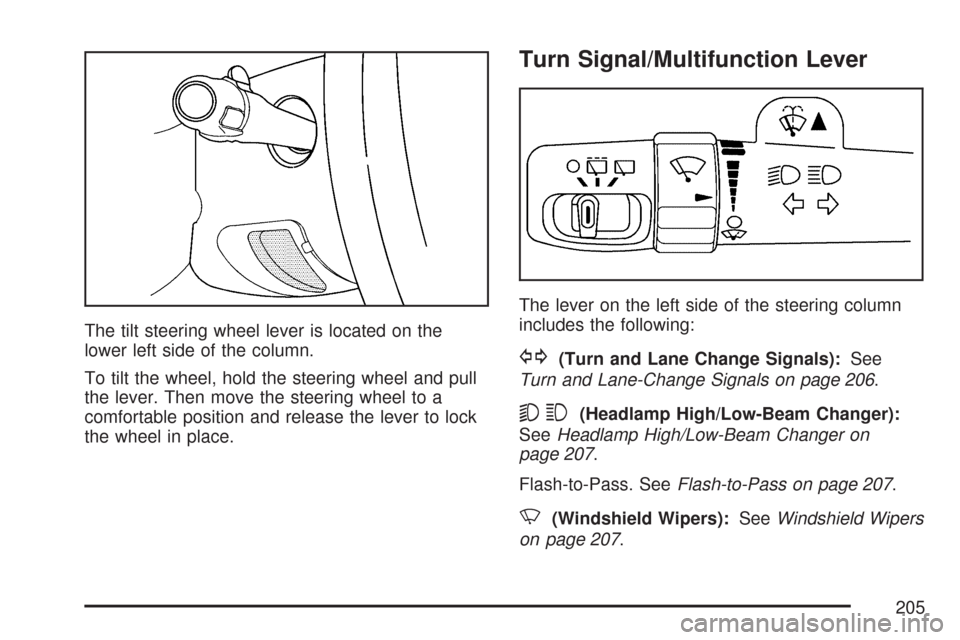
The tilt steering wheel lever is located on the
lower left side of the column.
To tilt the wheel, hold the steering wheel and pull
the lever. Then move the steering wheel to a
comfortable position and release the lever to lock
the wheel in place.
Turn Signal/Multifunction Lever
The lever on the left side of the steering column
includes the following:
G(Turn and Lane Change Signals):See
Turn and Lane-Change Signals on page 206.
53(Headlamp High/Low-Beam Changer):
SeeHeadlamp High/Low-Beam Changer on
page 207.
Flash-to-Pass. SeeFlash-to-Pass on page 207.
N(Windshield Wipers):SeeWindshield Wipers
on page 207.
205
Page 207 of 634
Headlamp High/Low-Beam Changer
53(Headlamp High/Low Beam Changer):
To change the headlamps from low to high beam,
push the lever toward the instrument panel. To
return to low-beam headlamps, pull the
multifunction lever toward you. Then release it.
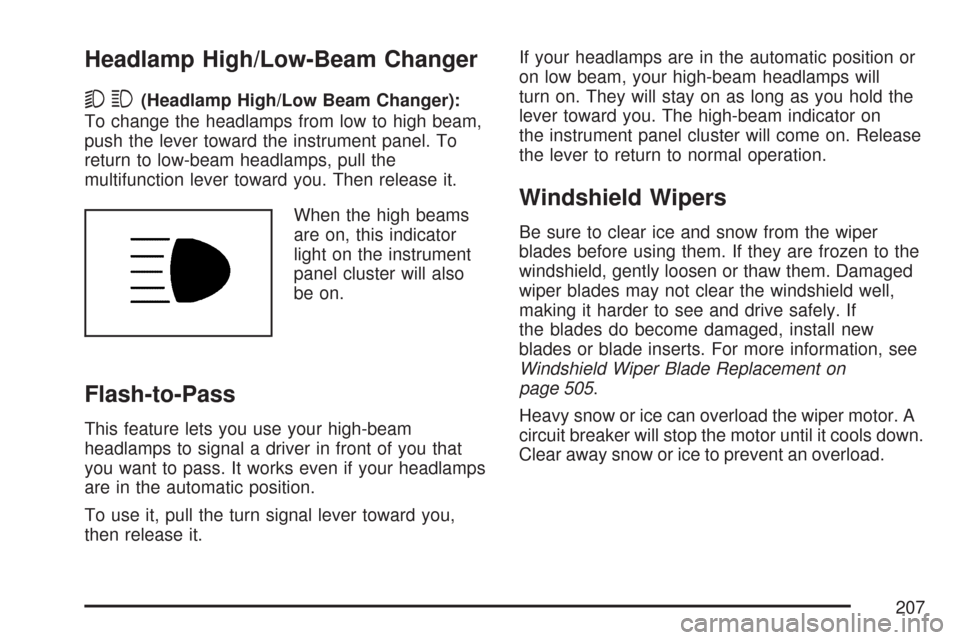
When the high beams
are on, this indicator
light on the instrument
panel cluster will also
be on.
Flash-to-Pass
This feature lets you use your high-beam
headlamps to signal a driver in front of you that
you want to pass. It works even if your headlamps
are in the automatic position.
To use it, pull the turn signal lever toward you,
then release it.If your headlamps are in the automatic position or
on low beam, your high-beam headlamps will
turn on. They will stay on as long as you hold the
lever toward you. The high-beam indicator on
the instrument panel cluster will come on. Release
the lever to return to normal operation.
Windshield Wipers
Be sure to clear ice and snow from the wiper
blades before using them. If they are frozen to the
windshield, gently loosen or thaw them. Damaged
wiper blades may not clear the windshield well,
making it harder to see and drive safely. If
the blades do become damaged, install new
blades or blade inserts. For more information, see
Windshield Wiper Blade Replacement on
page 505.
Heavy snow or ice can overload the wiper motor. A
circuit breaker will stop the motor until it cools down.
Clear away snow or ice to prevent an overload.
207
Page 218 of 634
Fog Lamps
-(Fog Lamps):If your vehicle has fog lamps,
the button is located on the instrument panel
to the left of the steering column and below the
dome lamp override button.
The ignition must be in RUN and the parking
lamps must be on for the fog lamps to work.
To turn the fog lamps on, press the fog lamps
button. A light comes on in the instrument
panel cluster to let you know that the fog lamps
are on. Press the button again to turn the fog
lamps off.
When the fog lamps are turned on, the low-beam
headlamps automatically turn on.
The fog lamps turn off while you change to
high-beam headlamps. When the high-beam
headlamps go off, the fog lamps will come
on again.
Fog lamps should only be used in foggy conditions
since they could be distracting to oncoming
drivers in clear weather conditions.
Some localities have laws that require the
headlamps to be on along with the fog lamps.
Auxiliary Roof Mounted Lamp
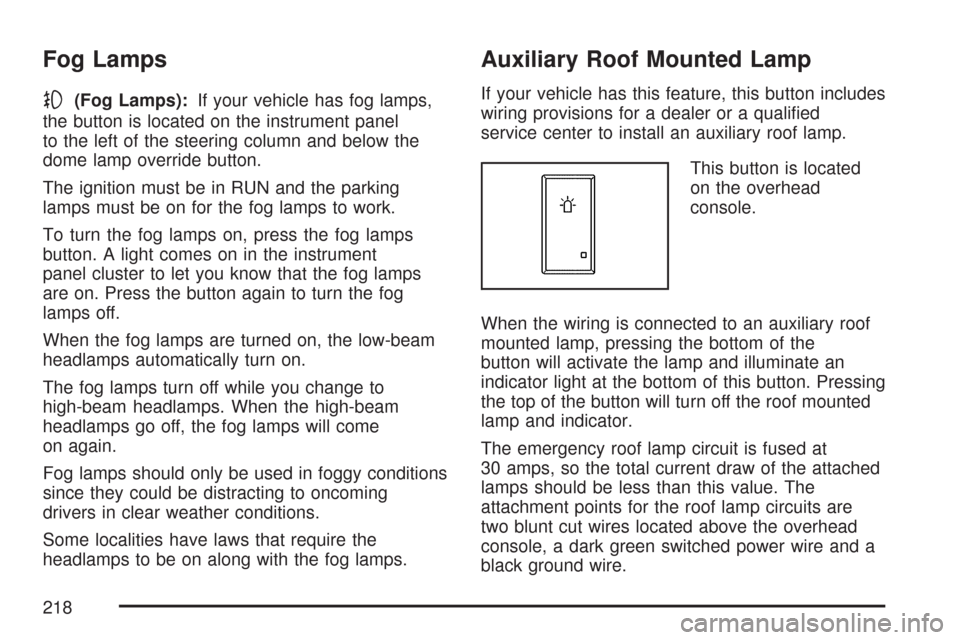
If your vehicle has this feature, this button includes
wiring provisions for a dealer or a quali�ed
service center to install an auxiliary roof lamp.
This button is located
on the overhead
console.
When the wiring is connected to an auxiliary roof
mounted lamp, pressing the bottom of the
button will activate the lamp and illuminate an
indicator light at the bottom of this button. Pressing
the top of the button will turn off the roof mounted
lamp and indicator.
The emergency roof lamp circuit is fused at
30 amps, so the total current draw of the attached
lamps should be less than this value. The
attachment points for the roof lamp circuits are
two blunt cut wires located above the overhead
console, a dark green switched power wire and a
black ground wire.
218
Page 221 of 634
The battery can be discharged at idle if the
electrical loads are very high. This is true for
all vehicles. This is because the generator
(alternator) may not be spinning fast enough at
idle to produce all the power that is needed for very
high electrical loads.
A high electrical load occurs when several of the
following loads are on: headlamps, high beams,
fog lamps, rear window defogger, climate
control fan at high speed, heated seats, engine
cooling fans, trailer loads, and loads plugged into
accessory power outlets.
EPM works to prevent excessive discharge of the
battery. It does this by balancing the generator’s
output and the vehicle’s electrical needs. It
can increase engine idle speed to generate more
power, whenever needed. It can temporarily
reduce the power demands of some accessories.Normally, these actions occur in steps or levels,
without being noticeable. In rare cases at the
highest levels of corrective action, this action may
be noticeable to the driver. If so, a Driver
Information Center (DIC) message might be
displayed, such as Battery Saver Active or Service
Battery Charging System. If this message is
displayed, it is recommended that the driver
reduce the electrical loads as much as possible.
SeeDIC Warnings and Messages on page 270.
Battery Run-Down Protection
This feature shuts off the dome, and reading
lamps if they are left on for more than 10 minutes
when the ignition is off. This will keep the
battery from running down.
221
Page 259 of 634
Highbeam On Light
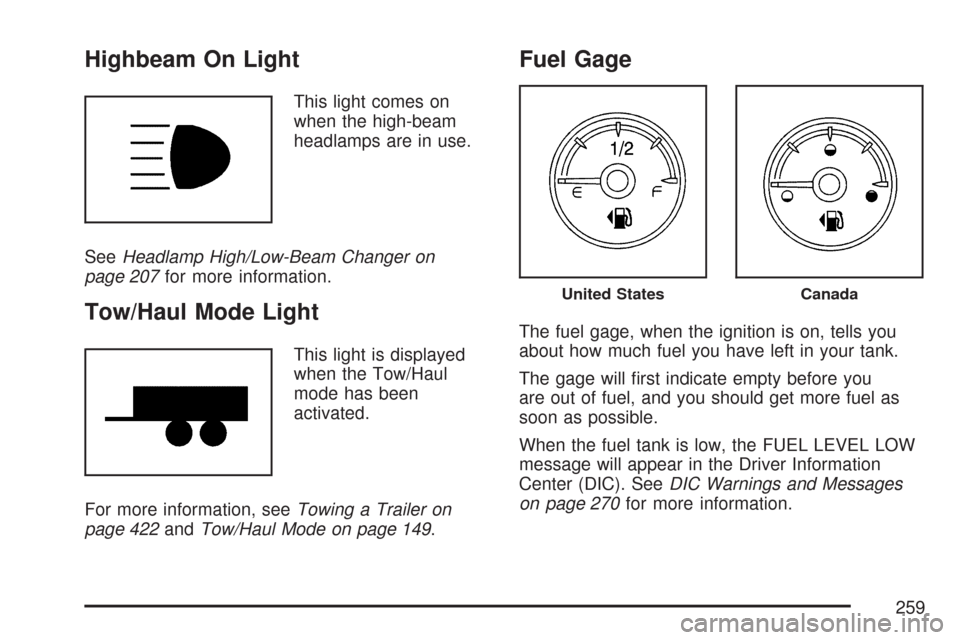
This light comes on
when the high-beam
headlamps are in use.
SeeHeadlamp High/Low-Beam Changer on
page 207for more information.
Tow/Haul Mode Light
This light is displayed
when the Tow/Haul
mode has been
activated.
For more information, seeTowing a Trailer on
page 422andTow/Haul Mode on page 149.
Fuel Gage
The fuel gage, when the ignition is on, tells you
about how much fuel you have left in your tank.
The gage will �rst indicate empty before you
are out of fuel, and you should get more fuel as
soon as possible.
When the fuel tank is low, the FUEL LEVEL LOW
message will appear in the Driver Information
Center (DIC). SeeDIC Warnings and Messages
on page 270for more information.
United StatesCanada
259
Page 389 of 634
Driving at Night
Night driving is more dangerous than day driving.
One reason is that some drivers are likely to
be impaired — by alcohol or drugs, with night
vision problems, or by fatigue.
Here are some tips on night driving.
Drive defensively.
Do not drink and drive.
Adjust the inside rearview mirror to reduce the
glare from headlamps behind you.
Since you cannot see as well, you may need
to slow down and keep more space between
you and other vehicles.
Slow down, especially on higher speed roads.
Your vehicle’s headlamps can light up only so
much road ahead.
In remote areas, watch for animals.
If you are tired, pull off the road in a safe
place and rest.No one can see as well at night as in the daytime.
But as we get older these differences increase.
A 50-year-old driver may require at least twice as
much light to see the same thing at night as a
20-year-old.
What you do in the daytime can also affect your
night vision. For example, if you spend the
day in bright sunshine you are wise to wear
sunglasses. Your eyes will have less trouble
adjusting to night. But if you are driving, do not
wear sunglasses at night. They may cut down on
glare from headlamps, but they also make a
lot of things invisible.
You can be temporarily blinded by approaching
headlamps. It can take a second or two, or
even several seconds, for your eyes to re-adjust
to the dark. When you are faced with severe glare,
as from a driver who does not lower the high
beams, or a vehicle with misaimed headlamps,
slow down a little. Avoid staring directly into
the approaching headlamps.
389
Page 393 of 634
Some Other Rainy Weather Tips
Turn on your low-beam headlamps — not just
your parking lamps — to help make you more
visible to others.
Besides slowing down, allow some extra
following distance. And be especially careful
when you pass another vehicle. Allow yourself
more clear room ahead, and be prepared to
have your view restricted by road spray.
Have good tires with proper tread depth. See
Tires on page 507.
City Driving
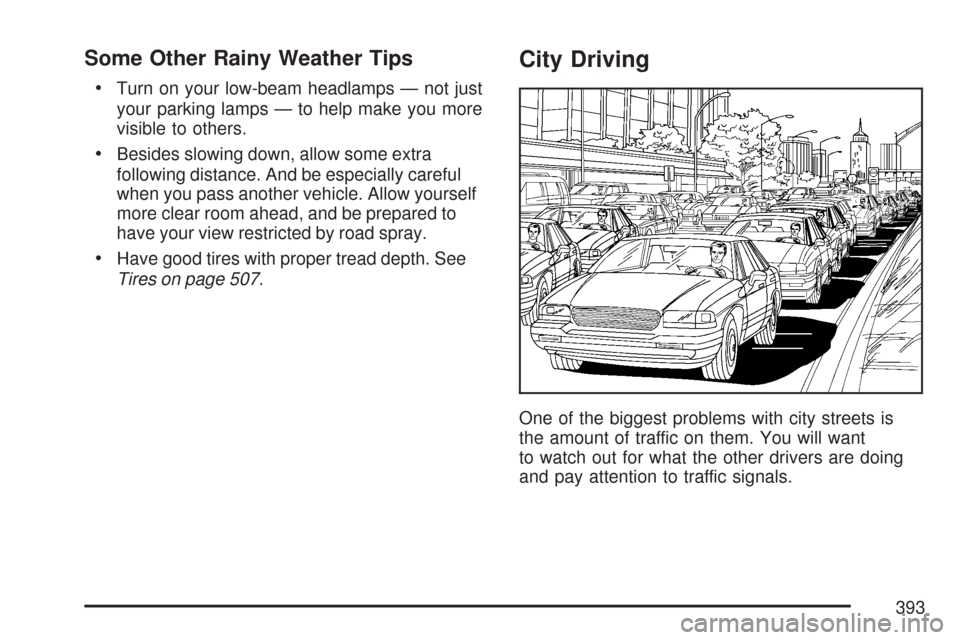
One of the biggest problems with city streets is
the amount of traffic on them. You will want
to watch out for what the other drivers are doing
and pay attention to traffic signals.
393
Page 499 of 634
What to Use
Refer to the Maintenance Schedule to determine
what kind of lubricant to use. SeeRecommended
Fluids and Lubricants on page 590.
Headlamp Aiming
The vehicle has a visual optical headlamp aiming
system. The aim of the headlamps have been
preset at the factory and should need no further
adjustment.
However, if the vehicle is damaged in an accident,
the aim of the headlamps may be affected and
adjustment may be necessary.
If oncoming vehicles �ash their high beams at
you, this may mean the vertical aim of your
headlamps needs to be adjusted.
It is recommended that the vehicle is taken to your
dealer/retailer for service if the headlamps need
to be adjusted. It is possible however, to re-aim the
headlamps as described in the following
procedure.The vehicle should be properly prepared as
follows:
The vehicle should be placed so the headlamps
are 25 ft. (7.6 m) from a light colored wall.
The vehicle must have all four tires on a level
surface which is level all the way to the wall.
The vehicle should be placed so it is
perpendicular to the wall.
The vehicle should not have any snow, ice, or
mud on it.
The vehicle should be fully assembled and all
other work stopped while headlamp aiming is
being performed.
The vehicle should be normally loaded with a
full tank of fuel and one person or 160 lbs
(75 kg) sitting on the driver’s seat.
Tires should be properly in�ated.
The spare tire is in its proper location in the
vehicle.
Headlamp aiming is done with the vehicle’s
low-beam headlamps. The high-beam headlamps
will be correctly aimed if the low-beam headlamps
are aimed properly.
499