warning light CHEVROLET SUBURBAN 2010 10.G Owners Manual
[x] Cancel search | Manufacturer: CHEVROLET, Model Year: 2010, Model line: SUBURBAN, Model: CHEVROLET SUBURBAN 2010 10.GPages: 608, PDF Size: 6.53 MB
Page 9 of 608

A.Outlet Adjustment on page 4‑26.
B. Turn Signal/Multifunction Lever on page 4‑4.
C. Instrument Panel Cluster on page 4‑30.
D. Hazard Warning Flashers
on page 4‑3.
E. Shift Lever. See Automatic Transmission Operation
on page 3‑32.
F. Tow/Haul Mode
on page 3‑38(If Equipped).
G. Driver Information Center (DIC) Buttons. See Driver Information Center (DIC) on page 4‑47.
H. Audio System(s) on page 4‑80.
I. Exterior Lamps on page 4‑11.
J. Dome Lamp Override
on page 4‑15.Instrument
Panel Brightnesson page 4‑14. Fog Lampson
page 4‑13(If Equipped).
K. Hood Release on page 6‑14.
L. Integrated Trailer Brake Controller (If Equipped). Towing a Trailer on page 5‑47.
M. Automatic Transfer Case Control. (If Equipped). See Four-Wheel Drive (Two Speed Automatic
Transfer Case)
on page 3‑39or Four-Wheel Drive
(Single Speed Automatic Transfer Case)on
page 3‑44. N.
Cruise Control on page 4‑8.
O. Tilt Wheel on page 4‑3.
P. Horn on page 4‑3.
Q. Audio Steering Wheel Controls on page 4‑136.
R. Climate Control System
on page 4‑18orDual
Automatic Climate Control Systemon page 4‑20(If Equipped).
S. Accessory Power Outlet(s)
on page 4‑16.
Cigarette Lighter (If Equipped). See Ashtray(s) and
Cigarette Lighter
on page 4‑17.
T. StabiliTrak®Systemon page 5‑6(If Equipped).
Pedal Adjust Button (If Equipped). See Adjustable
Throttle and Brake Pedal
on page 3‑30. Ultrasonic
Rear Parking Assist (URPA)on page 3‑56(If Equipped). Heated Windshield Washer Fluid
Button (If Equipped). See Windshield Washeron
page 4‑6. Power Assist Stepson page 3‑17(If Equipped).
U. Glove Box on page 3‑73.
1-3
Page 33 of 608
Performance and Maintenance
StabiliTrak®
The vehicle may have a traction control system that
limits wheel spin and the StabiliTrak system that assists
with directional control of the vehicle in difficult driving
conditions. Both systems turn on automatically every
time the vehicle is started.
.To turn off traction control, press and release5on
the instrument panel.
Filluminates and the
appropriate DIC message displays. See DIC
Warnings and Messages on page 4‑61.
.To turn off both traction control and Electronic
Stability Control, press and hold
5until
Filluminates and the appropriate DIC message
displays. See DIC Warnings and Messageson
page 4‑61.
.Press and release the button again to turn on both
systems.
For more information, see StabiliTrak
®Systemon
page 5‑6.
Tire Pressure Monitor
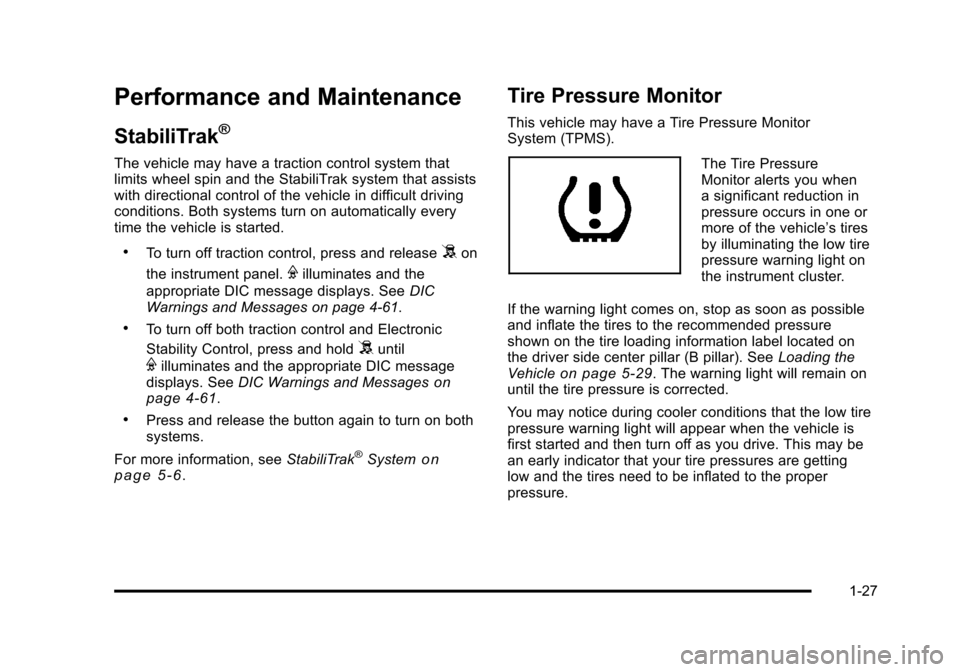
This vehicle may have a Tire Pressure Monitor
System (TPMS).
The Tire Pressure
Monitor alerts you when
a significant reduction in
pressure occurs in one or
more of the vehicle’s tires
by illuminating the low tire
pressure warning light on
the instrument cluster.
If the warning light comes on, stop as soon as possible
and inflate the tires to the recommended pressure
shown on the tire loading information label located on
the driver side center pillar (B pillar). See Loading the
Vehicle
on page 5‑29. The warning light will remain on
until the tire pressure is corrected.
You may notice during cooler conditions that the low tire
pressure warning light will appear when the vehicle is
first started and then turn off as you drive. This may be
an early indicator that your tire pressures are getting
low and the tires need to be inflated to the proper
pressure.
1-27
Page 46 of 608
Heated Seats
{WARNING:
If you cannot feel temperature change or pain to
the skin, the seat heater may cause burns even
at low temperatures. To reduce the risk of burns,
people with such a condition should use care
when using the seat heater, especially for long
periods of time. Do not place anything on the seat
that insulates against heat, such as a blanket,
cushion, cover or similar item. This may cause
the seat heater to overheat. An overheated seat
heater may cause a burn or may damage
the seat.On vehicles with heated front seats, the controls are
located on the driver and passenger doors.
I
(Heated Seatback): Press to turn on the heated
seatback.
J (Heated Seat and Seatback): Press to turn on the
heated seat and seatback.
The light on the button will come on to indicate that the
feature is working. Press the button to cycle through the
temperature settings of high, medium, and low and to
turn the heat to the seat off. Indicator lights will show
the level of heat selected: three for high, two for
medium, and one for low.
The heated seats will be canceled 10 seconds after the
ignition is turned off. To use the heated seat feature
after restarting the vehicle, press the heated seat or
seatback button again.
2-8
Page 58 of 608
Folding and Tumbling the Second Row
Seat(s) from the Third Row Seats or
Outside
{WARNING:
Using the third row seating position while the
second row is folded, or folded and tumbled, could
cause injury in a sudden stop or crash. Be sure to
return the seat to the passenger seating position.
Push and pull on the seat to make sure it is
locked into place.
To fold and tumble the seat from the third row seats,
if your vehicle has them: 1. Make sure that there is nothing under, in front of, or on the seat.
Notice: Folding a rear seat with the safety belts
still fastened may cause damage to the seat or the
safety belts. Always unbuckle the safety belts and
return them to their normal stowed position before
folding a rear seat.
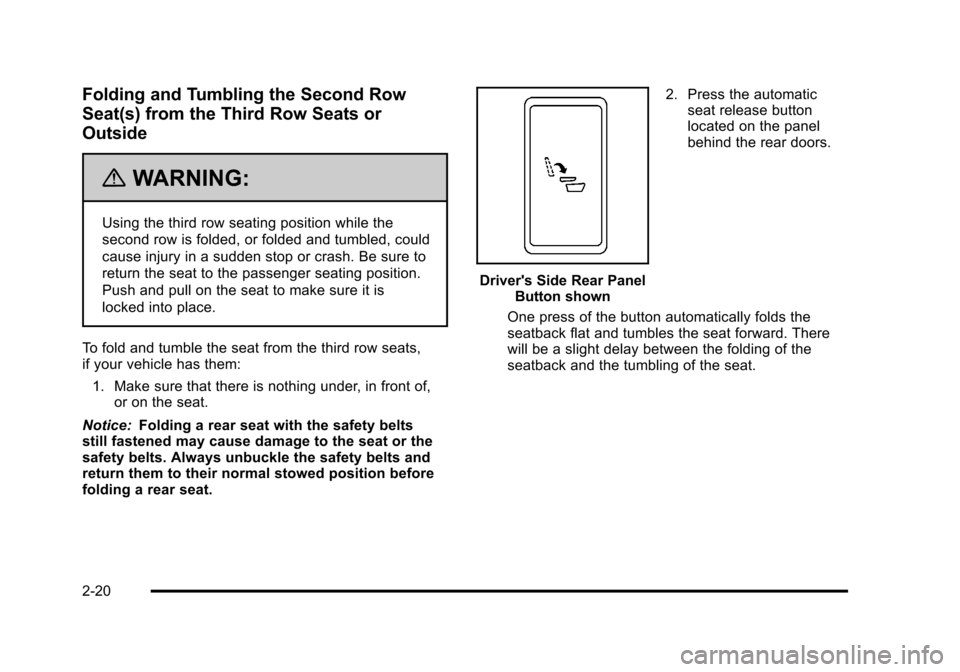
Driver's Side Rear Panel Button shown 2. Press the automatic
seat release button
located on the panel
behind the rear doors.
One press of the button automatically folds the
seatback flat and tumbles the seat forward. There
will be a slight delay between the folding of the
seatback and the tumbling of the seat.
2-20
Page 64 of 608
Folding and Tumbling the Second Row
Seat(s) from the Third Row Seats or
Outside
{WARNING:
Using the third row seating position while the
second row is folded, or folded and tumbled, could
cause injury in a sudden stop or crash. Be sure to
return the seat to the passenger seating position.
Push and pull on the seat to make sure it is
locked into place.
To fold and tumble the seat from the third row seats,
if your vehicle has them, do the following: 1. Make sure that there is nothing under, in front of, or on the seat.
Notice: Folding a rear seat with the safety belts
still fastened may cause damage to the seat or the
safety belts. Always unbuckle the safety belts and
return them to their normal stowed position before
folding a rear seat.
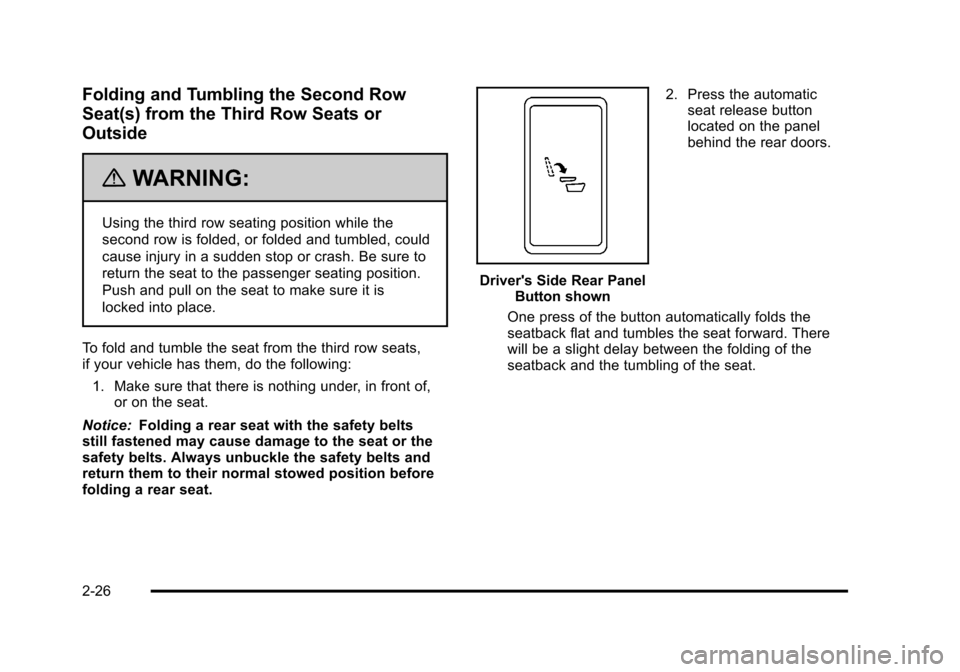
Driver's Side Rear Panel Button shown 2. Press the automatic
seat release button
located on the panel
behind the rear doors.
One press of the button automatically folds the
seatback flat and tumbles the seat forward. There
will be a slight delay between the folding of the
seatback and the tumbling of the seat.
2-26
Page 68 of 608
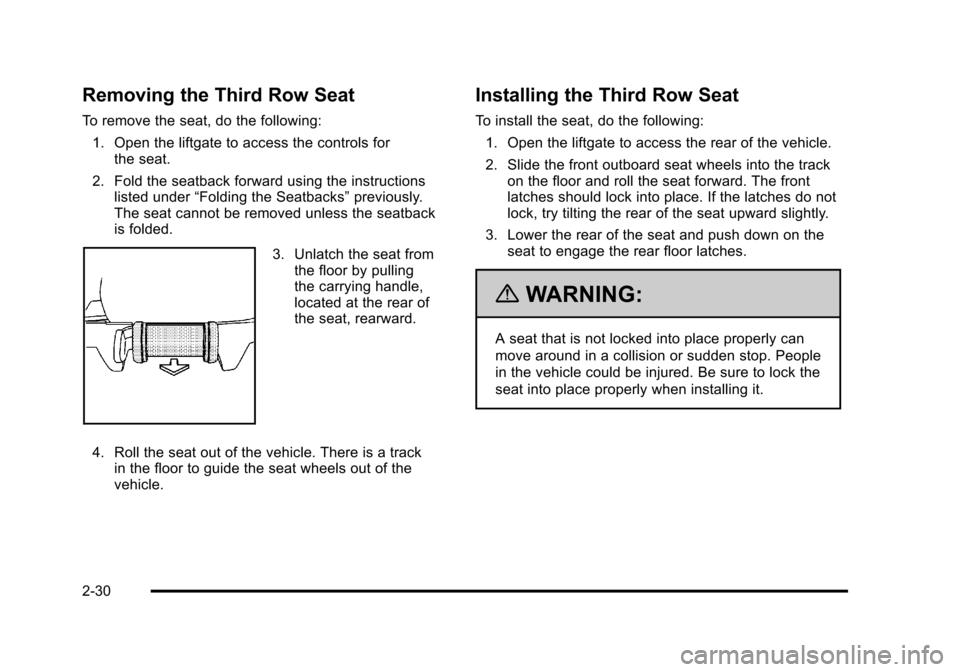
Removing the Third Row Seat
To remove the seat, do the following:1. Open the liftgate to access the controls for the seat.
2. Fold the seatback forward using the instructions listed under “Folding the Seatbacks” previously.
The seat cannot be removed unless the seatback
is folded.
3. Unlatch the seat from the floor by pulling
the carrying handle,
located at the rear of
the seat, rearward.
4. Roll the seat out of the vehicle. There is a track in the floor to guide the seat wheels out of the
vehicle.
Installing the Third Row Seat
To install the seat, do the following:
1. Open the liftgate to access the rear of the vehicle.
2. Slide the front outboard seat wheels into the track on the floor and roll the seat forward. The front
latches should lock into place. If the latches do not
lock, try tilting the rear of the seat upward slightly.
3. Lower the rear of the seat and push down on the seat to engage the rear floor latches.
{WARNING:
A seat that is not locked into place properly can
move around in a collision or sudden stop. People
in the vehicle could be injured. Be sure to lock the
seat into place properly when installing it.
2-30
Page 123 of 608
{WARNING:
Children who are up against, or very close to, any
airbag when it inflates can be seriously injured
or killed. Airbags plus lap-shoulder belts offer
protection for adults and older children, but not for
young children and infants. Neither the vehicle's
safety belt system nor its airbag system is
designed for them. Young children and infants
need the protection that a child restraint system
can provide. Always secure children properly in
your vehicle. To read how, seeOlder Children
on
page 2‑55
or Infants and Young Childrenon
page 2‑59
.
There is an airbag
readiness light on the
instrument panel cluster,
which shows the airbag
symbol.
The system checks the airbag electrical system for
malfunctions. The light tells you if there is an electrical
problem. See Airbag Readiness Light
on page 4‑32for
more information.
2-85
Page 133 of 608
The passenger sensing system is designed to turn off
the right front passenger frontal airbag if:
.The right front passenger seat is unoccupied.
.The system determines an infant is present in a
child restraint.
.A right front passenger takes his/her weight off of
the seat for a period of time.
.Or, if there is a critical problem with the airbag
system or the passenger sensing system.
When the passenger sensing system has turned off the
right front passenger frontal airbag, the off indicator will
light and stay lit to remind you that the airbag is off. See
Passenger Airbag Status Indicator on page 4‑33.
The passenger sensing system is designed to turn on
(may inflate) the right front passenger frontal airbag
anytime the system senses that a person of adult size is
sitting properly in the right front passenger seat.
When the passenger sensing system has allowed the
airbag to be enabled, the on indicator will light and stay
lit to remind you that the airbag is active. For some children, including children in child restraints,
and for very small adults, the passenger sensing
system may or may not turn off the right front passenger
frontal airbag, depending upon the person's seating
posture and body build. Everyone in your vehicle who
has outgrown child restraints should wear a safety belt
properly
—whether or not there is an airbag for that
person.
{WARNING:
If the airbag readiness light ever comes on and
stays on, it means that something may be wrong
with the airbag system. To help avoid injury to
yourself or others, have the vehicle serviced right
away. See Airbag Readiness Light
on page 4‑32
for more information, including important safety
information.
2-95
Page 140 of 608
Replacing Restraint System Parts
After a Crash
{WARNING:
A crash can damage the restraint systems in your
vehicle. A damaged restraint system may not
properly protect the person using it, resulting in
serious injury or even death in a crash. To help
make sure your restraint systems are working
properly after a crash, have them inspected and
any necessary replacements made as soon as
possible.
If the vehicle has been in a crash, do you need new
safety belts or LATCH system (if equipped) parts? After a very minor crash, nothing may be necessary. But
the safety belt assemblies that were used during any
crash may have been stressed or damaged. See your
dealer to have the safety belt assemblies inspected or
replaced.
If the vehicle has the LATCH system and it was being
used during a crash, you may need new LATCH system
parts.
New parts and repairs may be necessary even if the
safety belt or LATCH system (if equipped), was not
being used at the time of the crash.
If an airbag inflates, you will need to replace airbag
system parts. See the part on the airbag system earlier
in this section.
Have the safety belt pretensioners checked if the
vehicle has been in a crash, if the airbag readiness light
stays on after the vehicle is started, or while you are
driving. See
Airbag Readiness Light
on page 4‑32.
2-102
Page 148 of 608
Do not use the remote start feature if your vehicle is low
on fuel. Your vehicle may run out of fuel.
If your vehicle has the remote start feature, the RKE
transmitter functions will have an increased range of
operation. However, the range may be less while the
vehicle is running.
There are other conditions which can affect the
performance of the transmitter, seeRemote Keyless
Entry (RKE) System
on page 3‑4for additional
information.
/ (Remote Start): This button will be on the RKE
transmitter if you have remote start.
To start the vehicle using the remote start feature:
1. Aim the transmitter at the vehicle.
2. Press and release the transmitter's lock button. The vehicle's doors will lock. Immediately press
and hold the transmitter's remote start button until
the turn signal lights flash. If you cannot see the
vehicle's lights, press and hold the remote start
button for two to four seconds. Pressing the remote
start button again after the vehicle has started will
turn the engine off. When the vehicle starts, the parking lamps will turn
on and remain on while the vehicle is running.
If the vehicle is left running it will automatically shut
off after 10 minutes unless a time extension has
been done.
3. If it is the first remote start since the vehicle has been driven, repeat these steps, while the engine
is still running, to extend the engine running time
by 10 minutes. Remote start can be extended
one time.
After entering the vehicle during a remote start, insert
and turn the key to RUN to drive the vehicle.
To manually shut off a remote start, do any of the
following:
.Aim the RKE transmitter at the vehicle and press
the remote start button until the parking lamps
turn off.
.Turn on the hazard warning flashers.
.Turn the ignition switch on and then off.
3-8