CHEVROLET TAHOE 1995 1.G Owners Manual
Manufacturer: CHEVROLET, Model Year: 1995, Model line: TAHOE, Model: CHEVROLET TAHOE 1995 1.GPages: 486, PDF Size: 27.22 MB
Page 151 of 486
Downloaded from www.Manualslib.com manuals search engine Convenience Net
If you have a convenience net, it is stored in a pouch attached to the spare
tire cover on 2-door Utility and Suburban models. On 4-door Utility
models, the pouch is placed in the storage compartment at the driver’s side
rear
of the cargo area.
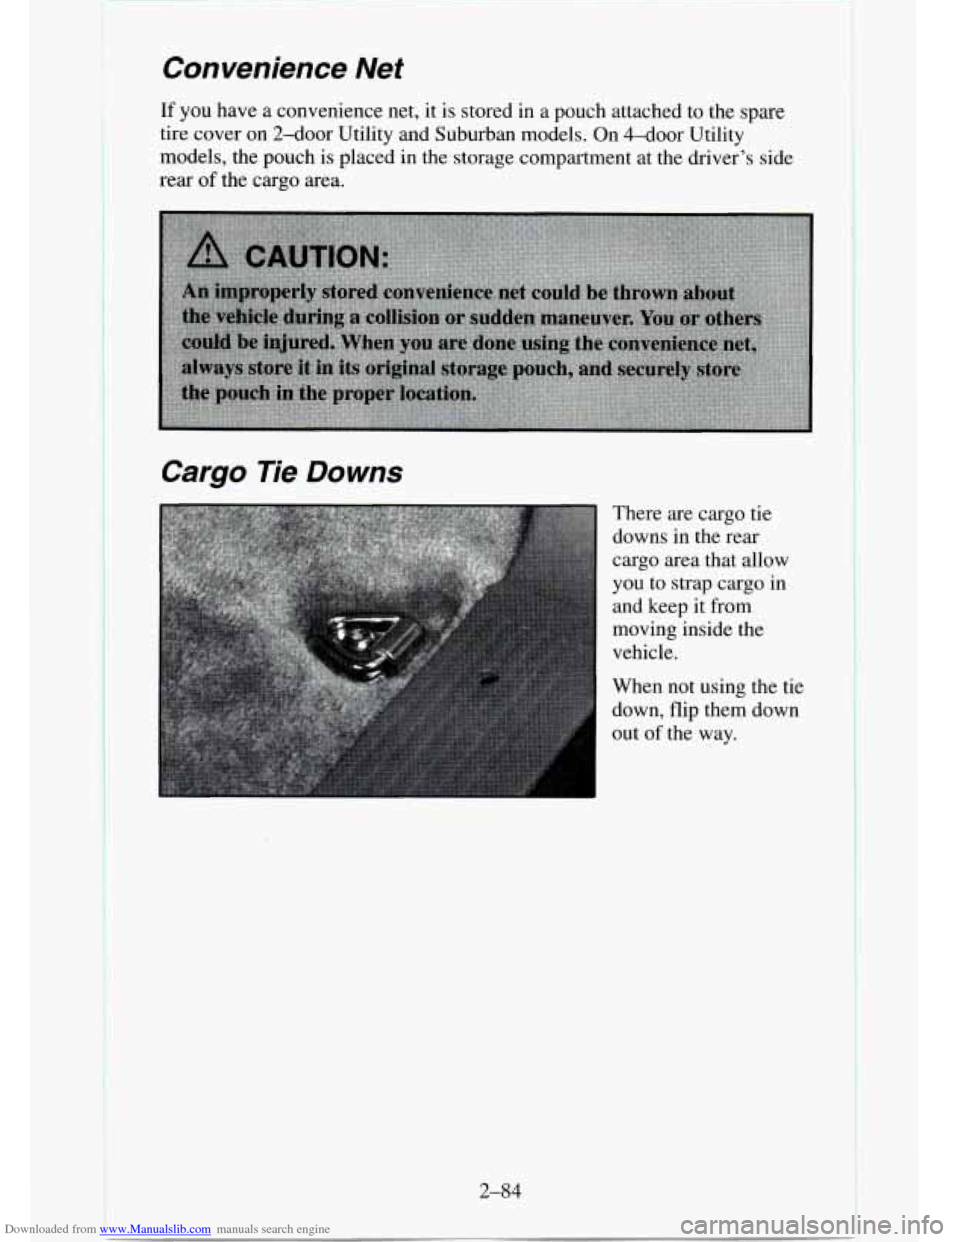
Cargo Tie Downs
There are cargo tie
downs in the rear cargo area that allow
you to strap cargo in
and keep it from
moving inside the
vehicle.
When not using the tie
down, flip them down
out
of the way.
2-84
Page 152 of 486
Downloaded from www.Manualslib.com manuals search engine Luggage Carrier
If you have a luggage carrier, you can load things on top of your vehicle.
The luggage carrier has slats and side rails attached to the roof, and cross
rails which can be moved fore and aft in the side rails to help secure cargo.
Tie the load to
the side rails or side rail supports. Use the cross rails mostly
for fore and aft stops.
NOTICE:
Loading cargo that weighs more than 200 pounds (90.6 kg) on
the luggage carrier may damage your vehicle. When you carry
large things, never let them hang over the rear or the sides of
your vehicle. Load your cargo
so that it rests on the slats and
does not scratch or damage the vehicle. Put the cargo against the
side rails and fasten it securely to the luggage carrier.
Don’t exceed the maximum vehicle capacity when loading your vehicle. For
more information on vehicle capacity and loading, see “Loading Your
Vehicle”
in the Index.
To prevent damage or loss of cargo as you’re driving, check now and then to
make sure the luggage carrier and cargo are still securely fastened.
Be sure
the cargo is properly loaded.
0 If small heavy objects are placed on the roof, place the load in the area
over the rear wheels (behind the rear side door on Suburbans).
If you
need
to, cut a piece of 3/8 inch plywood to fit inside the cross rails and
side rails to spread the load.
If plywood is used, tie it to the side rail
supports.
Tie the load to the cross rails or the side rail supports. Use the cross
rails
only to keep the load from sliding.
If you need to carry long items, move the cross rails as far apart as they
will go. Tie
the load to the cross rails and the side rails or side rail
supports. Also tie
the load to the bumpers. Do not tie the load so tightly
that the cross rails or side rails are damaged.
0 After moving the cross rails, be sure to tighten all the slider screws.
Trailer Wiring Harness
A 7-wire harness is stored under your vehicle along the rear frame
crossmember. The harness connects
to the underhood electrical center and
no connector, and should be wired by a qualified electrical technician.
2-85
Page 153 of 486
Downloaded from www.Manualslib.com manuals search engine Securely attach the harness to the trailer, then tape or strap it to your
vehicle’s frame rail.
Be sure you leave it loose enough so the wiring won’t
bind or break when turning with the trailer, but not
so loose that it drags on
the ground.
Store the harness in its original position. Wrap the harness together and tie it
neatly
so it won’t be damaged.
If you do tow a trailer, your Center High Mount Stoplamp (CHMSL) may
not be properly visible from behind.
You should select a trailer with a
CHMSL on it or, if one is not available, have one installed. See your GM
dealer about how to connect your vehicle’s wiring to a trailer CHMSL.
Step-Bumper Pad
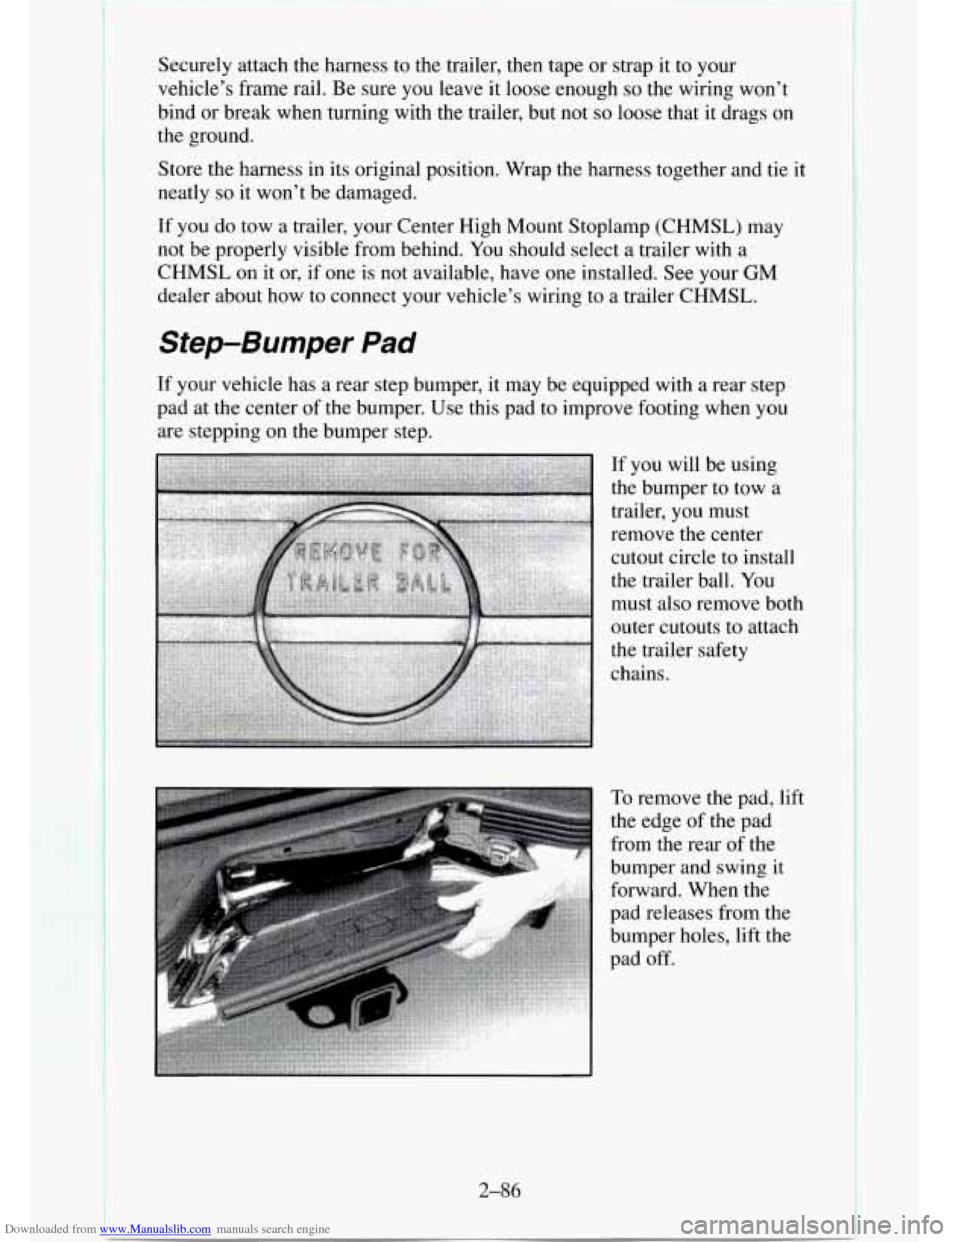
If your vehicle has a rear step bumper, it may be equipped with a rear step
pad at the center
of the bumper. Use this pad to improve footing when you
are stepping on the bumper step.
If you will be using
the bumper to tow a
trailer, you must
remove the center
cutout circle
to install
the trailer ball. You
must also remove both
outer cutouts to attach
the trailer safety
chains.
2-86
Page 154 of 486

Downloaded from www.Manualslib.com manuals search engine Notes
2-87
Page 155 of 486
Downloaded from www.Manualslib.com manuals search engine Notes
2-88
Page 156 of 486
Downloaded from www.Manualslib.com manuals search engine Comfort Controls and Audio Systems
Section
In this section you’ll find out how to operate the comfort control systems
and audio systems offered with your vehicle.
Be sure to read about the
particular system supplied with your vehicle.
Comfort Controls
Heater Controls
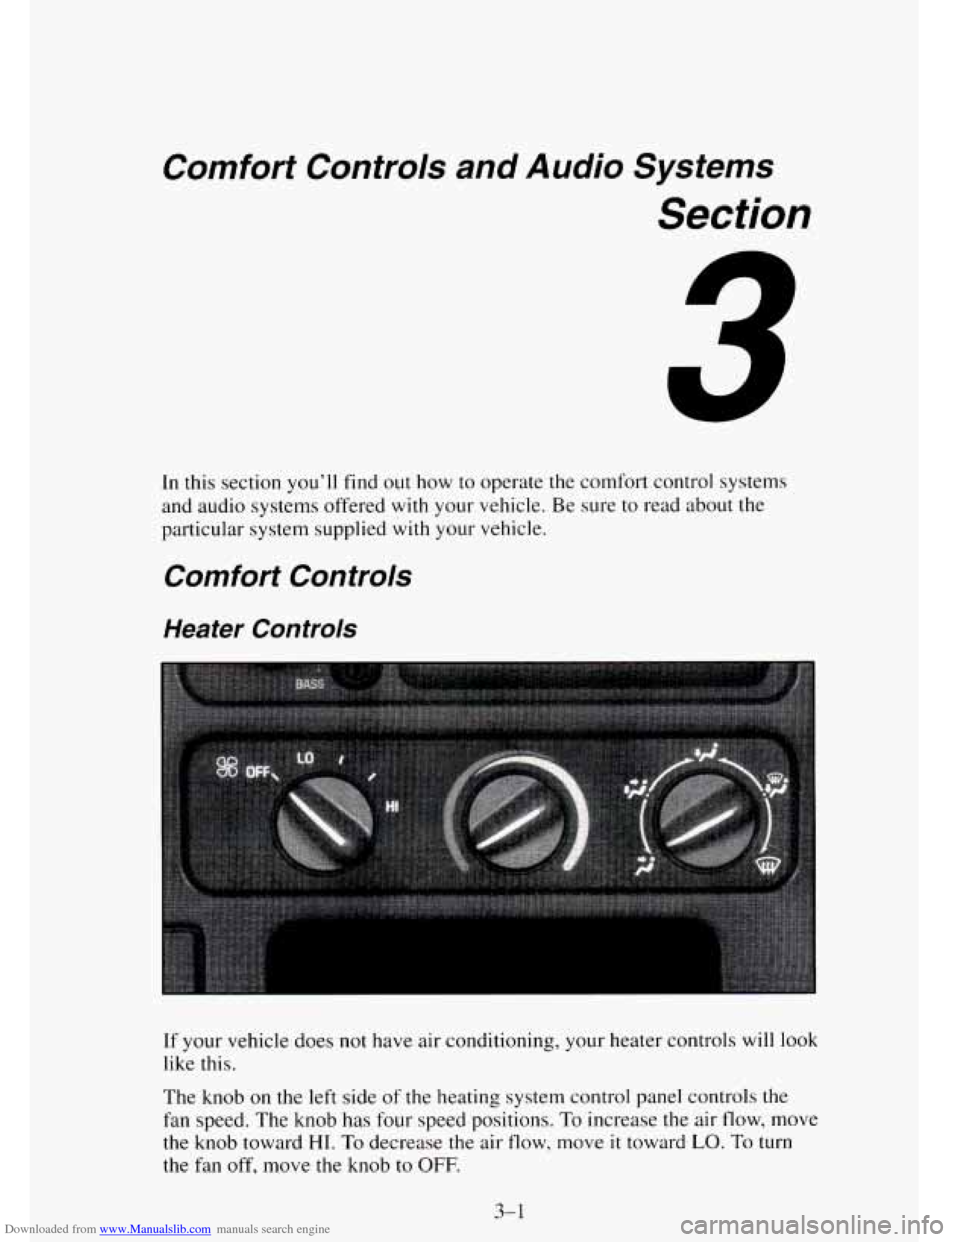
If your vehicle does not have air conditioning, your heater controls will look
like this.
The knob
on the left side of the heating system control panel controls the
fan speed. The knob has four speed positions. To increase the air flow, move
the knob toward
HI. To decrease the air flow, move it toward LO. To turn
the fan off, move the knob
to OFF,
3-1
Page 157 of 486
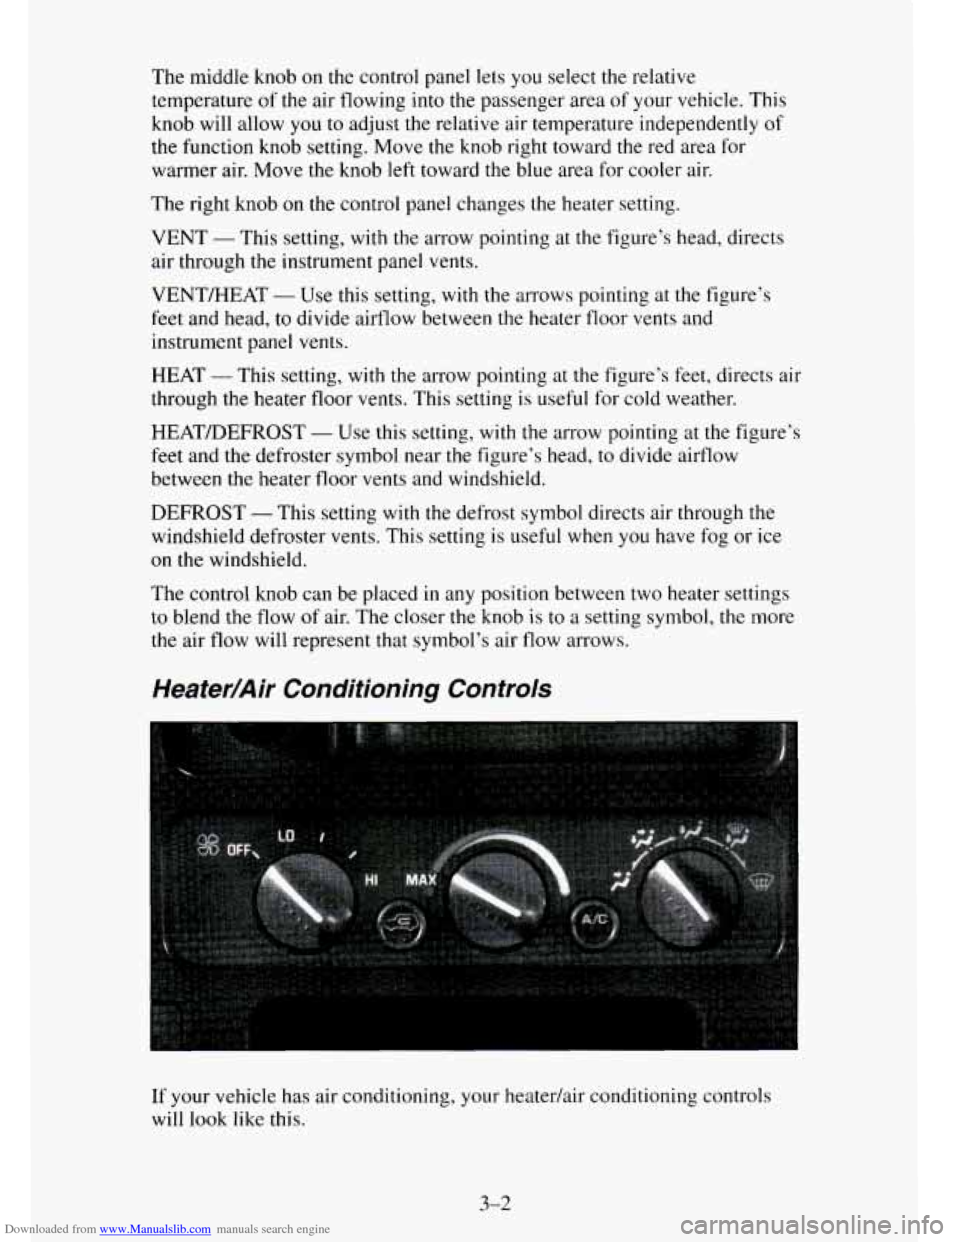
Downloaded from www.Manualslib.com manuals search engine The middle knob on the control panel lets you select the relative
temperature
of the air flowing into the passenger area of your vehicle. This
knob will allow
you to adjust the relative air temperature independently of
the function knob setting. Move the knob right toward the red area for
warmer air. Move the knob left toward the blue area for cooler air.
The right
knob on the control panel changes the heater setting.
VENT
- This setting, with the arrow pointing at the figure’s head, directs
air through the instrument panel vents.
VENT/HEAT
- Use this setting, with the arrows pointing at the figure’s
feet and head, to divide airflow between the heater
floor vents and
instrument panel vents.
HEAT -This setting, with the arrow pointing at the figure’s
feet, directs air
through
the heater floor vents. This setting is useful for cold weather.
HEAT/DEFROST
- Use this setting, with the arrow pointing at the figure’s
feet
and the defroster symbol near the figure’s head, to divide airflow
between the heater floor vents and windshield.
DEFROST -This setting with the defrost symbol directs air through the
windshield defroster vents.
This setting is useful when you have fog or ice
on the windshield.
The control knob
can be placed in any position between two heater settings
to blend the flow of air. The closer the knob is to a setting symbol, the more
the air flow will represent
that symbol’s air flow arrows.
Heater/Air Conditioning Controls
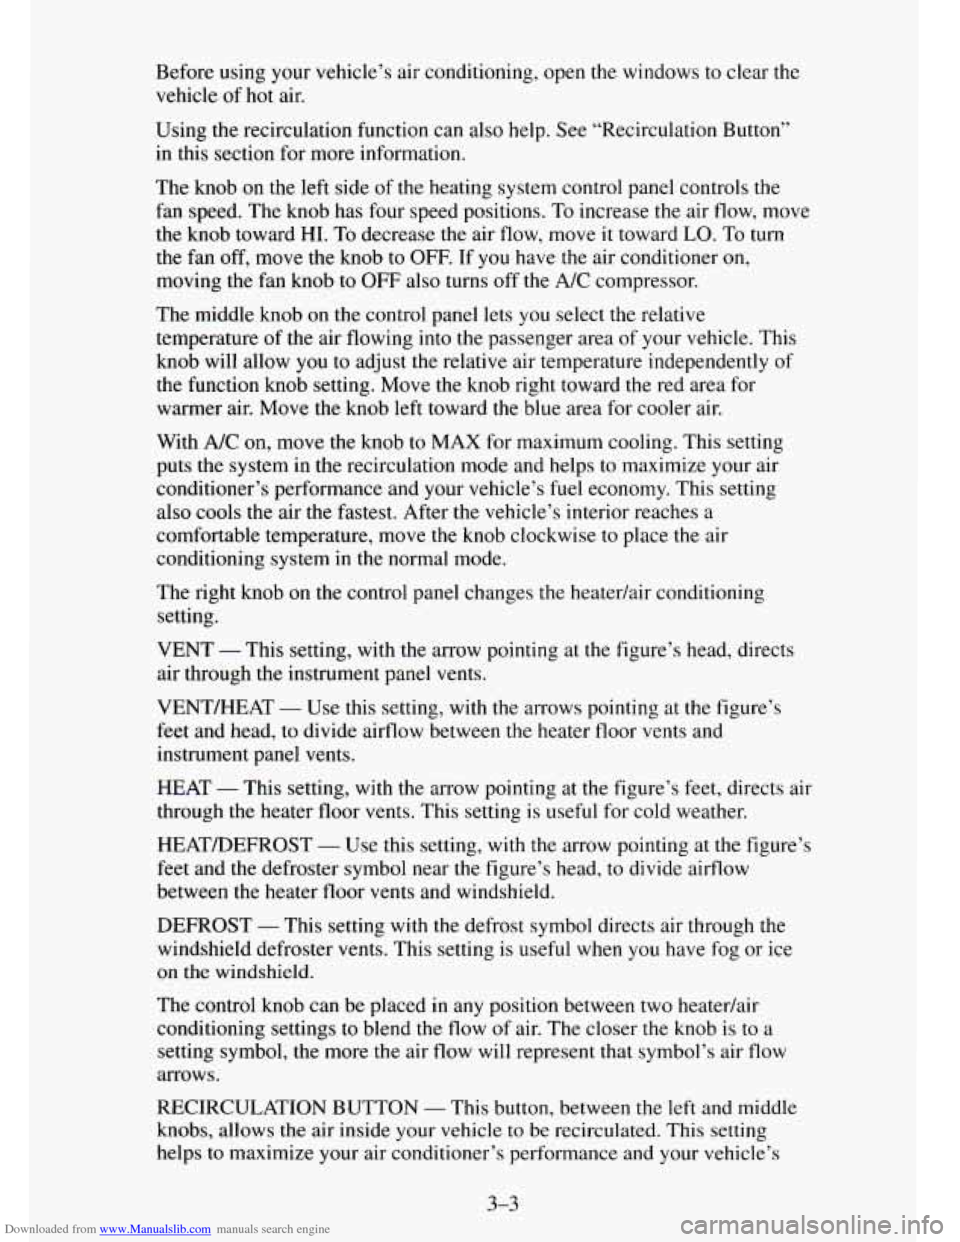
If your vehicle has air conditioning, your heatedair conditioning controls
will look like this.
3-2
Page 158 of 486
Downloaded from www.Manualslib.com manuals search engine Before using your vehicle’s air conditioning, open the windows to clear the
vehicle of
hot air.
Using the recirculation function can also help. See “Recirculation Button”
in this section for more information.
The knob on the left side of the heating system control panel controls the
fan speed. The knob has four speed positions. To increase the air flow, move
the knob toward HI.
To decrease the air flow, move it toward LO. To turn
the fan off, move the knob to
OFF. If you have the air conditioner on,
moving the fan knob to OFF also turns off the A/C compressor.
The middle knob
on the control panel lets you select the relative
temperature
of the air flowing into the passenger area of your vehicle. This
knob will allow
you to adjust the relative air temperature independently of
the function knob setting. Move the knob right toward the red area for
warmer air. Move the knob left toward the blue area for cooler air.
With
A/C on, move the knob to MAX for maximum cooling. This setting
puts the system in the recirculation mode and helps to maximize your air
conditioner’s performance and your vehicle’s fuel economy. This setting
also cools the air
the fastest. After the vehicle’s interior reaches a
comfortable temperature, move
the knob clockwise to place the air
conditioning system
in the normal mode.
The right knob on the control panel changes the heatedair conditioning
setting.
VENT
- This setting, with the arrow pointing at the figure’s head, directs
air through the instrument panel vents.
VENT/HEAT
- Use this setting, with the arrows pointing at the figure’s
feet and head, to divide airflow between the heater floor vents and
instrument panel vents.
HEAT
- This setting, with the arrow pointing at the figure’s feet, directs air
through the heater floor vents. This setting
is useful for cold weather.
HEAT/DEFROST
- Use this setting, with the arrow pointing at the figure’s
feet and the defroster symbol near
the figure’s head, to divide airflow
between the heater floor
vents and windshield.
DEFROST
- This setting with the defrost symbol directs air through the
windshield defroster vents. This setting is useful when
you have fog or ice
on the windshield.
The control knob can be placed in any position between two heatedair
conditioning settings to blend the flow of air. The closer the knob
is to a
setting symbol, the more
the air flow will represent that symbol’s air flow
arrows.
RECIRCULATION BUTTON
- This button, between the left and middle
knobs, allows the air inside your vehicle to be recirculated. This setting
helps to maximize your air conditioner’s performance and your vehicle’s
3-3
Page 159 of 486
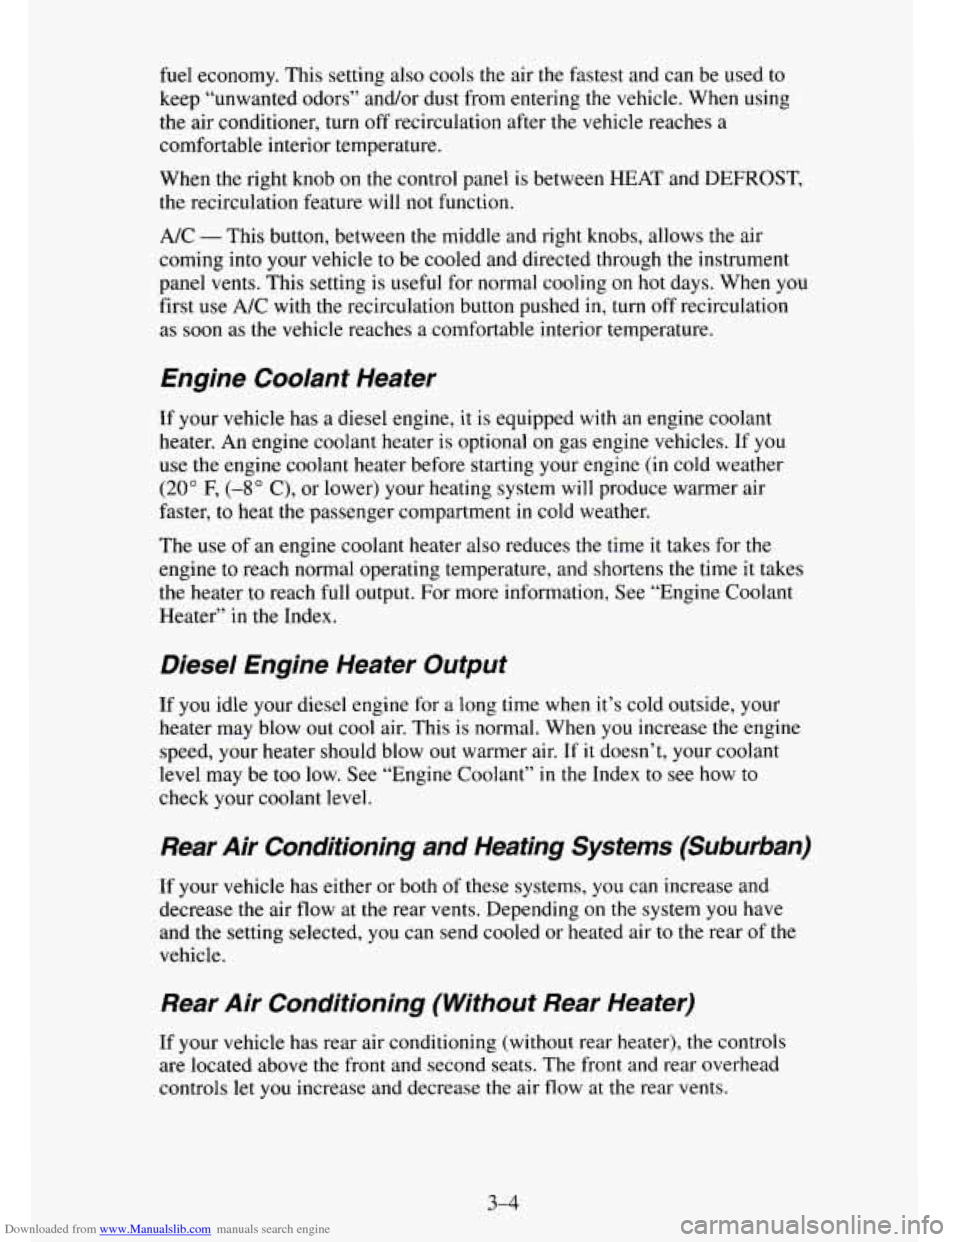
Downloaded from www.Manualslib.com manuals search engine fuel economy. This setting also cools the air the fastest and can be used to
keep “unwanted odors” and/or dust from entering the vehicle. When using
the air conditioner, turn off recirculation after the vehicle reaches
a
comfortable interior temperature.
When the right knob
on the control panel is between HEAT and DEFROST,
the recirculation feature will not function.
NC - This button, between the middle and right knobs, allows the air
coming into your vehicle
to be cooled and directed through the instrument
panel vents. This setting
is useful for normal cooling on hot days. When you
first
use A/C with the recirculation button pushed in, turn off recirculation
as soon as the vehicle reaches a comfortable interior temperature.
Engine Coolant Heater
If your vehicle has a diesel engine, it is equipped with an engine coolant
heater. An engine coolant heater is optional
on gas engine vehicles. If you
use the engine coolant heater before starting your engine (in cold weather
(20” F, (-8” C), or lower) your heating system will produce warmer air
faster, to heat
the passenger compartment in cold weather.
The use of an engine coolant heater also reduces
the time it takes for the
engine to reach normal operating temperature, and shortens the time it takes
the heater
to reach full output. For more information, See “Engine Coolant
Heater” in the Index.
Diesel Engine Heater Output
If you idle your diesel engine for a long time when it’s cold outside, your
heater may blow out cool air. This is normal. When you increase the engine
speed, your heater should blow
out warmer air. If it doesn’t, your coolant
level may be too low. See “Engine Coolant” in the Index to see how to
check your coolant level.
Rear Air Conditioning and Heating Systems (Suburban)
If your vehicle has either or both of these systems, you can increase and
decrease the air flow at the rear vents. Depending
on the system you have
and the setting selected, you can send cooled or heated air to the rear of the
vehicle.
Rear Air Conditioning (Without Rear Heater)
If your vehicle has rear air conditioning (without rear heater), the controls
are located above the front and second seats. The front and rear overhead
controls let
you increase and decrease the air flow at the rear vents.
3-4
Page 160 of 486
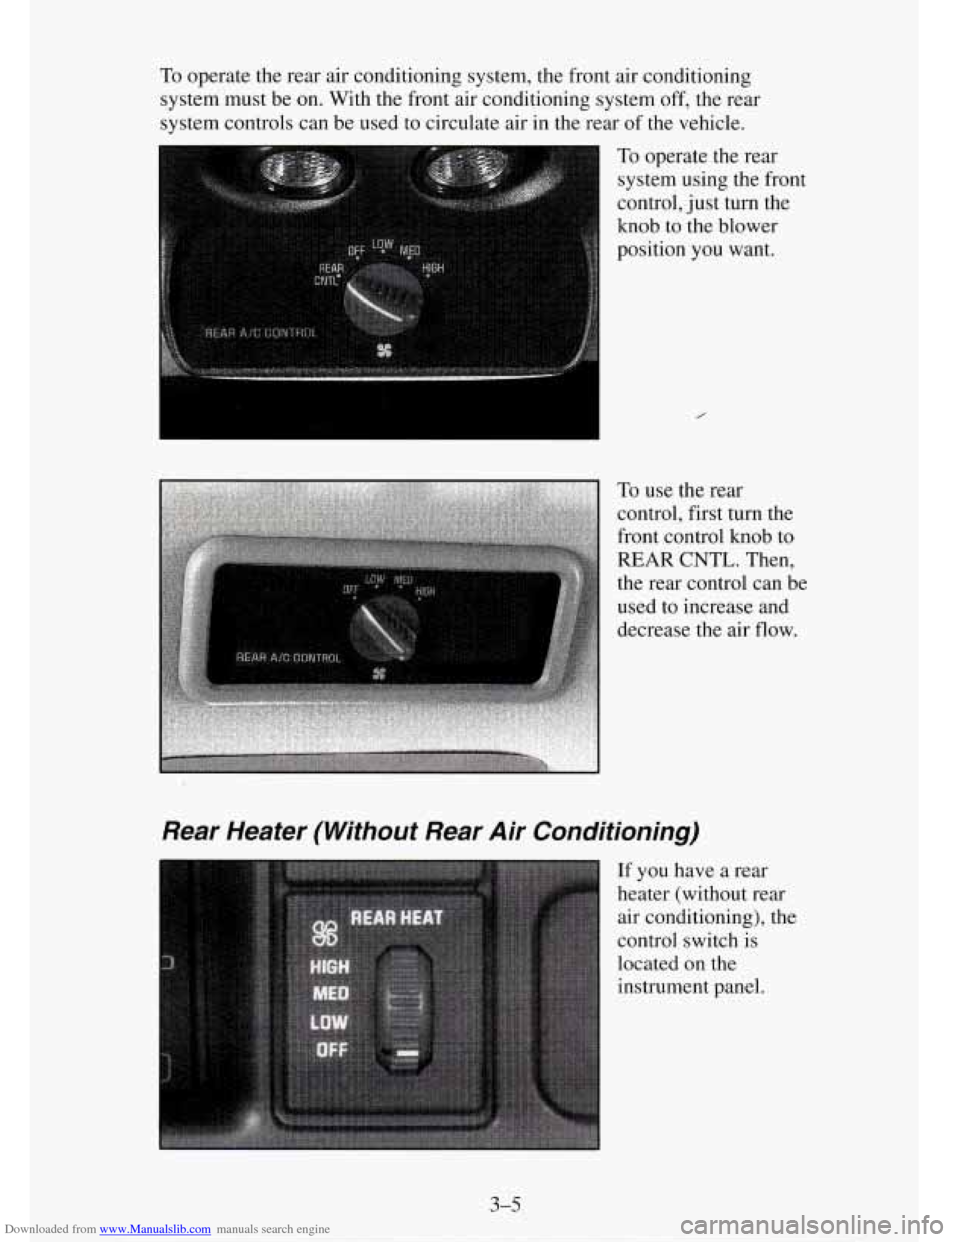
Downloaded from www.Manualslib.com manuals search engine To operate the rear air conditioning system, the front air conditioning
system must be on. With the front air conditioning system
off, the rear
system controls can be used to circulate air in the rear of the vehicle.
0 To operate the rear
system using the front
control, just turn the
knob to the blower
position you want.
Rear Heater (Without Rear Air Conditioning)
If you have a rear
heater (without rear
air conditioning), the
control switch is
located
on the
instrument panel.
3-5