CHEVROLET TAHOE 1995 1.G Owners Manual
Manufacturer: CHEVROLET, Model Year: 1995, Model line: TAHOE, Model: CHEVROLET TAHOE 1995 1.GPages: 486, PDF Size: 27.22 MB
Page 211 of 486
Downloaded from www.Manualslib.com manuals search engine When you want to leave the freeway, move to the proper lane well in
advance. If you miss your exit do not, under any circumstances, stop and
back up. Drive on to the next exit.
The exit ramp
can be curved, sometimes quite sharply.
The exit speed
is usually posted.
Reduce your speed according to your speedometer, not to your sense of
motion. After driving for any distance at higher speeds, you may tend
to
think you are going slower than you actually are.
Before Leaving on a Long Trip
Make sure you’re ready. Try to be well rested. If you must start when you’re
not fresh
- such as after a day’s work - don’t plan to make too many
miles that first part of the journey. Wear comfortable clothing and
shoes you
can easily drive in.
Is your vehicle ready for a long trip? If you keep it serviced and maintained,
it’s ready to go. If
it needs service, have it done before starting out. Of
course, you’ll find experienced and able service experts in
GM dealers all
across
North America. They’ll be ready and willing to help if you need it.
Here are some things you can check before
a trip:
0 Windshield Washer Fluid: Is the reservoir full? Are all windows clean
inside and outside?
Wiper Blades: Are they in good shape?
Fuel, Engine Oil, Other Fluids: Have you checked all levels?
Lamps: Are they all working? Are the lenses clean?
Tires: They are vitally important to a safe, trouble-free trip. Is the tread
good enough for long-distance driving? Are the tires all inflated to the
recommended pressure?
Should you delay your trip a short time to avoid a major
storm system?
Weather Forecasts: What’s the weather outlook along your route?
Maps: Do you have up-to-date maps?
Highway Hypnosis
Is there actually such a condition as “highway hypnosis”? Or is it just plain
falling asleep
at the wheel? Call it highway hypnosis, lack of awareness, or
whatever.
Page 212 of 486
Downloaded from www.Manualslib.com manuals search engine There is something about an easy stretch of road with the same scenery,
along with the hum
of the tires on the road, the drone of the engine, and the
rush of the wind against the vehicle that can make you sleepy. Don’t let it
happen to
you! If it does, your vehicle can leave the road in less than a
second,
and you could crash and be injured.
What can you do about highway hypnosis? First, be aware that it can
happen.
Then here are some tips:
0 Make sure your vehicle is well ventilated, with a comfortably cool
interior.
Keep your eyes moving. Scan the road ahead and to the sides. Check
your mirrors and your instruments frequently.
and take a nap, get some exercise, or both. For safety, treat drowsiness
If you get sleepy, pull off the road into a rest, service, or parking area
on the highway
as an emergency.
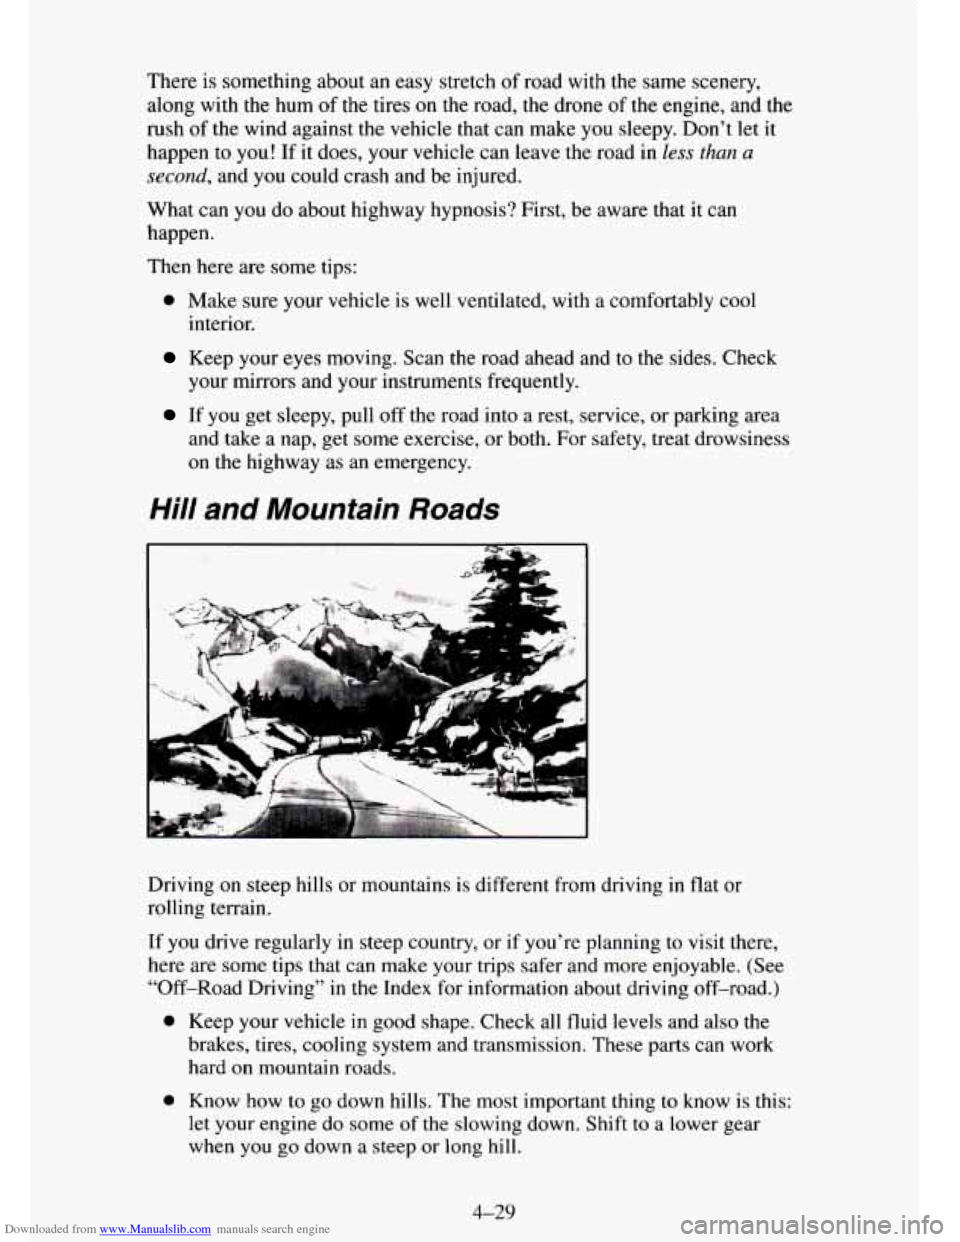
Hill and Mountain Roads
Driving on steep hills or mountains is different from driving in flat or
rolling terrain.
If you drive regularly in steep country, or if you’re planning to visit there,
here are some tips that can make your trips safer and more enjoyable. (See
“Off-Road Driving”
in the Index for information about driving off-road.)
0
0
Keep your vehicle in good shape. Check all fluid levels and also the
brakes, tires, cooling system and transmission. These parts can work
hard on mountain roads.
Know
how to go down hills. The most important thing to know is this:
let your engine
do some of the slowing down. Shift to a lower gear
when
you go down a steep or long hill.
4-29
Page 213 of 486
Downloaded from www.Manualslib.com manuals search engine 0
0
0
0
Know how to go uphill. You may want to shift down to a lower gear.
The lower gears help cool your engine and transmission, and you can
climb the hill better.
Stay in
your own lane when driving on two-lane roads in hills or
mountains. Don’t swing wide or cut across the center of
the road. Drive
at speeds that let you stay
in your own lane.
As you go over the top of a hill, be alert. There could be something in
your lane, like a stalled car or an accident.
You may see highway signs on mountains that warn of special
problems. Examples are long grades, passing or no-passing zones, a
falling rocks area, or winding roads.
Be alert to these and take
appropriate action.
4-30
Page 214 of 486
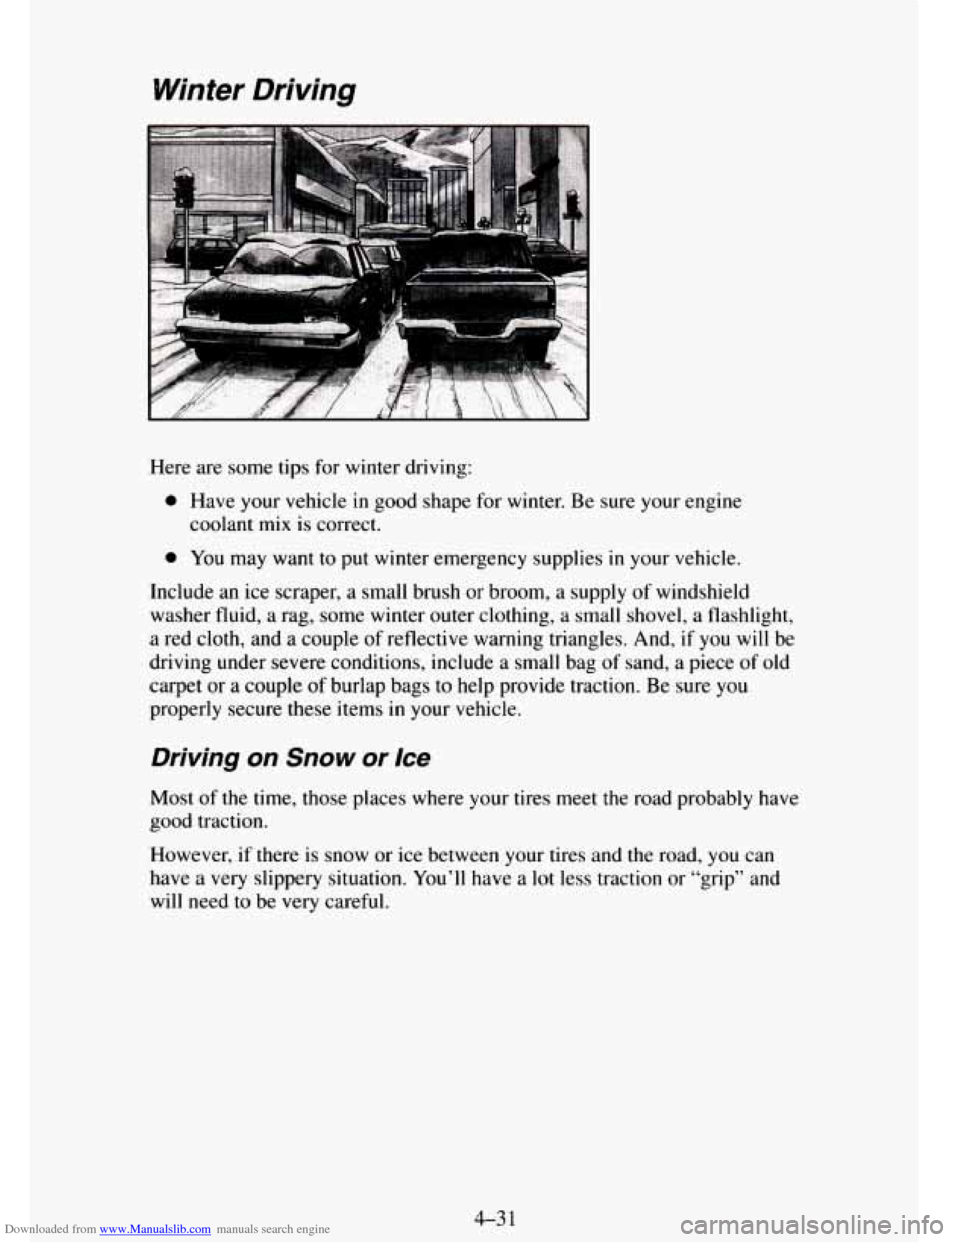
Downloaded from www.Manualslib.com manuals search engine Winter Driving
Here are some tips for winter driving:
0 Have your vehicle in good shape for winter. Be sure your engine
coolant
mix is correct.
0 You may want to put winter emergency supplies in your vehicle.
Include an ice scraper, a small brush
or broom, a supply of windshield
washer fluid, a rag, some winter outer clothing, a small shovel, a flashlight,
a red cloth, and a couple of reflective warning triangles. And,
if you will be
driving under severe conditions, include a small bag of sand, a piece of old
carpet or a couple
of burlap bags to help provide traction. Be sure you
properly secure these items
in your vehicle.
Driving on Snow or Ice
Most of the time, those places where your tires meet the road probably have
good traction.
However,
if there is snow or ice between your tires and the road, you can
have a very slippery situation. You’ll have a lot less traction or “grip” and
will need to be very careful.
4-31
Page 215 of 486
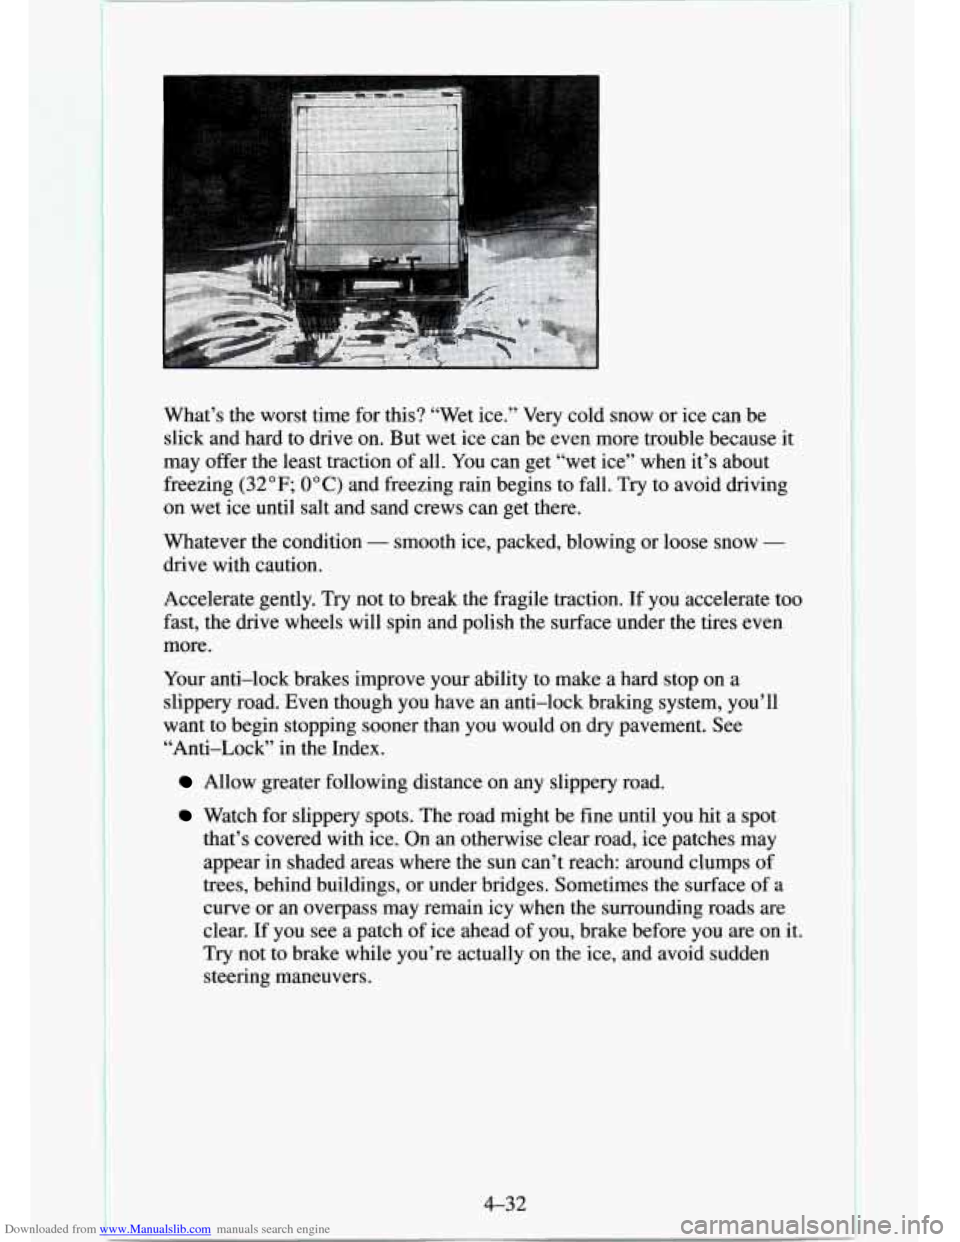
Downloaded from www.Manualslib.com manuals search engine What’s the worst time for this? “Wet ice.” Very cold snow or ice can be
slick and hard to drive on. But wet ice can be even more trouble because it
may offer the least traction
of all. You can get “wet ice” when it’s about
freezing
(32 OF; 0” C) and freezing rain begins to fall. Try to avoid driving
on wet ice until salt and sand crews can get there.
Whatever the condition
- smooth ice, packed, blowing or loose snow -
drive with caution.
Accelerate gently. Try not to break the fragile traction.
If you accelerate too
fast, the drive wheels will spin and polish the surface under the tires
even
more.
Your anti-lock brakes improve your ability to make a hard stop
on a
slippery road. Even though you have an anti-lock braking system, you’ll
want to begin stopping sooner than
you would on dry pavement. See
“Anti-Lock” in the Index.
Allow greater following distance on any slippery road.
Watch for slippery spots. The road might be fine until you hit a spot
that’s covered with ice. On an otherwise clear road, ice patches may
appear in shaded areas where the sun can’t reach: around clumps of
trees, behind buildings, or under bridges. Sometimes
the surface of a
curve or
an overpass may remain icy when the surrounding roads are
clear.
If you see a patch of ice ahead of you, brake before you are on it.
Try not to brake while you’re actually on the ice, and avoid sudden
steering maneuvers.
4-32
I
Page 216 of 486
Downloaded from www.Manualslib.com manuals search engine lf You’re Caught in a Blizzard
b:,: ,.... ..... .. .. .rxx*
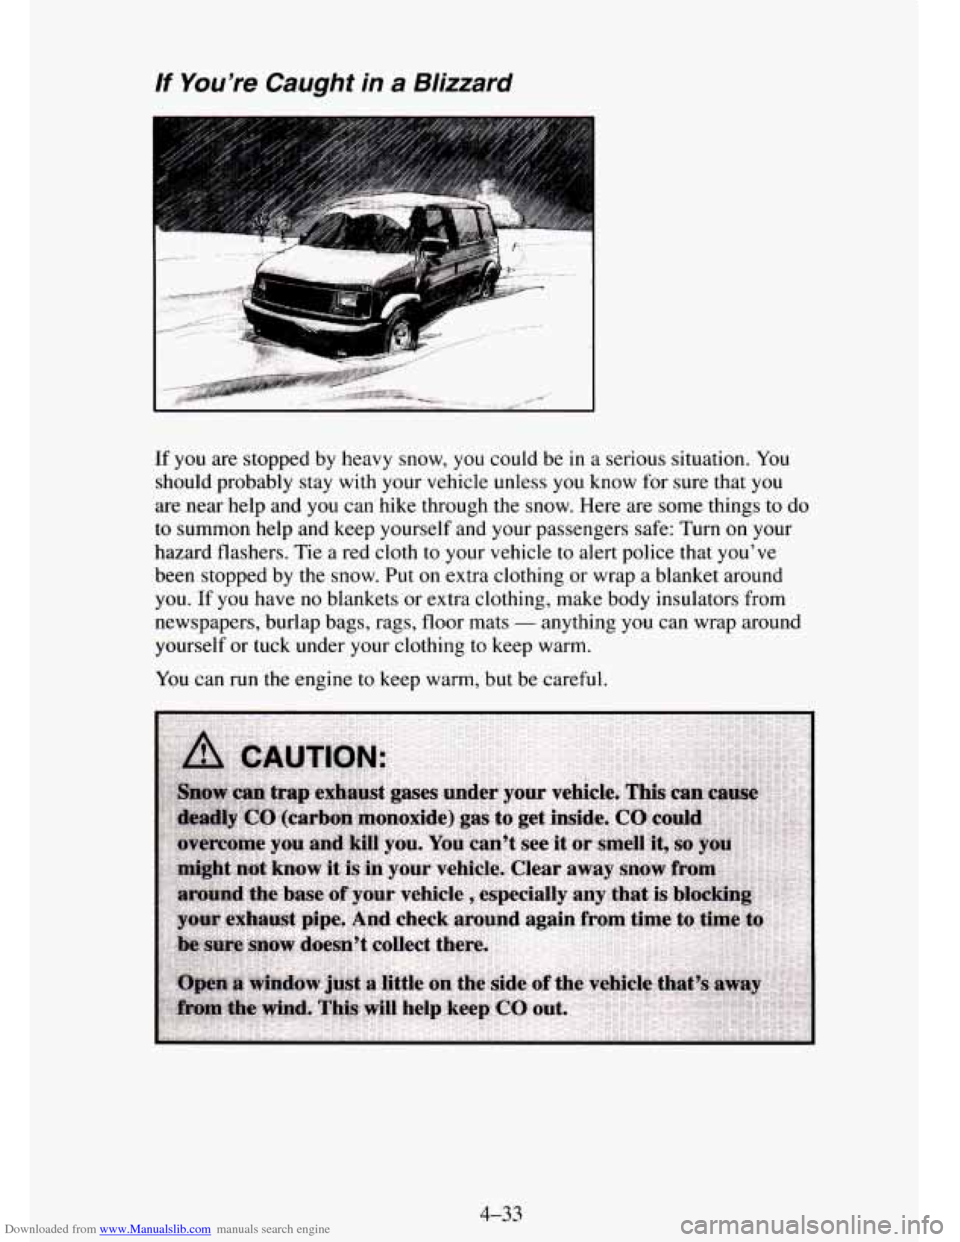
If you are stopped by heavy snow, you could be in a serious situation. You
should probably stay with your vehicle unless
you know for sure that you
are near help and you can hike through the snow. Here are some things to do
to summon help and keep yourself and your passengers safe:
Turn on your
hazard flashers. Tie a red cloth
to your vehicle to alert police that you’ve
been stopped by the snow. Put on extra clothing or wrap a blanket around
you.
If you have no blankets or extra clothing, make body insulators from
newspapers, burlap bags, rags, floor mats
- anything you can wrap around
yourself or
tuck under your clothing to keep warm.
You can run the engine
to keep warm, but be careful.
4-33
Page 217 of 486
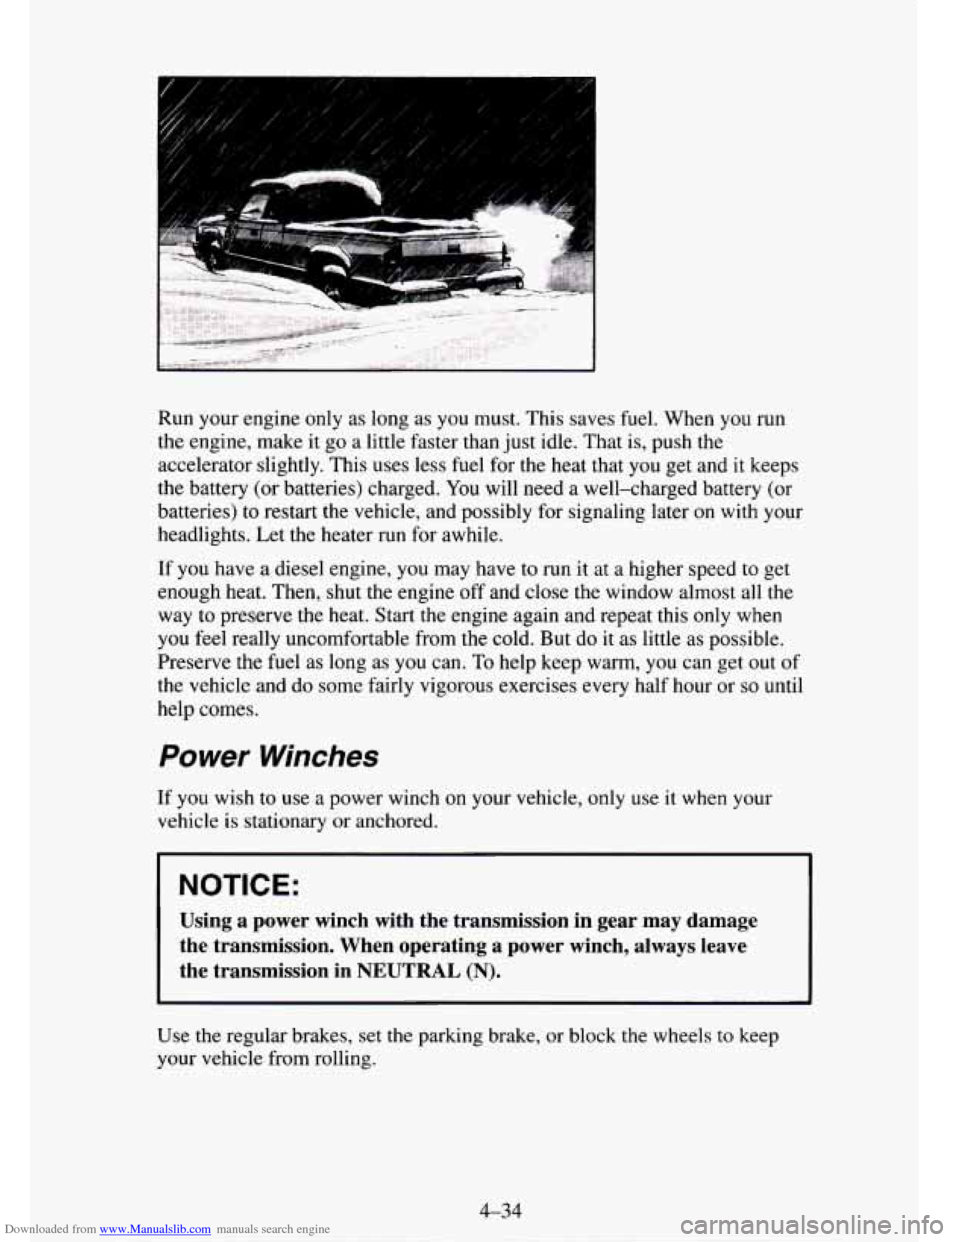
Downloaded from www.Manualslib.com manuals search engine Run your engine only as long as you must. This saves fuel. When you run
the engine, make it
go a little faster than just idle. That is, push the
accelerator slightly. This uses less fuel for the heat
that you get and it keeps
the battery (or batteries) charged. You will need a well-charged battery
(or
batteries) to restart the vehicle, and possibly for signaling later on with your
headlights. Let the heater
run for awhile.
If you have a diesel engine, you may have
to run it at a higher speed to get
enough heat. Then, shut the engine off and close the window almost all the
way to preserve the heat. Start the engine again and repeat
this only when
you feel really uncomfortable from the cold. But do it as little as possible.
Preserve the fuel
as long as you can. To help keep warm, you can get out of
the vehicle and do some fairly vigorous exercises every half
hour or so until
help
comes.
Power Winches
If you wish to use a power winch on your vehicle, only use it when your
vehicle
is stationary or anchored.
I NOTICE:
Using a power winch with the transmission in gear may damage
the transmission. When operating a power winch, always leave
the transmission in NEUTRAL
(N).
Use the regular brakes, set the parking brake, or block the wheels to keep
your vehicle from rolling.
4-34
Page 218 of 486
Downloaded from www.Manualslib.com manuals search engine Power Take-Off (PTO)
NOTICE:
If you have a PTO that will exceed 35 horsepower installed on
your vehicle, it could damage the transfer case or transmission.
When having a PTO installed on your vehicle, make sure that it
will not exceed
35 horsepower.
Before using a power take-off, refer to the manufacturer’s or installer’s
instructions.
NOTICE:
Using a PTO while operating in one place before the vehicle has
reached normal operating temperature can damage the transfer
case or transmission.
If you will be using the PTO while
operating in one place, drive and warm up the vehicle before
using the PTO.
To engage a power take-off
1. Set the parking brake.
2. Shift the transmission into NEUTRAL (N).
3. Hold the clutch pedal down and engage the power take-off.
NOTICE:
Using a PTO for more than four hours without driving your
vehicle can damage the transfer case or transmission.
If using a
PTO for more than four hours without driving your vehicle,
drive your vehicle for
a while to allow the transfer case and
transmission to cool.
If you are going to drive the vehicle, shift the transmission into the gear
you want. Then shift the transfer case into the range you want
(if you
have four-wheel drive), apply the regular brakes and release the
parking brake.
4. Release the clutch (and the regular brakes) as you normally would.
When
you release the clutch, the power take-off will start.
4-35
Page 219 of 486
Downloaded from www.Manualslib.com manuals search engine Using a Transfer Case Mounted Power Take-Off
(Manual Transmission)
1. Set the parking brake.
2. Shift the transfer case into NEUTRAL (N).
3. Hold the clutch pedal down. If the vehicle will remain in the same
4. Engage the power take-off.
place,
shift the transmission into the highest gear.
If
you are going to drive the vehicle, shift the transmission into the gear
you want. Then shift the transfer case into the range you want, apply
the regular brakes and release
the parking brake.
When you release the clutch, the power take-off will start.
5. Release the clutch (and the regular brakes) as you normally would.
Using a Transfer Case Mounted Power Take-Off
(Automatic Transmission)
1. Set the parking brake.
2. Shift the transfer case into NEUTRAL (N).
3. Shift the transmission into NEUTRAL (N).
4. Engage the power take-off.
If you are going to drive the vehicle, shift the transfer case into the
range you want. Then apply the regular brakes
and release the parking
brake.
5. Shift the transmission to DRIVE (3) to start the power take-off.
6. Release the regular brakes to drive the vehicle.
Page 220 of 486
Downloaded from www.Manualslib.com manuals search engine Loading Your Vehicle
I
PSI/KPA (COLD)
~ SEE OWNER'S MANUAL FOR ADDITIONAL INFORMATION
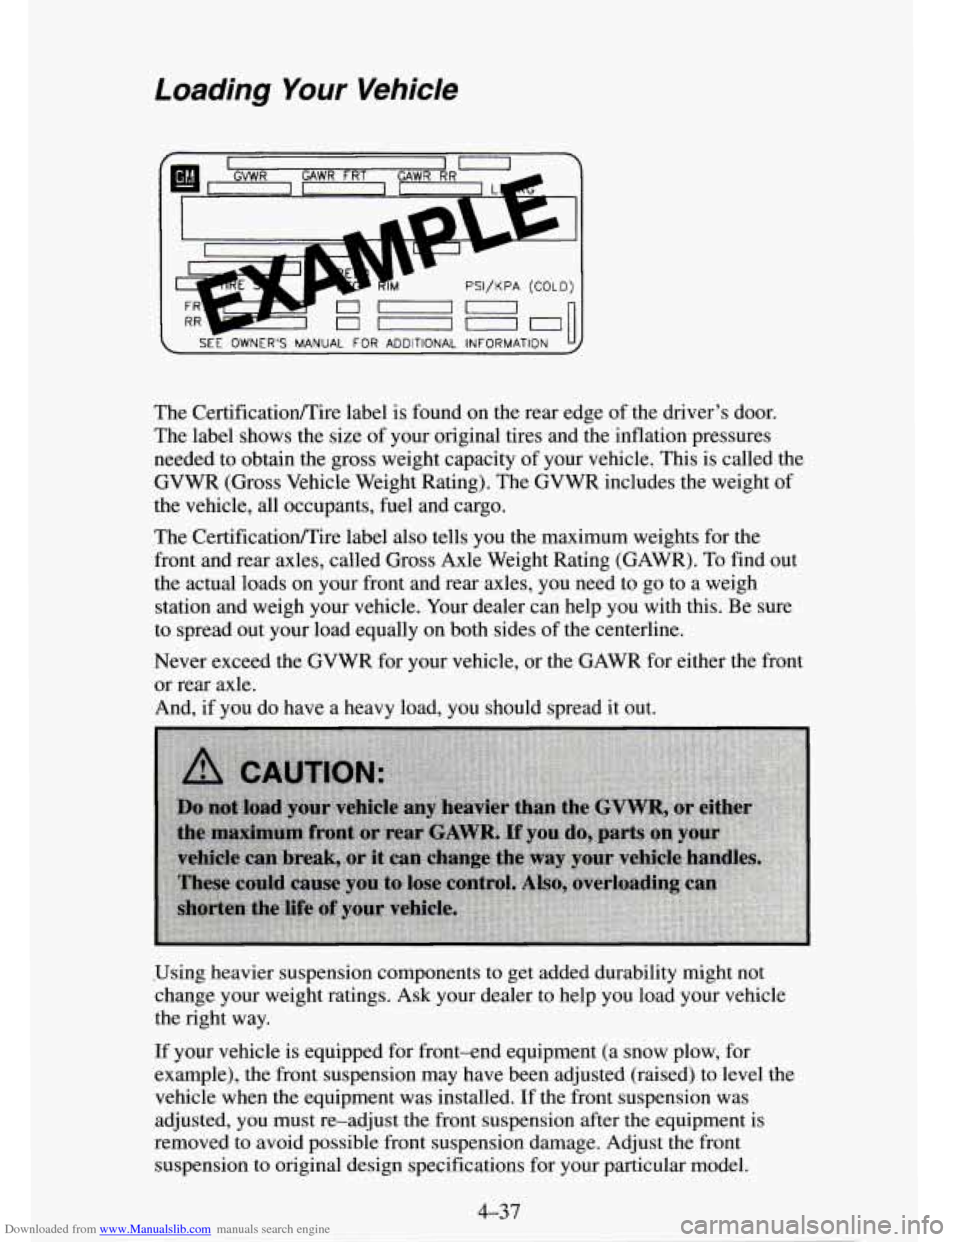
The CertificatiodTire label is found on the rear edge of the driver's door.
The label shows the size
of your original tires and the inflation pressures
needed to obtain the gross weight capacity of your vehicle. This is called the
GVWR (Gross Vehicle Weight Rating). The GVWR includes the weight of
the vehicle, all occupants, fuel and cargo.
The Certificatiodl'ire label
also tells you the maximum weights for the
front and rear axles, called Gross Axle Weight Rating (GAWR). To find
out
the actual loads on your front and rear axles, you need to go to a weigh
station and weigh your vehicle. Your dealer can help you with this. Be sure
to spread out your load equally on both sides
of the centerline.
Never exceed the GVWR
for your vehicle, or the GAWR for either the front
or rear axle.
And, if you do have a heavy load, you should spread it out.
.Using heavier suspension components to get added durability might not
change your weight ratings. Ask your dealer to help you load your vehicle
the right way.
If your vehicle is equipped for front-end equipment (a snow plow, for
example), the front suspension may have been adjusted (raised) to level the
vehicle when the equipment was installed. If the front suspension was
adjusted, you must re-adjust the front suspension after the equipment is
removed to avoid possible front suspension damage. Adjust the front
suspension
to original design specifications for your particular model.
4-37