automatic transmission CHEVROLET TAHOE 1997 1.G Owners Manual
[x] Cancel search | Manufacturer: CHEVROLET, Model Year: 1997, Model line: TAHOE, Model: CHEVROLET TAHOE 1997 1.GPages: 433, PDF Size: 22.05 MB
Page 72 of 433
Downloaded from www.Manualslib.com manuals search engine Section 2 Features and Controls
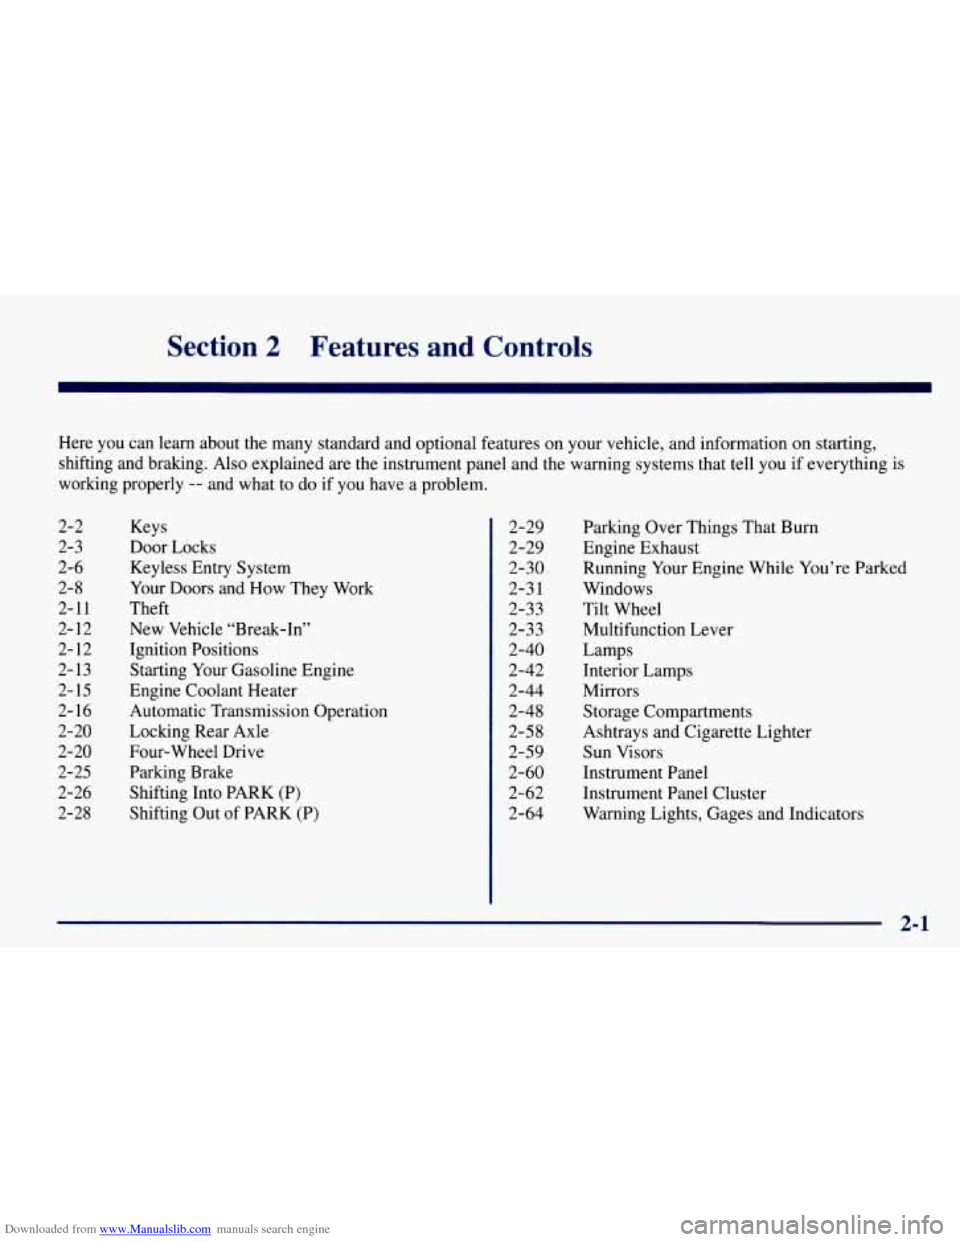
Here you can learn about the many standard and optional features on your vehicle, and information on starting,
shifting and braking. Also explained are the instrument panel and the warning systems that tell you if everything is
working properly
-- and what to do if you have a problem.
2-2
2-3
2-6
2-8
2-11
2- 12
2- 12
2- 13
2- 15
2- 16
2-20
2-20
2-25
2-26
2-28 Keys
Door Locks
Keyless Entry System
Your Doors and How They Work
Theft
New Vehicle “Break-In”
Ignition Positions
Starting Your Gasoline Engine
Engine Coolant Heater
Automatic Transmission Operation
Locking Rear Axle
Four-wheel Drive
Parking Brake
Shifting Into PARK (P)
Shifting Out of PARK
(P)
2-29
2-29
2-30
2-3
1
2-33
2-3 3
2-40
2-42
2-44
2-48
2-5 8
2-59
2-60
2-62
2-64 Parking Over
Things That Burn
Engine Exhaust
Running Your Engine While You’re Parked
Windows
Tilt Wheel
Multifunction Lever
Lamps
Interior Lamps
Mirrors
Storage Compartments
Ashtrays and Cigarette Lighter
Sun Visors
Instrument Panel
Instrument Panel Cluster
Warning Lights, Gages and Indicators
Page 78 of 433
Downloaded from www.Manualslib.com manuals search engine Operation
To unlock the driver’s door, press the UNLOCK button.
If you press this button again within five seconds, all the
remaining doors will unlock. The interior lamps will
come on for
40 seconds or until the ignition is turned on.
Press the
LOCK button to lock all the doors. The
interior lamps will come on for two seconds as soon as
all the doors are closed.
The rear cargo doors or tailgate glass will unlock
automatically when the REAR button on the transmitter
is pressed twice within three seconds. If your vehicle is
equipped with a rear liftglass, pressing the REAR button
twice within three seconds will release the liftglass, but
only if the transmission selector is in PARK
(P). The
interior lamps will come on for
40 seconds or until the
ignition is turned
on.
Matching Transmitter(s) To Your Vehicle
Each remote keyless entry transmitter is coded to
prevent another transmitter from unlocking your vehicle.
If a transmitter is lost or stolen, a replacement can be
purchased through your dealer. Remember to bring any
remaining transmitters with you when you go to your
dealer. When the dealer matches the replacement transmitter
to your vehicle, any remaining transmitters
must also be matched. Once your dealer has coded the
new transmitter, the lost transmitter will not unlock your
vehicle. Each vehicle can have only four transmitters
matched to it.
Battery Replacement
Under normal use, the battery in your remote keyless
entry transmitter should last about two years.
You can tell the battery is weak if the transmitter won’t
work at the normal range in any location.
If you have to
get close to your vehicle before the transmitter works,
it’s probably time to change the battery.
NOTICE:
When replacing the battery, use care not to touch
any of the circuitry. Static from your body
transferred to these surfaces may damage
the transmitter.
Use one three volt, type CR2032, or equivalent battery.
2-7
Page 82 of 433
Downloaded from www.Manualslib.com manuals search engine Theft Parking at Night
Vehicle theft is big business, especially in some cities.
Although your vehicle
has a number of theft-deterrent
features, we know that nothing we put
on it can make it
impossible to steal. However, there are ways you can help.
Key in the Ignition
If you leave your vehicle with the keys inside, it’s an
easy target for joy riders or professional thieves
-- so
don’t do it.
When you park your vehicle and open the driver’s door,
you’ll hear a tone reminding you to remove your key
from the ignition and take it with you. Always do this.
Your steering wheel will be locked, and
so will your
ignition. If you have an automatic transmission, taking
your key out also locks your transmission. And
remember to lock the doors. Park in
a lighted spot, close all windows and lock your
vehicle. Remember
to keep your valuables out of sight.
Put them in a storage area, or take them with you.
Parking Lots
If you park in a lot where someone will be watching
your vehicle, it’s best to lock it up and take your keys.
But what if you have to leave your ignition key? What if
you have to leave something valuable in your vehicle?
Put your valuables in a storage area, like your
glove box.
Lock all the doors except the driver’s.
2-11
Page 87 of 433
Downloaded from www.Manualslib.com manuals search engine 4. Before starting the engine, be sure to unplug and store
the cord as it was before to keep it away from moving
engine
parts. If you don’t, it could be damaged.
How long should you keep the coolant heater plugged
in? The answer depends on the outside temperature, the
kind
of oil you have, and some other things. Instead of
trying
to list everything here, we ask that you contact
your
GM dealer in the area where you’ll be parking your
vehicle. The dealer can give you the best advice for that
particular area.
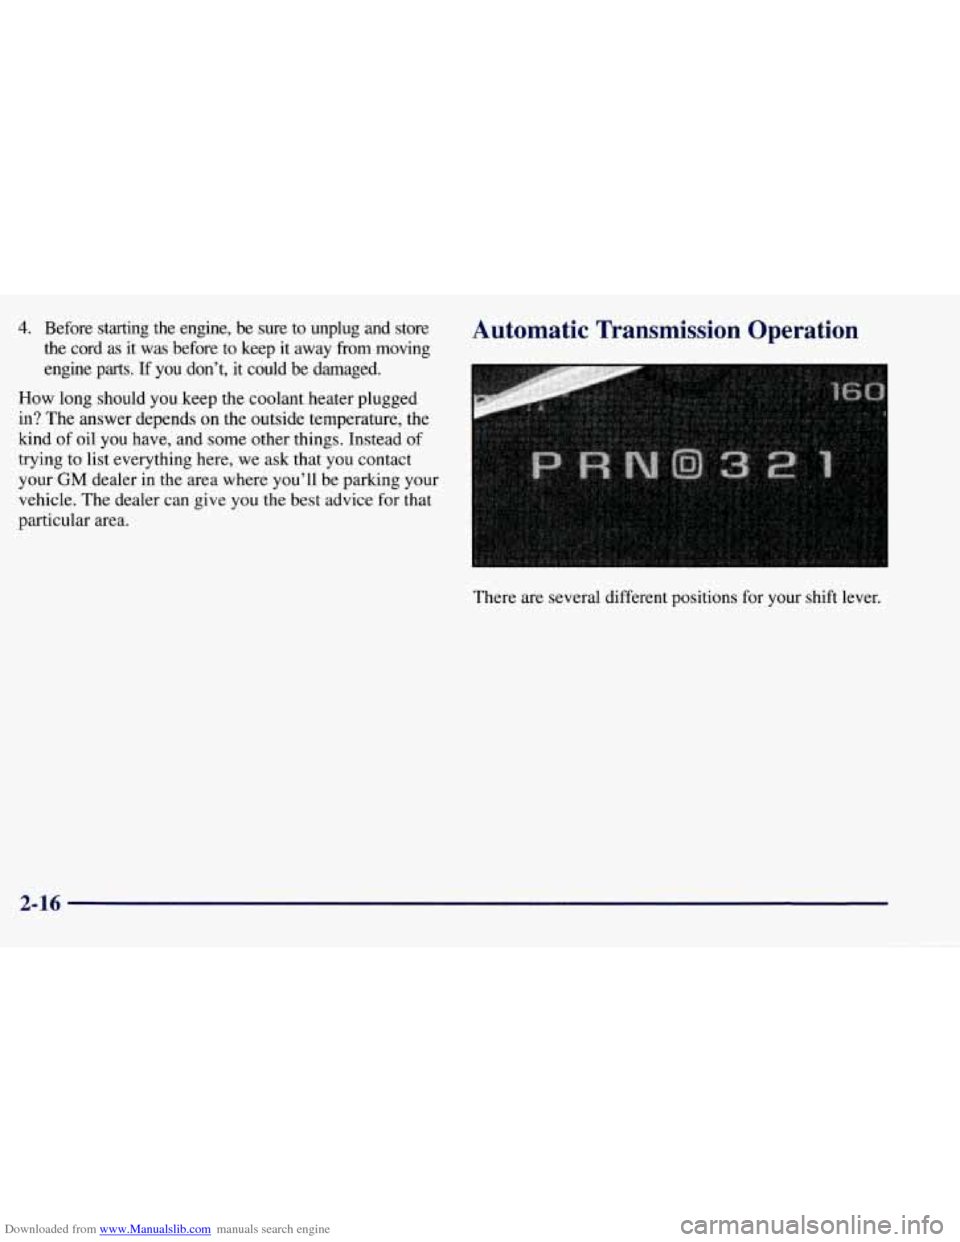
Automatic Transmission Operation
There are several different positions for your shift lever.
2-16
Page 90 of 433
Downloaded from www.Manualslib.com manuals search engine AUTOMATIC OVERDRIVE (03): This position is for
normal driving. If you need more power for passing,
and you’re:
Going less than about 35 mph (56 km/h), push your
accelerator pedal about halfway down.
Going about 35 mph (56 km/h) or more, push the
accelerator all the way down.
You’ll shift down to the next gear and have
more power.
AUTOMATIC OVERDRIVE
(0) can be used when
towing a trailer, carrying a heavy load, driving on steep
hills or for off-road driving. You may want to shift the
transmission to THIRD
(3) or, if necessary, a lower gear
selection if the transmission shifts too often.
THIRD (3): This position is also used for normal
driving, however, it offers more power and lower fuel
economy than AUTOMATIC OVERDRIVE
(0).
SECOND (2): This position gives you more power but
lower fuel economy. You can use SECOND
(2) on hills.
It can help control your speed as you go down steep
mountain roads, but then
you would also want to use
your brakes off and
on.
If you manually select SECOND (2), the transmission will
drive
in second gear. You may use this feature for reducing
torque to the rear wheels when you are trying to start
your
vehicle from a stop on slippery road surfaces.
FIRST (1): This position gives you even more power
(but lower
fuel economy) than SECOND (2). You can
use it on very steep hills,
or in deep snow or mud. If the
selector lever is put in FIRST
(1) while the vehicle is
moving forward, the transmission won’t shift into first
gear until the vehicle is going slowly enough.
NOTICE:
If your rear wheels can’t rotate, don’t try to
drive. This might happen if you were stuck in
very deep sand or mud or were up against a solid
object. You could damage your transmission.
Also, if you stop when going uphill, don’t hold
your vehicle there with only the accelerator
pedal. This could overheat and damage the
transmission. Use your brakes or shift into
PARK (P) to hold your vehicle in position
on a hill.
2-19
Page 95 of 433
Downloaded from www.Manualslib.com manuals search engine Shifting from 4HI to 2HI
Press and release the 2HI switch. This can be done at
any speed, and the system will unlock automatically.
Shifting from 2HI or 4HI to 4LO
To shift from 2HI or 4HI to 4L0, the vehicle must be
stopped or moving less than 3 mph (4.8
km/h) with the
transmission in NEUTRAL
(N). The preferred method
for shifting into 4LO is to have your vehicle moving 1 to
2 mph (1.6 to 3.2
km/h). Press and release the 4LO
switch. You must wait for the 4LO indicator light to stop
flashing and remain illuminated before shifting your
transmission into gear.
If the 4LO switch is pressed when your vehicle is in
gear and/or moving, the 4LO indicator light will flash
for 30 seconds and not complete the shift unless your
vehicle is moving slower than 3 mph (4.8
km/h) and the
transmission is in NEUTRAL
(N).
Shifting from 4LO to 4HI or 2HI
To shift from 4LO to 4HI or 2H1, your vehicle must be
stopped
or moving less than 3 mph (4.8 km/h) with the
transmission in NEUTRAL
(N). The preferred method
for shifting out of
4LO is to have your vehicle moving
1 to 2 mph (1.6 to 3.2
km/h). Press and release the 4HI
switch. You must wait for the 4HI indicator light to stop
flashing and remain illuminated before shifting your
transmission into gear.
If the 4HI switch is pressed when your vehicle is in gear
and/or moving, the
4HI indicator light will flash for
30 seconds but will not complete the shift unless the
vehicle is moving slower than 3 mph (4.8
km/h) and the
transmission is in NEUTRAL
(N).
2-24
Page 99 of 433
Downloaded from www.Manualslib.com manuals search engine Torque Lock
If you are parking on a hill and you don’t shift your
transmission into PARK (P) properly, the weight of the
vehicle may put too much force on the parking pawl in
the transmission. You may find
it difficult to pull the
shift lever out
of PARK (P). This is called “torque lock.”
To prevent torque lock, set the parking brake and then
shift into PARK (P) properly before you leave the
driver’s seat. To find out how, see “Shifting Into
PARK
(P)” in the Index.
When you
are ready to drive, move the shift lever out of
PARK
(P) before you release the parking brake.
If torque lock does occur, you may need to have another
vehicle push yours a little uphill to take some of the
pressure from the parking pawl in the transmission,
so
you can pull the shift lever out of PARK (P).
Shifting Out of PARK (P)
Your vehicle has a brake-transmission shift interlock
system. You have
to fully apply your regular brakes
before you can shift from PARK (P) when the ignition
is in RUN. See “Automatic Transmission” in the Index.
If you cannot shift out of PARK (P), ease pressure on
the shift lever and push the shift lever all the way up
into PARK (P) as you maintain brake application. Then,
move the shift lever into the gear you want.
If you ever hold the brake pedal down but still can’t
shift out
of PARK (P), try this:
1. Turn the key to OFF.
2. Apply and hold the brake until the end of Step 4.
3. Shift the vehicle to NEUTRAL (N).
4. Start the vehicle and then shift to the drive gear
you want.
5. Have the brake-transmission shift interlock system
fixed as soon as you can.
2-28
Page 224 of 433
Downloaded from www.Manualslib.com manuals search engine If You Do Decide To Pull A Trailer
If you do, here are some important points:
0
0
0
0
0
There are many different laws, including speed limit
restrictions, having to do with trailering. Make sure
your rig will be legal,
not only where you live but
also where you’ll be driving. A good source for this
information can be state or provincial police.
Consider using a sway control if your trailer will
weigh less than the capacity stamped on your step
bumper. You should always use a sway control if
your trailer will weigh more than the capacity
stamped on your step bumper. You can ask a hitch
dealer about sway controls.
Don’t tow a trailer at all during the first
500 miles
(800 km) your new vehicle is driven. Your engine,
axle or other parts could be damaged.
Then, during the first
500 miles (800 km) that you
tow a trailer, don’t drive over
50 mph (80 kmh) and
don’t make starts at
full throttle. This helps your
engine and other parts of your vehicle wear in at the
heavier loads.
If you have an automatic transmission, you can tow
in OVERDRIVE
(@). You may want to shift the
transmission to THIRD
(3) or, if necessary, a lower
gear selection
if the transmission shifts too often
(e.g., under heavy loads and/or hilly conditions). Three important
considerations have to do with weight:
the weight of the trailer,
0 the weight of the trailer tongue
0 and the weight on your vehicle’s tires.
Weight of the Trailer
How heavy can a trailer safely be?
It depends on how
you plan to use your rig. For
example, speed, altitude, road grades, outside
temperature and how much your vehicle is used to pull a
trailer are all important. And, it can also depend on any
special equipment that you have on your vehicle.
Use the following chart to determine how much your vehicle
can weigh, based upon your vehicle model and options.
Maximum trailer weight is calculated assuming the
driver and
one passenger are in the tow vehicle and it
has all the required trailering equipment. The weight
of
additional optional equipment, passengers and cargo in
the tow vehicle must be subtracted from the maximum
trailer weight.
Above the
2,000 lbs. (908 kg) trailer rating, the engine
oil cooler is required on
C/K-1500 and C/K-2500
models. Refer to the Trailering Guide for oil
cooler recommendations.
4-45
Page 231 of 433
Downloaded from www.Manualslib.com manuals search engine Making ’hms
NOTICE:
Making very sharp turns while trailering could
cause the trailer to come in contact with the
vehicle. Your vehicle could be damaged. Avoid
making very sharp turns while trailering.
When you’re turning with a trailer, make wider turns than
normal.
Do this so your trailer won’t strike soft shoulders,
curbs, road signs, trees or other objects. Avoid jerky or
sudden maneuvers. Signal well
in advance.
Turn Signals When Towing a Trailer
The arrows on your instrument panel will flash
whenever you signal a turn or lane change. Properly
hooked up, the trailer lamps will also flash, telling other
drivers you’re about to turn, change lanes or stop.
When towing a trailer, the arrows on your instrument
panel will flash for turns even
if the bulbs on the trailer
are burned out. Thus, you may think drivers behind you
are seeing your signal when they are not. It’s important
to check occasionally to be sure the trailer bulbs are
still working.
Driving On Grades
Reduce speed and shift to a lower gear before you start
down a long or steep downgrade. If you don’t shift
down, you might have
to use your brakes so much that
they would get hot and no longer work well.
On a long uphill grade, shift down and reduce your
speed to around
45 mph (70 kmh) to reduce the
possibility of engine and transmission overheating.
If you have an automatic transmission, you can tow
in
AUTOMATIC OVERDRIVE (0). You may want to
shift the transmission to THIRD
(3) or, if necessary, a
lower gear selection if the transmission shifts too often
(e.g., under heavy loads and/or hilly conditions).
When towing at high altitude on steep uphill grades,
consider the following: Engine coolant will boil at a
lower temperature than at normal altitudes. If you turn
your engine off immediately after towing at high altitude
on steep uphill grades, your vehicle may show signs
similar
to engine overheating. To avoid this, let the
engine run while parked (preferably on level ground)
with the automatic transmission in PARK
(P) for a few
minutes before turning the engine off. If you do get the
overheat warning, see “Engine Overheating” in
the Index.
4-52
Page 233 of 433
Downloaded from www.Manualslib.com manuals search engine When You Are Ready to Leave After
Parking
on a Hill
1. Apply your regular brakes and hold the pedal down
while you:
Start your engine;
0 Shift into a gear; and
0 Release the parking brake.
2. Let up on the brake pedal.
3. Drive slowly until the trailer is clear of the chocks.
4. Stop and have someone pick up and store the chocks.
Maintenance When Trailer Towing
Your vehicle will need service more often when you’re
pulling a trailer. See the Maintenance Schedule for more
on this. Things that are especially important in trailer
operation are automatic transmission fluid (don’t
overfill), engine oil, axle lubricant, belt, cooling system
and brake adjustment. Each
of these is covered in this
manual, and the Index will help you find them quickly.
If you’re trailering, it’s a good idea to review these
sections before you start your trip.
Check periodically to see that all hitch nuts and bolts
are tight.
Trailer Wiring Harness
A seven-wire harness is stored under the rear of your
vehicle, between the frame rails. An electrical connector
will need to be added at the trailer end
of the harness, by
a qualified electrical technician. For additional trailer
wiring and towing information, please consult your
dealer. Securely attach the harness to the trailer, then
tape or strap it to your vehicle’s frame rail. Be sure you
leave it loose enough
so the wiring won’t bind or break
when turning with the trailer, but not
so loose that it
drags on the ground. Store the harness in its original
position. Wrap the harness together and tie it neatly
so it
won’t be damaged. If you tow a trailer, your Center
High-Mounted Stoplamp (CHMSL) may not be
properly visible from behind. You should select a trailer
with a CHMSL
on it or, if one is not available, have one
installed. See your GM dealer about how to connect
your vehicle’s wiring to
a trailer CHMSL.
4-54