key CHEVROLET TRACKER 1995 User Guide
[x] Cancel search | Manufacturer: CHEVROLET, Model Year: 1995, Model line: TRACKER, Model: CHEVROLET TRACKER 1995Pages: 354, PDF Size: 18.24 MB
Page 55 of 354
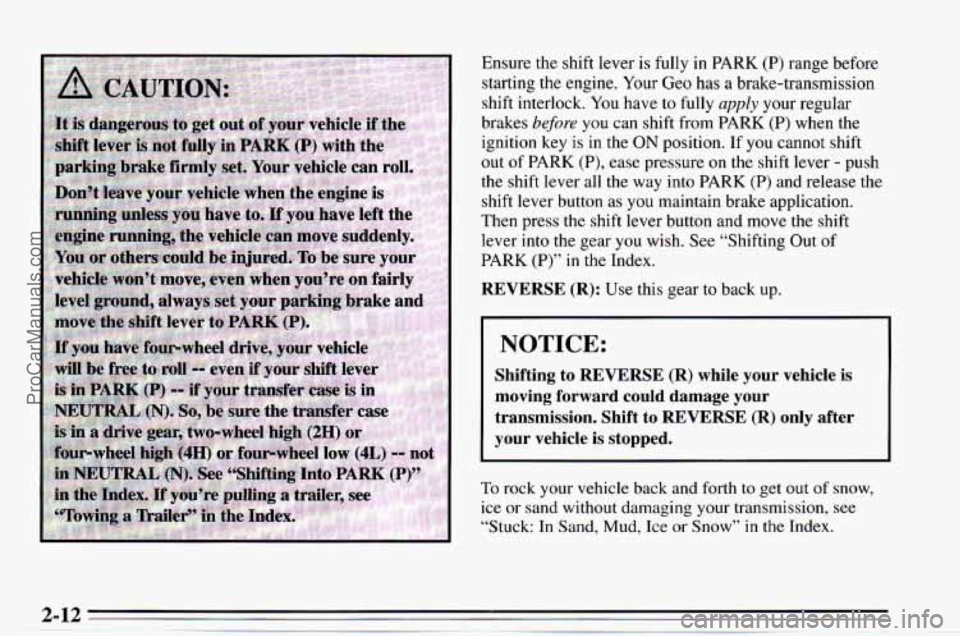
Ensure the shift lever is fully in PARK (P) range before
starting the engine. Your Geo has
a brake-transmission
shift interlock. You have to fully
apply your regular
brakes before
you can shift from PARK (P) when the
ignition key
is in the ON position. If you cannot shift
out
of PARK (P), ease pressure on the shift lever - push
the shift lever all
the way into PARK (P) and release the
shift lever button as
you maintain brake application.
Then press the shift lever button and move the shift
lever into the gear you wish. See “Shifting Out
of
PARK (P)” in the Index.
REVERSE (R): Use this gear to back up.
I
I NOTICE:
Shifting to REVERSE (R) while your vehicle is
moving forward could damage your
transmission. Shift to REVERSE
(R) only after
your vehicle is stopped.
To rock your vehicle back and forth to get out of snow,
ice or sand without damaging your transmission, see
“Stuck: In Sand, Mud, Ice
or Snow” in the Index.
ProCarManuals.com
Page 65 of 354
1.
2.
3.
4.
5.
Hold the brake pedal down with your right foot and
set the parking brake.
Move the shift lever into PARK
(P) position like this
by holding
in the button on the lever and pushing the
lever all the way toward the front of your vehicle.
If you have four-wheel drive, be sure the transfer
case is in a drive gear
-- not in NEUTRAL (N).
Move the key to LOCK.
Remove the key and take it with you. If you can
walk away
from your vehicle with the key in your
hand, your vehicle is in PARK (P).
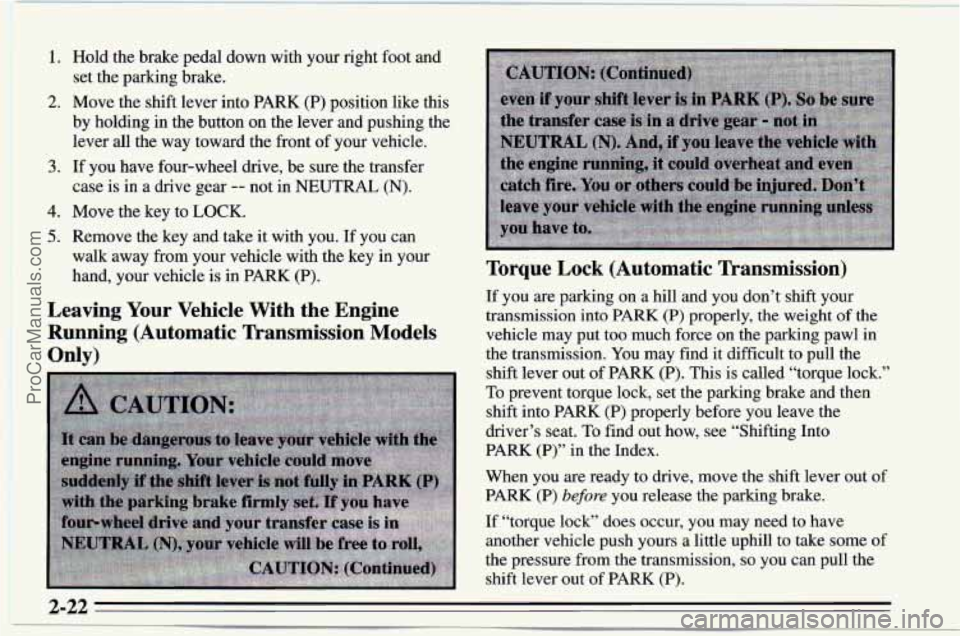
Leaving Your Vehicle With the Engine
Running (Automatic Transmission Models
Only) Torque Lock (Automatic Transmission)
If you
are parking on a hill and you don’t shift your
transmission
into PARK (P) properly, the weight of the
vehicle may put too much force
on the parking pawl in
the transmission. You may find it difficult to pull the
shift lever out
of PARK (P). This is called “torque lock.”
To prevent torque lock, set the parking brake and then
shift into PARK (P) properly before you leave the
driver’s seat. To find out how, see “Shifting Into
PARK (P)” in the Index.
When you are ready to drive, move the shift lever out of
PARK (P)
before you release the parking brake.
If “torque lock” does occur, you may need to have
another vehicle push yours a little uphill to take some of
the pressure from the transmission,
so you can pull the
shift lever out of PARK
(P).
2-22
ProCarManuals.com
Page 66 of 354
Shifting Out of PARK (P)
(Automatic Transmission)
Your Geo has a brake-transmission shift interlock. You
have to fully
apply your regular brakes before you can
shift from PARK
(P) when the ignition is in the ON
position. See “Automatic Transmission” in the Index.
If you cannot shift out of
PARK (P), ease pressure on
the shift lever -- push the shift lever all the way into
PARK
(P) and release the shift lever button as you
maintain brake application. Then press the shift lever
button and move the shift lever into the gear you wish. If
you ever hold the brake pedal down but still can’t
shift out of
PARK (P), try this:
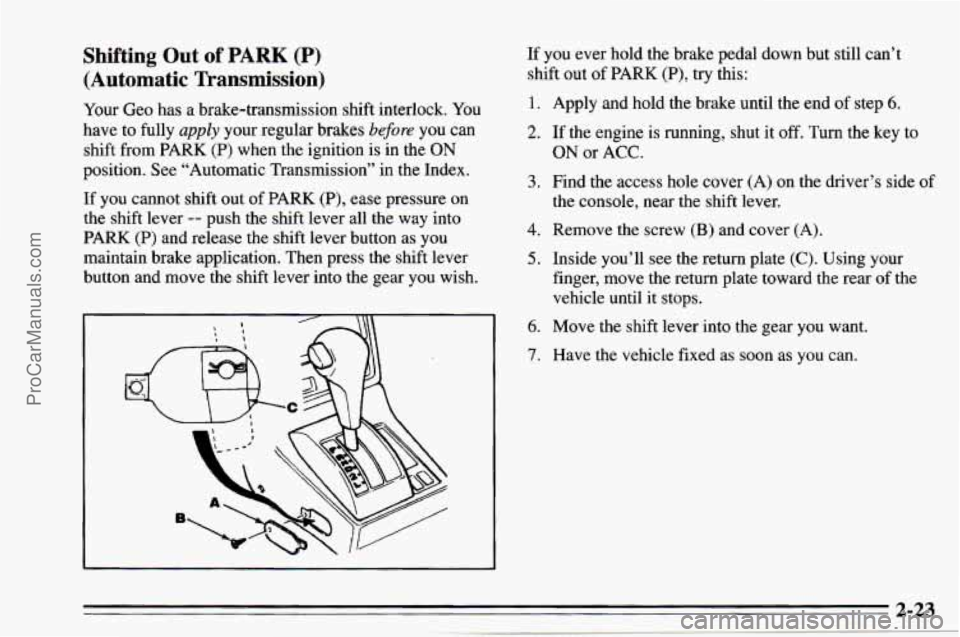
1. Apply and hold the brake until the end of step 6.
2. If the engine is running, shut it off. Turn the key to
3. Find the access hole cover (A) on the driver’s side of
4. Remove the screw (B) and cover (A).
5. Inside you’ll see the return plate (C). Using your
ON or ACC.
the console, near the shift lever.
finger, move the return plate toward the rear of the
vehicle until it stops.
6. Move the shift lever into the gear you want.
7. Have the vehicle fixed as soon as you can.
2-23
ProCarManuals.com
Page 73 of 354
Lamps On Reminder Windshield Wipermasher Lever
If you turn the ignition off, remove the key, open the
door and leave the lamps on, a chime will remind you to
turn
off your lamps.
Headlamp High/Low Beam
First, you must have the
headlamps on. For high
beams, push the turn signal
lever away from you. When
the high beams are
on, a
blue light on the instrument
panel also will be on.
It will
go
off when you switch to
low beam.
To switch back to low beams, pull the lever toward you.
Passing Signal
With the lever in the low beam position, pull the lever
toward you to momentarily switch to high beam (to
~ signal that you are going to pass). When you release the
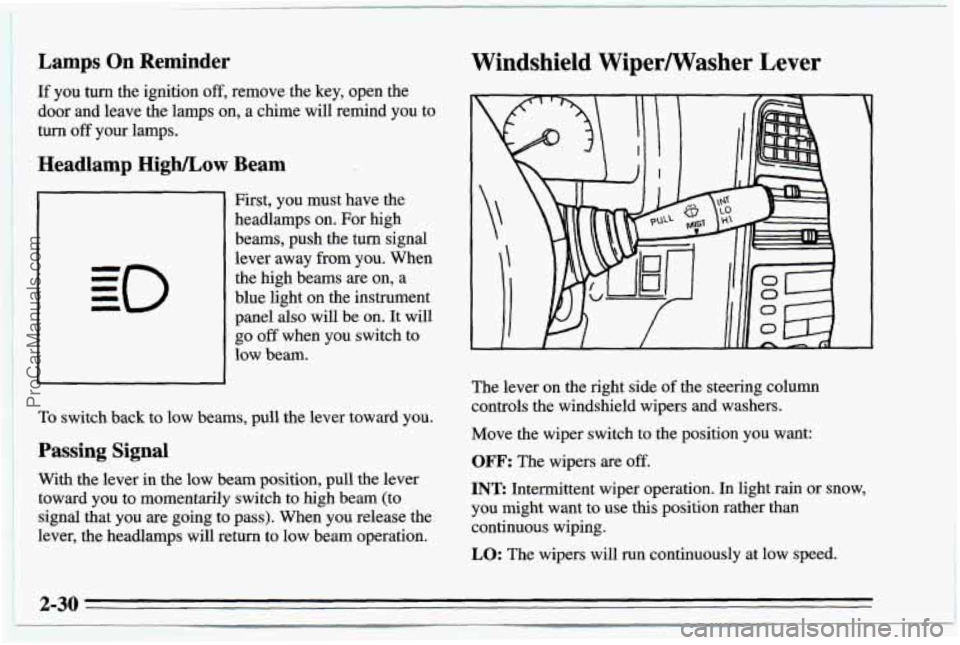
lever, the headlamps will return to low beam operation. The lever
on the right side
of the steering column
controls the windshield wipers
and washers.
Move the wiper switch to the position you want:
OFF: The wipers are off.
INT: Intermittent wiper operation. In light rain or snow,
you might want
to use this position rather than
continuous wiping.
LO: The wipers will run continuously at low speed.
2-30
ProCarManuals.com
Page 87 of 354
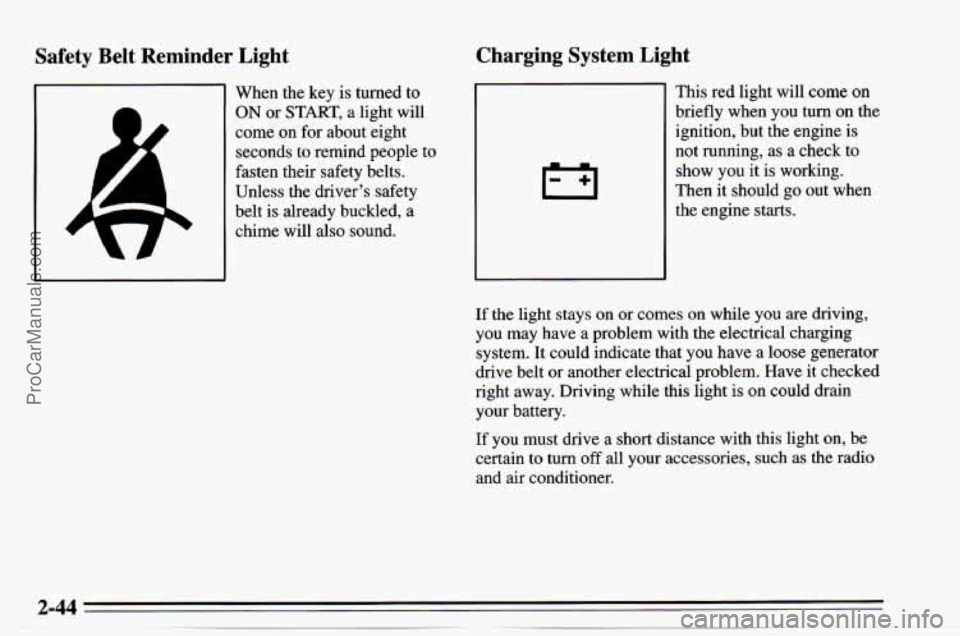
Safety Belt Reminder Light
When the key is turned to
ON or START, a light will
come
on for about eight
seconds to remind people to
fasten their safety belts.
Unless the driver’s safety
belt
is already buckled, a
chime will also sound.
Charging System Light
This red light will come on
briefly when you turn on the
ignition, but the engine is
not running, as
a check to
show you it is working.
Then it should
go out when
the engine starts.
If the light stays on or comes on while you are driving,
you may have a problem with the electrical charging
system. It could indicate that you have
a loose generator
drive belt or another electrical problem. Have
it checked
right away. Driving while this light is
on could drain
your battery.
If you must drive a short distance with this light on, be
certain to turn
off all your accessories, such as the radio
and air conditioner.
ProCarManuals.com
Page 127 of 354
Drunken Driving
Death and injury associated with drinking and driving is
a national tragedy. It’s the number one contributor to the
highway death toll, claiming thousands of victims every
year.
Alcohol affects four things that anyone needs to drive a
vehicle:
0 Judgment
0 Muscular Coordination
0 Vision
Attentiveness
Police records show that almost half
of all motor
vehicle-related deaths involve alcohol. In most cases,
these deaths are the result of someone who was drinking
and driving. In recent years, some
18,000 annual motor
vehicle-related deaths have been associated with the use
of alcohol, with more than
300,000 people injured.
Many adults
-- by some estimates, nearly half the adult
population
-- choose never to drink alcohol, so they
never drive after drinking.
For persons under 21, it’s
against the law in every
U.S. state to drink alcohol.
There are good medical, psychological and
developmental reasons for these laws.
The obvious way to solve this highway safety problem
is for people never to drink alcohol and then drive. But
what if people
do? How much is “too much” if the
driver plans to drive?
It’s a lot less than many might
think. Although it depends on each person and situation,
here is some general information on the problem.
The Blood Alcohol Concentration (BAC)
of someone
who is drinking depends upon four things:
How much alcohol consumed
0 The drinker’s body weight
The amount of food that is consumed before and
The length of time it has taken the drinker to
during drinking
consume the alcohol
According to the American Medical Association, a
180-pound (82 kg) person who drinks three 12-ounce
(355 ml) bottles of beer in an hour will end up with a
BAC of about
0.06 percent. The person would reach the
same BAC by drinking three 4-ounce (120 ml) glasses
of wine or three mixed drinks
if each had 1 - 1/2 ounces
(45 ml) of a liquor like whiskey, gin or vodka.
4-2
ProCarManuals.com
Page 141 of 354
Controlling your vehicle is the key to successful
off-road driving. One of the best ways to control your
vehicle is to control your speed.
Here are some things to
keep in mind. At higher speeds:
you approach things faster and you have less time to
scan the terrain for obstacles.
you have less time to react.
you have more vehicle bounce when you drive over
obstacles.
you’ll need more distance for braking, especially
since you’re on an unpaved surface.
Scanning the Terrain
Off-road driving can take you over many different kinds
of terrain. You need
to be familiar with the terrain and
its many different features. Here are some things to
consider.
Sugace Conditions. Off-roading can take you over
hard-packed dirt, gravel, rocks, grass, sand, mud, snow or
ice. Each
of these surfaces affects the steering,
acceleration, and braking of your vehicle in different ways.
Depending upon the kind of surface
you are on, you may
experience slipping, sliding, wheel spinning, delayed
acceleration, poor traction, and longer braking distances.
Surjke Obstacles. Unseen or hidden obstacles can be
hazardous. A rock, log,
hole, rut, or bump can startle
you if you’re not prepared for them. Often these
obstacles are hidden by grass, bushes, snow or even the
rise and fall of the terrain itself. Here are some things to
consider:
Is the path ahead clear?
Will the surface texture change abruptly up ahead?
Does the travel take you uphill or downhill? (There’s
more discussion of these subjects later.)
Will you have to stop suddenly or change direction
quickly?
ProCarManuals.com
Page 165 of 354
Recreational Vehicle Towing
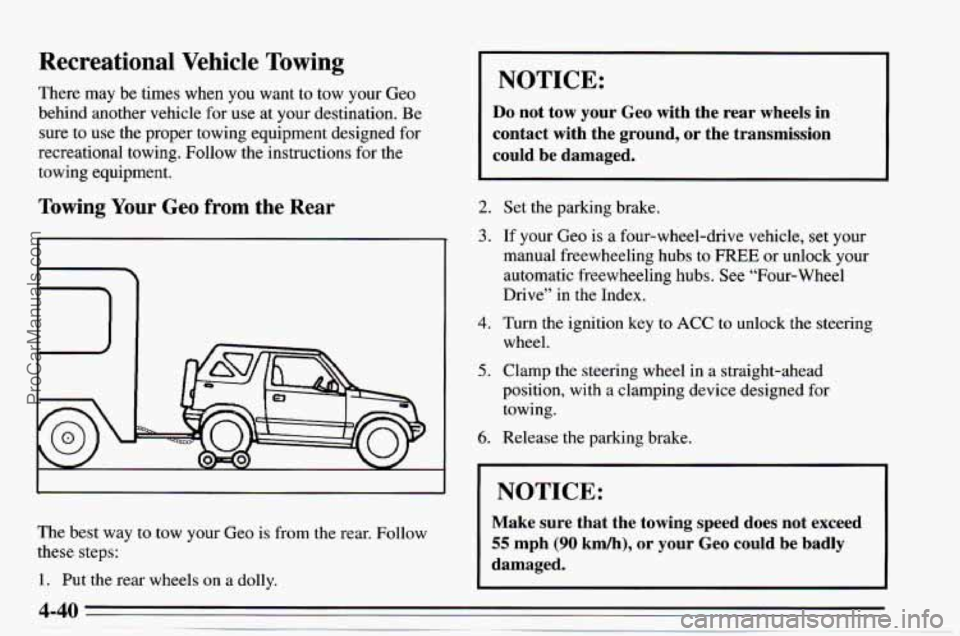
There may be times when you want to tow your Geo
behind another vehicle for use at your destination. Be
sure to use the proper towing equipment designed for
recreational towing. Follow the instructions for the
towing equipment.
Towing Your Geo from the Rear
The best way to cow your Geo is from the rear. Follow
these steps:
1. Put the rear wheels on a dolly.
I NOTICE:
Do not tow your Geo with the rear wheels in
contact with the ground,
or the transmission
could be damaged.
2. Set the parking brake.
3. If your Geo is a four-wheel-drive vehicle, set your
manual freewheeling hubs
to FREE or unlock your
automatic freewheeling hubs. See “Four-wheel
Drive” in the Index.
4. Turn the ignition key to ACC to unlock the steering
5. Clamp the steering wheel in a straight-ahead
wheel.
position, with a clamping device designed for
towing.
6. Release the parking brake.
NOTICE:
Make sure that the towing speed does not exceed
55 mph
(90 km/h), or your Geo could be badly
damaged.
ProCarManuals.com
Page 166 of 354
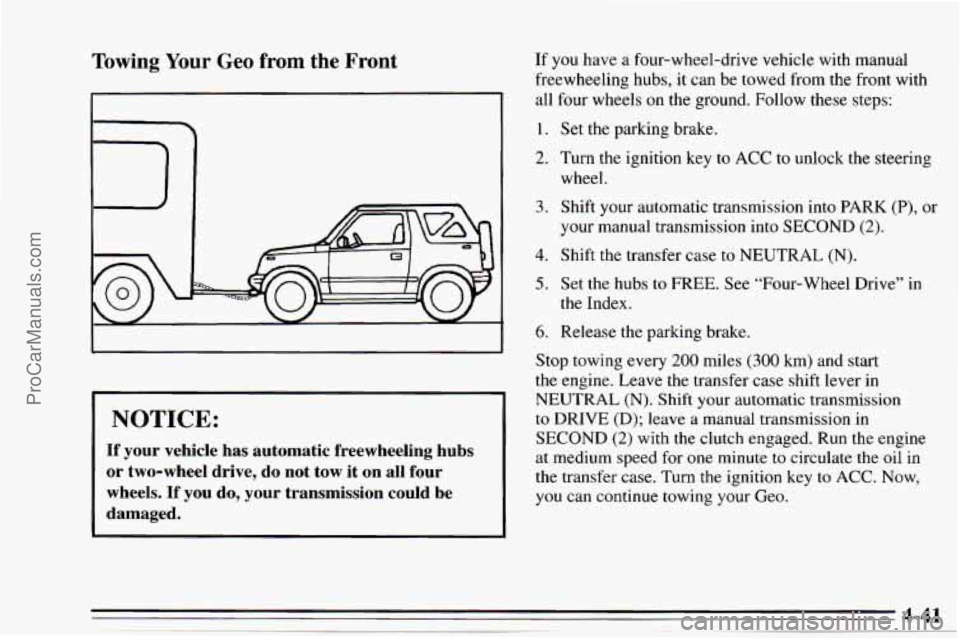
Towing Your Geo from the Front
I NOTICE:
If your vehicle has automatic freewheeling hubs
or two-wheel drive, do not tow it on all four
wheels. If you do, your transmission could be
damaged.
If you have a four-wheel-drive vehicle with manual
freewheeling hubs, it can be towed from the front with
all four wheels on the ground. Follow these steps:
1. Set the parking brake.
2. Turn the ignition key to ACC to unlock the steering
wheel.
3. Shift your automatic transmission into PARK (P), or
your manual transmission into SECOND
(2).
4. Shift the transfer case to NEUTRAL (N).
5. Set the hubs to FREE. See “Four-wheel Drive” in
the Index.
6. Release the parking brake.
Stop towing every
200 miles (300 km) and start
the engine. Leave the transfer
case shift lever in
NEUTRAL (N). Shift your automatic transmission
to
DRIVE (D); leave a manual transmission in
SECOND
(2) with the clutch engaged. Run the engine
at medium speed for
one minute to circulate the oil in
the transfer case. Turn the ignition key to ACC. Now,
you can continue towing your Geo.
ProCarManuals.com
Page 178 of 354
GeGS Section 3 Problems on the Road
Here you'll find what to do about some problems that
can occur on the road.
Hazard Warning Flashers
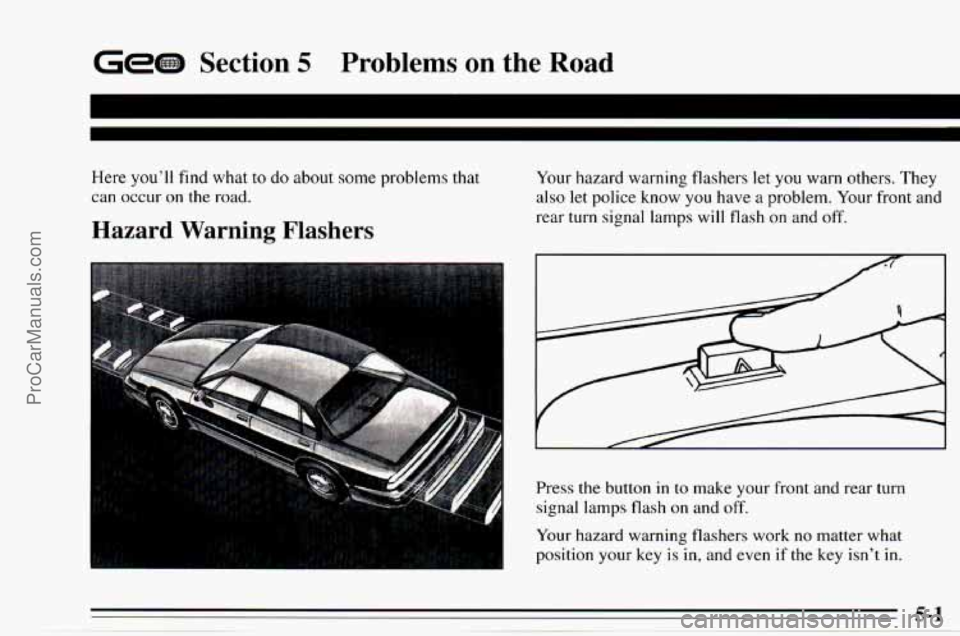
Your hazard warning flashers let you warn others. They
also let police know you have a problem. Your front and
rear turn signal lamps will flash
on and off.
Press the button in to make your front and rear turn
signal lamps flash
on and off.
Your hazard warning flashers work no matter what
position your key is in, and even if the key isn't in.
ProCarManuals.com